

We Love Our Quilting Community
At High Country Quilts we care deeply about community. With our experiences in retail, we know that a store is not only a place to shop but also a place for the community to gather and share. During this busy...


If you’ve ever marveled at the beautifully crisp edges on a quilt from Missouri Star, you’re in luck. This guide is all about mastering Jenny Doan’s famously easy method for quilt binding. We’re going to break it down, step by step, turning what can be a tricky final task into a genuinely satisfying finish.
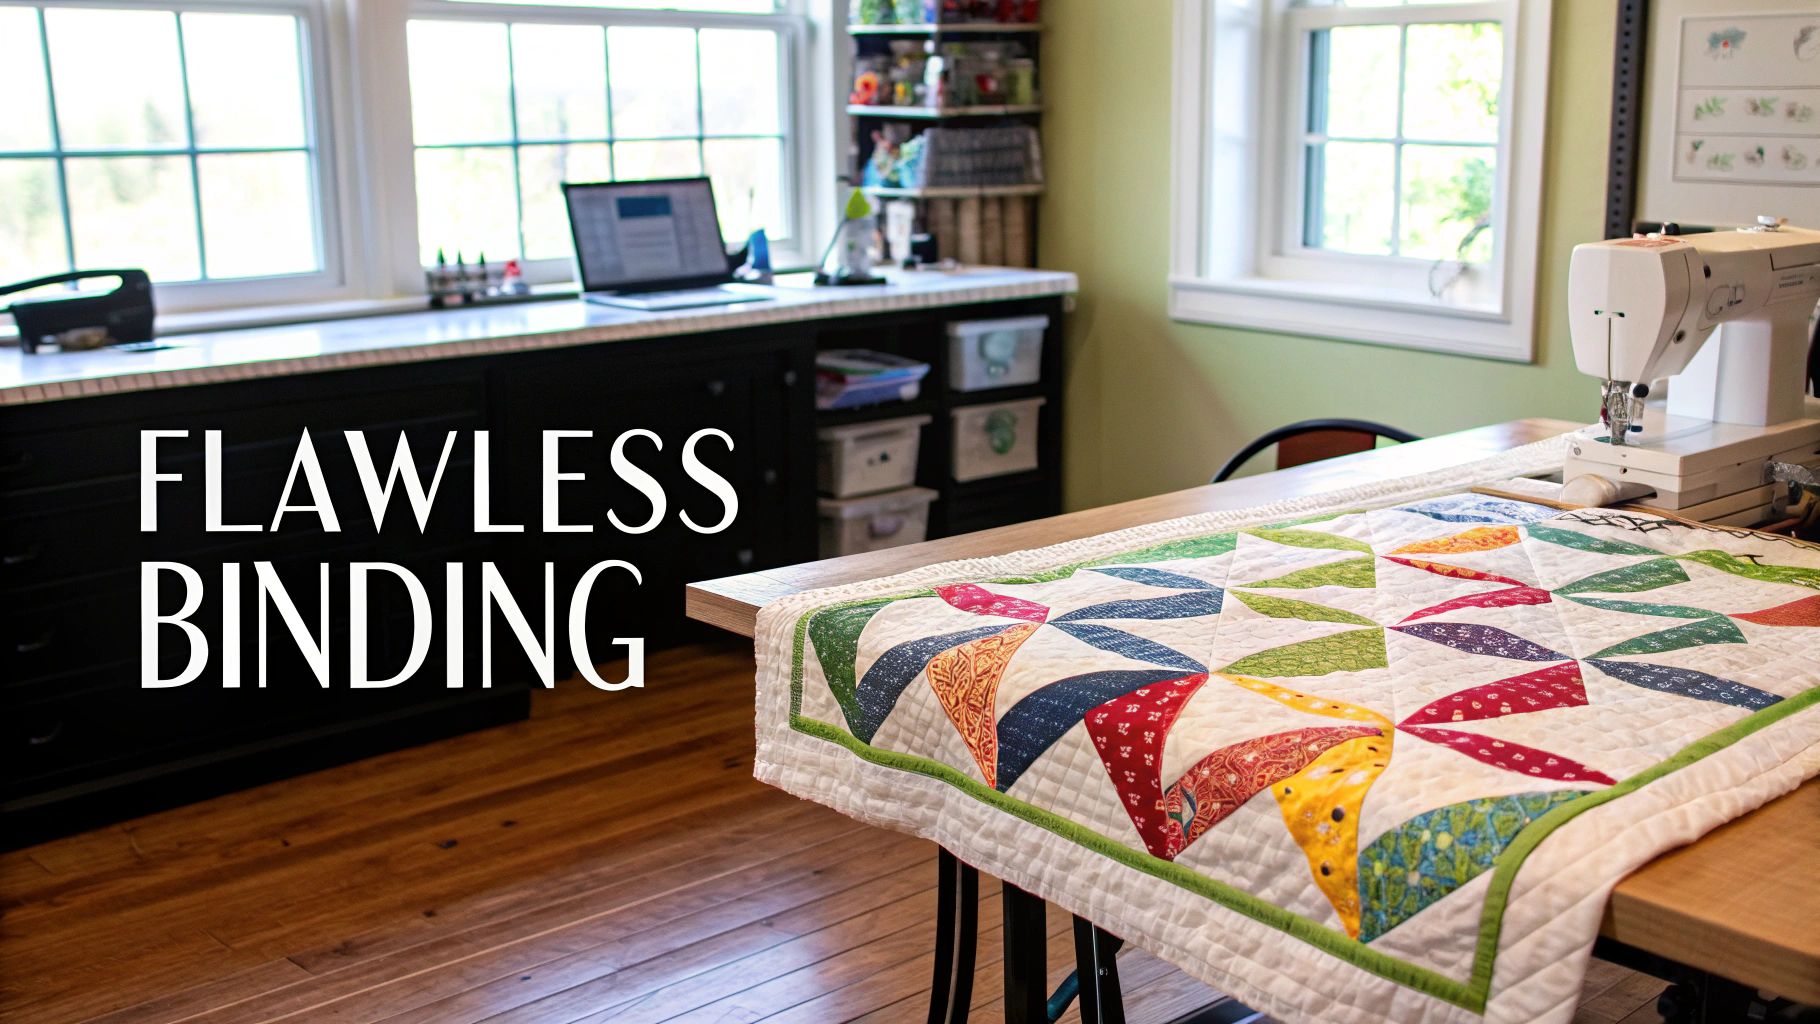
There’s nothing quite like the feeling of finishing a quilt, but let’s be honest—the binding can feel like a daunting final hurdle. The good news is that the method popularized by the Missouri Star Quilt Co. completely changes the game. It’s designed to be straightforward and repeatable, giving you a durable, beautiful frame for your masterpiece every single time.
Think of this as your roadmap to binding quilts with total confidence. We’ll get into all the little details that make a huge difference, ensuring your project has that polished, professional look. It doesn’t matter if you’re brand new to this or a seasoned quilter looking to sharpen your skills; this technique is built for success.
For anyone just starting out, you can find more foundational skills in our guide on how to quilt for beginners.
The Missouri Star method is beloved by quilters everywhere for one simple reason: it’s both efficient and reliable. It all comes down to a few core principles that just make sense.
Jenny Doan really brought this approach to the forefront, making quilting feel accessible to millions. The Missouri Star Quilt Company, which she co-founded in September 2008, revolutionized the craft by focusing on precut fabrics and clear, friendly video tutorials. Those tutorials, which started in 2009, have now been watched over 150 million times worldwide—a testament to how effective her teaching is.
The real magic of the Missouri Star binding technique is that it empowers you to finish strong. It turns that final step from a chore into a rewarding part of the creative process. Your quilt's border will finally be just as beautiful as the piecing inside it.
Before we dive in, let’s make sure you have everything you need. Getting your tools in order first is the secret to a smooth, frustration-free process.
Gather these supplies before you start to ensure a smooth and successful binding process.
| Tool or Supply | Recommended Specification | Why It Makes a Difference |
|---|---|---|
| Rotary Cutter & Mat | A sharp 45mm or 60mm blade is ideal. | Ensures clean, straight cuts through multiple fabric layers without fraying. |
| Quilting Ruler | At least 6" x 24" long. | Critical for accurately cutting your long 2.5-inch binding strips. |
| Fabric for Binding | Your choice! Cross-grain strips are standard. | The "frame" for your quilt. A quality cotton works best. |
| Walking Foot | A sewing machine foot for even feeding. | Prevents the quilt layers from shifting while you sew the binding on. |
| Wonder Clips or Pins | 50-100 clips are a good start. | Securely holds the binding in place for stitching without distorting the fabric. |
| Iron & Ironing Board | A good steam iron helps create crisp folds. | Pressing your binding strips in half is a non-negotiable step for a flat finish. |
| Thread | 50-weight cotton thread in a matching or neutral color. | Blends into the fabric for a professional look and provides strong seams. |
With these tools at your side, you're perfectly set up to create a flawless binding. Now, let’s get to cutting.
A beautiful binding doesn't just happen at the sewing machine. The real magic starts with your measuring tape and rotary cutter. Getting this prep work right is the secret to a smooth, flat, and pucker-free finish—it's the foundation of the whole Missouri Star binding method.
First things first, you need to know exactly how much binding you’ll need. Grab a tape measure and find the perimeter of your quilt by adding up the lengths of all four sides. For a quilt that's 60 inches wide and 80 inches long, you'd do a quick calculation: 60 + 60 + 80 + 80 = 280 inches.
Now for a little quilter's insurance. I always add an extra 10 to 15 inches to that total. This gives you plenty of wiggle room for joining the ends and mitering the corners without that dreaded feeling of coming up short.
With your total length figured out, you can determine how many strips to cut. Standard quilting cotton is usually about 42 inches wide from selvage to selvage, and we’ll use that width for our math. Just divide your total binding length (including that extra bit) by the fabric's width.
Let's stick with our example:
You can’t cut a sliver of a strip, so you'll always round up to the next whole number. In this case, you'll need to cut 8 strips to be safe. If you ever get stuck on yardage, we have a handy guide for calculating yardage for quilts that can help.
The entire prep process follows a pretty logical flow, from measuring the quilt to pressing the final, long strip.

Following these steps in order sets you up for success when you finally sit down to sew.
The Missouri Star method, along with many other pro techniques, calls for 2.5-inch strips. I find this width is the absolute sweet spot. It's wide enough to fold over and neatly cover the raw edge of your quilt sandwich, creating a sturdy and beautiful frame for your work. Using a rotary cutter and a long quilting ruler, cut your strips across the width of the fabric (WOF), from one selvage edge to the other.
A Quick Tip from Experience: The fabric you choose for your binding really matters. It affects how the quilt drapes and feels. If you're curious about how different fabrics behave, taking a moment for understanding fabric weights can make a huge difference in your projects.
Once your strips are cut, it's time to join them into one continuous piece. The key here is to avoid bulky seams that create little bumps along the edge of your quilt. To do this, we'll join the strips with a diagonal seam.
Lay two strips right sides together to form a right angle. You’ll then sew diagonally from the top-left corner to the bottom-right. Trim the excess fabric, leaving about a quarter-inch seam allowance.
Pressing that seam open is a crucial step to keep things flat and reduce bulk. Keep doing this—sewing, trimming, and pressing—until all your strips are one long, beautiful piece of binding.
The very last prep step? Press the entire strip in half lengthwise with the wrong sides together. This gives you a nice, crisp fold to work with and makes attaching the binding a whole lot easier.
Alright, your long, continuous binding strip is pressed and ready to go. Now for the fun part: heading to the machine to give your quilt its final frame. A few simple techniques here will make all the difference in getting that beautiful, professional finish.
I always suggest starting somewhere in the middle of one of the longer sides of your quilt. Why? Because you want to avoid having the final join land right on a corner. Trust me, dealing with that extra bulk in a mitered corner is a headache you don't need.
Before you even think about putting the needle down, make sure to leave a nice long "tail" of binding—about 8 to 10 inches—dangling free. You’ll be grateful for this extra length later when it's time to connect the ends for a perfectly seamless look.
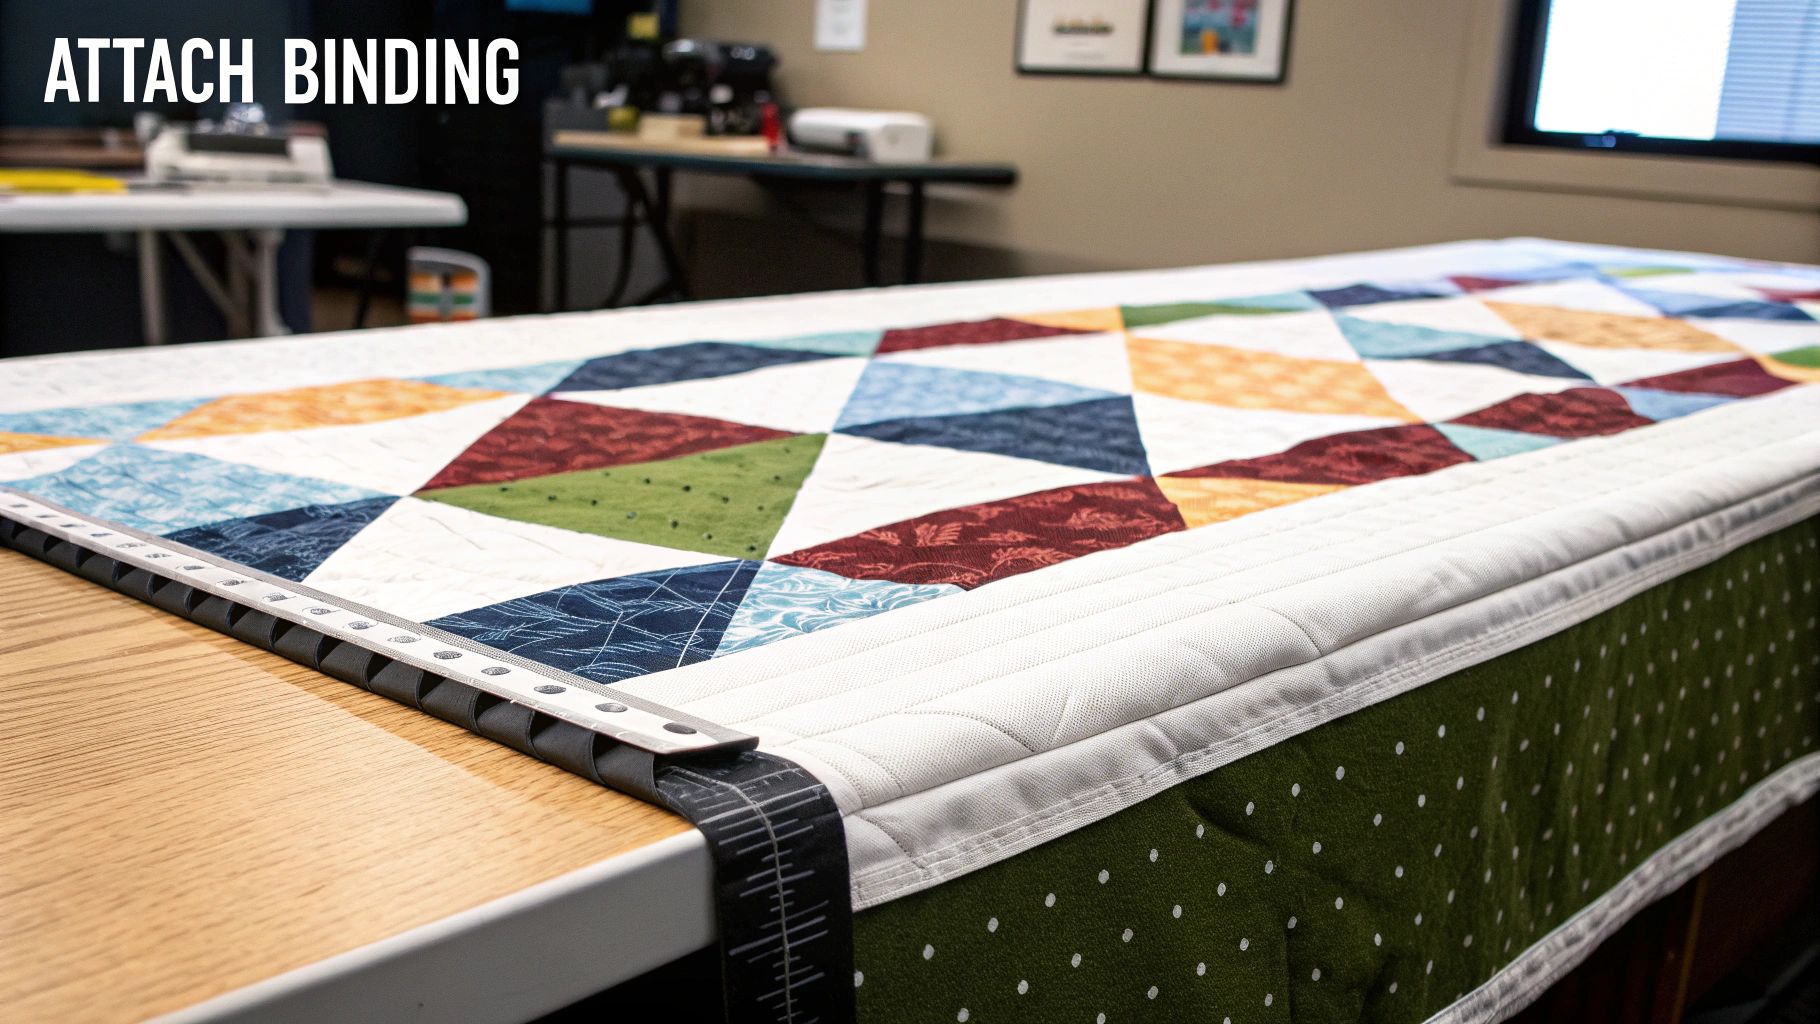
Let's get everything lined up. Take your folded binding strip and place it on your quilt so the raw edges of the binding meet the raw edge of the quilt top. You’re going to be stitching through all the layers at once: the binding, quilt top, batting, and backing.
This is where a walking foot becomes your best friend. Seriously, if you have one, use it. A walking foot grips the top layers and moves them in sync with the machine's feed dogs, which are pulling the bottom layers. This simple tool is the key to preventing all that shifting and puckering that can happen when you're sewing through a thick quilt sandwich.
Once everything is aligned, secure it. I’m a big fan of quilt clips for this job. They’re quick, easy, and hold everything tight without leaving pinholes. I place one every few inches to make sure nothing moves an inch while I’m sewing.
Now, just stitch along the edge, keeping a consistent quarter-inch seam allowance. This is pretty much the gold standard for quilting and it ensures your binding will fold over to the back just right.
Getting a sharp, clean mitered corner is what separates a good binding from a great one, and the Missouri Star technique makes it surprisingly straightforward. As you sew toward a corner, just slow down.
Stop stitching exactly a quarter-inch from the edge of the quilt. Precision is key here, so take your time. Lock your stitches with a quick backstitch.
Take the quilt out from under the needle. Now, for the magic fold. Fold the binding strip straight up, away from the quilt, creating a sharp 45-degree angle at the corner. The raw edge of your binding should now form a straight line with the next side of the quilt you're about to sew.
Keeping that first fold in place with your thumb, fold the binding strip straight back down over itself. The top folded edge of the binding should now be perfectly even with the quilt's top edge. This creates a neat little pleat at the corner. Pop a clip on it to hold it in place.
This simple up-and-down fold is what creates that perfect miter on the front. It might feel a bit clumsy the first time you do it, but after one corner, it’ll click. The result is a crisp, flat corner without any funky trimming or complicated math.
Now, slide your quilt back under the needle and start sewing right from the very top edge of that new side, continuing with your quarter-inch seam. You'll just repeat this process for the remaining three corners.
By the way, if you're ever curious about which thread to use for projects like this, you can learn more about different types of sewing thread to find the perfect one for your fabric.
You've made it all the way around your quilt, and now it's time to connect the two ends of your binding. I know this part can feel a little intimidating, but the Missouri Star method makes it surprisingly simple. When you're done, you'll have a clean, diagonal seam that looks just like all the others you made when joining your strips.
https://www.youtube.com/embed/Ib4hLy2TY4k
As you approach the spot where you first started sewing, stop when you have a gap of about 15 to 20 inches left. This will leave you with two long "tails" of binding—the one you started with and the one you're ending with. This open space is your workspace, giving you plenty of room to maneuver without a struggle.
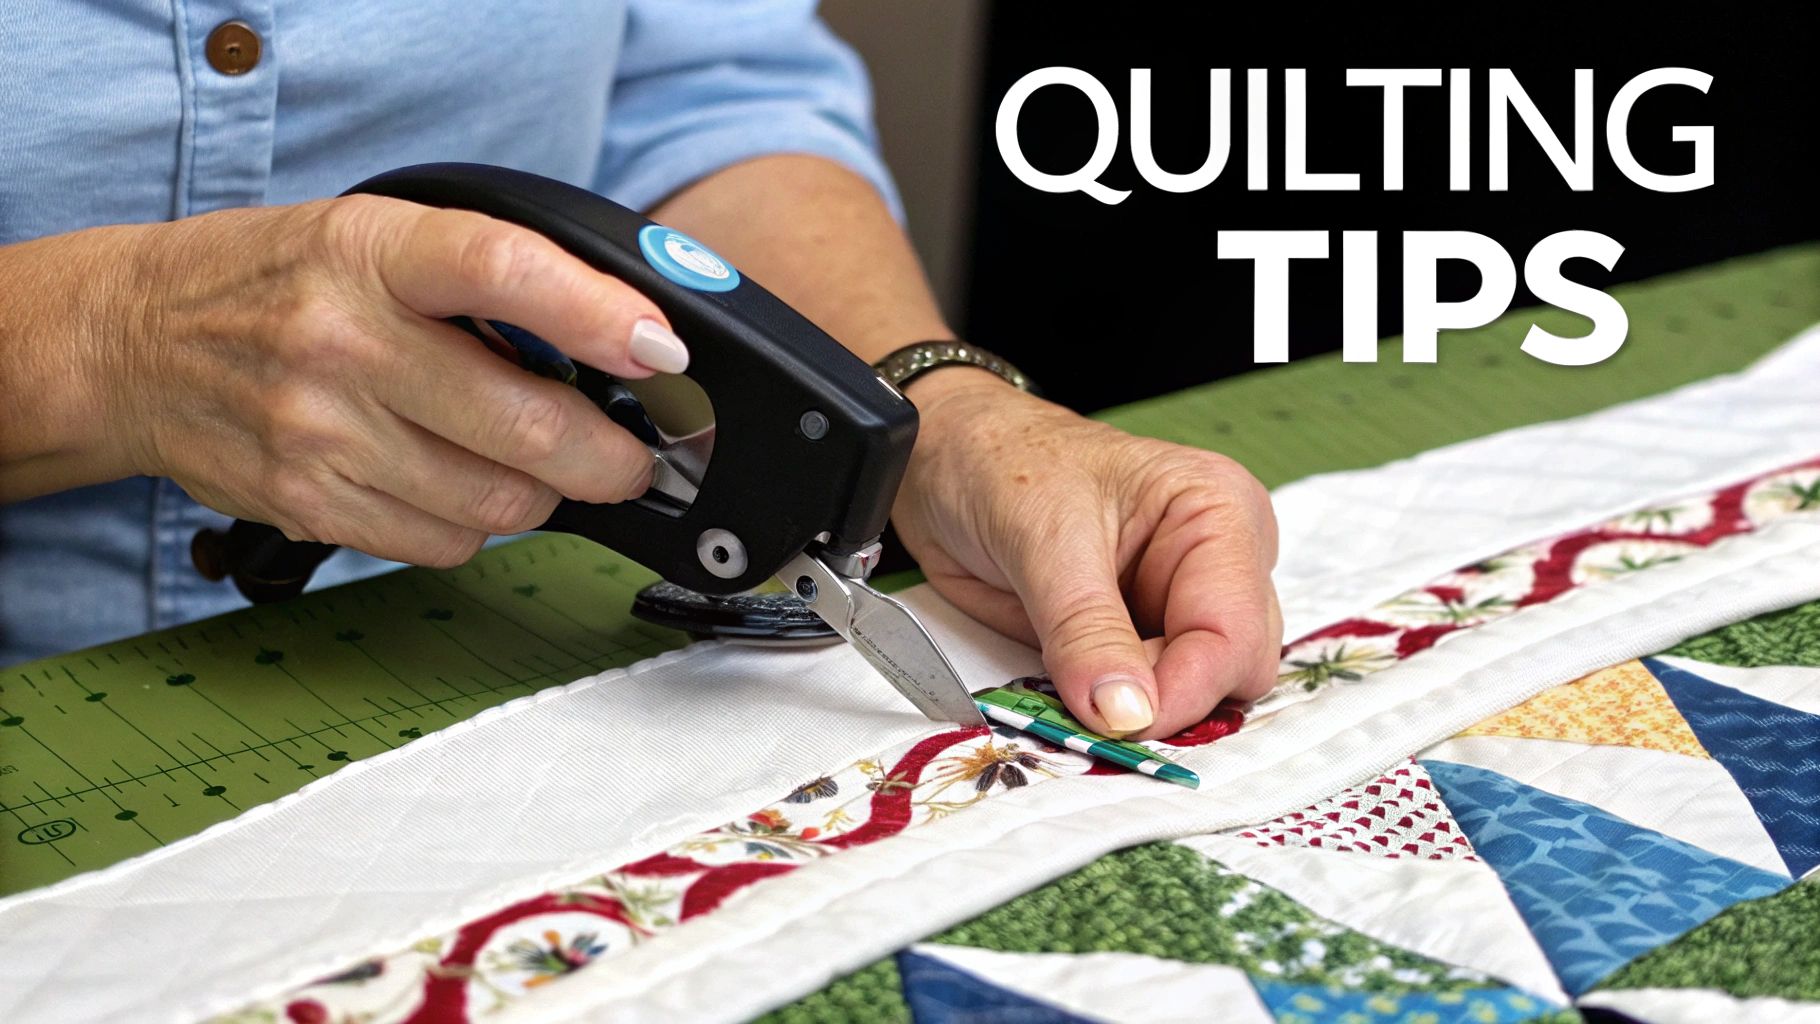
Alright, take the beginning tail and lay it down flat against the raw edge of the quilt. Now, bring the ending tail and lay it directly over the top of the first one. Smooth them both out.
This next part is the secret sauce. Where the two tails overlap, you're going to trim the top tail so that it extends past the bottom tail by exactly the width of your binding. Since we're working with 2.5-inch strips, you'll need a 2.5-inch overlap. I always grab a small quilting ruler for this; getting this measurement right is what makes the final join fit perfectly—not too tight, not too loose.
With the top tail trimmed, you can now open up both ends. Place them right sides together, creating that same right angle we used when first piecing the strips. If you're feeling a bit unsure, you can pin them and do a quick "test fit" by folding the binding back against the quilt's edge. It should lie perfectly flat without any pulling or bunching.
Once you're happy with the fit, draw a diagonal line from corner to corner on the top strip. Stitch right on that line, trim the excess fabric away leaving a quarter-inch seam, and finger-press the seam open just like you did before to keep things from getting bulky.
This technique is brilliant because it guarantees your binding length is perfect for your quilt. That 2.5-inch overlap might seem random, but it precisely accounts for the fabric used in the diagonal seam, giving you a snug, professional fit every single time.
Now you can fold your newly-joined binding back into place and stitch down that final section. Just like that, your binding is fully attached to the front of your quilt!
The front is done, so it's time to bring it all home. Wrap the folded edge of the binding around to the back of the quilt, neatly covering all those raw edges. This is where quilt clips really shine. They'll hold everything securely in place for you as you get ready for the final stitching.
When it comes to the final attachment, you have a couple of great options. The best one really comes down to the quilt itself and what kind of finish you're going for.
And for anyone curious about different binding options, our article on what is bias tape is a great resource that covers similar techniques useful for all sorts of projects.
Deciding whether to finish your binding by machine or by hand is a classic quilter's dilemma. Both methods produce a beautiful result, but they're suited for different needs and aesthetics. This table breaks down the key differences to help you choose the right path for your project.
| Finishing Method | Best For | Pros | Cons |
|---|---|---|---|
| Machine Stitching | Quilts that need extra durability, like baby quilts or everyday throws. | It's incredibly fast and creates a strong, secure edge that can withstand lots of use and washing. | A line of stitching will be visible on the front of your quilt, usually along the seam line. |
| Hand Stitching | Heirloom quilts, competition pieces, or when an invisible finish is desired. | Creates that beautiful, traditional look with no visible stitches on the front. | It is significantly more time-consuming than using a machine. |
Ultimately, there’s no right or wrong answer. If you opt for the machine, a popular technique is to "stitch in the ditch" from the front, which helps hide the stitches while catching the binding on the back. For a hand-finished look, a blind stitch (or ladder stitch) is your best friend—it's practically invisible and gives a wonderfully polished look.
Once you get the basic mechanics down, there are a handful of little adjustments that can take your binding from just "good enough" to absolutely flawless. These are the kinds of tricks you pick up over years of quilting—and maybe after a few "happy accidents." Think of these as your secret weapons for those common binding headaches.
Ever fought with a wavy binding? The culprit is almost always stretched fabric. This tends to happen when you pull the binding too tight as you feed it through your machine. The fix is actually pretty simple: let your sewing machine do all the work. Your job is just to guide the fabric gently, never pulling or stretching it. This is especially true if you’re working on a quilt with scalloped edges.
Sometimes, the simplest little gadgets have the biggest impact on your finished quilt. Two tools I always keep within arm's reach are a good set of quilt clips and my trusty stiletto.
And let's not forget the power of a hot iron. Pressing at every single stage is non-negotiable for me. Press when you join your strips, press after you attach the binding to the front, and give it one last press before you do your final stitching. This melds the thread right into the fabric, giving you those incredibly crisp, flat edges we all strive for.
It’s so easy to get hung up on making everything perfect, but quilting is a journey, not a destination. This mindset is really at the heart of how the Missouri Star Quilt Company teaches. Their enormous library of online tutorials has completely changed how people learn to quilt all over the world.
Missouri Star's entire teaching philosophy is built on their famous motto: "Finished is better than perfect." This simple idea has encouraged countless new quilters, who might have otherwise been too intimidated, to just jump in and get that project done. You can see more of their unique approach to quilting education in action here.
Every single quilt you bind is a chance to get a little bit better. If one of your corners isn't a perfect 45-degree angle or a seam wanders a bit, it’s not a failure. It’s just a lesson you’ll carry with you to your next project. The real joy is in the making. So take a breath, enjoy the process, and be proud of every quilt you finish.
Even after watching a great quilt binding tutorial missouri star video, you might find yourself with a few lingering questions. It happens to all of us! Let's clear up some of the most common hurdles quilters face so you can get that perfect finish you’ve been working so hard for.
A big question that always comes up is about fabric choice. For any quilt with straight edges, your standard quilting cotton cut on the cross-grain works beautifully. But what about a quilt with scalloped or curved edges?
This is where bias binding becomes absolutely essential. When you cut your fabric strips at a 45-degree angle to the selvage, you introduce a natural stretch. This stretch is the magic that allows the binding to hug those curves smoothly without any awkward puckering or pulling.
Another trouble spot is dealing with bulk, especially where your binding strips join or at the corners. If you notice your corners are looking more like lumps than sharp, professional points, take a closer look at your seam.
When attaching the binding, you have to stop sewing exactly a quarter-inch from the edge before you make that mitered fold. If you sew even a few stitches past that point, you trap extra fabric in the corner, which is what creates that puffy, rounded look instead of a crisp, flat fold.
Here's a little trick I swear by for managing bulk: when you join your binding strips with a diagonal seam, press that seam open instead of to one side. It’s a simple change, but it distributes the fabric layers so much more evenly. You’ll be surprised at what a difference it makes.
Sometimes the solution is as simple as your thread choice. A good quality 50-weight cotton thread is my go-to for binding. It’s strong enough to hold up over time but still fine enough that your stitches will sink into the fabric and look practically invisible, whether you’re finishing by machine or by hand.
If you want a refresher on the basics, you can always review the fundamentals of how to bind a quilt to see these concepts in action.
At High Country Quilts, we're here to help you through every part of your quilting journey. Come explore our huge selection of fabrics, notions, and BERNINA machines online at https://hcquilts.com or stop by our shop in Colorado Springs for some friendly, expert advice.
At High Country Quilts we care deeply about community. With our experiences in retail, we know that a store is not only a place to shop but also a place for the community to gather and share. During this busy...

Hi! We’re Adam and Renee Wheaton, the new owners of High Country Quilts! For more than 40 years, we’ve owned and operated vacuum and sewing businesses. Following in Renee’s father’s footsteps after he retired from All Discount Vacuum and Sewing in Colorado...


Leave a comment