

We Love Our Quilting Community
At High Country Quilts we care deeply about community. With our experiences in retail, we know that a store is not only a place to shop but also a place for the community to gather and share. During this busy...


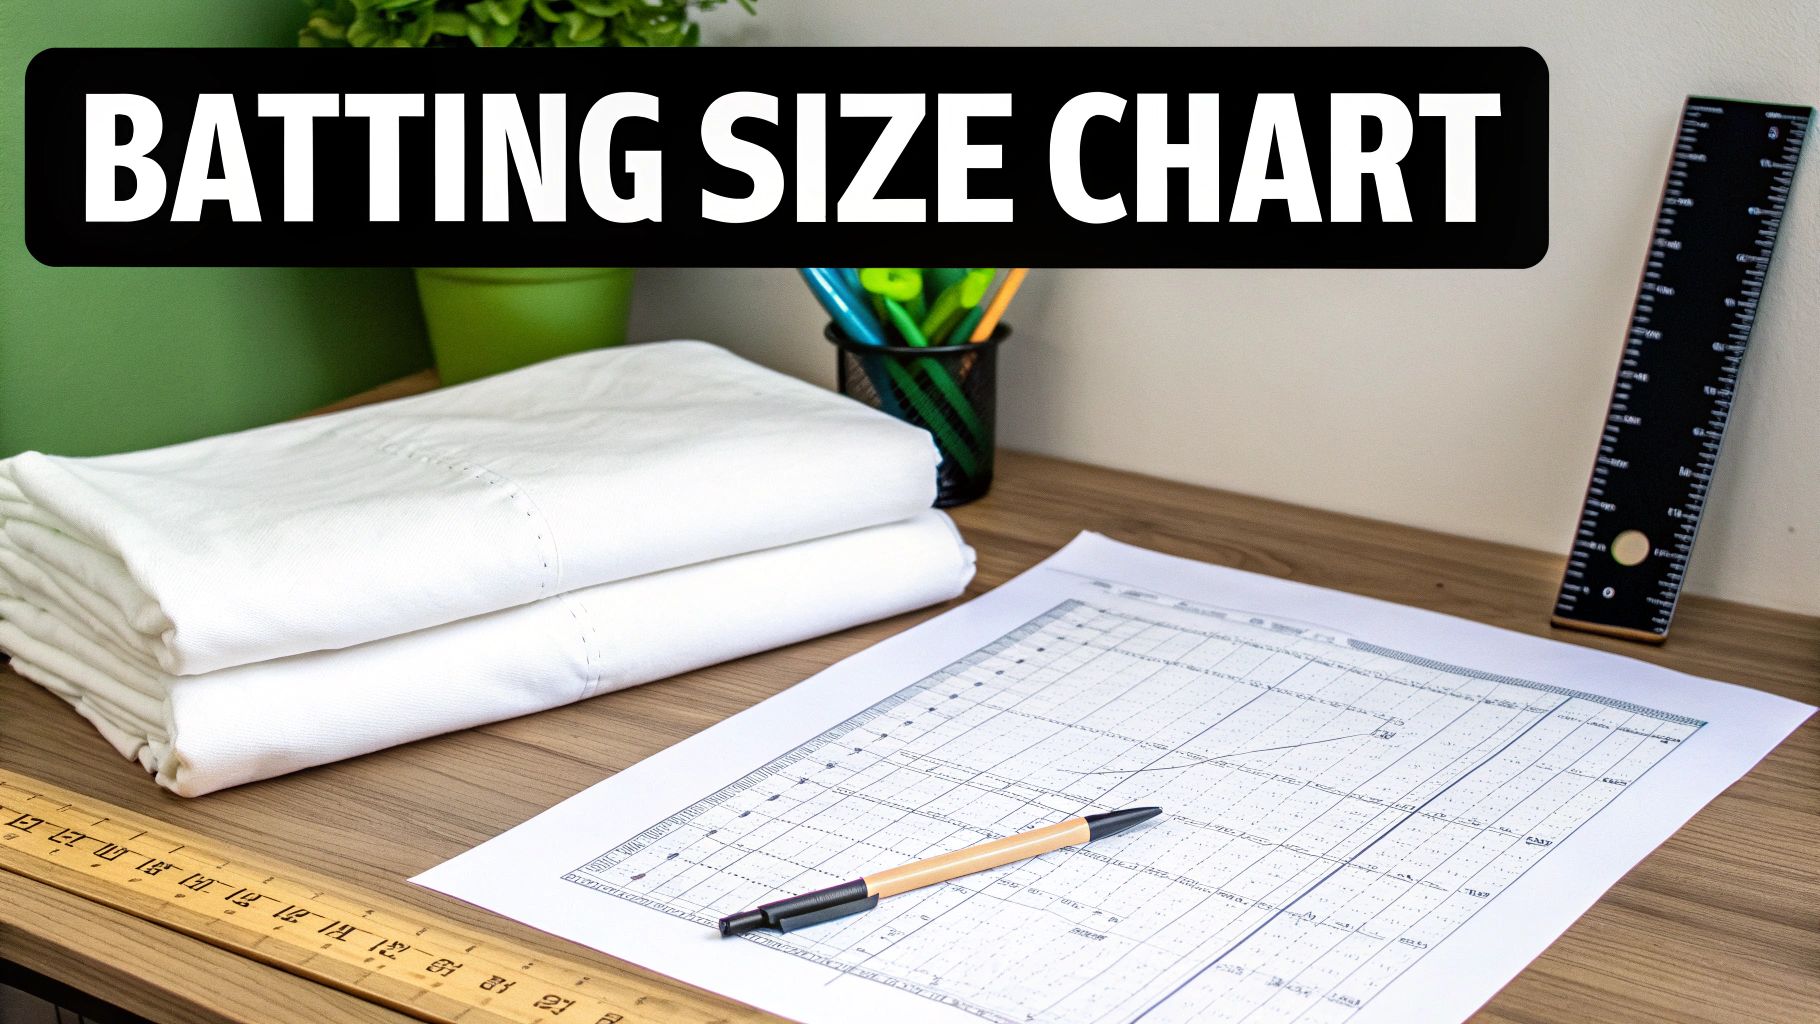
Walking into a fabric store and seeing rolls and packages of batting can feel a little overwhelming. But don't worry—choosing the right size is much simpler than it looks. Most pre-packaged batting is created to fit common bed sizes, so there’s usually a perfect match waiting for you.
The most common pre-cut sizes you'll see are Crib (45" x 60"), Twin (72" x 93"), Queen (90" x 108"), and King (120" x 120").
Think of pre-packaged batting like buying a ready-made frame for a standard-sized photo. It’s designed to fit common quilt top dimensions with just enough extra fabric around the edges to make your finishing process a breeze. Just like a woodworker or a chef relies on standard measurements, quilters have these handy pre-cuts to set us up for success. It's a universal concept in almost any craft; even things like sports courts have official size guides to ensure everything works as it should.
The single most important rule in choosing batting is that it must be larger than your quilt top. This extra material, often called "overage," is your project's safety net. It's not waste! You'll need that buffer—usually 3 to 4 inches on every side—for a few critical reasons:
My go-to rule of thumb? Add a total of 8 inches to your quilt top's length and width. This gives you a comfortable 4-inch buffer on all four sides. It’s saved me more times than I can count!
To make things easier, here's a quick chart that lines up typical quilt top sizes with their matching pre-packaged batting.
| Quilt Size Name | Typical Quilt Top Dimensions (Inches) | Standard Batting Size (Inches) |
|---|---|---|
| Crib / Craft | 36" x 52" | 45" x 60" |
| Throw | 50" x 65" | 60" x 60" |
| Twin | 64" x 85" | 72" x 93" |
| Double / Full | 78" x 87" | 81" x 96" |
| Queen | 84" x 92" | 90" x 108" |
| King | 108" x 92" | 120" x 120" |
| California King | 104" x 96" | 120" x 120" |
This chart is a great starting point, but always remember to measure your actual finished quilt top before buying your batting.
These sizes are pretty universal, so whether you're quilting at home or running a business, you can find batting that fits. For example, a product like this natural cotton twin-size batting is cut specifically to match those standard twin bed dimensions, taking all the guesswork out of it for you.
Pre-packaged batting is a lifesaver for standard bed quilts, but what about that gorgeous, unusually shaped art quilt you just finished? Or the extra-long table runner you designed? When your project doesn't fit neatly into a package, a little bit of math is all you need to get the perfect amount of batting every time. No waste, no stress.
The trick is to measure the quilt top you actually have, not the one in the pattern. Let's be honest—seams can shift and blocks can grow a bit during piecing! So grab your tape measure and get the true length and width of your finished top. Once you have those numbers, we'll add a little insurance policy.
To give yourself enough room to work, you need to add what we call "overage" to your quilt top's dimensions. This extra fluff around the edges is absolutely essential for a smooth, pucker-free quilting experience.
The Simple Calculation:
- Batting Width = Your Quilt Top Width + 8 inches
- Batting Length = Your Quilt Top Length + 8 inches
This simple formula gives you a 4-inch buffer on all four sides. So, if your custom quilt top measures 50 inches wide and 70 inches long, you'll want a piece of batting that is at least 58 inches wide and 78 inches long. If you're working with different units and need a quick conversion, a Feet To Inches converter can be a real help.
This extra batting isn't just for looks—it plays a few critical roles in making sure your finished quilt is a masterpiece.
That 4-inch safety net on each side is your best friend during the quilting process. It’s there to account for the natural pull and shrinkage that happens as your quilting stitches draw the three layers together. Without it, you risk your quilt top slipping right off the edge of the batting while you’re stitching. It happens!
This overage is also a must-have if you're sending your quilt to a longarm quilter. Their machines need that extra batting and backing fabric to clamp onto the frame, which keeps everything taut and secure. Before you buy, always ask your longarmer how much overage they prefer; some might ask for as much as 6 inches on each side.
Finally, that extra material gives you the freedom to trim and square up your quilt perfectly after the quilting is done. It's the secret to getting those crisp, professional-looking corners and straight edges. Getting your batting right is a key step, and if you want to dive deeper into planning your fabric from the very beginning, don't miss our guide on calculating yardage for quilts.
When it comes to buying batting, you’ll usually find yourself facing two main choices: grabbing a pre-cut package or having it cut for you by the yard. Each has its place in the quilting studio, and knowing the pros and cons will help you pick the right one for your quilt, your budget, and even your storage situation.
Think of packaged batting as the "grab-and-go" option. It comes neatly folded in standard sizes like Twin, Queen, and King. If your quilt top fits those classic dimensions, these packages are a lifesaver—they save you the hassle of measuring and cutting from a massive roll.
There's no denying the convenience of packaged batting. You’ve just put the last stitch in a beautiful queen-sized quilt top, so you can just grab a queen-sized package knowing it already has the perfect amount of overage built in. It takes all the guesswork out of the equation and is fantastic for quilters working on standard-sized projects.
The only real downside? If your quilt is an odd or in-between size, you can end up with a lot of waste. For example, using a twin package for a small lap quilt might leave you with a big, awkward chunk of leftover batting that’s hard to use for anything else.
Buying batting by the yard—what we call "off the bolt"—is all about flexibility, just like buying fabric. This is your best bet for custom-sized quilts, extra-long table runners, or uniquely shaped wall hangings. You buy precisely the length you need, which often makes it a more economical and less wasteful choice.
Here at High Country Quilts, we can cut batting right from the bolt to your exact measurements. This is a game-changer for projects that don't fit neatly into a standard size box. You only pay for what you actually need. If you're curious about the most popular batting fiber out there, take a look at our in-depth guide on cotton quilting batting.
This simple infographic breaks down how to figure out your custom batting size.

The main takeaway here is that getting the right size is a simple, three-step process: measure your finished quilt top, add the extra inches you'll need for quilting, and then make your cut. It’s that easy
When you’re standing in front of a wall of batting, it’s easy to think just about feel and warmth. But the real secret that experienced quilters know is that the fiber you choose has a huge impact on the size you actually need to buy.
Think of it like choosing fabric for a dress pattern. A flowy rayon will drape and behave completely differently than a crisp, structured linen. Batting is the same. The fiber content and its fluffiness—what we call loft—will directly affect your size calculations and the final look of your quilt. Knowing how each type behaves before you get to the cutting table can save you a world of frustration.
The biggest "gotcha" with different batting fibers is shrinkage. Some materials shrink up a bit after that first wash and dry, and you absolutely have to account for that when you're adding your extra inches.
It’s no surprise that quilters have strong preferences. The global quilt batting market is projected to hit USD 2.5 billion by 2033, and classic cotton still leads the pack, making up about 40% of what quilters choose. It just goes to show how much these material choices matter to the final product.
To make sense of it all, it helps to see how these fibers stack up against each other. The fiber you pick really does influence how much "extra" batting you should plan for.
| Fiber Type | Average Shrinkage | Common Loft | Sizing Tip |
|---|---|---|---|
| Cotton | 3-5% | Low to Medium | Add extra inches if you want a modern, flat look after washing, or embrace the crinkle! |
| Polyester | 0-1% | Low to High | Very stable. Your standard 4-8 inch overage is typically all you need. |
| Wool | 2-3% | Medium to High | Check package for pre-washing advice. Great for defined quilting. |
| Blends (80/20) | ~2% | Low to Medium | A great middle-ground option. Gives a hint of crinkle with more stability than 100% cotton. |
Ultimately, whether you pre-wash or not is a personal choice that shapes the final aesthetic of your quilt. Just be sure to factor that decision into your measurements!
Loft is simply the thickness or fluffiness of the batting. This doesn't just change how your finished quilt looks and feels; it also affects how you handle it during the quilting process itself.
Low-loft batting is thin and lies flat, which makes it perfect for achieving that classic, traditional quilt look. It’s a dream to work with on a home sewing machine because it doesn't fight you, and it really lets intricate stitchwork shine.
On the other hand, high-loft batting is thick, fluffy, and full of air. It’s what you want for a puffy, comforter-style quilt where the stitches create deep, cozy valleys. Because of all that volume, the batting can shift and compress quite a bit as you quilt it. It’s a smart idea to add an extra inch or two to your usual overage just to be safe.
Still trying to decide which material is right for your next masterpiece? We break it all down in our complete guide on the best batting for quilts.
If you’ve made more than a couple of quilts, I’m willing to bet you have a growing pile of batting scraps. It feels so wasteful to just toss them, right? Don't! Those leftover pieces are pure gold, and knowing how to join them means you can stitch up custom-sized batting for your next project, saving a little money and keeping perfectly good material out of the landfill.
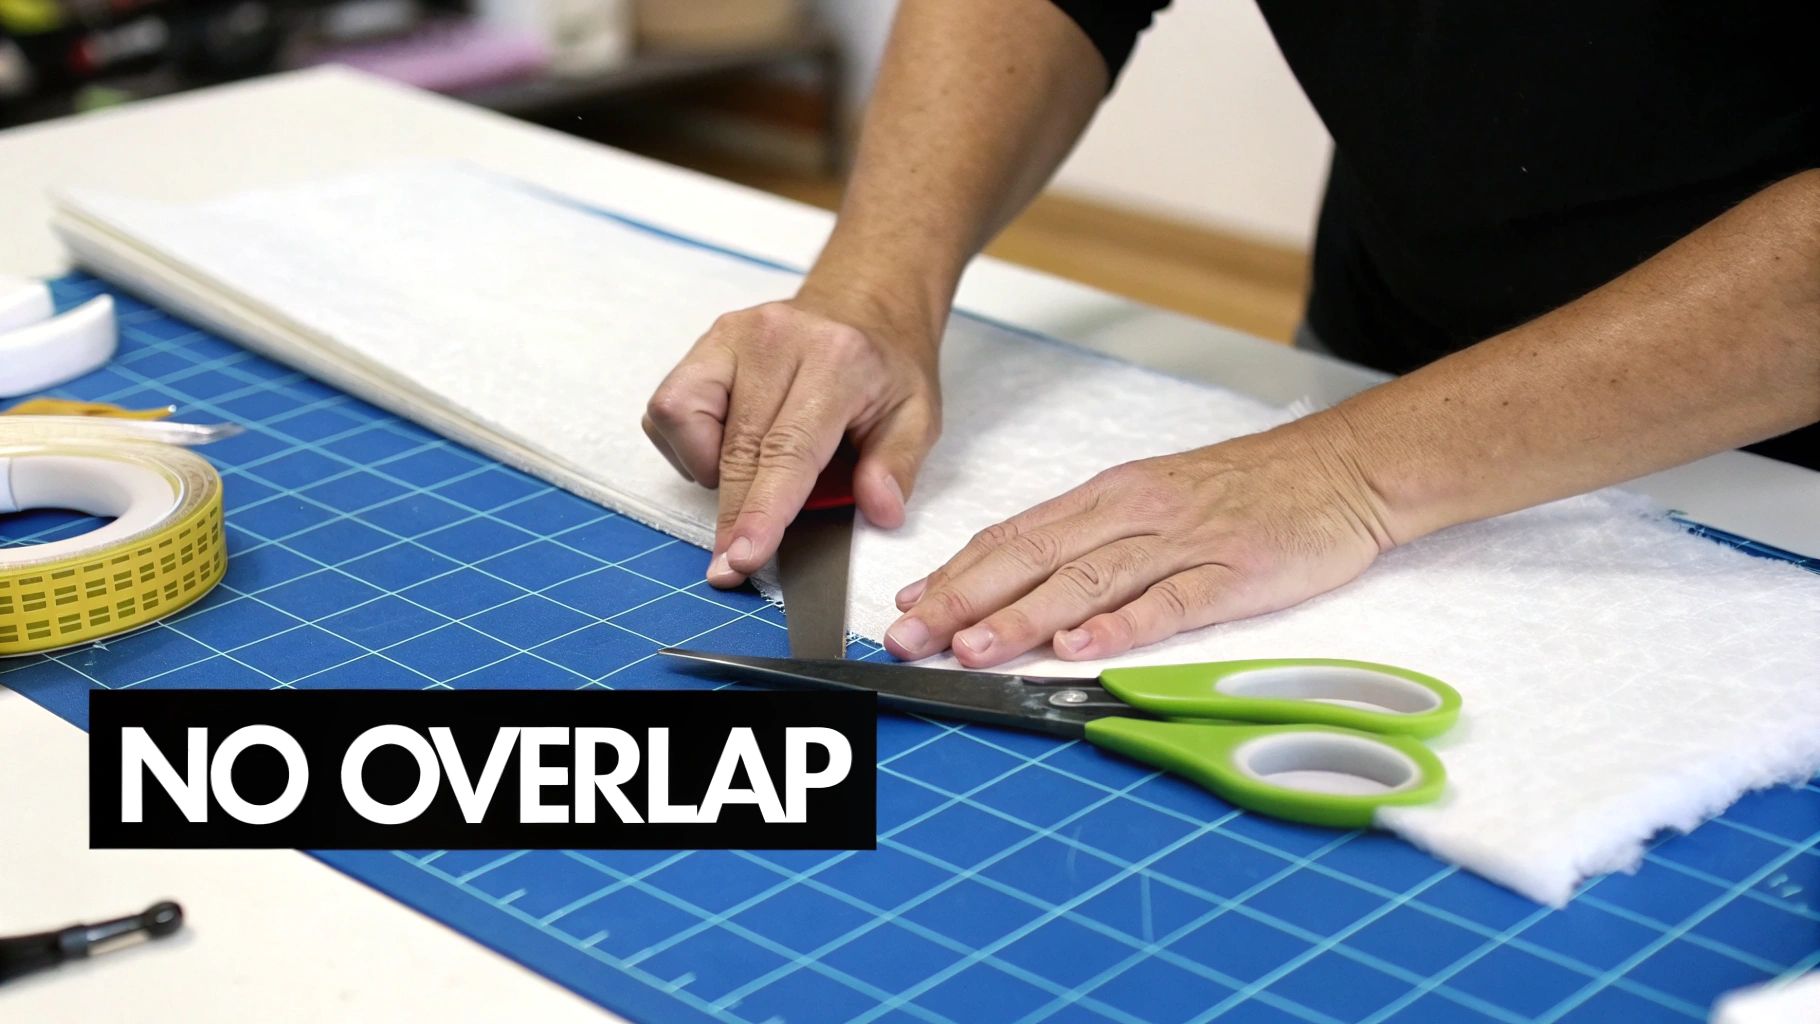
The number one rule when joining batting is simple but non-negotiable: never overlap the pieces. If you do, you'll create a thick, lumpy ridge that’s a nightmare to quilt over. That bump will stick out like a sore thumb in your finished quilt. The real trick is to create a totally flat, invisible seam by butting the straight edges of your scraps right up against each other.
First things first, you need clean, straight edges to work with. Grab your rotary cutter and a long quilting ruler and give those scraps a trim. You’re aiming for two perfectly straight edges that will meet up flawlessly. I find it’s always best to work with larger scraps—trying to piece together a bunch of tiny bits can get a little wobbly.
Once your edges are crisp and clean, lay the pieces out on your cutting mat or another large, flat surface. Nudge them together so they are touching snugly, edge to edge, with no gap and zero overlap. This is the seam you're about to create.
By carefully joining scraps, you’re not just saving money; you’re practicing sustainability in your craft. Every piece of batting you rescue from the scrap bin is one less piece that needs to be manufactured.
There are a couple of tried-and-true ways to join these prepared scraps. Which one you pick really just comes down to personal preference and what supplies you have in your sewing room.
Once your pieces are joined, you have a brand-new, larger piece of batting ready for your quilt sandwich. This is a brilliant way to create batting for baby quilts or practice pieces, especially before you tackle the next big step and learn how to baste a quilt.
Even after you've measured and done the math, a few tricky questions always seem to come up. These are the little details that can trip you up, but getting them right makes all the difference in how your quilt turns out.
Let's walk through some of the things quilters ask us all the time. Getting these answers straight will give you the confidence to build the perfect quilt sandwich.
Ah, the great pre-washing debate! The answer really comes down to the kind of fiber you're using and the final look you're going for.
If you’re using 100% cotton batting, pre-washing is your best bet for avoiding shrinkage. Cotton naturally shrinks about 3-5% the first time it's washed. Soaking it beforehand helps you achieve a smooth, modern finish. But what if you love that crinkly, vintage, lived-in look? Then you can skip the pre-wash and let that beautiful texture bloom after the quilt is finished and laundered.
For polyester and most cotton/poly blends, you can usually skip this step. They have very little, if any, shrinkage, so you can use them straight out of the package.
If you’re sending your quilt to be professionally longarmed, you’ll need to think bigger. The longarm machine requires extra fabric on all sides to properly mount the quilt on its frame and maintain even tension.
As a general rule, your batting and backing fabric should be at least 4-6 inches larger than your quilt top on all four sides. That means your total batting piece needs to be 8-12 inches wider and 8-12 inches longer than your quilt top.
It's always a good idea to check in with your longarmer first, though. Every quilter has their own preferences, and they’ll tell you exactly what they need to work their magic.
You absolutely can! Doubling up on batting is a wonderful trick for creating an extra-warm quilt or making your quilting stitches really stand out with dramatic texture. A double layer creates a higher loft, giving the finished quilt a puffy, almost sculptural quality.
A classic pairing is a dense cotton batting for structure and weight, combined with a fluffy wool or polyester batting on top for dimension. When you're calculating your quilt batting sizes, just treat the two layers as one single piece, making sure both extend evenly beyond the edges of your quilt top.
Here at High Country Quilts, our team is always ready to help you find the perfect batting. Whether you need a standard pre-packaged size or a custom cut from one of our bolts, we’ve got you covered. Swing by our shop in Colorado Springs or see what we have online at https://hcquilts.com.
At High Country Quilts we care deeply about community. With our experiences in retail, we know that a store is not only a place to shop but also a place for the community to gather and share. During this busy...

Hi! We’re Adam and Renee Wheaton, the new owners of High Country Quilts! For more than 40 years, we’ve owned and operated vacuum and sewing businesses. Following in Renee’s father’s footsteps after he retired from All Discount Vacuum and Sewing in Colorado...


Leave a comment