

We Love Our Quilting Community
At High Country Quilts we care deeply about community. With our experiences in retail, we know that a store is not only a place to shop but also a place for the community to gather and share. During this busy...


Before you can tackle that loose button, you need to have the right gear on hand. Let's move past those flimsy, one-and-done hotel sewing kits and build a proper toolkit that will last for years and handle any button emergency with grace.
The secret to a strong, professional-looking button repair starts long before you thread the needle. It begins with having a few quality tools ready to go. A well-stocked kit means you're prepared for anything, whether you're mending a delicate silk blouse or reinforcing a button on a heavy wool coat.
The right tools don't just make the job easier; they prevent frustration and guarantee a better result.
A few core items form the foundation of any good sewing kit. Here’s a quick rundown of what you’ll need and why it matters.
| Tool | Primary Use | Pro Tip |
|---|---|---|
| A Variety of Needles | Hand sewing | The needle's eye and thickness must match your fabric and thread. A needle that's too big will leave a hole, while one that's too small will bend or break. |
| Quality Thread | Securing the button | All-purpose polyester is a great workhorse, but keep heavy-duty thread for coats and upholstery. Matching the color is key for a clean look. |
| Sharp Scissors | Cutting thread cleanly | A small, sharp pair of embroidery scissors gives you the precision needed to snip thread close to the fabric without accidentally cutting a stitch or fraying the ends. |
| Thimble | Protecting your finger | Essential for pushing the needle through tough materials like denim, canvas, or thick wool. It saves your fingertip from getting sore. |
| Seam Ripper | Removing old stitches | This is your best friend for carefully removing the remnants of an old button's thread without tearing the garment's fabric. |
With these items, you're equipped to handle almost any button repair that comes your way.
While the tools in the table cover your essentials, a couple of extras can make the process even smoother. For a great all-in-one option that keeps things tidy, a 4-in-1 essential sewing tool often combines several of these functions into one handy device.
The secret to a lasting button repair isn’t just the technique—it’s starting with a toolkit that sets you up for success. Good tools prevent fabric damage, create stronger stitches, and make the entire process more enjoyable.
The humble button is a surprisingly big business. In fact, the market for button making machines was valued at around $150 million in 2024 and is expected to keep growing. From high-fashion runways to everyday manufacturing, these tiny fasteners play a huge role in the apparel world. You can find more details about the growth of the button industry at datahorizzonresearch.com.
There’s a certain satisfaction that comes with sewing on a button by hand. It’s a fundamental skill, and when you do it right, it gives you a level of precision and durability you just can't get from a quick machine job. You can actually feel the tension in each stitch, making sure the button is perfectly secure without being so tight it puckers the fabric.
It all starts with the basics: threading your needle and tying a solid knot that won’t slip through the weave of your fabric.
The real trick to making it look professional and last for ages is creating a thread shank. This is just a small stem of thread you wrap between the button and the fabric. It gives the material just enough space to sit smoothly when the garment is buttoned up. Without it, you get that tell-tale puckering, and the button can feel like it’s straining against the buttonhole.
The type of button you're using will guide your stitching. A simple two-hole button is pretty straightforward—you just pass the needle up and down through the holes. But a four-hole button gives you a couple of classic, sturdy options:
Honestly, the pattern you pick is mostly for looks, as both methods hold incredibly well. The most important thing is to be consistent and make several passes to build up strength. If you want a refresher on the basics, our guide on basic hand sewing stitches is a great place to start.
Having the right tools on hand makes any sewing project go more smoothly. This infographic breaks down the essentials.
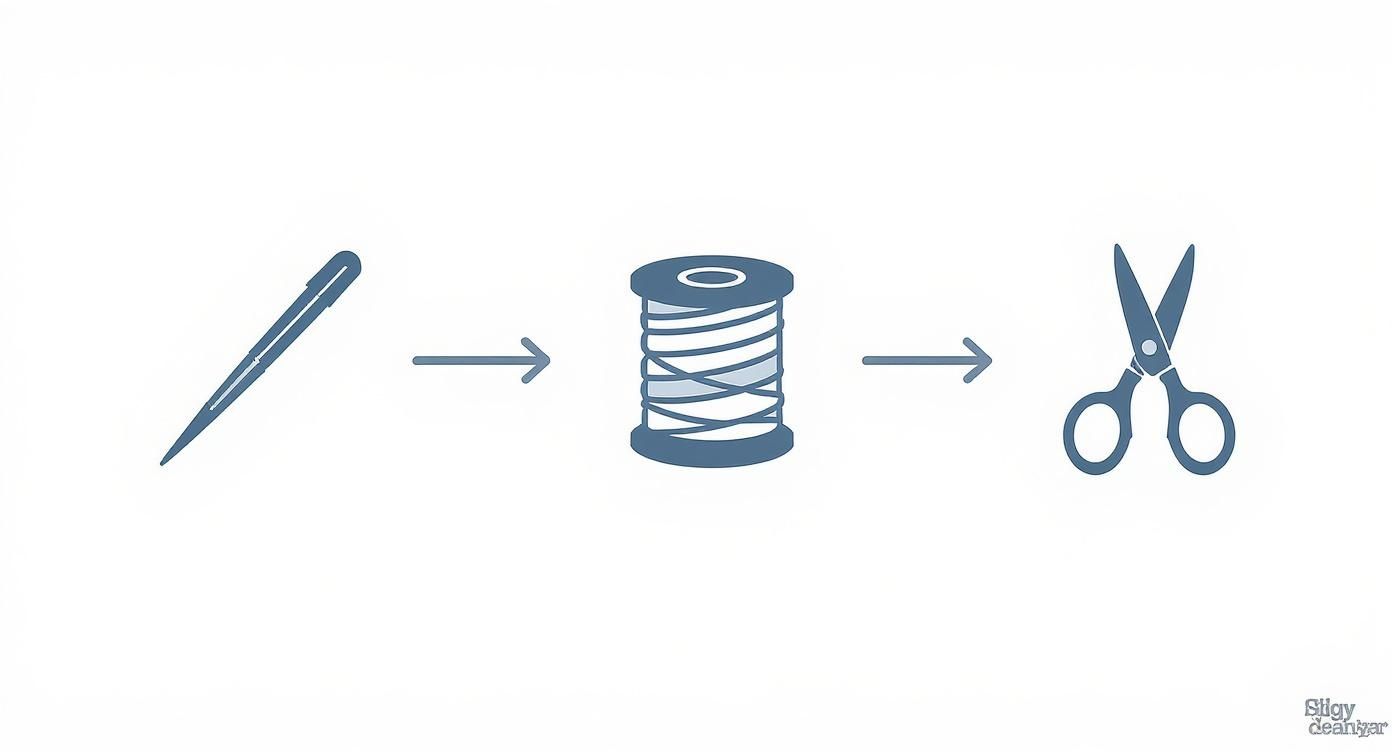
A good needle, strong thread, and sharp scissors are the bare minimum you'll need for a job like this.
After your stitches are in place, the finishing touches are what really lock everything down. This is where you'll wrap the thread around the stitches underneath the button to create that vital shank, then bring the needle back through to the wrong side of the fabric.
A button is only as secure as its final knot. Rushing this last step is the most common reason a freshly sewn button comes loose after just a few wears.
To finish off, make a couple of tiny stitches on the back of the fabric, right under the button. Create a small loop with your thread, pass the needle through it twice, and pull tight to form a secure knot. This little detail anchors the whole thing, ensuring your handiwork will stand up to whatever the day throws at it.
While there's a certain charm to sewing by hand, learning to attach buttons with a machine is a total game-changer. Think about it: when you're making a new button-down shirt or swapping out every button on a vintage coat, your sewing machine transforms a slow, tedious task into a job you can knock out in minutes.
The result isn't just fast—it's incredibly strong and uniform. Each button will have perfectly consistent stitches, giving your project a polished, professional look. Don't let the idea intimidate you; most modern machines are designed to make this process surprisingly simple.

With the right setup, you can sew a button in less than a minute. The real secret is all in the prep work.
Before you start stitching, a few quick adjustments will set you up for success. These steps are designed to keep the fabric from shifting and to make sure the needle hits the buttonholes dead-on every single time.
My biggest tip: Always, always test your stitch width manually before hitting the pedal. Just turn the handwheel a few times to watch the needle. If it hits the button, you'll break a needle and potentially knock your machine's timing out of whack. A few seconds of testing saves a ton of frustration.
Once your machine is prepped, slide the button under the foot and line up the holes with the needle's path. Lower the presser foot to hold it firm. Now, slowly turn the handwheel toward you to double-check that the needle goes cleanly into the left hole, then the right. If it's off, just tweak the zigzag width until it's perfect.
When you're confident in the alignment, go ahead and sew about eight to ten stitches. Raise the needle, pull your project out, and leave long thread tails. I like to pull the top thread through to the back of the fabric and tie both threads together in a secure double knot for a clean finish.
A good grasp of your machine's functions makes all the difference. If you're feeling a bit rusty, our guide on how to thread a sewing machine is a great place to brush up on the fundamentals.
This kind of efficiency is precisely why industrial button sewing machines are indispensable in the garment industry. It’s a massive business—the global market for these specialized machines was valued at around $500 million in 2025 and is expected to keep growing. If you're curious, you can find more data on the button sewing machine market at archivemarketresearch.com.
So, when should you reach for a needle and thread, and when should you fire up the machine? It really depends on the project. Here’s a quick comparison to help you decide.
| Attribute | Hand Sewing | Machine Sewing |
|---|---|---|
| Speed | Slower, best for one-off repairs or a few buttons. | Extremely fast, ideal for multiple buttons at once. |
| Strength | Very strong, especially with a thread shank. | Strong and uniform, but lacks the flexibility of a shank. |
| Control | High precision and control over thread tension and placement. | Less manual control; relies on machine settings. |
| Best For | Delicate fabrics, shank buttons, and high-stress areas like coats. | Shirts, blouses, and projects requiring many identical buttons. |
| Setup Time | Minimal; just a needle, thread, and thimble. | Requires foot changes, feed dog adjustment, and stitch settings. |
Ultimately, both techniques have their place in your sewing toolkit. Hand sewing offers that bespoke, sturdy finish for special garments, while machine sewing provides unbeatable speed and consistency for production-style work.
A repair job is only as good as the materials you start with. It might seem like a minor detail, but picking the right button and thread is the real secret to sewing on a button that actually stays put for years to come.
First, let's talk buttons. They really boil down to two main types.
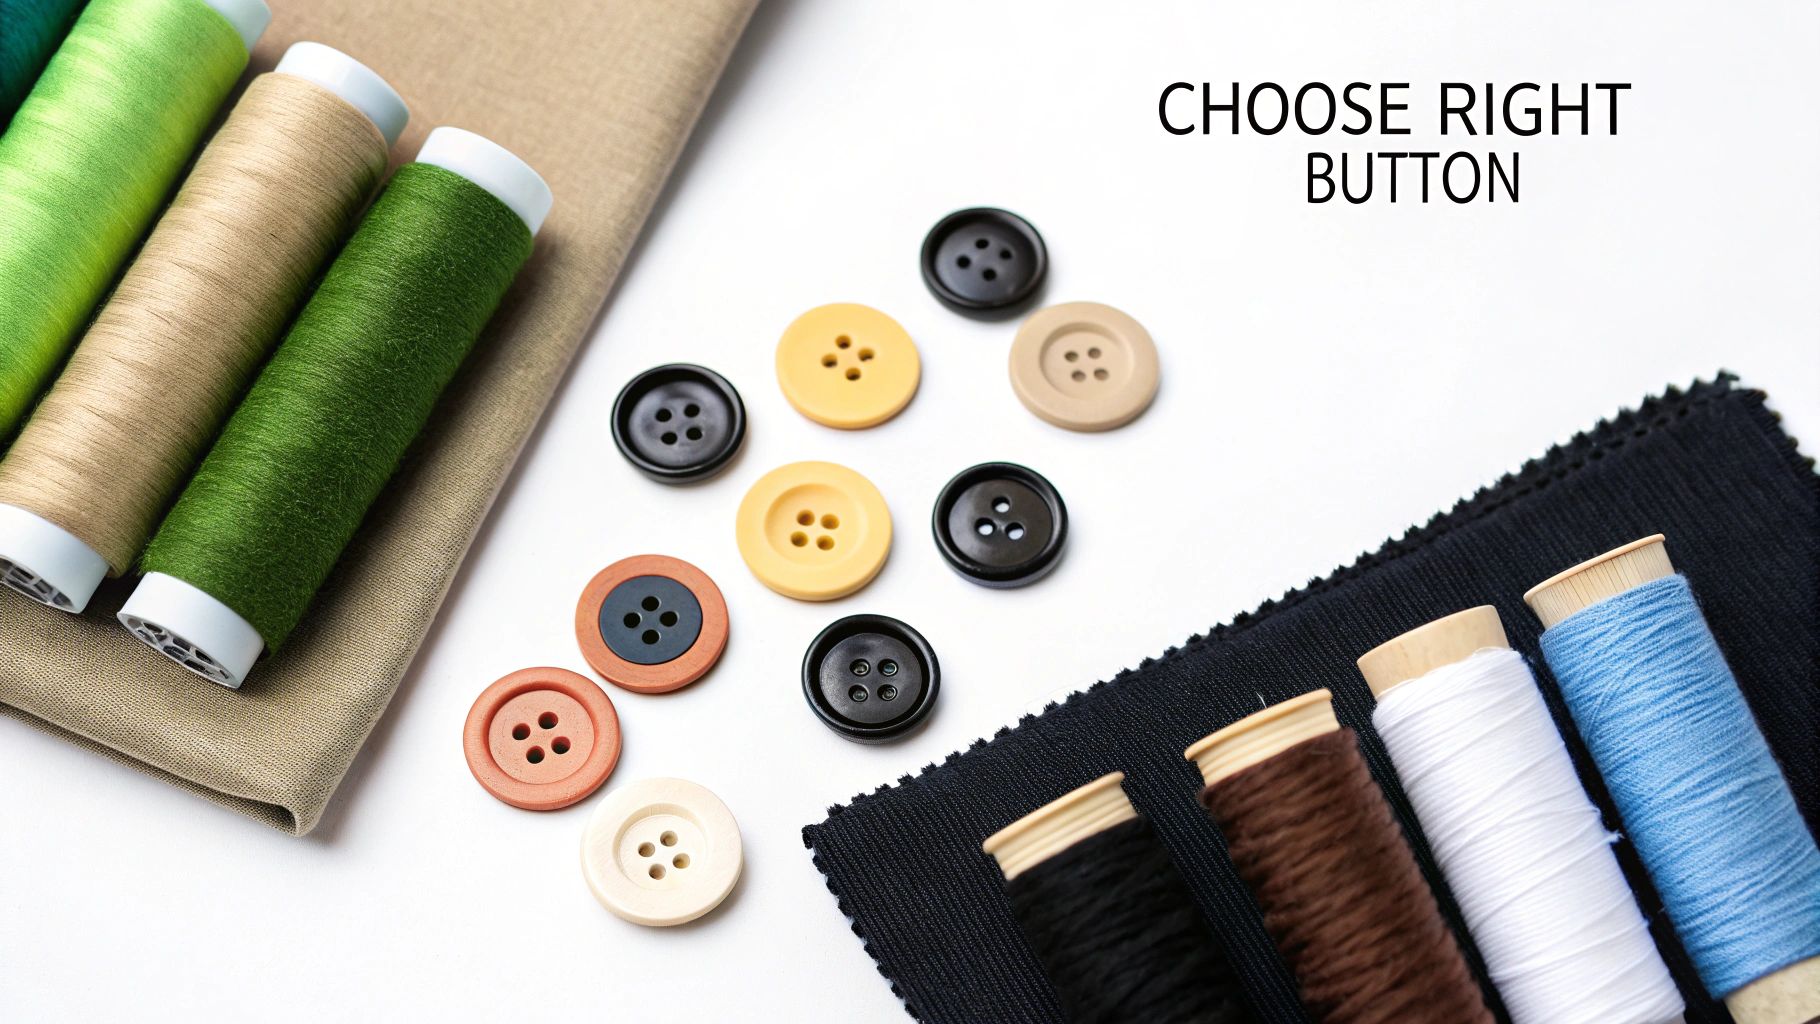
Flat buttons are the ones you see most often, especially on dress shirts and blouses. They have two or four holes right through the center and are designed to sit flush against the fabric for a clean, flat finish.
Then you have shank buttons. These have a little loop or stem on the back instead of holes on the face. That shank is a game-changer for thicker fabrics like wool coats or denim jackets because it creates a bit of space, allowing the heavy material to sit nicely underneath when buttoned.
With your button sorted, grabbing the right thread is just as important for a durable fix. For most of your daily sewing repairs on things like shirts or trousers, a good quality all-purpose polyester thread is your best friend. It has just enough strength and a little bit of give, making it perfect for most common fabrics.
But when you're tackling something more substantial, like a winter coat or a pair of jeans, you'll want to upgrade to a heavy-duty thread. It's thicker and built to handle the extra wear and tear, so you won't find yourself re-sewing that same button in a few weeks. Taking a moment to understand the different types of sewing thread will make a huge difference in how long your work lasts.
Pro Tip: Your goal should always be an invisible mend. Before you thread the needle, hold a few different spools against your fabric in natural light. You'll be surprised how different they look outside the store.
And what about color? Always try to get the closest match you can. If you're stuck between two shades, go for the one that's slightly darker than your fabric. A darker thread tends to blend in and disappear, whereas a thread that’s too light can stand out like a sore thumb.
We've all been there. You spend time carefully sewing on a button, only to have it pop off a few days later. Or maybe the fabric around your beautifully stitched button is puckering and bunching up. These little frustrations happen to everyone, but don't worry—they're usually a quick fix.
The number one reason a button comes loose is a weak beginning or end. If the knot you make at the start is too small, it can easily slip right through the fabric's weave. The same goes for the finishing knot; if you rush it, the thread is almost guaranteed to unravel.
Puckered fabric is another one of those annoying issues that can ruin a clean finish. This almost always happens when your thread is pulled too tight, causing the material to bunch up under the button. The secret to fixing this is creating a thread shank.
Think of a shank as a little stem made of thread that lifts the button slightly off the fabric. This tiny bit of space is all you need to let the material lie flat.
When sewing by hand: After you've made several passes through the buttonholes, don't tie it off just yet. Slip a toothpick or a straight pin between the button and the fabric. Then, wrap your thread around the stitches underneath the button 5-6 times to create the shank. Once you're done, poke the needle back through to the wrong side of the fabric and tie a secure knot.
When using a machine: If you're seeing puckers with machine sewing, it could be a sign that your tension is off. It’s always a good idea to check and fix your sewing machine tension to ensure a smooth, flat finish.
The most reliable fix is often the simplest one. Taking an extra 30 seconds to create a proper knot and a thread shank can save you from having to do the entire repair over again.
That dreaded clink of the needle hitting the button is enough to make any sewer jump. It's a scary sound that can break both your needle and your button.
To avoid this disaster, always do a quick manual check before you even think about touching the foot pedal. After setting your button in place, turn the handwheel toward you to guide the needle through one full stitch cycle. This simple test confirms that your zigzag width is perfectly aligned with the buttonholes and won't strike the button itself.
Even after you've sewn a dozen buttons, little questions can pop up. Getting these small details right is what separates a quick fix from a professional-quality, lasting repair. Let's tackle some of the most common queries I hear.
There's no single magic number, as it really depends on the garment. For a typical dress shirt or blouse, aiming for four to six passes through each set of holes gives you a secure attachment that can handle regular wear and tear.
But for something heavy like a wool coat or a pair of jeans, you'll want to beef that up. I always recommend eight to ten passes and a much sturdier, heavy-duty thread to make sure that button isn't going anywhere.
A thread shank is just a little stem of thread you build up between the button and the fabric. It lifts the button slightly, giving the other layer of fabric room to sit comfortably underneath when buttoned.
It's absolutely essential for coats, jackets, and anything made from thick material. Without it, the fabric will pull and pucker around the button. You can sometimes get away without one on very thin shirts, but honestly, it's a professional habit that elevates the look and fit of any garment.
Think of a thread shank as a tiny, flexible bridge. It allows the fabric to move and drape naturally without straining against the button—that's the secret to a high-quality, lasting repair.
Yes, you absolutely can! It just takes a bit more care. If you've lost that specialty foot, try using a standard zigzag foot or even a darning foot.
The trick is to lower your feed dogs so they don't try to move the fabric. Then, manually turn the handwheel for the first couple of stitches to make sure the needle is perfectly aligned with the buttonholes. Once you're sure it won't hit the button, you can proceed slowly with the foot pedal. A dedicated button foot is easier, but this is a great workaround.
For starting, a simple tailor's knot does the trick perfectly. It’s the finishing knot that really counts for security.
When you're done stitching, push the needle to the back of the fabric and slide it under your stitches. Before pulling the thread all the way through, create a loop and pass the needle through it twice. Pull it tight, and you've got a solid knot. I always do this twice just to be extra sure it will never unravel.
At High Country Quilts we care deeply about community. With our experiences in retail, we know that a store is not only a place to shop but also a place for the community to gather and share. During this busy...

Hi! We’re Adam and Renee Wheaton, the new owners of High Country Quilts! For more than 40 years, we’ve owned and operated vacuum and sewing businesses. Following in Renee’s father’s footsteps after he retired from All Discount Vacuum and Sewing in Colorado...


Leave a comment