

We Love Our Quilting Community
At High Country Quilts we care deeply about community. With our experiences in retail, we know that a store is not only a place to shop but also a place for the community to gather and share. During this busy...


Threading a sewing machine really comes down to two things: getting the bobbin wound for your bottom thread and then guiding the top thread through its path. Once you get the hang of these two tasks, you're set up for strong, even stitches on any project you tackle.
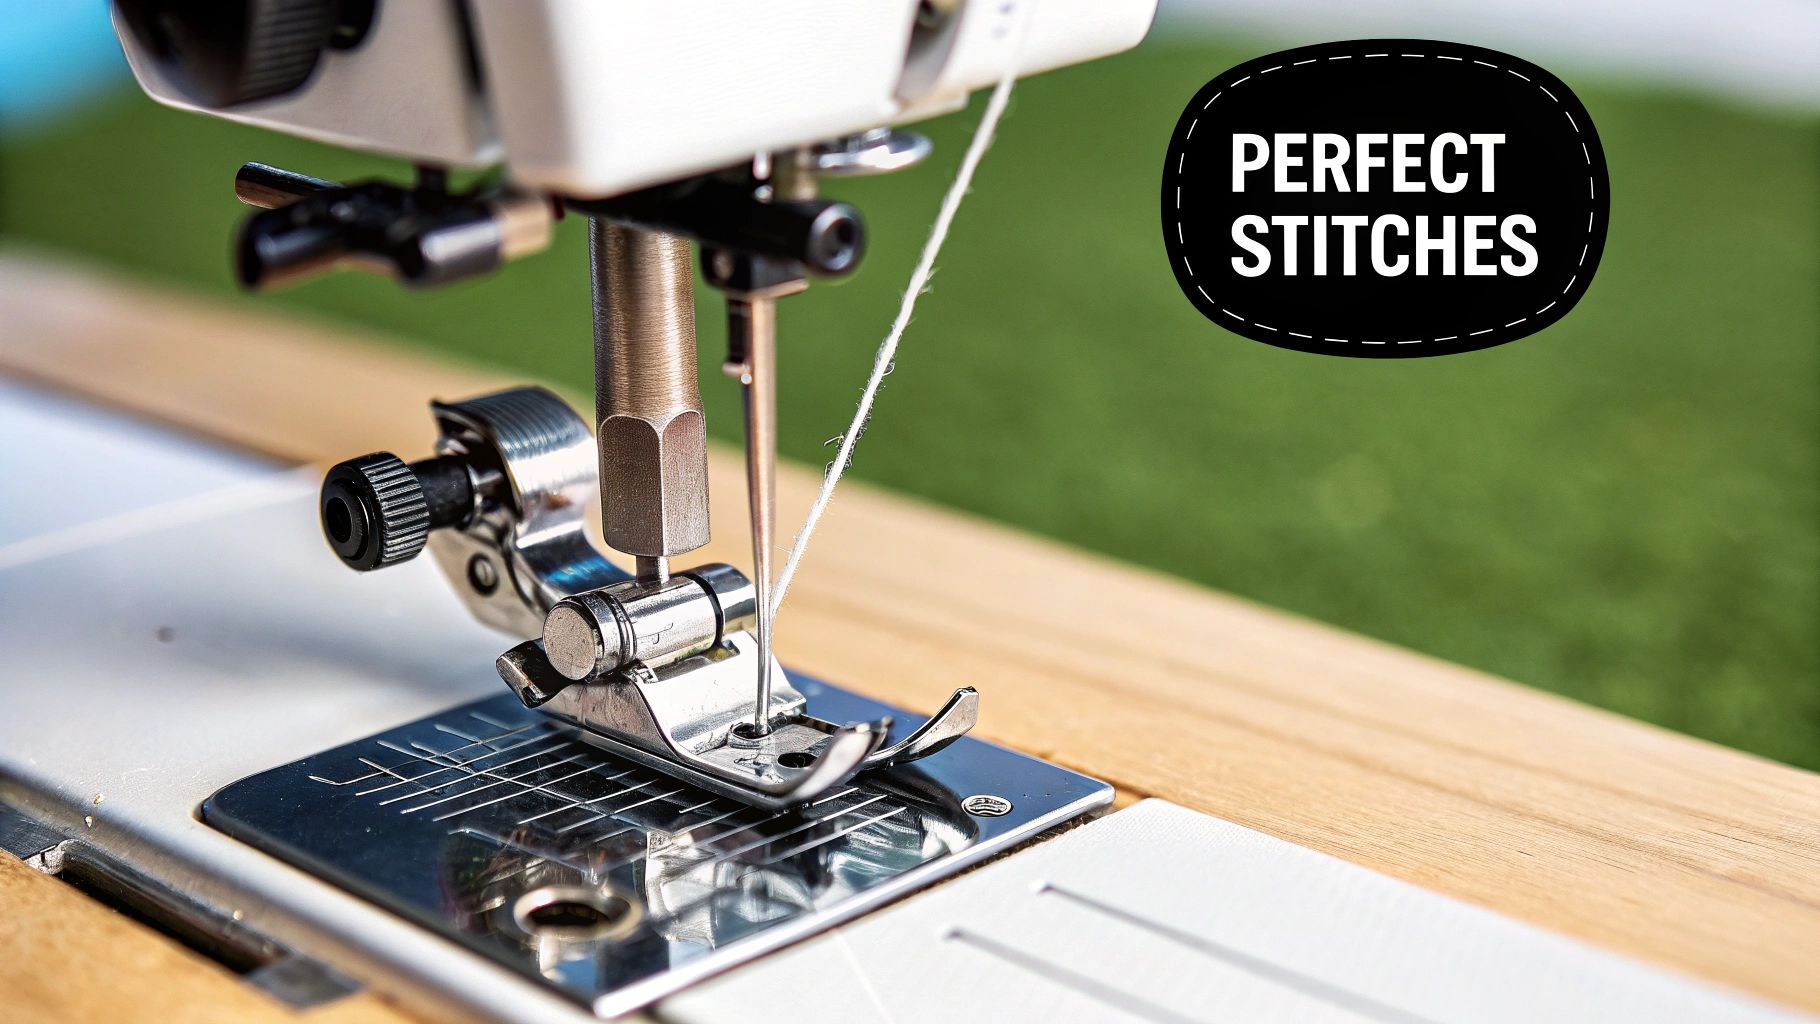
At first, threading can seem like you're solving a complex puzzle. But honestly, it's the most critical skill you'll learn for getting those beautiful, clean stitches everyone wants. Just think of it as the foundation for everything you sew.
This guide is designed to break the whole process down into simple, easy-to-follow parts. We're going to move beyond those confusing diagrams and give you the practical know-how that actually makes sense.
We'll walk through both core tasks together: winding the bobbin and navigating that upper thread path. You'll soon see why every single thread guide and tension disc is there, which helps your machine work with you, not against you. The exact steps can differ a bit from one model to the next, which is a great reason to learn more about how to choose a sewing machine that’s a good fit for you.
Let’s get rid of that intimidation factor. My goal here is to build your confidence and show you how to nail it every single time, setting you up for sewing success right from the start.
Every beautiful seam starts not on top, but underneath the fabric with a perfectly wound bobbin. This little spool is your secret weapon, providing the bottom thread that locks each stitch in place. Getting this step right is the key to avoiding a world of frustration down the road.
What you're aiming for is a bobbin that’s wound smoothly and evenly—no lumps, bumps, or loose spots. Start by popping your thread onto the spool pin. From there, guide the thread through the bobbin winder tensioner. This small, often overlooked disc is crucial; it applies just the right amount of pressure so the thread winds on tightly and consistently, which is your best defense against those dreaded "thread nests."
It's also worth noting that the thread you choose makes a difference. While natural fibers used to be the only game in town, synthetics like polyester now dominate over 50% of the market, prized for their strength and durability. You can actually see more data on these sewing thread market trends on marketreportanalytics.com.
Pro Tip: Resist the urge to fill the bobbin to its absolute limit. Most machines have a stopper that stops the winder automatically, but I've found that stopping just shy of full can give you even better stitch quality. If you notice the winder isn't gripping the bobbin properly, the little rubber ring might be worn out. It's an easy fix to get a new bobbin winder ring and makes a huge difference.
The upper thread path can look like a maze at first, but it's really just a logical sequence designed to guide the thread perfectly. Think of it as a journey with a few critical checkpoints. Luckily, most modern machines are fantastic teachers—they have little numbers or arrows printed right on the casing to show you the way. Follow them religiously!
Skipping even one of these guides is a common mistake that can throw your stitch tension completely out of whack, leading to frustrating thread nests or constant snapping.
The two most important stops on this path are the tension discs and the take-up lever. The tension discs are a pair of metal plates that squeeze the thread to control how freely it flows. After that, you'll loop the thread through the take-up lever—that's the metal arm that bobs up and down as the needle moves. Getting the thread securely into this hook is non-negotiable for creating a balanced stitch.
Of course, the thread itself is a huge part of the equation. The right thread can make a world of difference in your project's final look and durability. If you're curious, you can learn more about the different types of sewing thread and when to use them.
This visual breakdown shows the most crucial points along the way.
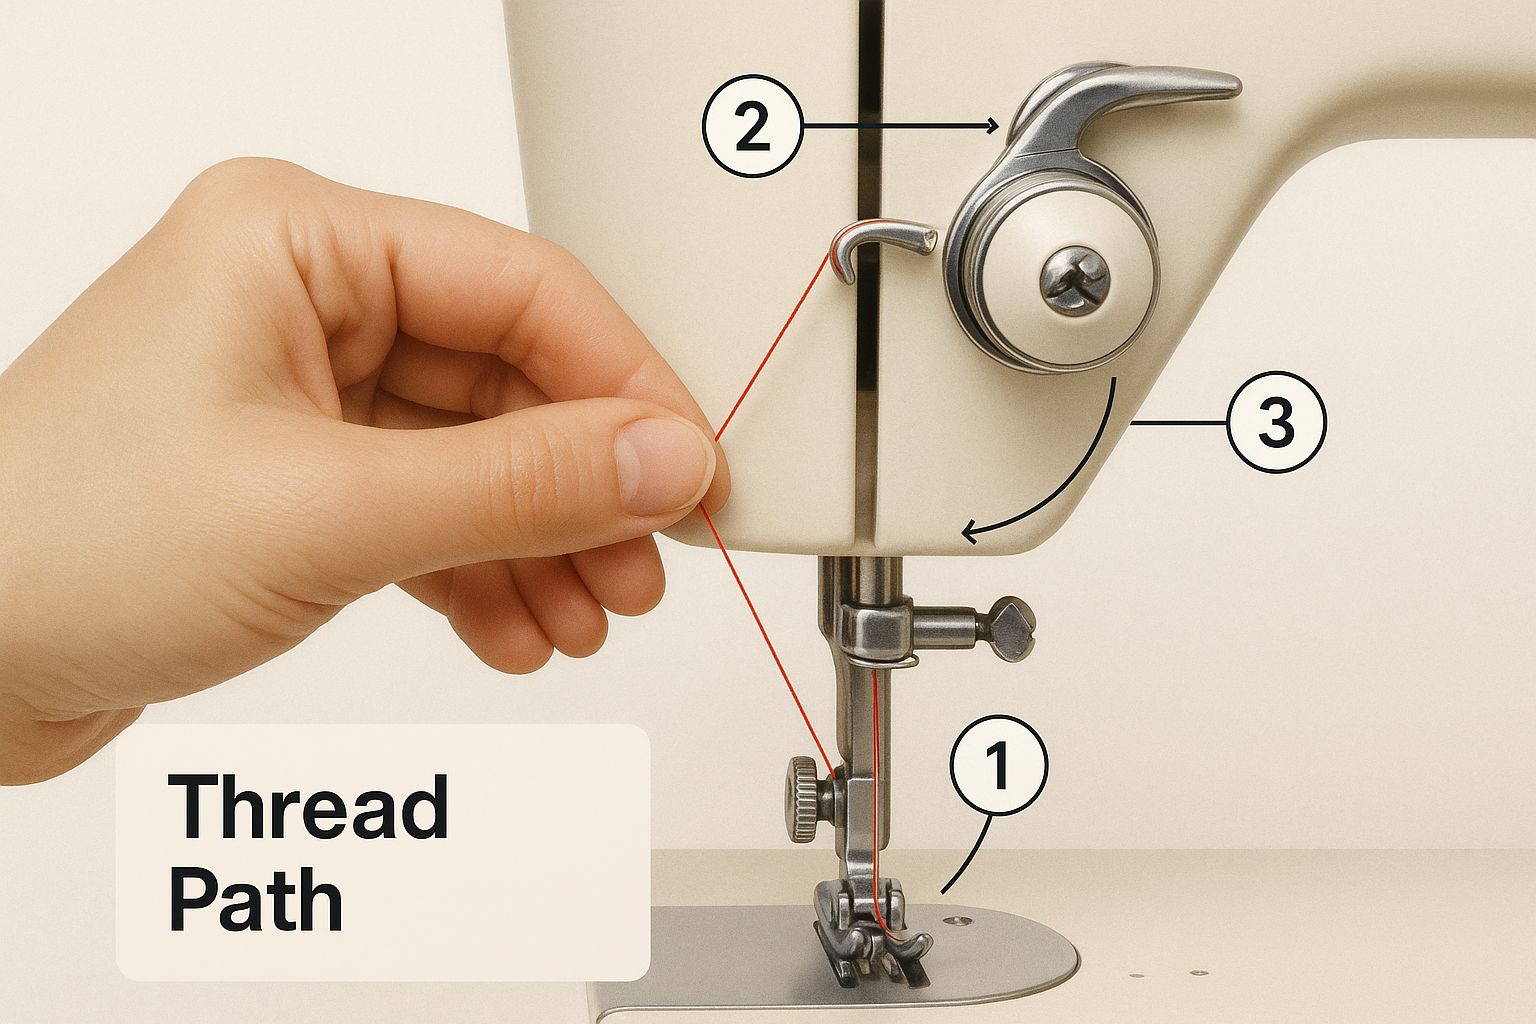
Notice the distinct down-up-down pattern? That's the core of almost every machine's threading system. It's a simple, elegant process that's part of a massive global industry projected to hit $6.2 billion by 2033. For those interested in the business side of things, you can discover more insights about the sewing machine thread market on verifiedmarketreports.com.
To make sure you hit every spot correctly, I've put together a quick checklist. Run through this every time you thread your machine, and you'll build the muscle memory in no time.
| Checkpoint | Purpose | Common Mistake to Avoid |
|---|---|---|
| Spool Pin | Holds the thread spool securely. | Using a spool cap that's too small, causing the thread to catch. |
| First Thread Guide | Starts the thread on its path and prevents tangling. | Missing this guide entirely, which can cause erratic tension. |
| Tension Discs | Applies controlled pressure to the thread. | Not seating the thread between the discs (ensure presser foot is up!). |
| Take-Up Lever | Pulls the thread taut to form the stitch. | Failing to hook the thread all the way through the lever's eyelet. |
| Final Guides | Positions the thread for entry into the needle. | Skipping the last tiny guide right above the needle. |
| Needle Eye | The final step before the stitch is formed. | Threading from back to front instead of front to back (on most machines). |
Following these checkpoints in order ensures a smooth, even flow of thread, which is the foundation of a beautiful stitch. Once you've done it a few times, it'll become second nature.
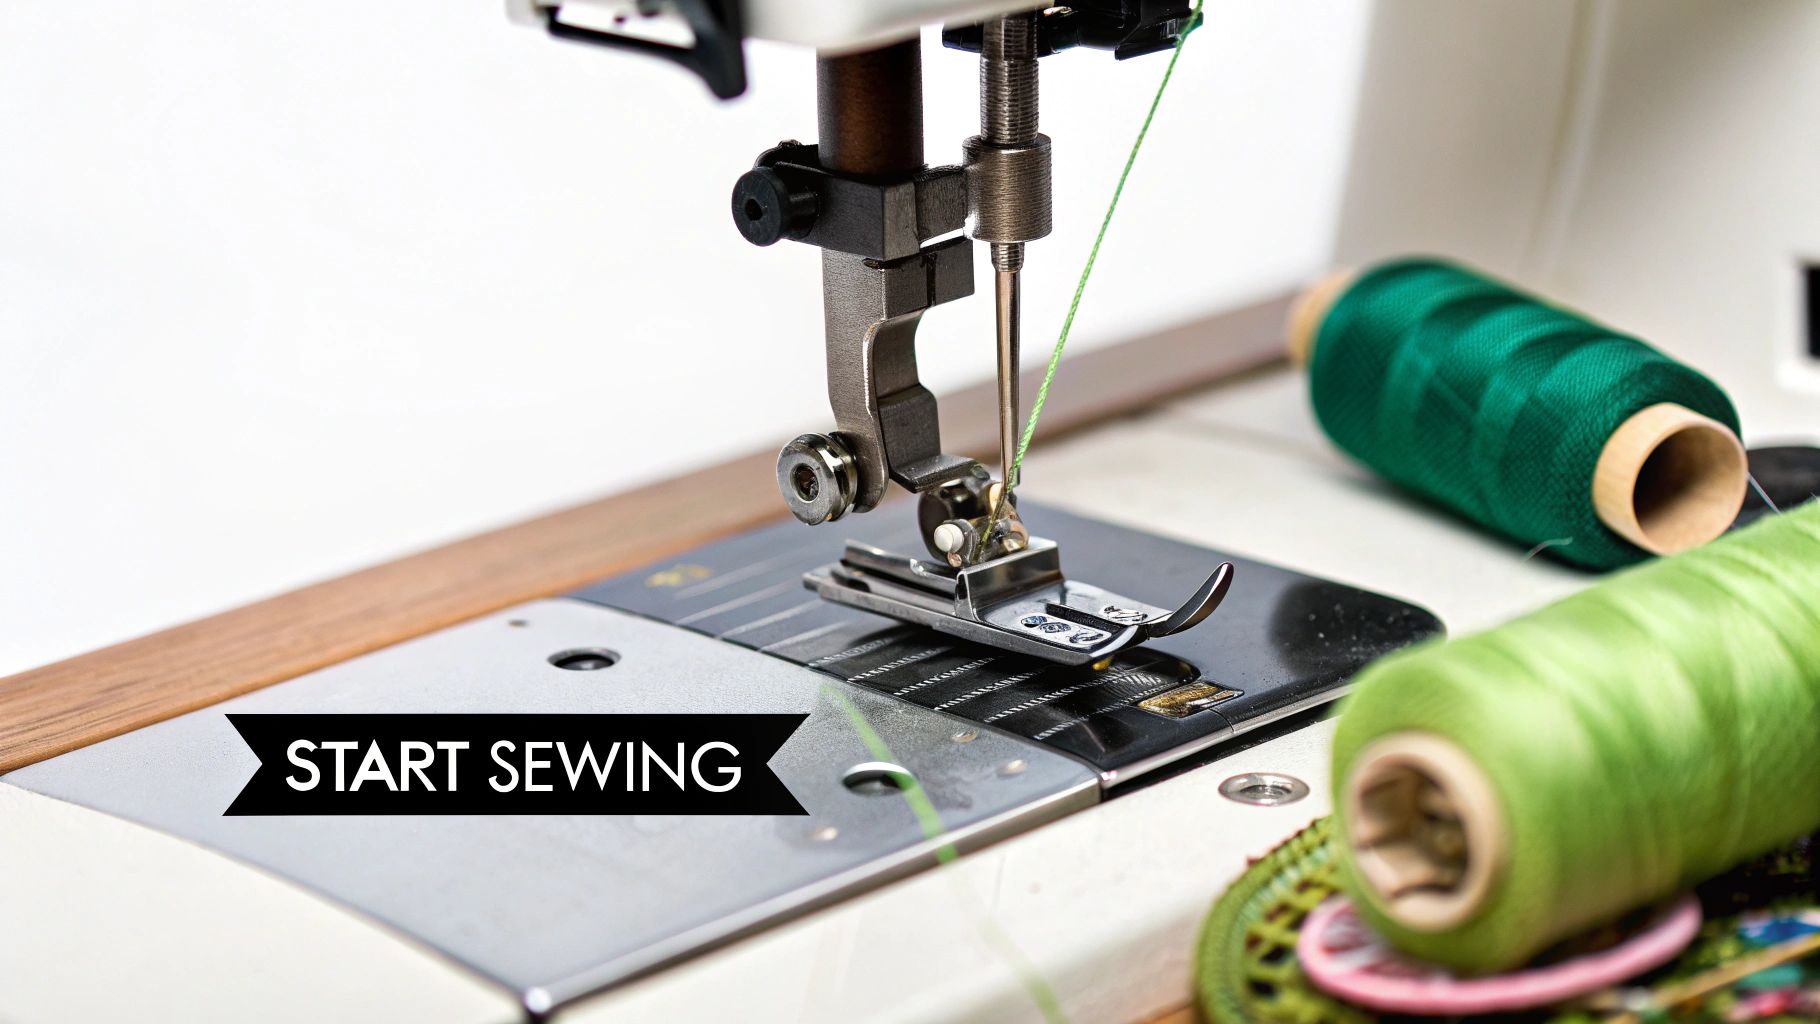
Alright, you're on the home stretch. Now it's time to get the upper thread and the bobbin thread to "meet" so they can create a stitch. This little step is what makes the magic happen, and it works whether your machine has a top-loading or front-loading bobbin system.
Before you do anything else, just double-check that your bobbin is seated correctly. The direction the thread comes off the bobbin is a tiny detail that makes a huge impact on your stitch quality. If you have a front-loading machine, this is a good time to make sure that the metal bobbin case for your Singer (or other brand) clicked into place properly.
The Golden Rule: Always, always turn the handwheel toward you. Never away from you.
Hold the upper thread tail loosely with one hand and slowly turn the handwheel toward yourself. You'll see the needle dip down into the machine. That single rotation allows the needle thread to hook the bobbin thread and pull it up through the hole in the needle plate.
Once the needle is back at its highest point, you should see a little loop of the bobbin thread. Gently pull on that loop to draw the rest of the thread tail up. Now, just sweep both thread tails—the one from the needle and the one from the bobbin—under the presser foot and toward the back. This simple move prevents a tangled mess when you start your first seam.
Even when you feel like you've mastered threading, things can still go wrong. It happens to all of us. When you see your fabric bunching up or your thread starting to shred, your first and best move is often to just unthread everything and start fresh.
One of the biggest headaches is the dreaded “bird’s nest”—that messy, tangled clump of thread on the bottom of your fabric. It’s frustrating, but there’s a secret to fixing it.
Surprisingly, this mess is almost always caused by a problem with the upper thread, not the bobbin. Your first check should be to make sure the top thread is seated firmly between the tension discs.
If you’re dealing with the top thread constantly breaking, take a deep breath and re-thread the entire upper path from the beginning. It's so easy to accidentally miss a single, tiny thread guide, which can throw everything off.
For a deeper dive into other common hiccups, our complete sewing machine troubleshooting guide is packed with solutions. Getting this skill down puts you in good company; home sewing has seen a huge comeback lately across many Western countries. You can learn more about the global significance of sewing thread on sphericalinsights.com.
Even seasoned sewers run into a snag now and then. Let's tackle a couple of the most common questions I hear about threading.
This is a big one. You should always thread your machine with the presser foot up. When you lift that foot, the tension discs inside the machine open up, which is exactly what you want. It allows the thread to slide right in and sit perfectly between them.
If you try to thread with the presser foot down, the discs are clamped shut, and the thread just glides over the top. This is the number one cause of those dreaded "bird's nests" of tangled thread on the bottom of your fabric.
This is incredibly frustrating, but usually, it's a simple fix. The most common culprit is a bobbin that's been put in backward. It can't unwind correctly, so the top thread has nothing to grab onto.
Another thing to check is your needle. Is it pushed all the way up into the clamp? Is it slightly bent? A tiny imperfection can be enough to throw the whole system off.
My Best Advice: If your thread starts shredding or breaking for no apparent reason, don't automatically blame the thread. Nine times out of ten, it’s a worn-out needle. I make it a habit to change my needle after every 8-10 hours of sewing. A fresh needle is the key to a strong, beautiful stitch.
At High Country Quilts, we've seen it all and are always happy to help you work through any sewing challenge. Come explore our machines, gorgeous fabrics, and all the notions you could need at https://hcquilts.com.
At High Country Quilts we care deeply about community. With our experiences in retail, we know that a store is not only a place to shop but also a place for the community to gather and share. During this busy...

Hi! We’re Adam and Renee Wheaton, the new owners of High Country Quilts! For more than 40 years, we’ve owned and operated vacuum and sewing businesses. Following in Renee’s father’s footsteps after he retired from All Discount Vacuum and Sewing in Colorado...


Leave a comment