

We Love Our Quilting Community
At High Country Quilts we care deeply about community. With our experiences in retail, we know that a store is not only a place to shop but also a place for the community to gather and share. During this busy...


Before you can master any hand sewing stitch, you need to get your toolkit in order. A solid set of needles, a few spools of reliable thread, sharp fabric scissors, and a good thimble are your non-negotiables. These are the tools that will see you through everything from mending a hem to crafting a garment from scratch.
Getting these basics right from the start is the key to clean, strong stitches and a much more enjoyable sewing experience.
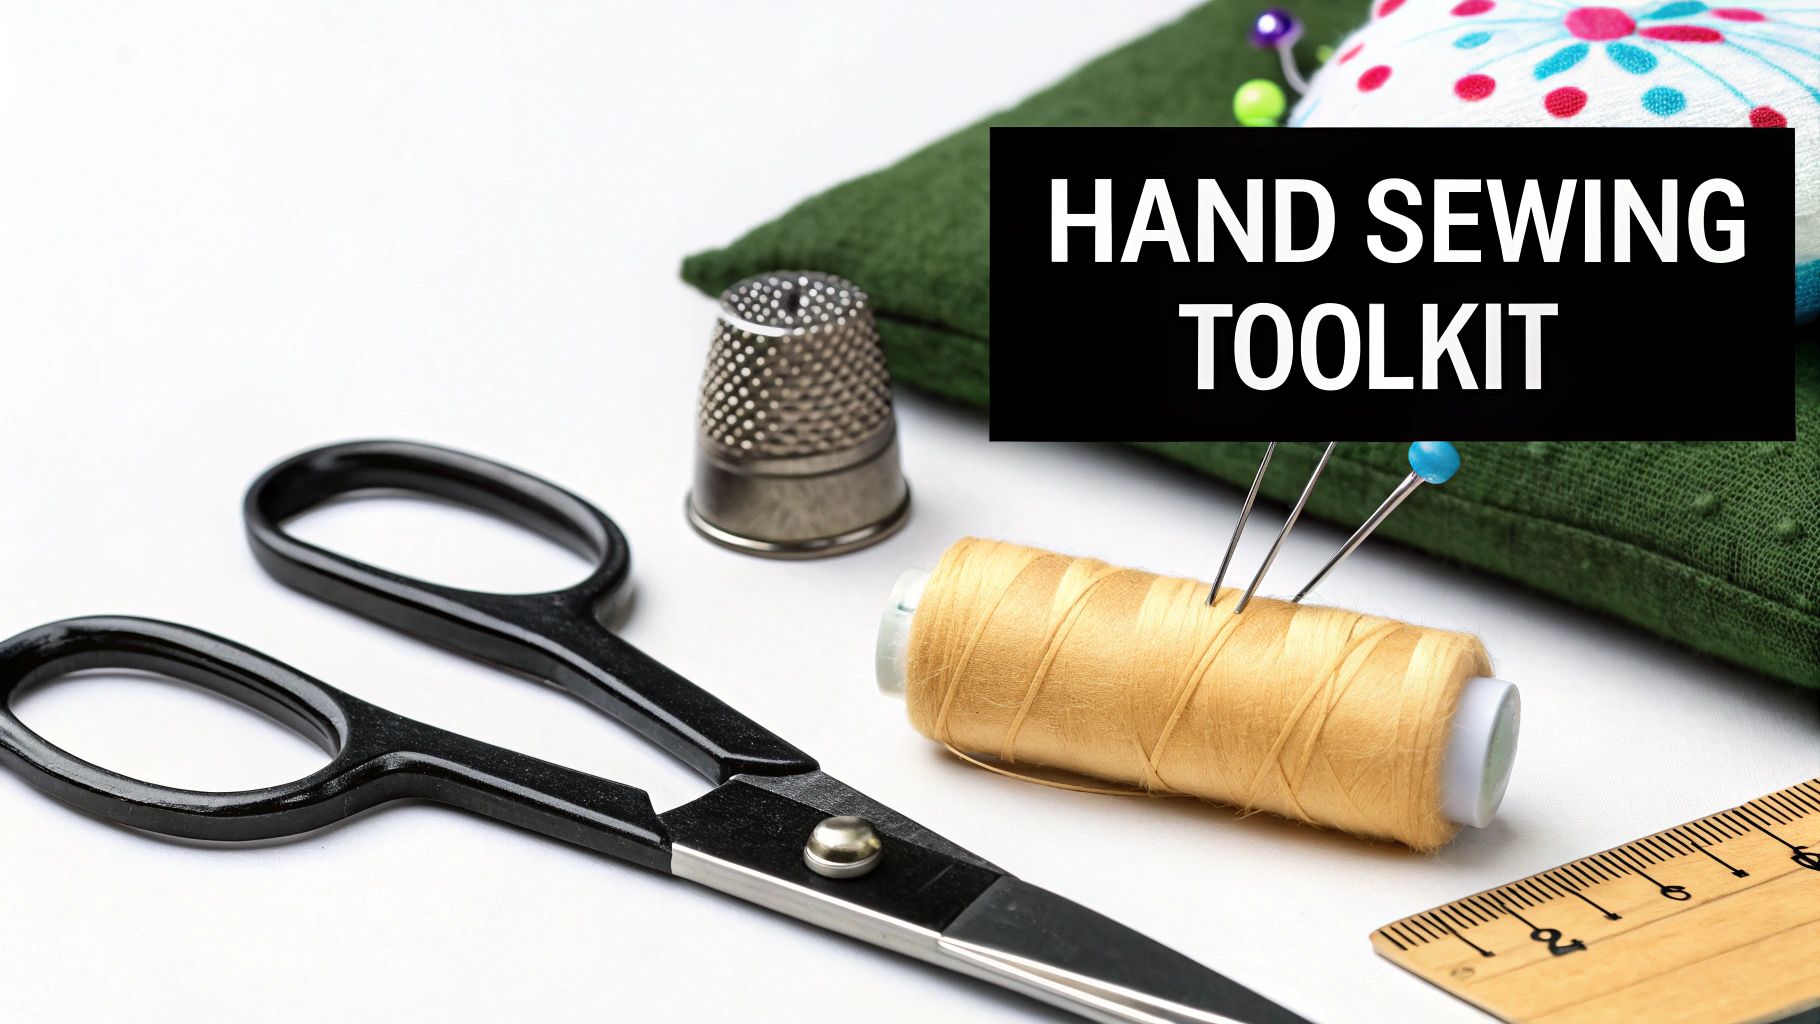
Think of this as building a small, curated collection of essentials. With the right supplies on hand, you'll avoid the frustration of having to stop mid-project just to hunt for a proper tool. It's all about setting yourself up for success.
The needle is, of course, the star of the show. While the first eyed needles showed up around 50,000 years ago, it was the arrival of strong metal needles in the late 18th century that truly changed the game for sewers, making more intricate work possible.
The most important thing to remember is that your needle and thread should always match your fabric. A little knowledge about fabric GSM (Grams per Square Metre) can be a huge help here. For instance, the same beefy needle that sails through denim would leave gaping, ugly holes in a delicate silk chiffon.
Here’s what I recommend every beginner has in their kit:
Pro Tip: I swear by a magnetic pin cushion. It keeps my needles and pins from disappearing into the carpet, which is not only annoying but a genuine safety risk. A small tin works just as well.
Once you have these essentials, you might want to add a seam ripper (because we all make mistakes) and a good fabric marking tool, like a chalk pencil or a disappearing ink pen. With these few extra items, you’ll be ready for pretty much any hand sewing challenge that comes your way.
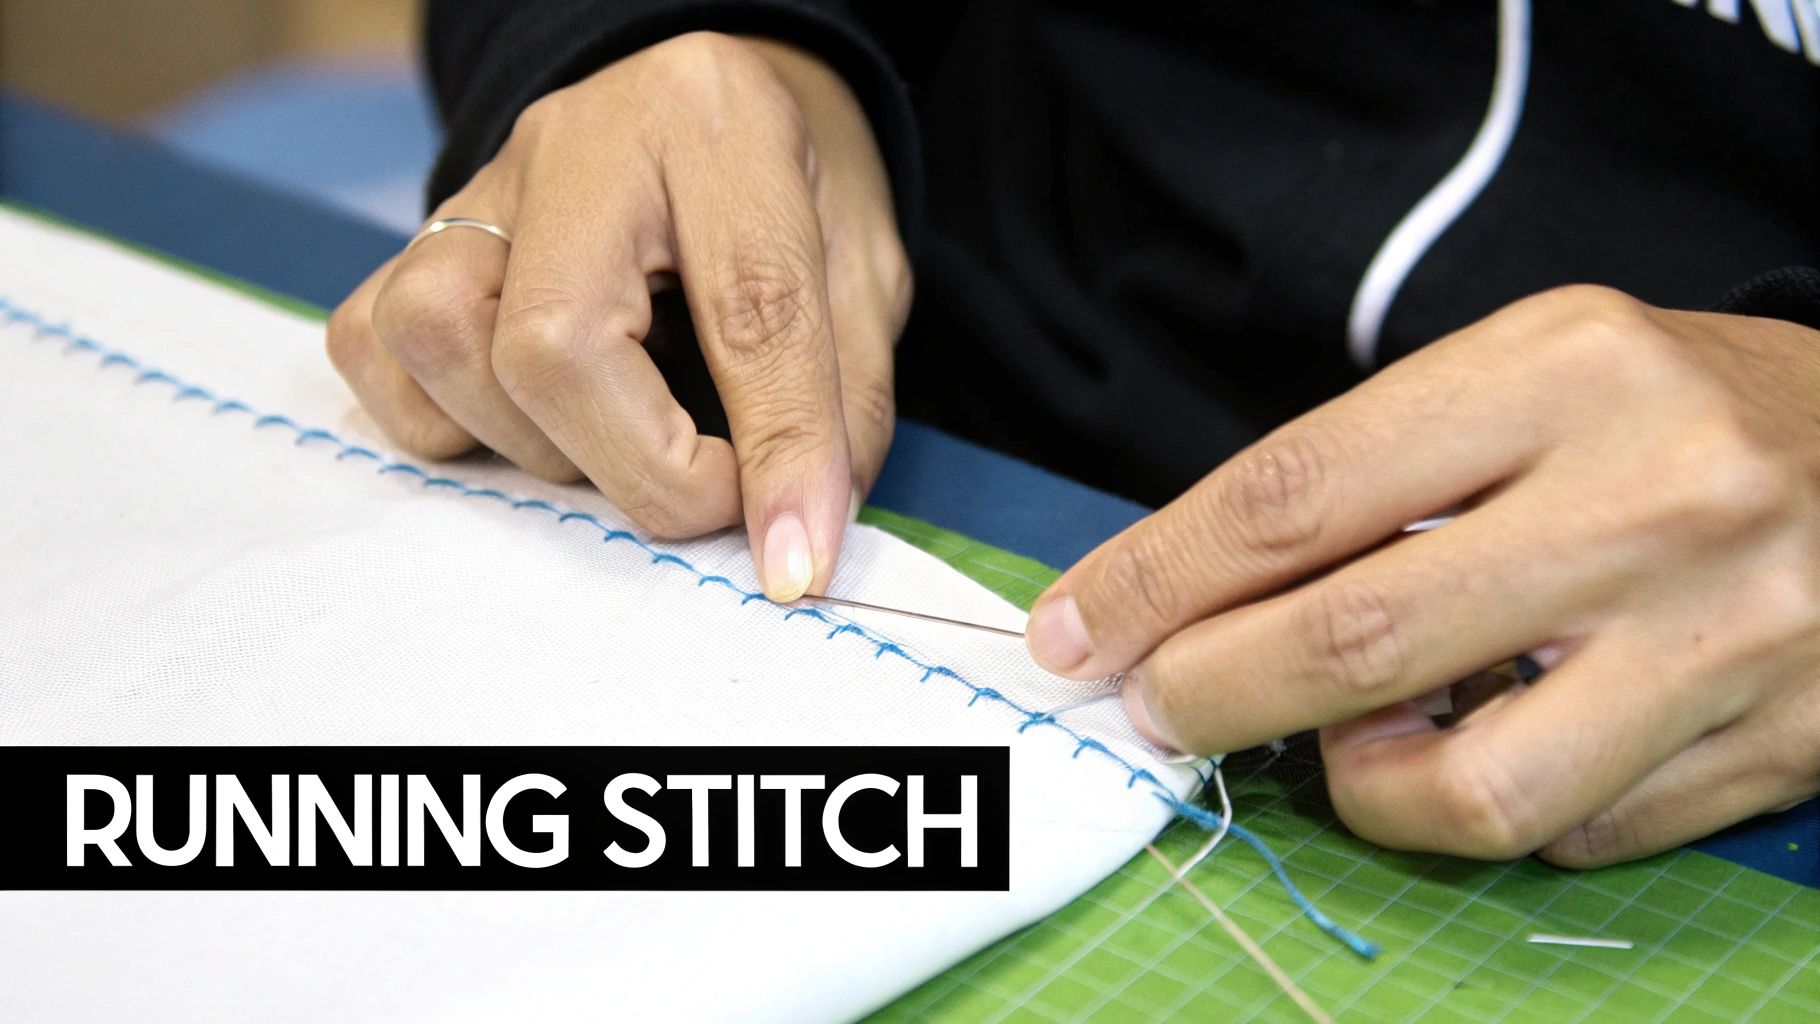
This is it—the first stitch most of us ever learn. The running stitch is the bread and butter of hand sewing, celebrated for its sheer simplicity and speed. Think of it as the quick sketch of the sewing world; it's fast, effective, and perfect for getting a project started.
You create this stitch just by weaving the needle in and out of the fabric in a straight line. It might look basic, but don't let that fool you. Its versatility is its superpower, and you'll find yourself coming back to it constantly, no matter how skilled you become.
The secret to a good-looking running stitch isn't speed, it's consistency. You're aiming for stitches and spaces that are the same length. I see a lot of beginners make stitches that are too long, which can easily snag, or they pull the thread too tight, which makes the fabric pucker.
The trick is to let the thread rest gently on the fabric instead of yanking it tight after each pass. For a little speed boost, you can try "loading" several stitches onto your needle at once before pulling the thread all the way through. This is a great way to keep your rhythm and spacing even.
I always tell people to practice on a scrap of fabric with a brightly colored thread. It makes your stitches pop, so you can easily see where your tension is off or where your stitch length is getting a little wonky. It's the best way to train your hands.
Okay, so the running stitch isn't going to be your strongest option. You wouldn't use it to hold together the main seam on a pair of jeans. But it absolutely shines in a ton of other situations where brute strength isn't the main goal.
Here are a few of the best ways I use it:
The running stitch is your workhorse for tasks that need to be done quickly and simply. It’s the perfect launchpad for your sewing journey and a trusty technique you’ll rely on for years to come.
Think of the running stitch as a quick baste, but when you need a seam that’s truly built to last, you reach for the backstitch. It's the undisputed champion of strength among the basic hand sewing stitches.
This is the stitch I trust for any seam that needs to withstand real stress. It creates a solid, locked line that looks almost identical to what a sewing machine produces on the top side.
So, what makes it so tough? The magic is in the overlap. Unlike a simple running stitch where the threads just weave in and out, each stitch in a backstitch goes back on itself slightly. This creates a continuous, interlocked line of thread that won't unravel easily if a single stitch breaks.
I'm talking about high-stress repairs, like the main seam on a favorite pair of jeans or the strap on a heavy canvas bag that's seen better days. A running stitch would give up under that kind of pressure, but the backstitch is made for that kind of heavy lifting.
The rhythm of the backstitch is often described as "two steps forward, one step back." It feels a little counterintuitive at first, but you'll get the hang of it quickly.
First, bring your needle up through the fabric from the underside.
Now, instead of pushing the needle forward, you’re going to take a small step back. Push the needle down through the fabric a short distance behind where the thread first came out.
For the next step, bring the needle back up, but this time, you'll bring it up a full stitch length ahead of your first stitch. You’re basically moving forward two stitch lengths from where your needle just went down.
From here, you just repeat that motion: bring the needle back down into the same hole where your last stitch ended, then bring it up again one stitch length ahead. You'll see a solid line forming on the front and a slightly thicker, overlapping stitch on the back.
The key to a professional-looking backstitch is consistency. Try to keep every stitch the exact same length. When I was starting out, I found it helpful to lightly draw a line with a disappearing ink fabric pen to keep my seam straight and my stitches even.
Here are a few times when the backstitch is the only real choice:
A great tip to remember is that the backstitch isn't just about strength. It’s a fantastic stitch for embroidery, too! When you use a contrasting thread color, it creates a crisp, bold outline that's perfect for lettering or adding fine details to a design. It’s a perfect example of a stitch that’s both functional and beautiful.
Sometimes, the best stitch is the one you can’t see at all. When you need a seam to look like it magically fused together, you'll want to reach for an invisible stitch. These techniques are all about subtlety, creating those crisp, professional finishes that really take a project to the next level.
This is where your sewing moves beyond simple mending and into true craftsmanship. We’ll be looking at two of the most essential invisible techniques in any sewer's toolkit: the slip stitch and the blind hem stitch. Once you get the hang of these, you'll wonder how you ever lived without them.
This little guide gives you a quick overview of when to use each of these clever stitches.
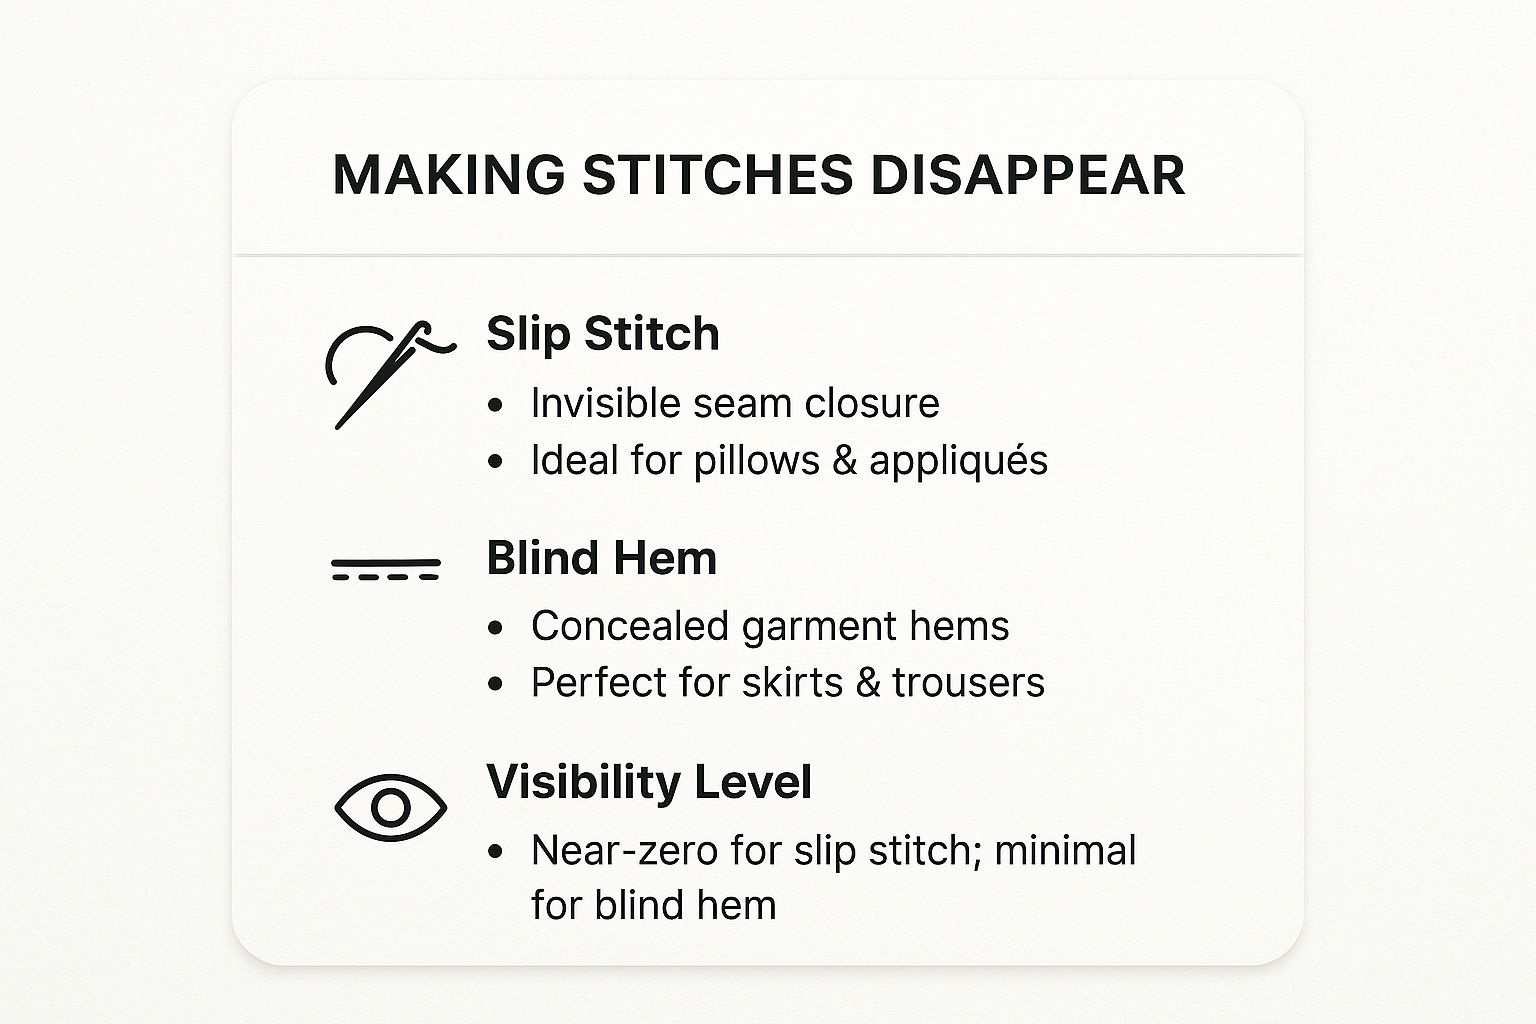
As you can see, the slip stitch is your secret weapon for closing up seams, while the blind hem is the standard for finishing garment edges without a visible stitch line.
Not sure which stitch is the right tool for the job? This table breaks it down. Think of it as your quick-reference guide for picking the perfect stitch based on what you're making, how strong it needs to be, and how hidden you want your work to be.
| Stitch Type | Primary Use | Strength | Visibility |
|---|---|---|---|
| Slip Stitch | Closing seams on pillows, linings, stuffed toys | Moderate | Almost completely invisible |
| Blind Hem Stitch | Hemming skirts, trousers, curtains, sleeves | Light to Moderate | Nearly invisible from the right side |
| Backstitch | Strong, structural seams, repairs | Very Strong | Visible |
| Running Stitch | Basting, gathering, simple seams, quilting | Low | Visible |
| Whipstitch | Closing felt seams, appliqué, mending | Moderate | Visible |
| Blanket Stitch | Decorative edging, finishing raw edges | Moderate | Decorative and visible |
Each of these stitches serves a different purpose, from creating super-strong seams with a backstitch to adding a decorative touch with a blanket stitch. Mastering them all gives you incredible versatility in your sewing projects.
You might also hear this one called the ladder stitch, and it's an absolute lifesaver for closing an opening from the outside without leaving a single trace. I use it all the time for finishing the last little seam on a stuffed pillow or closing the gap I used to turn a lined tote bag right-side out. It works by creating tiny horizontal "rungs" of thread tucked away inside the fold, pulling the two edges shut seamlessly.
The real trick here is being precise. You’ll be working right on the pressed, folded edges of your seam allowance. Start by bringing your threaded needle up from inside one of the folds—this neatly hides the knot.
Now, go directly across to the opposite fold and pick up just a few threads of the fabric with your needle. Travel straight back to the first side and do the same thing. As you alternate from side to side, you’re essentially building an invisible "ladder" with your thread. Give the thread a gentle pull, and the two folds will draw together perfectly, making your stitches completely vanish.
The blind hem is the secret behind professionally finished skirts, trousers, and drapes. It’s designed to be practically invisible from the public-facing side of the garment, tacking the hem in place with tiny, discreet stitches. This is how you avoid that obvious, often distracting, line of stitching you see on fast-fashion items.
To pull this off, you’ll be doing most of your work on the folded hem allowance on the inside of the garment. You'll make one small stitch through the hem allowance itself, and then you’ll pivot the needle to catch just a single thread from the main fabric. And when I say single, I mean it!
This is the single most important part: catching only one or two threads of the outer fabric is the entire secret. If you grab too much, the stitch will show as a little pucker or dot on the right side, defeating the whole purpose. I highly recommend practicing on a scrap first to get a feel for how little fabric you need to catch.
After you’ve snagged that one tiny fiber, take another, slightly longer stitch just through the hem allowance before repeating the process. This rhythm creates a secure hem that looks completely stitch-free from the outside. Using a thread that’s a perfect color match to your fabric is the final piece of the puzzle for making it truly disappear.
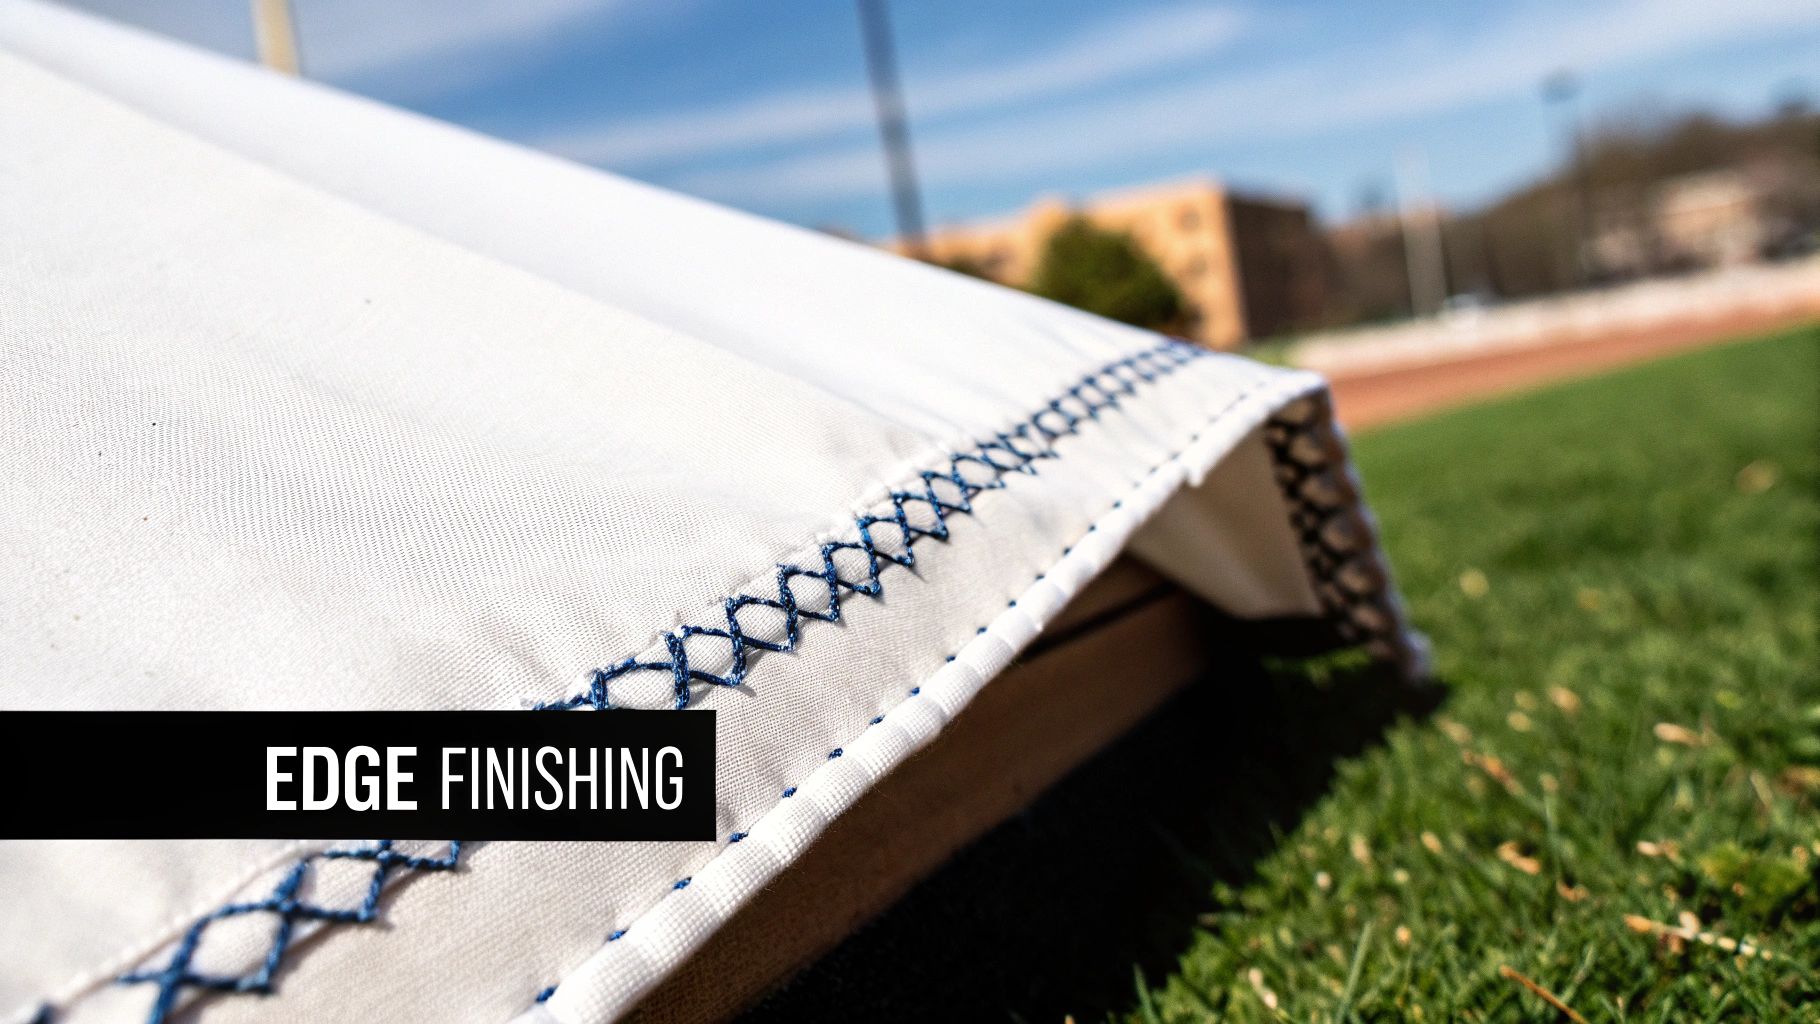
Leaving a raw fabric edge unfinished is asking for trouble. Sooner or later, it's going to fray, and all your hard work can start to unravel. That's why finishing stitches are so crucial—they create a clean, durable barrier that protects your projects from wear and tear.
Let's look at two of the most reliable basic hand sewing stitches for this job. First, we'll cover the overcast stitch, a purely functional workhorse for neatening up interior seams. Then, we’ll get into the blanket stitch, which is as strong as it is beautiful, adding both protection and a lovely decorative touch.
Think of the overcast stitch as a simple binding that wraps around the raw edge of your fabric. It’s not meant to be seen from the outside of a garment; its job is to work quietly behind the scenes, keeping your seam allowances from fraying wash after wash.
The technique itself is pretty straightforward. You just pass the needle through the fabric from back to front, a short distance from the edge, then loop the thread over the edge and do it again. This creates a series of diagonal stitches that neatly encase the raw fibers, locking them in place.
Consistency is everything with an overcast stitch. If your stitches are spaced too far apart or are too shallow, the fabric can still fray between them. Try to find a good rhythm to keep each stitch uniform in size and depth.
This stitch is a lifesaver in a few key scenarios:
While the overcast stitch is all business, the blanket stitch pulls double duty. It provides a sturdy, fray-proof edge while also adding a charming, handcrafted detail to your projects. This is one of those stitches that’s meant to be seen.
To make a blanket stitch, bring your needle up from the back, a short distance in from the edge. Before you pull the thread all the way through, bring the needle back around and pass it through the loop of thread you just created. When you gently tighten it, the thread forms a neat "L" shape right on the edge of the fabric.
This technique creates a beautiful, protected border that's perfect for:
Hand sewing is an ancient skill, dating back at least 20,000 years to when our ancestors used bone needles and sinew to piece together furs. The simple, effective stitches they developed are the foundation of the techniques we still rely on today.
You can see how beautiful, functional stitching contributes to both the look and structure of clothing in pieces like this lovely Boho Rose Stitched Kaftan. Whether you choose the functional overcast or the decorative blanket stitch, finishing your edges properly will elevate your work, ensuring your handmade items not only look fantastic but are also built to last.
As you start getting the hang of these hand sewing stitches, you're bound to run into a few little hiccups. Everyone does! Let’s walk through some of the most common questions that pop up so you can get past those snags and keep your project on track.
One of the first frustrations for almost every new sewist is the dreaded tangled thread. It’s a universal problem, but thankfully, it has a simple fix.
The best piece of advice I ever got for this was surprisingly simple: use a shorter piece of thread. It’s tempting to thread a super long piece to avoid re-threading your needle, but that’s what causes most tangles.
I’ve found the sweet spot is a length no longer than from your fingertips to your elbow, which is about 18 inches. Anything more than that just loves to twist and knot on itself as you pull it through the fabric.
For an extra layer of protection, especially when working with cotton thread, run your thread through a bit of beeswax or a dedicated thread conditioner. This coats the thread just enough to help it glide through the fabric smoothly, dramatically cutting down on friction and tangles.
When a knot does happen, resist the urge to pull it tight! Take the tip of your needle and gently poke and pry at the knot. More often than not, you can tease it loose without having to start over.
When you need a repair that will absolutely hold up, nothing beats the backstitch. It's the undisputed champion of strength in the hand-sewing world.
Its power comes from the way each stitch slightly overlaps the one before it. This construction creates a solid, interlocked line of thread on the back of your fabric, which is why it so closely mimics the durability of a machine-sewn seam.
This makes it my go-to for any repair in a high-stress area. I'm talking about things like a backpack strap that's pulling away, the inseam of your favorite jeans, or a split seam on a cushion. For those jobs, you need the reliable, lasting hold that only a backstitch can provide.
At High Country Quilts we care deeply about community. With our experiences in retail, we know that a store is not only a place to shop but also a place for the community to gather and share. During this busy...

Hi! We’re Adam and Renee Wheaton, the new owners of High Country Quilts! For more than 40 years, we’ve owned and operated vacuum and sewing businesses. Following in Renee’s father’s footsteps after he retired from All Discount Vacuum and Sewing in Colorado...


Leave a comment