

We Love Our Quilting Community
At High Country Quilts we care deeply about community. With our experiences in retail, we know that a store is not only a place to shop but also a place for the community to gather and share. During this busy...


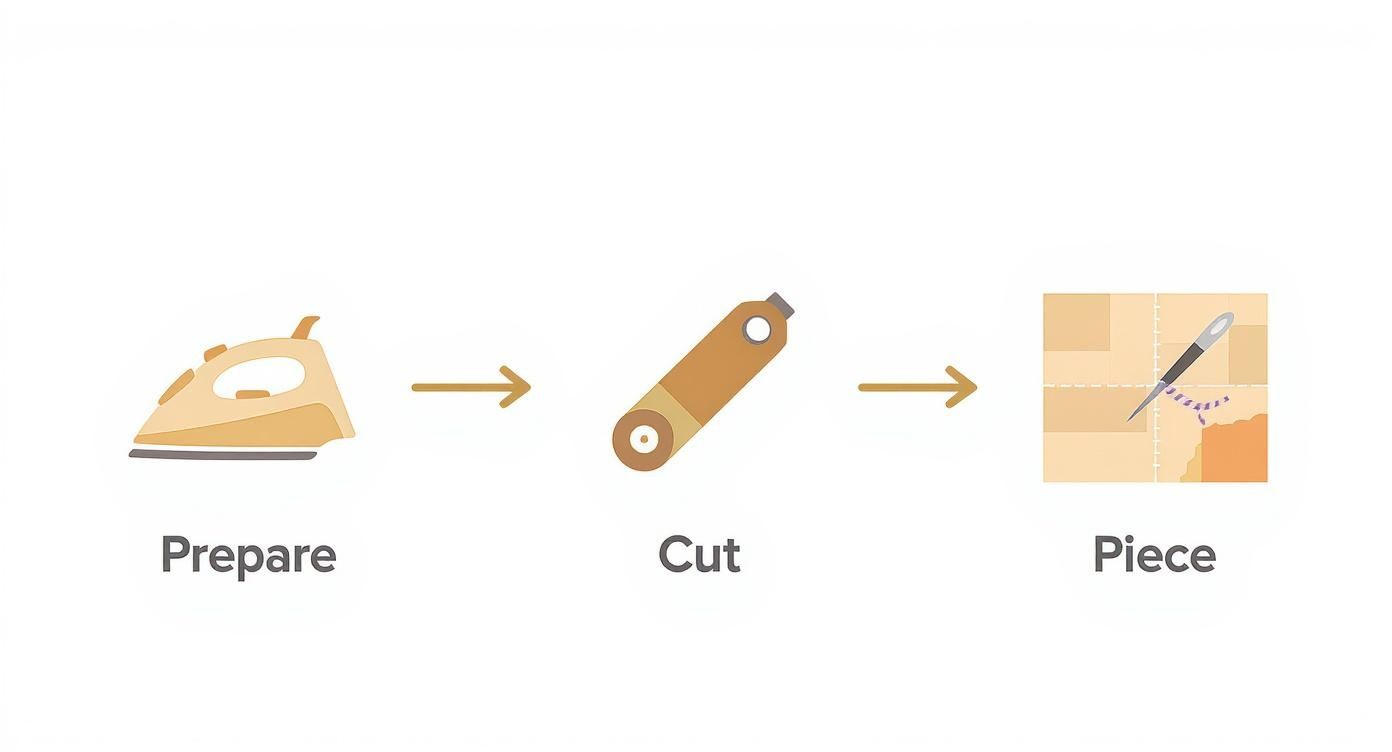
Hand quilting is one of those timeless skills, a truly rewarding way to create something beautiful and lasting. It all boils down to a few core steps: cutting your fabric with precision, piecing the individual blocks together to form the quilt top, and then quilting through all the layers to bring it all together.
In a world that moves so fast, the slow, intentional art of hand quilting is a wonderful escape. It’s so much more than just making a blanket; it’s a meditative process that ties you to a long and rich history of craftsmanship. Every single stitch is a personal touch, turning simple fabric into a cherished heirloom that’s literally infused with your time and care. This guide is here to walk with you on that journey, inviting you to create something truly meaningful with your own two hands.
Learning to quilt by hand is as much about the process as it is about the finished quilt. It can be incredibly calming and deeply fulfilling.
Hand quilting is a craft steeped in history, a skill passed down through countless generations. We've found evidence of quilted items dating back thousands of years—one of the earliest is an ivory carving from Ancient Egypt, around 3400 BCE! Before the sewing machine became a household staple in the 1870s, hand stitching was the only way to create these warm, practical, and often beautiful pieces. When you pick up a needle and thread, you’re taking part in a timeless tradition that has connected makers across centuries.
Sure, a machine gets the job done quickly, but hand quilting offers a completely different set of rewards. The deliberate, rhythmic motion of the needle moving through fabric can be incredibly relaxing, a real stress-buster that encourages mindfulness. Many quilters I know consider it their creative therapy. There's also something special about the tactile experience of working so closely with fabric and thread; it fosters a much deeper connection to your project.
The gentle rhythm of hand quilting turns a simple craft into a restorative practice. It’s an opportunity to slow down, focus on the present moment, and create beauty one stitch at a time.
This hands-on approach gives you a unique level of artistic control that’s just different from machine work. For a more detailed breakdown, you might want to check out our comparison of hand quilting vs machine quilting.
Ultimately, choosing to sew a quilt by hand is about creating with intention. It's a perfect fit for anyone looking to:
This guide will walk you through everything, from picking out your first fabrics at a local shop like High Country Quilts to adding that final, perfect stitch. Let’s get started.
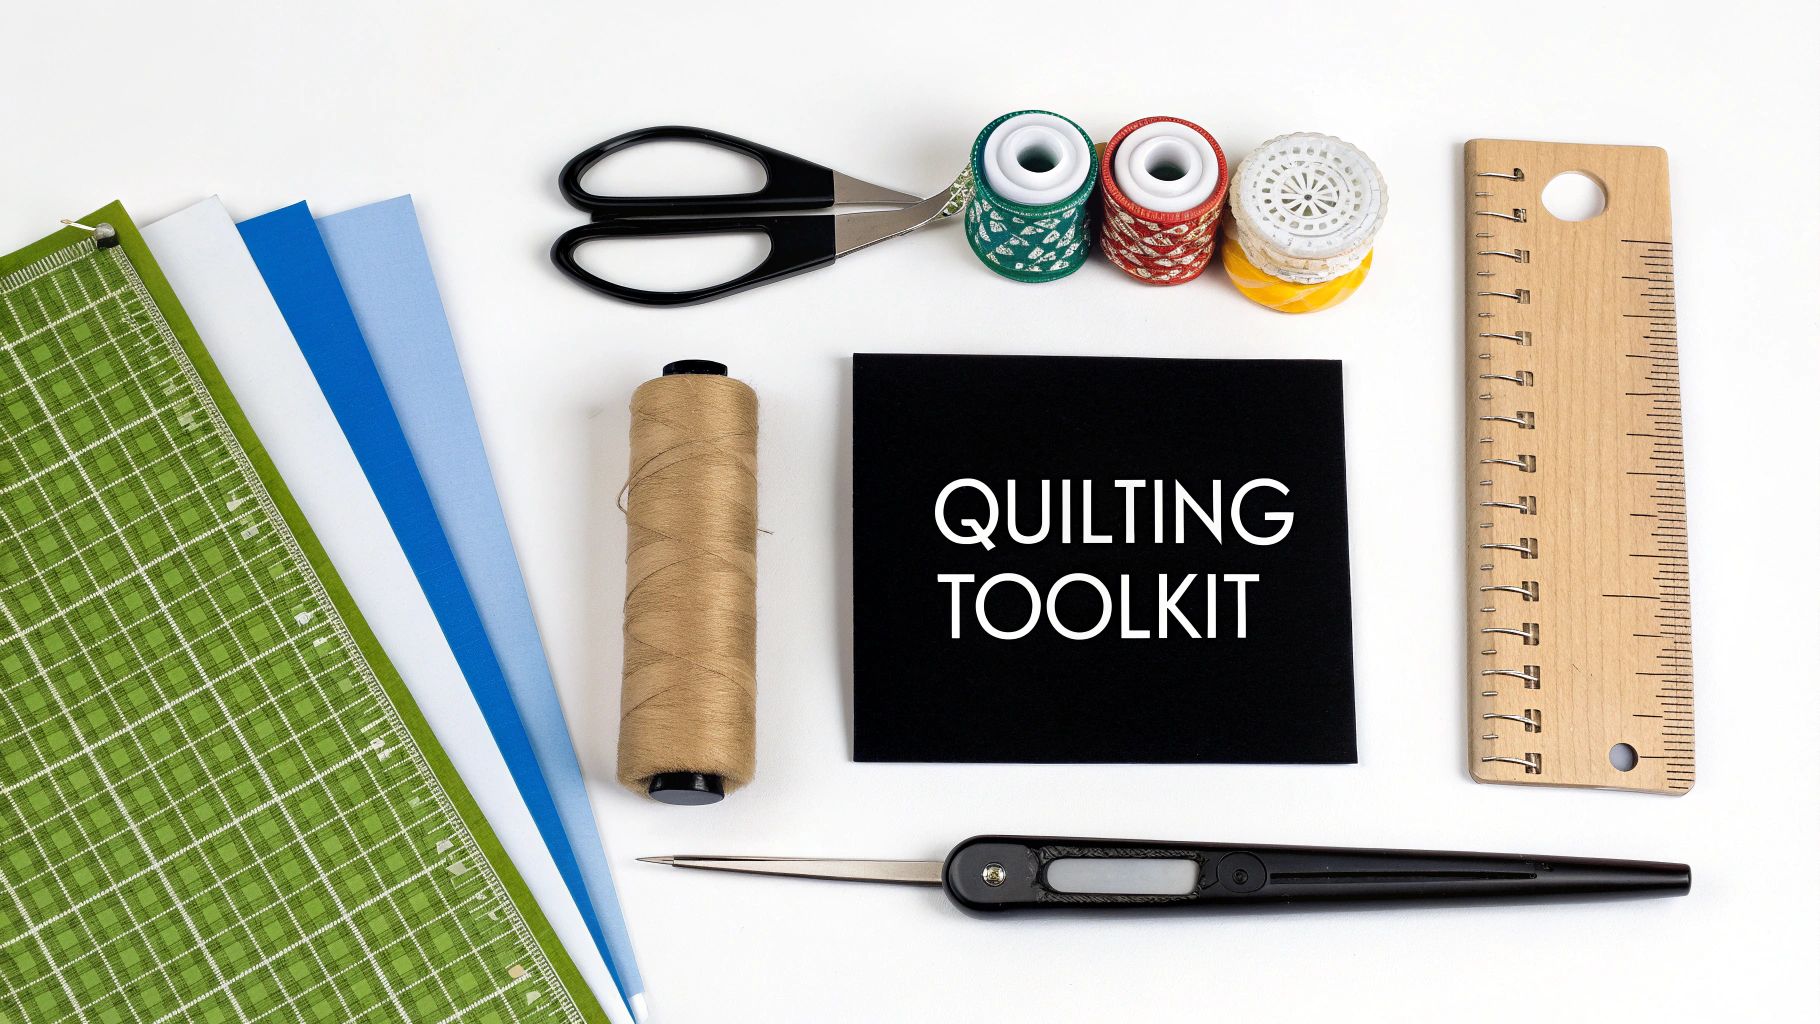
Before a single stitch is sewn, gathering the right supplies sets the stage for a great hand quilting experience. It's easy to get overwhelmed walking into a craft store, but you don't need every gadget on the wall. The goal is to start with a focused, high-quality toolkit that makes the process a joy, not a chore.
Let's move past the generic shopping lists and talk about the specific tools that seasoned quilters actually rely on, project after project.
Think of your needle, thimble, and thread as the engine of your project. The right combination makes every stitch feel smooth and effortless.
For needles, you’ll want to look for "betweens." These are shorter and sturdier than your average sewing needle, which gives you much more control for creating those tiny, even stitches that are the hallmark of hand quilting. They come in sizes 7 through 12, but a size 9 or 10 is the perfect place for most quilters to start.
A good thimble is absolutely non-negotiable—it saves your finger! It shouldn't feel clumsy or awkward. Whether you land on a classic metal cap, a soft leather one, or even adhesive thimble pads, the key is finding one you can comfortably use to push the needle without a second thought.
Finally, the thread. You might be tempted to use your all-purpose sewing thread, but dedicated hand quilting thread is a true game-changer. It's a bit thicker and coated with a light glaze that helps it glide through the quilt layers, which drastically cuts down on tangles and knots. Honestly, it will save you a world of frustration.
An accurate cut is the foundation of a beautiful quilt. When your pieces are cut precisely, they fit together like a dream, which is even more critical when you're piecing by hand. For this, you really need three key tools working together.
Investing in this cutting system from the start will make your prep work faster, safer, and far more accurate than trying to get by with just scissors.
Don't be tempted to use your fabric scissors for cutting quilt pieces. The precision you get from a rotary cutter, mat, and ruler is what guarantees your blocks line up perfectly later. Nailing this initial accuracy is the secret to a flat, professional-looking quilt top.
Once you have the absolute essentials covered, a few other items can make your hand quilting journey much smoother. You don't need them to start, but you'll be glad you have them.
Before we dive into the extras, here's a quick-glance table of the must-haves we've just covered.
| Tool | Primary Use | Beginner's Tip |
|---|---|---|
| Betweens Needles (Size 9 or 10) | Creating small, even quilting stitches through all three layers. | Their short, strong shaft gives you superior control compared to standard sewing needles. |
| Thimble | Protecting your finger as you push the needle through the fabric. | Try a few styles (metal, leather, adhesive) to see what feels most natural to you. Comfort is key! |
| Hand Quilting Thread | Strong, smooth thread for durable stitches that won't tangle. | The waxy coating is its secret weapon against knots. Don't skip this! |
| 45mm Rotary Cutter | Making fast, precise, and straight cuts through fabric layers. | Always use a sharp blade for the cleanest cuts and for your safety. |
| Self-Healing Mat (18" x 24") | A safe surface for rotary cutting that protects your blade and table. | The gridlines are also helpful for squaring up your fabric blocks. |
| Acrylic Ruler (6" x 24") | Measuring fabric and guiding the rotary cutter for perfect cuts. | A clear ruler allows you to see the fabric edge, ensuring total accuracy. |
These six items form a solid foundation for any hand quilter.
Now, for those helpful extras. Small, sharp scissors, often called snips, are invaluable for trimming threads right up against the fabric. A good pair with a fine point can get into any tight space.
You'll also need a way to mark your quilting design. A Hera marker is a brilliant little tool that creates a temporary, sharp crease in the fabric without using any ink. If you prefer a visible line, a chalk pencil or a water-soluble fabric pen works great, too. Just be sure to test your marker on a scrap of your project fabric first to make sure the marks disappear completely!
For a more comprehensive look at the tools you might want as you grow your skills, check out our guide on essential quilting tools for beginners.
This is where the real magic happens. It's that wonderful moment when a stack of beautiful fabric starts to become your actual quilt top. With your tools at the ready, we'll dive into the two skills that form the foundation of any great quilt: cutting with precision and piecing with care. Nailing these steps sets the stage for a smooth, joyful quilting journey and a gorgeous quilt you’ll be proud of.
Accuracy isn't just a suggestion here—it’s the secret sauce. When every piece is cut to the exact same dimension, your seam allowances line up, your points meet perfectly, and the whole quilt top lays flat without any of those frustrating puckers or waves.
Before you even think about picking up that rotary cutter, let’s talk fabric prep. I know it can feel like a skippable step when you're excited to start, but trust me, experienced quilters know this is one of the most important parts of the whole process. Getting into the habit of pre-washing your fabric from your very first project will save you a world of heartache later.
So, why is this so crucial? First off, shrinkage. Most 100% cotton fabrics can shrink up to 3-5% in that first wash. If you sew unwashed fabrics together and then wash the finished quilt, you risk them shrinking at different rates, which pulls and distorts all your beautiful piecing.
Pre-washing also gets rid of any excess dyes that might otherwise bleed onto your lighter fabrics, which could ruin hours of your hard work in an instant. After washing, give your fabric a good press with a hot, steamy iron. You want it completely smooth and wrinkle-free so it lies perfectly flat for cutting.
Alright, with your fabric prepped and pressed, it’s time to cut. For the cleanest, most accurate cuts, nothing beats a rotary cutter, mat, and ruler. This combo ensures every piece is perfectly square and identical in size—a non-negotiable for successful hand piecing.
Lay your fabric out on your self-healing mat. First, line up the selvage (that tightly woven edge of the fabric) with one of the horizontal lines on the mat. Then, place your acrylic ruler on top, aligning one of its vertical lines with the raw edge of the fabric to get a straight starting point.
Plant your non-dominant hand firmly on the ruler, keeping your fingers curled up and well away from the edge. Taking the rotary cutter in your other hand, press down firmly and roll the blade away from you, right along the ruler’s edge. This first cut gives you a perfectly clean, straight edge to measure everything from. Now you can rotate your fabric or ruler and start cutting your strips and shapes with total confidence.
Always flick the safety guard back over your rotary cutter blade the second you finish a cut. It’s a simple habit that can prevent a nasty accident. Treat that blade with the same respect you'd give a sharp chef's knife in the kitchen.
Now for my favorite part—the quiet, meditative process of stitching your pieces together by hand. This is where your quilt's personality really starts to shine. Unlike sewing on a machine, this is a wonderfully portable activity you can do almost anywhere.
First things first: you need to mark your seam allowance. A quarter-inch seam is the gold standard in quilting. Grab a fabric marker or a sharp pencil and your ruler, and draw a line 1/4 inch in from the edge on the wrong side of your fabric pieces. This line is your guide—you'll aim to make your stitches right on top of it.
To join two pieces, place them right sides together. Line up the edges and those drawn seam allowance lines perfectly. A couple of small pins placed perpendicular to the seam line will hold everything in place without getting in your way.
Here’s how to get stitching:
After you finish a seam, gently press it with your iron. You can either press the seam open or press it to one side. This simple step helps reduce bulk and keeps your quilt top beautifully flat as you build it.
As you start joining blocks and rows, you'll run into intersections where multiple corners meet. This can create a lumpy, bulky spot that’s a real pain to quilt through later. The elegant solution to this is a technique called nesting seams.
It’s all in how you press. When pressing your seams, simply alternate the direction for each row. For example, press all the seams in row one to the right, and then press all the seams in row two to the left.
When you place these two rows right sides together to join them, the bulky parts of the seams will fit snugly into each other, just like interlocking your fingers. This simple trick dramatically reduces the bulk at those intersections, helping your points match up perfectly and ensuring your whole quilt top lays beautifully flat. It's a small detail that makes a huge difference in the quality of your finished quilt.
If a quilt has a soul, you'll find it in the stitches. This is where the real magic happens—where practicality meets art, creating that unique texture and charm that only a hand-quilted piece can have. Getting comfortable with a few key stitches will do more than just hold your quilt together; it transforms the work into a relaxing, almost meditative rhythm.
The foundation of it all is the classic quilter's stitch, which is really just a very specific, neat-looking running stitch. The aim isn't to be fast, but to be consistent. It’s those small, evenly spaced stitches that create the beautiful, durable finish we all recognize in an heirloom quilt. Don't stress about making them perfect right away—developing that muscle memory is all part of the process.
As you can see, the quilting itself comes after all the careful prep work. Getting the preparation right makes the stitching part so much more enjoyable.
The running stitch is the one you’ll be using most, as it’s what quilts through all three layers of your quilt sandwich. It sounds simple, and it is, but achieving that lovely, consistent look takes a bit of practice. The secret is all in the motion.
Lots of experienced quilters use what's called a "rocking motion" to load several stitches onto the needle at once before pulling the thread through. To try this, you'll hold the quilt with your non-dominant hand underneath to create a bit of tension. With your quilting hand on top, use your thimble to push the needle down through the layers and then rock it right back up a short distance away. You can often get three or four of these fluid little movements on your needle before you pull the thread all the way through, leaving a tidy row of stitches behind.
While the running stitch does most of the heavy lifting, the backstitch is your reinforcement. Think of it as your anchor. It’s absolutely perfect for starting and stopping a line of quilting because it locks the thread down so it won't unravel.
You'll find yourself turning to the backstitch anytime you need a little extra strength, like at the corners of a block or a point where a lot of seams come together. You create it by taking a stitch forward, then bringing your needle up and going back to the end of the previous stitch before moving forward again. This makes a solid, connected line of thread on the back, giving your quilt incredible durability right where it needs it.
"The real beauty of a hand-quilted piece comes from the slight, charming imperfections of your stitches. Aim for consistency, not machine-like perfection. It's the human touch that gives your quilt its unique character and warmth."
The ladder stitch (sometimes called an invisible stitch) is a total game-changer, especially for finishing your binding. Once you get the hang of it, you’ll find all sorts of uses for it. Its main job in quilting is to close that final gap in your binding with a seam that practically disappears.
Here’s how you’d use it on your binding:
This little bit of stitch-magic gives your quilt a beautifully polished and professional finish, with no stitches showing on your binding. To see these in action and learn a few others, check out our guide on basic hand sewing stitches. Once you have these three essential stitches in your toolkit, you'll have the confidence to tackle just about any hand-quilting project that comes your way.
https://www.youtube.com/embed/rHRsbSZpwTE
You’ve pieced your quilt top, and now the real magic is about to happen. It's time to turn that flat creation into a cozy, three-dimensional quilt. We do this by making what quilters call the "quilt sandwich"—a simple layering of your backing, the fluffy batting, and your finished top.
This is the foundation for all your hand-quilting work. Taking your time here is non-negotiable if you want to avoid frustrating puckers, bumps, and shifting fabric down the road. A well-made sandwich makes the quilting process a joy.
Making the quilt sandwich isn't complicated, but it does require a bit of floor space and a little patience. The key is getting every layer perfectly smooth before you hold it all together.
First, make sure your backing fabric and batting are both cut about 2-4 inches larger than your quilt top on all sides. This extra fabric is your safety net, giving you plenty of room to work and preventing you from running short if things shift slightly while you quilt.
Here’s how to stack the layers:
With your layers in place, you’re ready for the crucial next step: basting.
Basting is just a temporary way of holding your quilt sandwich together so nothing moves while you’re stitching. If you skimp on this step, you’ll likely end up with bunched-up fabric on the back of your quilt. No one wants that! You've got a few solid methods to choose from.
Honestly, the best method is the one you prefer. For a closer look at these techniques, check out our detailed guide on how to baste a quilt.
Basting is your quilt's insurance policy. The time you invest in this step will pay off tenfold by preventing frustrating puckers and fabric shifts, ensuring a smooth and enjoyable hand quilting experience from start to finish.
Now for the best part! With your quilt sandwich basted and secure, you get to start quilting. This is where you add the texture, design, and personality that makes a quilt an heirloom. The stitches you choose will completely define the final look and feel.
If you're just learning how to sew a quilt by hand, there are a few classic, beginner-friendly styles to get you started.
The goal here isn’t perfection, but consistency. Even stitches are what hold the layers together and create that wonderful, crinkly texture we all love after a quilt has been washed. This is the moment your project truly becomes a quilt.
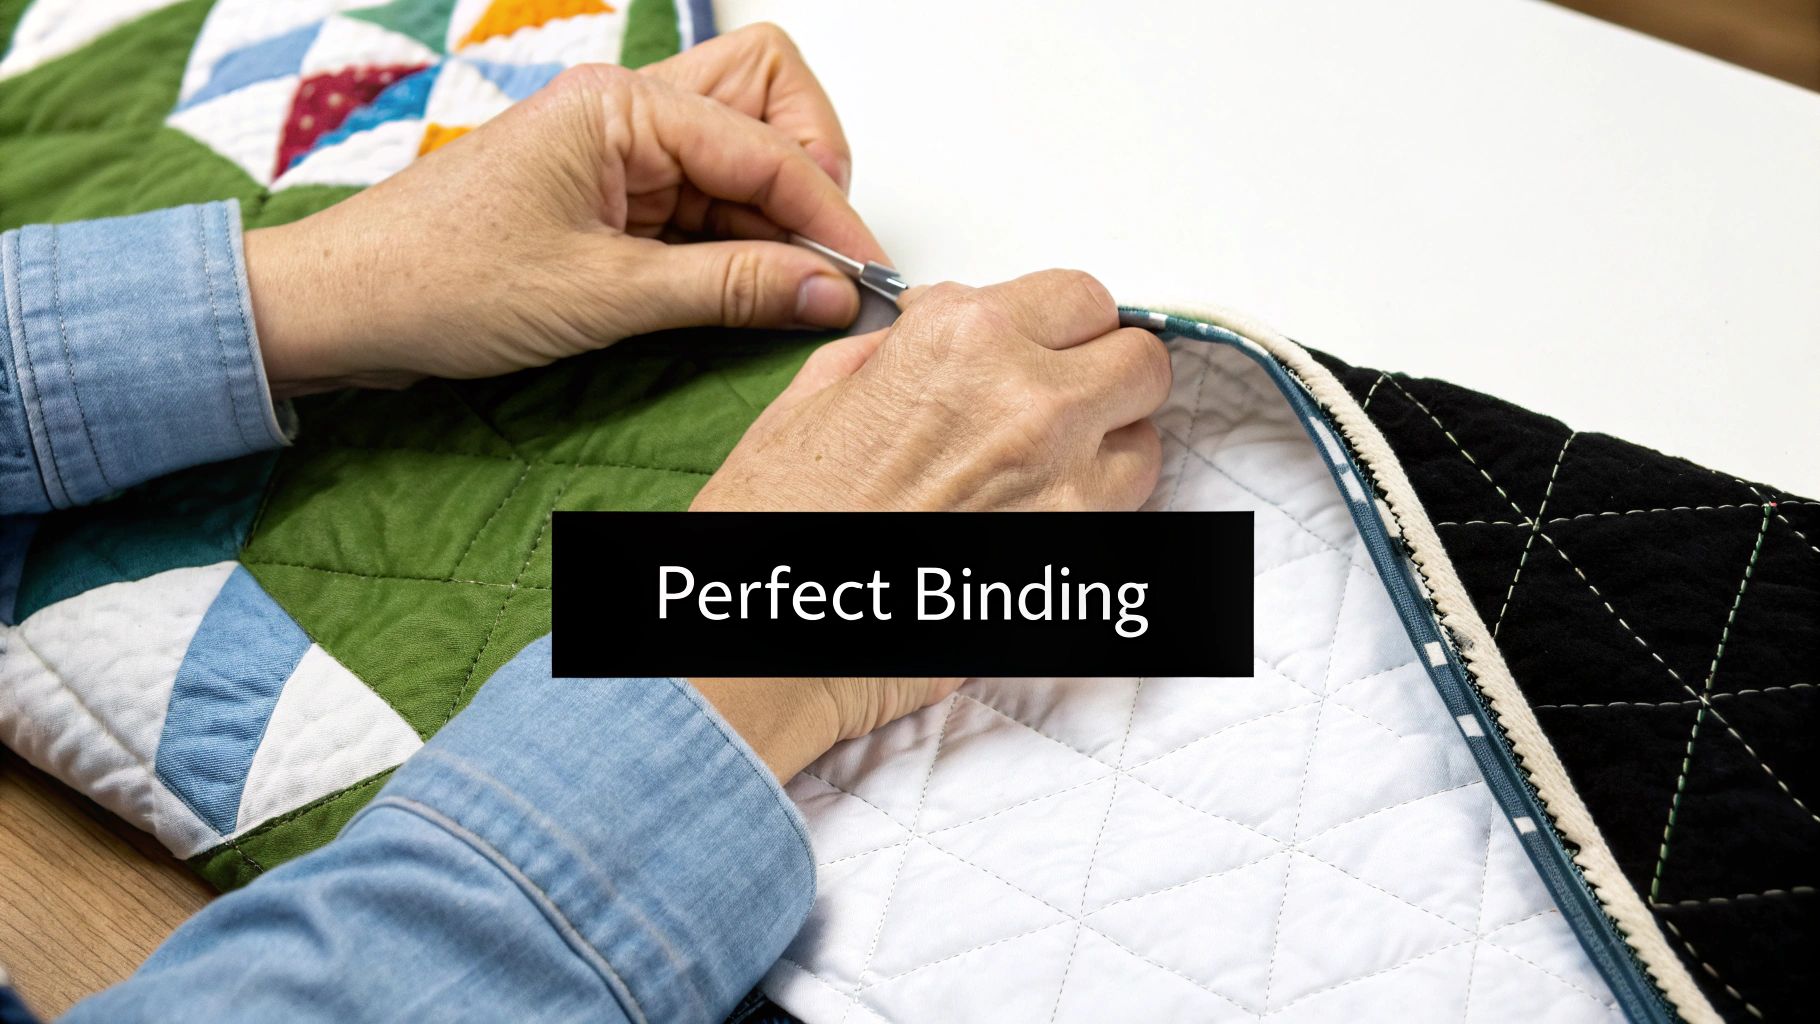
The binding is the grand finale of your quilting project. It's that beautiful frame that tidies up all the raw edges and turns your quilted layers into a durable, finished piece. It’s more than just a border; it’s what protects your work and gives it that heirloom quality. Hand-stitching the binding is a wonderfully satisfying way to complete the journey.
This is a skill that takes a little patience, but trust me, the professional-looking results are absolutely worth the time you put in. It’s the final detail that makes your quilt truly shine.
Before you can start sewing, you'll need to create one long, continuous strip of fabric. First, a little bit of math. Measure the perimeter of your quilt by adding up the lengths of all four sides, then add about 10-15 extra inches. That little bit of cushion is crucial for joining the ends and turning corners without coming up short.
I almost always cut my binding strips 2.5 inches wide. This seems to be the magic number for most quilters—it's wide enough to fold over and comfortably cover the quilt's edge without creating too much bulk.
Here's how to turn those strips into your binding:
With your binding prepped, it's time to attach it. Start sewing somewhere in the middle of one of the quilt's sides, never right at a corner. Line up the raw edges of your folded binding with the raw edge of your quilt top.
Be sure to leave a loose 8-10 inch "tail" of binding at the start. You'll need this later to neatly join the two ends together. Using a simple running stitch, sew the binding to the quilt with a 1/4-inch seam allowance.
When you get close to a corner, stop stitching about 1/4 inch from the edge. Take a backstitch to lock your thread in place, and then lift your presser foot. Fold the binding strip up and away from the quilt, which creates a neat 45-degree angle. Then, fold it straight back down along the next side of the quilt, making sure the raw edges are aligned again. This creates a little fabric flap, which is the secret to a perfectly mitered corner. You can now start sewing again right from the very edge of this new side.
The mitered corner is the hallmark of a beautifully finished quilt. Take your time with this folding technique; getting it just right is what creates that sharp, professional-looking frame for your work.
Once the binding is attached all the way around the front, the final, meditative part begins. Flip your quilt over to the back. The folded edge of the binding should wrap neatly around the raw edge, completely covering your initial line of stitching.
I like to use small quilting clips to hold the binding in place as I go. With a thread that matches your binding fabric, use a ladder stitch (sometimes called an invisible stitch) to tack the binding down to the back of the quilt. This stitch is practically invisible and gives you an incredibly clean finish.
For a more detailed walkthrough with great pictures, be sure to check out our complete tutorial on how to bind a quilt. Once that last stitch is in, your hand-sewn quilt is officially finished
Once you start down the path of hand quilting, you'll find a few questions tend to come up again and again. Let's get those sorted out so you can focus on your stitching.
This is the classic "how long is a piece of string?" question! The honest answer is: it depends. A simple baby quilt might take you somewhere in the neighborhood of 40-60 hours of focused work. But a sprawling, intricate queen-sized quilt? That could easily become a project spanning several hundred hours.
The best advice I can give is not to focus on the clock. Hand quilting is all about the meditative process and the joy of creating something beautiful with your own two hands, not about hitting a deadline.
When you're just starting out, you want to make things as easy on yourself as possible. I always recommend a low-loft 100% cotton or a soft cotton/poly blend batting. These are a dream to work with because your needle can glide through them without a fight.
Some battings, like high-loft polyester or dense wool, can feel like you're trying to push a needle through a wall. They're beautiful for certain projects, but they can be a real workout and might lead to frustration for a beginner.
The whole point is to enjoy the journey. Setting yourself up with materials that are easy to handle, like a lovely low-loft cotton batting, makes the entire experience more relaxing and rewarding.
I’d really advise against it. It might seem like a small thing, but using a dedicated hand quilting thread makes a world of difference. Here's why:
Trying to use standard sewing thread is usually a recipe for broken threads and a lot of unnecessary headaches. It's worth getting the right tool for the job.
Here at High Country Quilts, we've got all the specialty threads, batting, and friendly advice you could ask for. Stop by the shop or check out our collection online at https://hcquilts.com to get everything you need for your next project.
At High Country Quilts we care deeply about community. With our experiences in retail, we know that a store is not only a place to shop but also a place for the community to gather and share. During this busy...

Hi! We’re Adam and Renee Wheaton, the new owners of High Country Quilts! For more than 40 years, we’ve owned and operated vacuum and sewing businesses. Following in Renee’s father’s footsteps after he retired from All Discount Vacuum and Sewing in Colorado...


Leave a comment