

We Love Our Quilting Community
At High Country Quilts we care deeply about community. With our experiences in retail, we know that a store is not only a place to shop but also a place for the community to gather and share. During this busy...


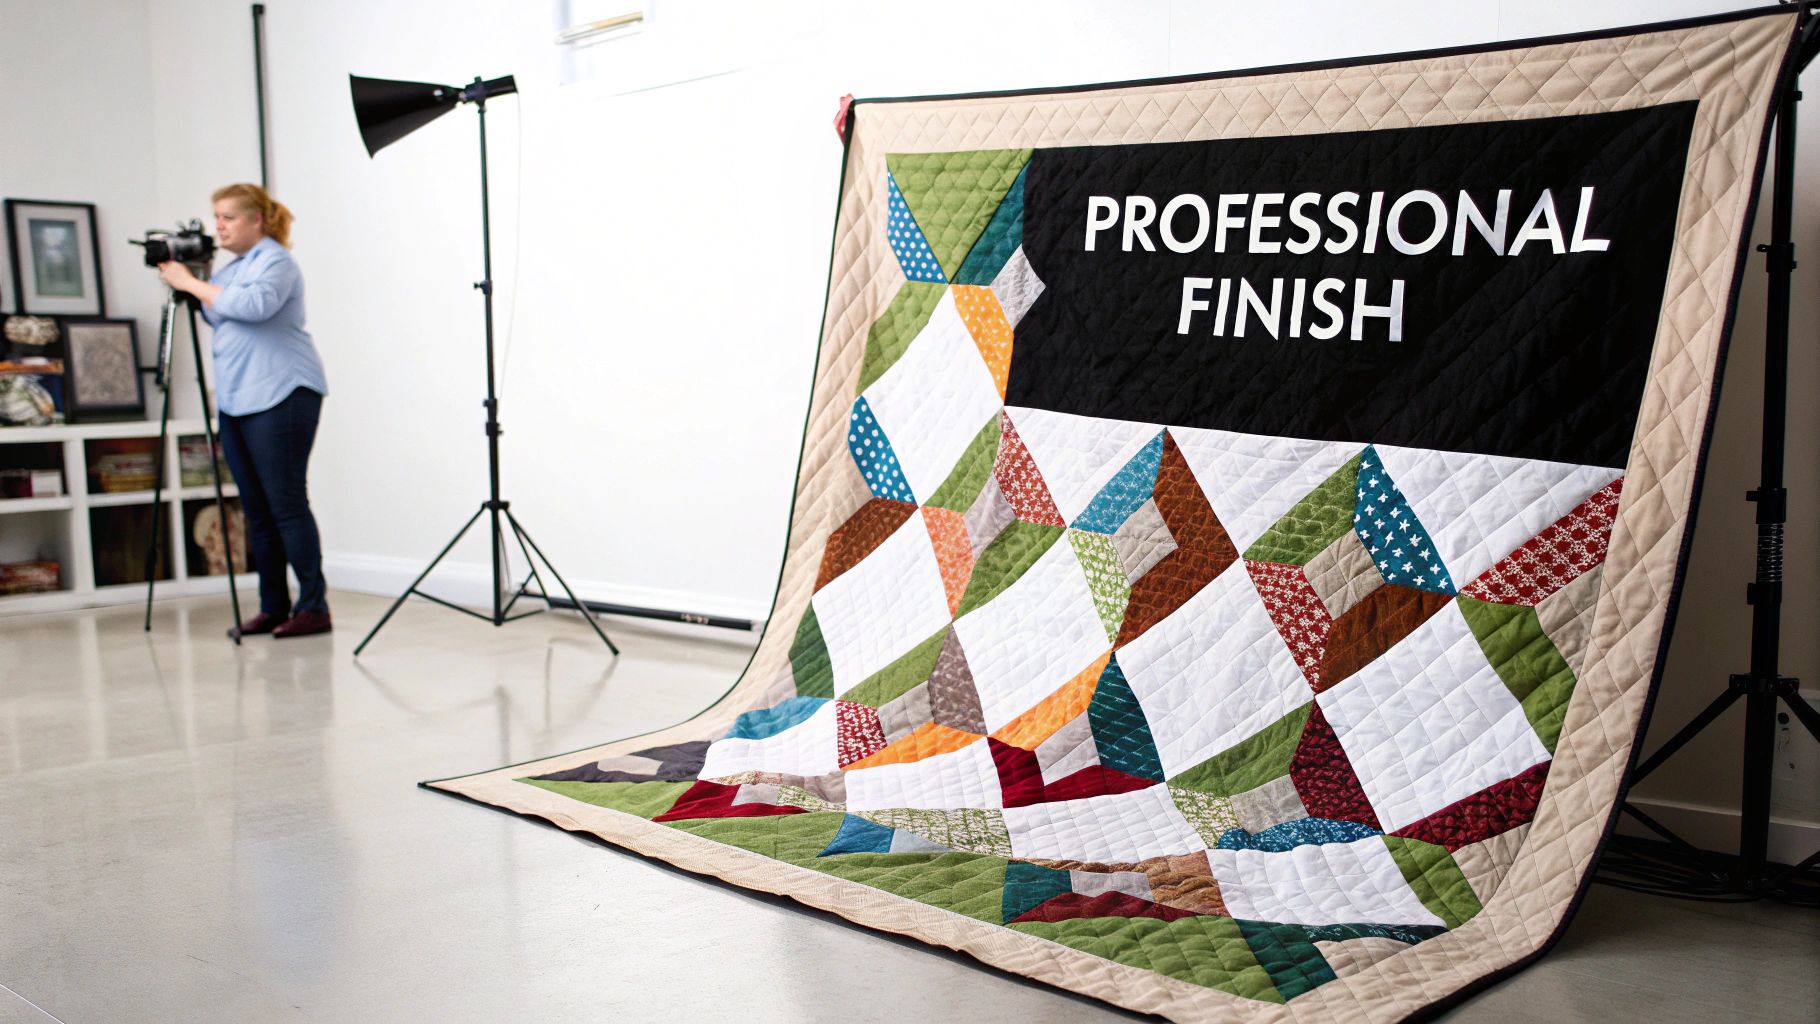
Piecing a quilt back is one of those skills that can truly take your projects to the next level. It’s essentially just sewing two or more pieces of fabric together to create a backing large enough for your quilt top. The whole process really boils down to three key things: figuring out how much fabric you need, cutting it accurately, and sewing a seam that’s both strong and flat.
Once you get the hang of it, you'll see how it elevates your entire quilt, giving it that polished, professional look we all strive for.
Before we jump into the "how-to," let's talk about the "why." Taking the time to piece a quilt back properly isn't just about saving a few bucks on wide-back fabric or using up what's in your stash—it's about gaining creative control and adding durability. A well-made back is the unsung hero of your quilt, providing a solid foundation that keeps everything flat and beautiful for years, even after many trips through the wash.
Think of the backing as the secret MVP of your quilt. If you have a poorly joined back with a thick, lumpy ridge running down the middle, it’s a nightmare for quilting. Whether you're sending it to a longarmer or wrestling with it on your home machine, that bulky seam can cause puckering on the front, create tension issues, and result in a quilt that just refuses to lie flat.
These days, piecing a quilt back has become its own little art form. It's a fantastic chance to give your quilt a "second side" by incorporating leftover blocks from the front or creating a whole new complementary design. Suddenly, the back isn't just a utility piece; it's a thoughtful part of the quilt's story. It's a smart, sustainable way to make your project feel completely cohesive and uniquely yours.
This approach has really taken off in the quilting world. In fact, some recent surveys have shown that around 65% of quilters in the U.S. now regularly piece their quilt backs rather than defaulting to a single cut of fabric. It’s a clear sign that quilters are embracing more creative expression and less waste.
A well-executed quilt back is a sign of thoughtful craftsmanship. It shows you cared about the entire quilt, not just the side that gets the most attention. Taking the time to master this skill truly sets your work apart.
At the end of the day, a perfectly pieced back makes the final quilting stage so much smoother and more successful. It gives you a stable, flat surface that works with you, not against you. By taking care to avoid those bulky seams and double-checking your measurements, you’re setting yourself up for gorgeous, even stitches across the entire quilt top.
If you'd like to dive deeper into material selection, be sure to check out our comprehensive guide on choosing the best backing fabric for quilts.
The secret to a beautiful quilt back starts well before you even thread your machine. The fabric you pick is the foundation for everything—it dictates the quilt's final drape, its warmth, and how it feels against your skin. While standard quilting cotton is the undisputed champion for its stability and endless designs, don’t be afraid to explore other options.
Imagine turning a lovely quilt into an incredibly cozy one with a soft flannel back, perfect for snuggling on a cold night. Or, you could add a touch of luxury with a silky sateen or lawn, giving a modern quilt top a gorgeous, flowing drape. The key is to think about fabric weights. Pairing a heavy flannel back with a delicate lawn top is a recipe for puckering and tension headaches later on.
One of the most common mistakes I see is underestimating the amount of fabric needed for the back. There's nothing worse than getting to the end and realizing you're just a few inches short. It’s a project-killer.
Here’s my go-to rule: measure the length and width of your finished quilt top and add 8 inches to each of those numbers. This gives you a critical 4-inch buffer on every side. Trust me, you’ll be glad you have it.
This extra fabric is essential, whether you're quilting it yourself on a domestic machine or sending it to a professional longarmer. It provides the necessary room for squaring up the quilt after it’s all stitched together and accounts for any shrinkage that might happen. For a detailed walkthrough, our simple guide on https://hcquilts.com/blogs/tips-and-tricks/how-to-calculate-quilt-backing breaks it all down.
While quilting cotton is a fantastic workhorse, other fabrics can bring a completely different personality to your project. If you're weighing your options, this a comparison of linen and cotton has some great points on feel and durability that are just as relevant for quilt backs.
Here’s a quick rundown of some popular choices:
Here's a quick reference guide to help you decide.
| Fabric Type | Average Cost Per Yard (USD) | Best For | Key Consideration |
|---|---|---|---|
| Quilting Cotton | $12 - $18 | All-purpose quilts, beginners, intricate tops | Widest variety of prints, stable and predictable |
| Flannel | $10 - $16 | Cozy winter quilts, baby blankets | Prone to shrinking; pre-washing is essential |
| Minky/Cuddle | $15 - $25 | Ultra-soft sensory or children's quilts | Stretchy and slippery; requires pins and a walking foot |
| Sateen/Lawn/Voile | $14 - $22 | Lightweight quilts, modern designs | Creates a luxurious drape, can be slightly sheer |
As you can see, the right choice really depends on the quilt's final purpose. Costs can range from about $10 to $15 per yard on average, and you'll typically need 3 to 4 yards for a queen-sized quilt. With over 40% of all quilting fabric purchases now happening online, it’s easier than ever to find the perfect material for your project.
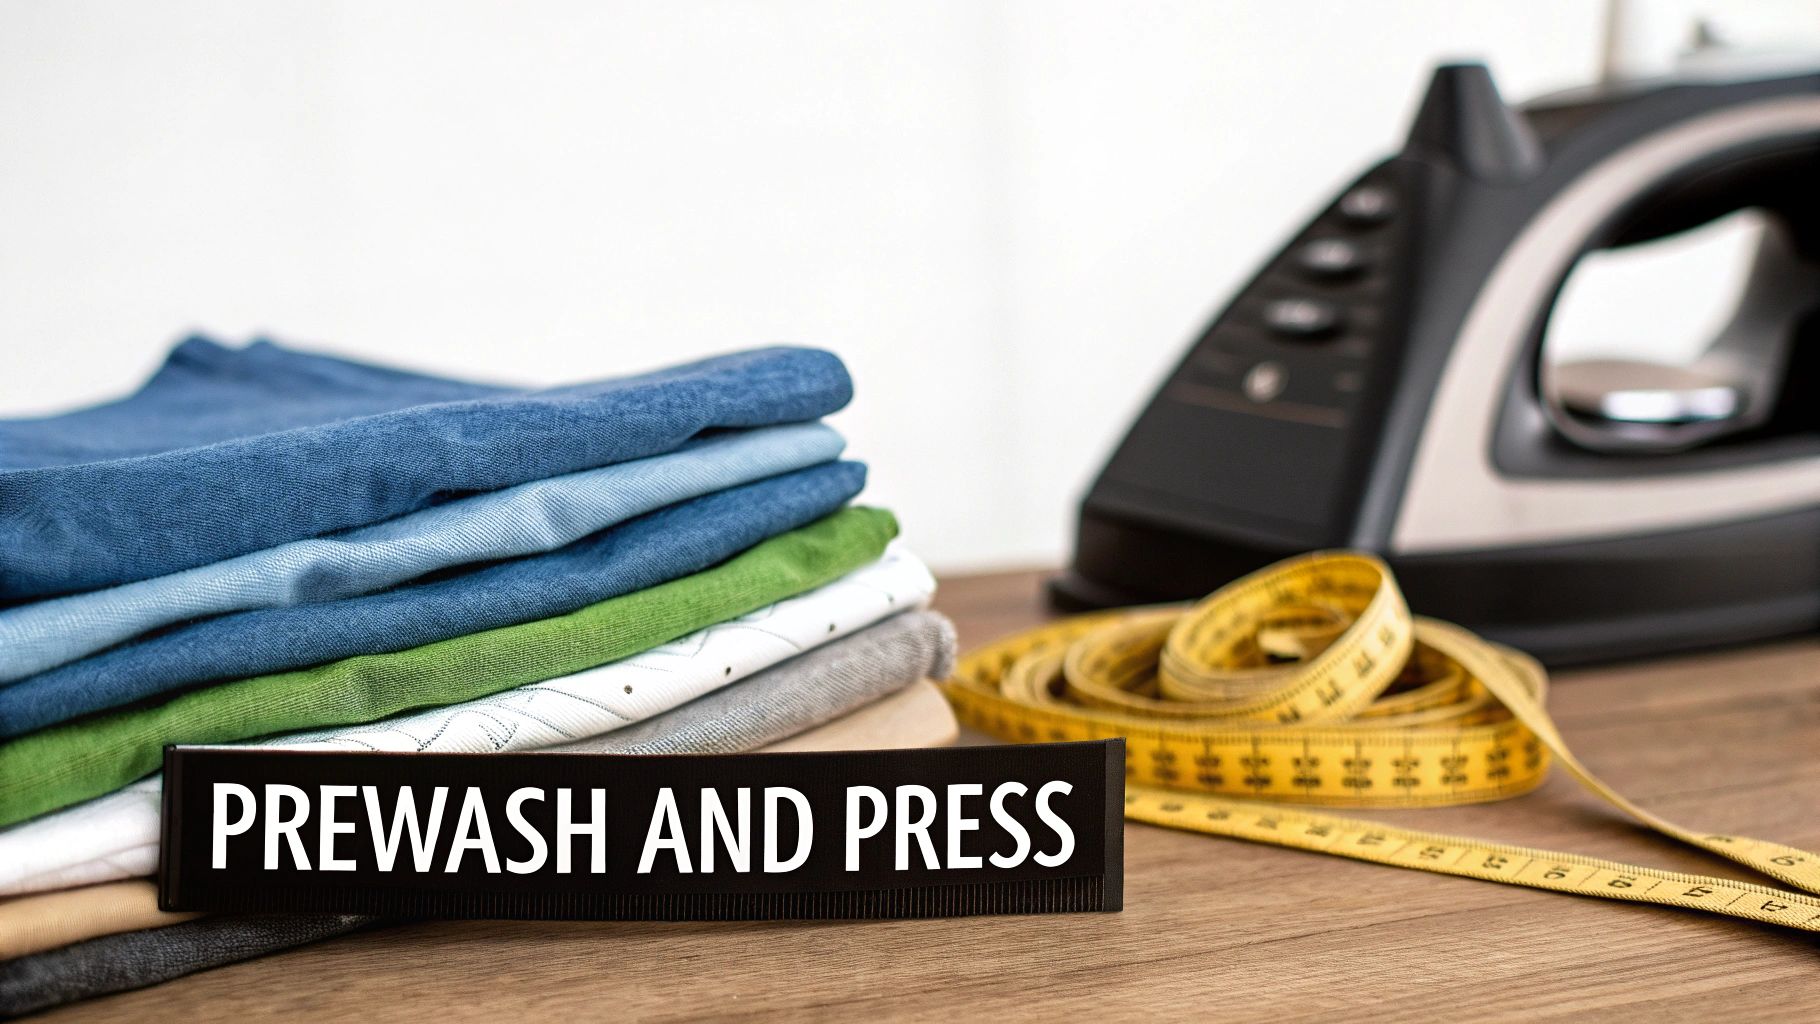
Once your fabric is in hand, it’s time for some prep. I always, always pre-wash my backing fabric. This is especially true for bold colors like deep reds or blues. This simple step gets rid of any excess dye that could bleed onto your beautiful quilt top and, just as importantly, it pre-shrinks the fabric. This prevents your quilt from getting distorted and wonky after its first real wash.
After washing and drying, give that fabric a really good press. I'm talking about ironing out every single crease and fold until it’s perfectly smooth. This is the key to getting accurate cuts and a flat, professional-looking seam on your finished quilt back.
Alright, your fabric is pressed and looking sharp. Now comes the part that really makes or breaks a professional-looking quilt back: the cutting and alignment. This is where a little bit of precision goes a long way, turning what could be a puckered mess into a beautifully flat finish. I know wrangling huge pieces of fabric can feel a bit like wrestling an octopus, but a couple of simple tricks will give you the upper hand.
Our whole goal here is to create two perfectly matched panels that will join together so seamlessly, you'll barely notice the seam. And that all begins with a good, straight cut.
Before you do anything else, you have to trim the selvages off your fabric. The selvage is that tightly woven edge running along both sides of the fabric, right off the bolt. You can usually spot it by its different texture, or sometimes it has little dots or manufacturer info printed on it.
It might feel wasteful to slice off what looks like perfectly good fabric, but trust me, this step is absolutely non-negotiable.
The selvage is woven much tighter than the rest of the material. If you sew it into your seam, it won't shrink or stretch the same way as the main fabric, which is what causes that awful puckered seam right down the middle of your quilt.
All it takes is trimming off about a half-inch from each side that will be seamed to completely avoid this headache.
The most common way to create a quilt back is to take your total yardage, cut it in half crosswise, and create two identical panels from it.
Let's walk through a real-world example. Say you bought 4 yards of standard 42-inch wide fabric. Here’s how you'd tackle it:
The secret to a perfectly straight cut, especially over a long distance, is a good quality quilting ruler and a fresh, sharp rotary cutter. If your fabric is longer than your ruler, just work in sections. Whatever you do, don't try to "eyeball" it or use scissors—that's a surefire way to end up with a wonky edge. If you're wondering what tools to use, checking out the best rotary cutters for quilting can make a huge difference in your accuracy.
My Go-To Trick: When I'm cutting a long piece, I fold it neatly in half, making sure the selvage edges are lined up perfectly. This lets me cut through both layers at once, guaranteeing my two panels are the exact same length right from the start.
With your two panels cut and their joining edges clean, it's time to bring them together.
Lay one panel down on a large flat surface (your floor works great!), with the right side of the fabric facing up. Next, place the second panel directly on top, but with its right side facing down. You should now have your two panels right sides together.
Now, carefully line up those long, freshly cut edges you just trimmed. This is a critical step. Take a moment to smooth out any wrinkles and make sure those edges are perfectly flush from end to end. Any little bit of misalignment here will throw off your seam and keep your backing from laying flat.
Once they're lined up, pin those panels together along that long edge. And don't be stingy with the pins! I like to place a pin every 3-4 inches to make sure nothing shifts or stretches while I'm sewing. It’s especially important on these long seams. Pinning perpendicular to the edge also makes them a breeze to pull out as you sew. This one simple step is the best insurance policy you have against a wavy, uneven seam.
Now that your fabric is cut and pinned, it's time to head to the sewing machine. This is where your quilt back really starts to take shape, and a couple of small tweaks can make a huge difference in how professional your final project looks. Our goal here is to create a seam that's strong but also disappears into the background.
Before you even start stitching, let's talk about stitch length. I always lengthen mine just a bit for quilt backs, aiming for around 2.8 mm or 3.0 mm. Why? A slightly longer stitch is stronger and holds up better to the tension of quilting, especially over a long seam. It gives the seam the durability it needs without being impossible to rip out if you make a mistake (we've all been there!).
Begin sewing along your pinned edge, but don't use your standard piecing seam allowance. For a quilt back, you'll want a more generous 1/2-inch seam allowance. While we live by the 1/4-inch seam for quilt tops, the backing takes on a lot more stress over the life of a quilt. That wider seam provides some extra insurance, ensuring everything stays secure through years of snuggling and washing.
As you feed the fabric through the machine, let the feed dogs do the heavy lifting. Your job is just to guide it gently. Resist the urge to pull or stretch the fabric—that’s a surefire way to get a wavy, distorted seam. Just remember to remove each pin right before it gets to the needle to keep your machine (and your sanity) intact.
The whole process, from measuring to aligning, is a simple, logical flow.
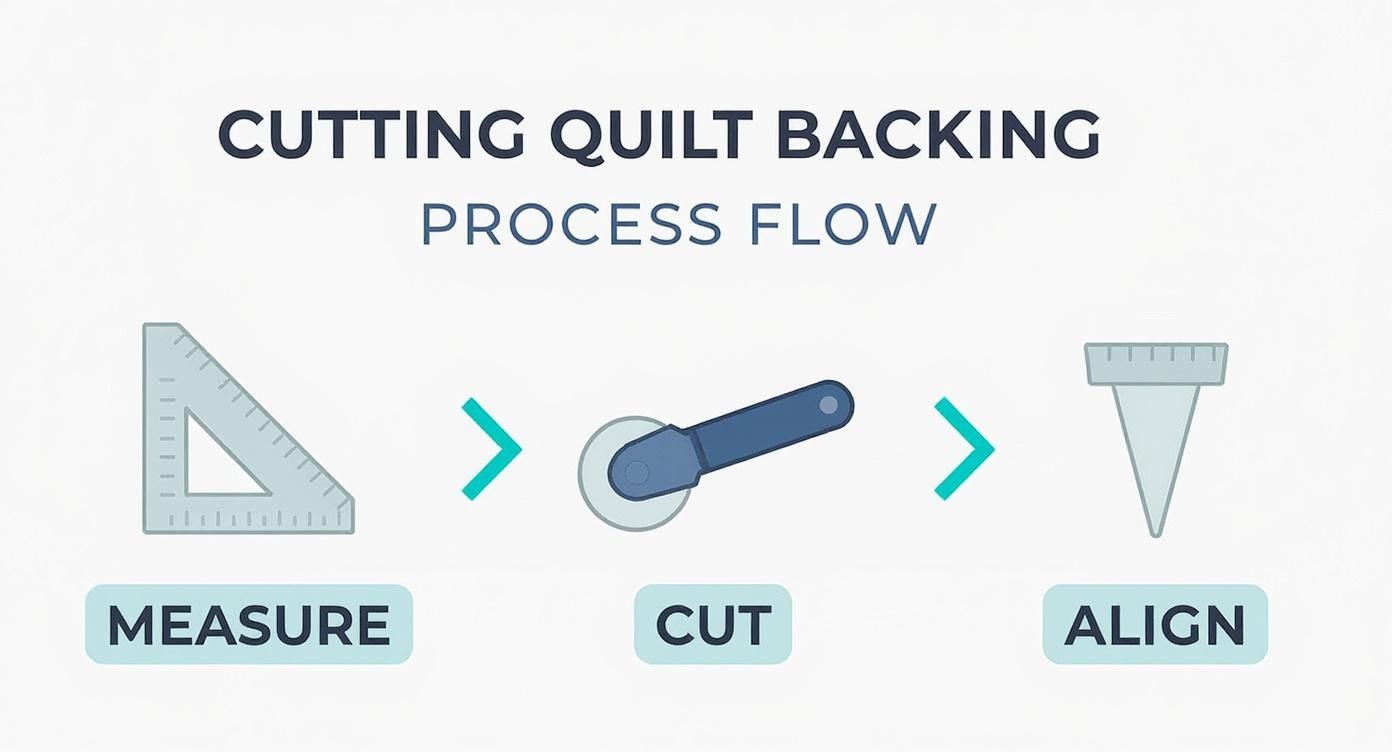
You can see how each step builds on the last, which is why taking your time and being accurate from the very beginning is so important.
You've sewn the seam, and now we've arrived at what I consider the most critical step for a beautiful finish: pressing. The way you press this one seam will decide whether your quilt back lies perfectly flat or has an annoying, bulky ridge running down the middle.
The absolute best way to get a professional-looking, flat quilt back is to press the main seam open. This one little trick distributes the fabric bulk evenly to both sides, getting rid of that central ridge that can cause puckers and headaches during quilting.
To do it right, lay your quilt back on the ironing board, wrong side up. Use your fingers to gently pull the seam allowances apart, then press them flat with a hot, dry iron. Move slowly down the entire length of the seam until it’s perfectly open and flat. It's a small detail, but it makes an enormous difference.
If you want to dive deeper into the art of pressing, this guide on how to press seams effectively has some fantastic tips. Mastering this technique is the key to creating a quilt back so smooth that the seam all but vanishes once it's quilted.
https://www.youtube.com/embed/iug7Y6ux5jU
Why should the front of your quilt get to have all the fun? Piecing your quilt back is a golden opportunity to add a "second side" to your project, turning it into a truly reversible piece of art. This is your chance to use up those beloved leftover blocks or fabric strips from the quilt top, creating a beautiful, cohesive design.
Think of it as your own creative playground. You could arrange leftover half-square triangles into a bold chevron stripe down the center or scatter a few orphan blocks for an improvisational, modern feel. This isn't just about being frugal with scraps; it’s about adding a personal signature that makes the quilt uniquely yours. An interesting back tells a more complete story of your project.
Of course, sometimes things don't go exactly as planned. You finish your beautiful pieced back, lay it out, and realize it isn't perfectly square. Don't panic! This is a common and fixable issue that happens to all of us.
A slightly "off" back is often just caused by a bit of stretching during sewing or pressing. The easiest fix is to give it a gentle press with steam and a spray of starch, which encourages the fabric fibers to relax back into place. Lay the backing on your cutting mat, use your longest quilting ruler to find the straightest, most square corner, and trim from there.
The most important thing is to ensure your backing is at least 4 inches larger than your quilt top on all sides. This buffer gives you plenty of room to trim and square up without compromising the size you need for quilting.
Even with the most careful pinning, seams can sometimes end up a little wavy or not perfectly straight. A slightly wobbly seam isn't a disaster and is often less noticeable than you think, especially after quilting. However, if it's causing significant puckering, it’s best to address it.
A walking foot can be a lifesaver for preventing these issues from the start, as it feeds both layers of fabric through the machine evenly. Our guide on how to use a walking foot effectively can help you master this valuable tool.
The techniques for piecing a quilt back are versatile and can be applied to a variety of projects, from large bed quilts to other creative items like durable quilted play mats.
Ultimately, remember that every quilter deals with these small challenges. The average size for a queen quilt back is around 90 by 100 inches, often requiring 1.5 to 3 hours of piecing. With that much fabric and time, small imperfections are just part of the process. Tackling these little fixes builds your skills and confidence, making you a more resilient and creative quilter.
When you're first learning to piece a quilt back, you're bound to have a few questions. That's a good thing! Getting the right answers now will save you a lot of headaches later and give you the confidence to finish your quilt beautifully. Let's walk through some of the most common things quilters ask.
A big one is always about pre-washing. Do you really have to wash that big piece of backing fabric? My answer is always a resounding yes.
Taking the time to pre-wash does a few crucial things. First, it pre-shrinks the fabric, so you don't get any weird puckering after the first wash. It also rinses out any leftover chemicals from the manufacturing process and, most importantly, helps prevent vibrant colors from bleeding all over your quilt top and batting.
Another thing I get asked about is the direction of the seam. Does it have to run vertically down the quilt? Not at all. You can absolutely run your seam horizontally.
Honestly, the best direction often comes down to simple math and what makes the most sense for your quilt's dimensions. If you have a quilt that's wider than it is long, a horizontal seam can be a fantastic way to conserve fabric.
No matter which way your seam runs, the real secret to a flat, professional-looking back is pressing that seam open. This is what stops you from getting that bulky ridge running down the middle of your finished quilt.
Working with a directional print on your backing can also feel a little tricky. The main thing to figure out is if you want the print to run in the same direction on both pieces. If you do, you'll probably need to buy a little extra fabric to make it happen.
The easiest way to tackle this is to cut two identical lengths of your fabric. This ensures the print is oriented "up" on both halves. Then, just be extra careful when you're pinning them together to make sure the pattern lines up perfectly at the seam. It's that little bit of extra attention that makes the back look just as polished as the front.
At High Country Quilts, we've got all the premium fabrics, helpful notions, and expert advice you need to create a quilt back you'll absolutely love. Explore our shop today
At High Country Quilts we care deeply about community. With our experiences in retail, we know that a store is not only a place to shop but also a place for the community to gather and share. During this busy...

Hi! We’re Adam and Renee Wheaton, the new owners of High Country Quilts! For more than 40 years, we’ve owned and operated vacuum and sewing businesses. Following in Renee’s father’s footsteps after he retired from All Discount Vacuum and Sewing in Colorado...


Leave a comment