

We Love Our Quilting Community
At High Country Quilts we care deeply about community. With our experiences in retail, we know that a store is not only a place to shop but also a place for the community to gather and share. During this busy...


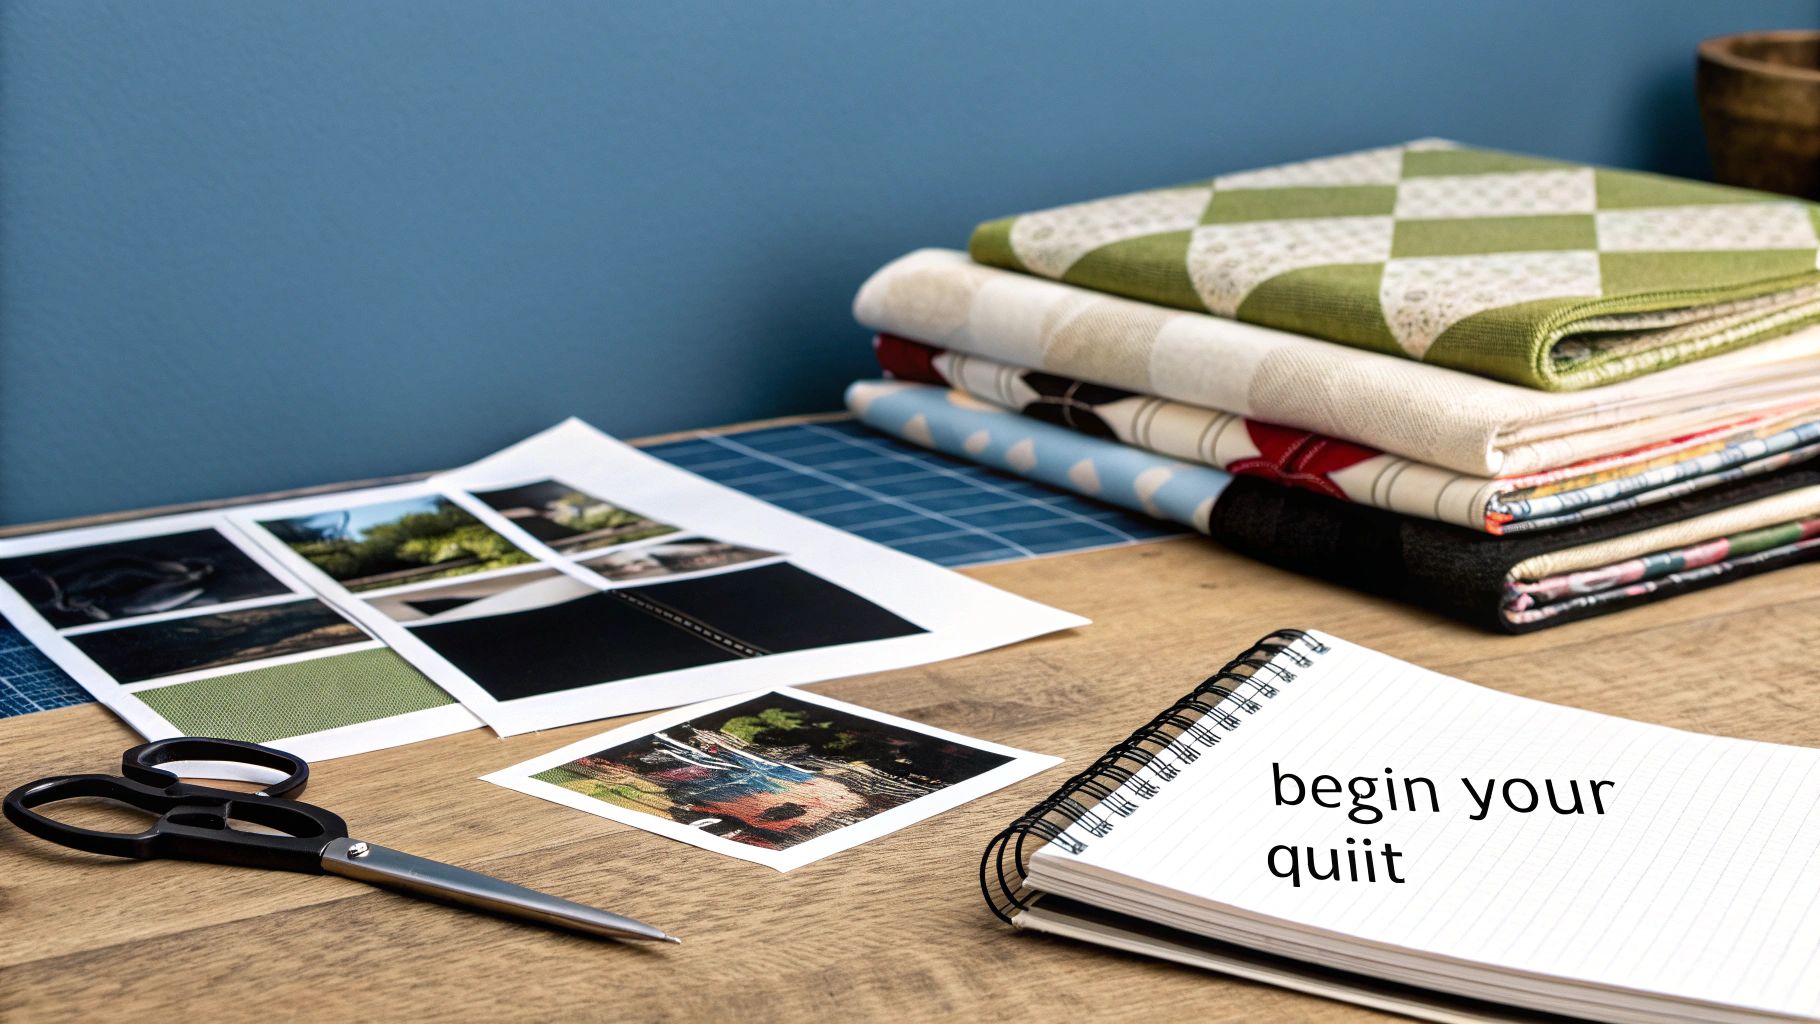
There’s something truly special about turning a collection of photos into a soft, warm quilt. You’re essentially taking your most cherished digital memories and transforming them into a tangible, cozy keepsake that you can wrap yourself in or give as an unforgettable gift.
So, you’re ready to dive into the world of picture quilting? It’s a wonderful place where your photos become a touchable story, piece by piece. Think of this guide as your friendly roadmap, whether this is your very first quilt or you're a seasoned quilter looking for a new, meaningful project. We’ll cover everything, from picking the right photos to adding that final, satisfying stitch.
This is your blueprint for creating something amazing. We'll explore different ways to get your images onto fabric and then walk through how to assemble and finish your creation. By the time you're done reading, you'll have a clear plan and the confidence to get started.
A picture quilt is so much more than a blanket. It's a personal narrative stitched together with love and thread—a powerful way to celebrate life's biggest milestones, remember people you love, or just gather your favorite moments all in one place. It’s a craft that perfectly marries textile art with personal storytelling.
The passion for quilting is as strong as ever. In North America alone, there were an estimated 10 to 12 million active quilters as of 2021. This dedicated community is the heart of a vibrant market, which is projected to approach $5 billion by 2027. It's a craft that continues to connect people through shared creativity.
To give you a better sense of the journey ahead, here's a quick look at the major stages of making a picture quilt.
| Stage | Key Objective | Estimated Time |
|---|---|---|
| 1. Planning & Design | Select photos, choose a layout, and gather materials. | 2-4 hours |
| 2. Photo Transfer | Print your chosen photos onto fabric squares. | 3-6 hours |
| 3. Cutting & Piecing | Cut fabric and sew the quilt top together. | 5-10 hours |
| 4. Quilting | Layer the top, batting, and backing; stitch them together. | 4-8 hours |
| 5. Finishing | Add binding and a label to complete your quilt. | 2-4 hours |
This table is just a guide, of course—your timeline will depend on the quilt's size and complexity. The most important thing is to enjoy the process!
Before you even touch a pair of scissors, a little bit of planning will save you a world of headaches later. First, think about the quilt's purpose. Is it a heartfelt gift for a wedding? A wall hanging for the nursery? Or a cozy throw for movie nights on the sofa? The answer will help guide your design choices and the materials you'll need.
Here are a few questions I always ask myself before starting a new project:
A picture quilt is one of the most personal gifts you can make and is right at home among these Top DIY Photo Gift Ideas that are guaranteed to make someone feel special.
If you're brand new to quilting, our guide on https://hcquilts.com/blogs/tips-and-tricks/how-to-start-quilting is a fantastic starting point. It covers all the fundamental skills you'll need. Taking the time to build a solid plan now will make sure your project goes smoothly from the very first cut to the final stitch.
Before you even think about making that first cut, let's get your workspace set up. Prepping your supplies is, in my experience, one of the most crucial parts of making a picture quilt. I like to think of it as setting up an artist's palette—when everything is within reach, the creative process just flows so much better.
Taking the time now to gather your tools saves you from those frustrating moments when you have to stop everything to hunt down a spool of thread or a specific ruler. It really does lay the groundwork for a beautiful quilt.
This way, you can keep your focus where it belongs: on bringing those cherished memories to life in fabric.
The fabric you choose is truly the heart of your quilt. When it comes to quilting, 100% cotton is the undisputed champion, and for good reason. It’s stable, doesn't shift around too much when you're sewing, and it holds a press beautifully, giving you those crisp, clean seams. Plus, it just gets softer and cozier with every wash.
So, what colors should you pick? Think about what will best showcase your photos. A palette of neutrals—cream, soft gray, or even a nice beige—can create a sophisticated, gallery-like feel that lets the images pop. Another approach I love is to pull colors directly from the photos themselves. This creates a really cohesive, harmonious design that ties everything together.
There are a few different ways to get your pictures onto the fabric, and each has its own pros and cons. Knowing the options helps you decide what's best for your specific quilt.
Pro Tip: If you're using the DIY printable sheets, don't skip the heat-setting step! Every brand has its own instructions, but this is what locks the ink into the fabric fibers. It's the key to preventing your beautiful photos from fading away in the laundry.
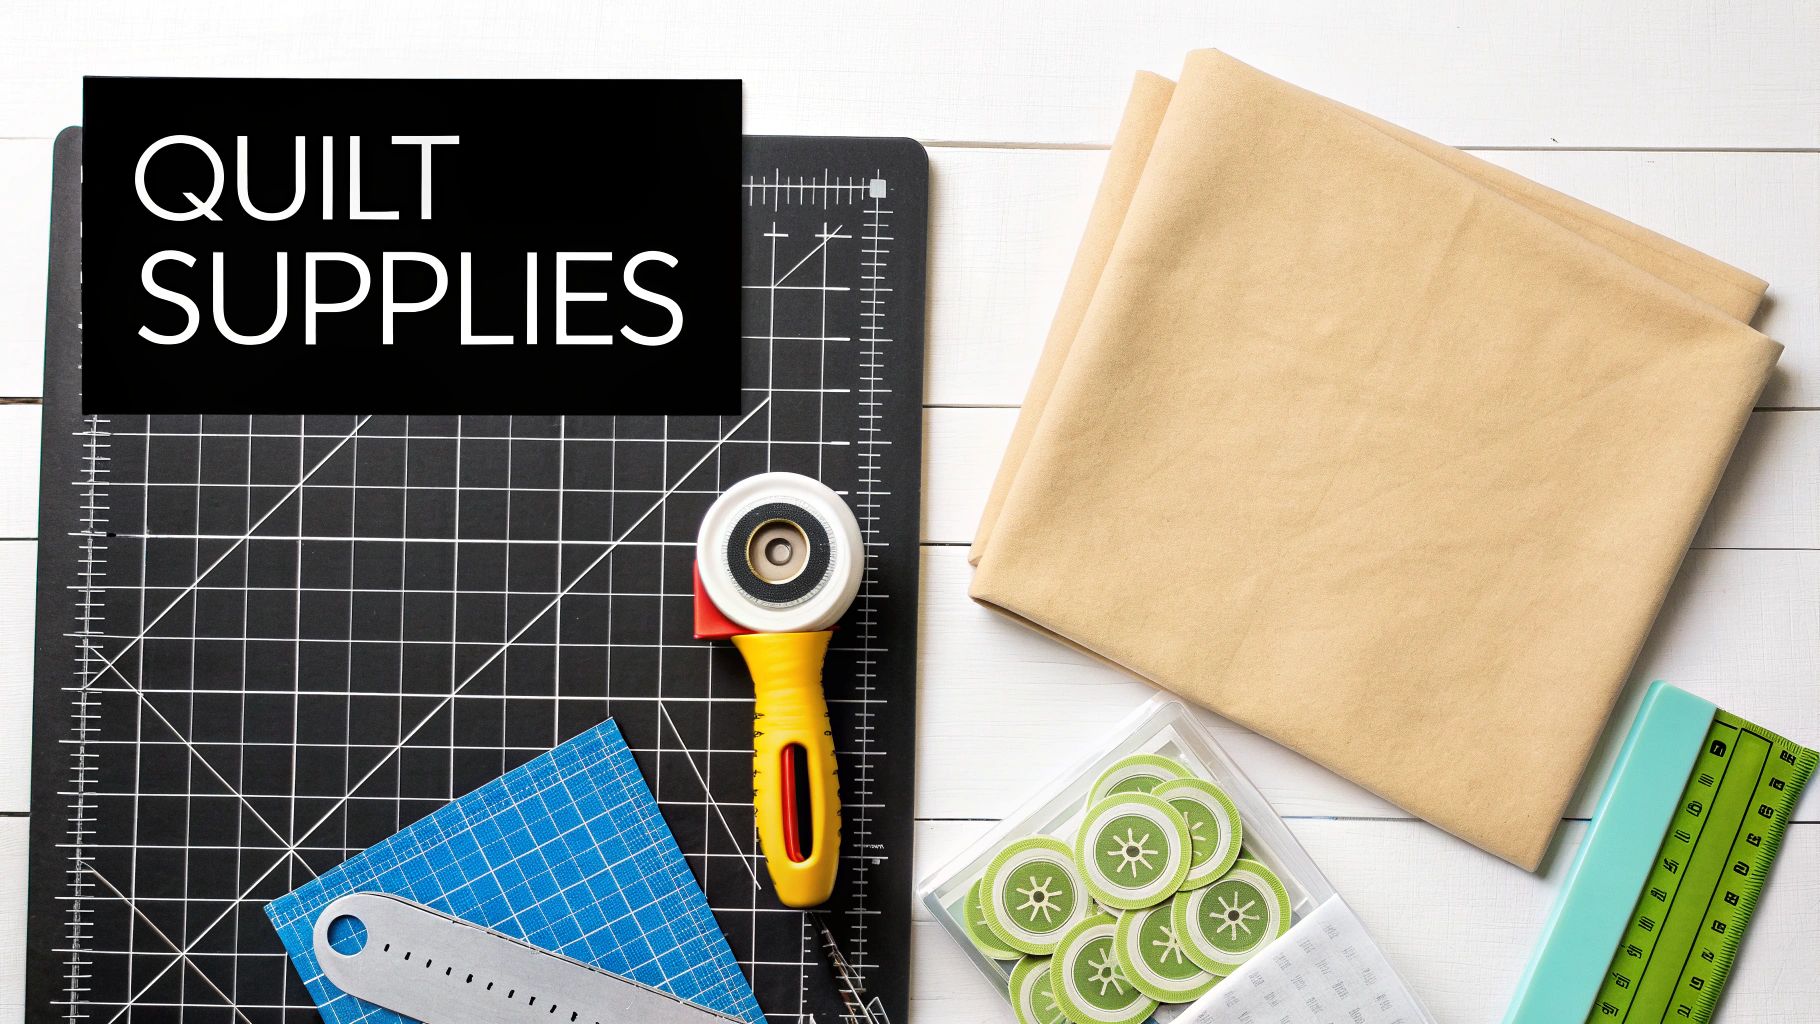
Beyond the fabric and photos, a few essential tools will make your life so much easier and your results far more professional. Trust me, investing in quality tools from the get-go is worth every penny.
A good rotary cutter and a self-healing mat are non-negotiable for cutting perfectly straight lines; they're worlds more accurate than trying to use scissors. You'll also need a clear acrylic quilting ruler (having a couple of different sizes is a huge help) for precise measurements. And of course, grab some high-quality cotton thread that either matches your fabrics or provides a nice, subtle contrast.
Finally, let's talk about batting—the fluffy, cozy layer in the middle of your quilt "sandwich." The type of batting you select really impacts the quilt's final weight, warmth, and how it drapes. To figure out what's right for your project, you can explore our guide on the best batting for quilts. It’s the unsung hero that truly brings a picture quilt to life.
The real magic of a picture quilt begins long before you even thread your needle. It all starts with your photos. The final quality of your quilt blocks is a direct reflection of the images you choose, so spending a little time here is one of the most important things you can do.
Think of it this way: a blurry, low-resolution photo will only look worse once it's printed on the soft, textured surface of fabric. Your goal is to find pictures that are sharp, well-lit, and have a clear focus.
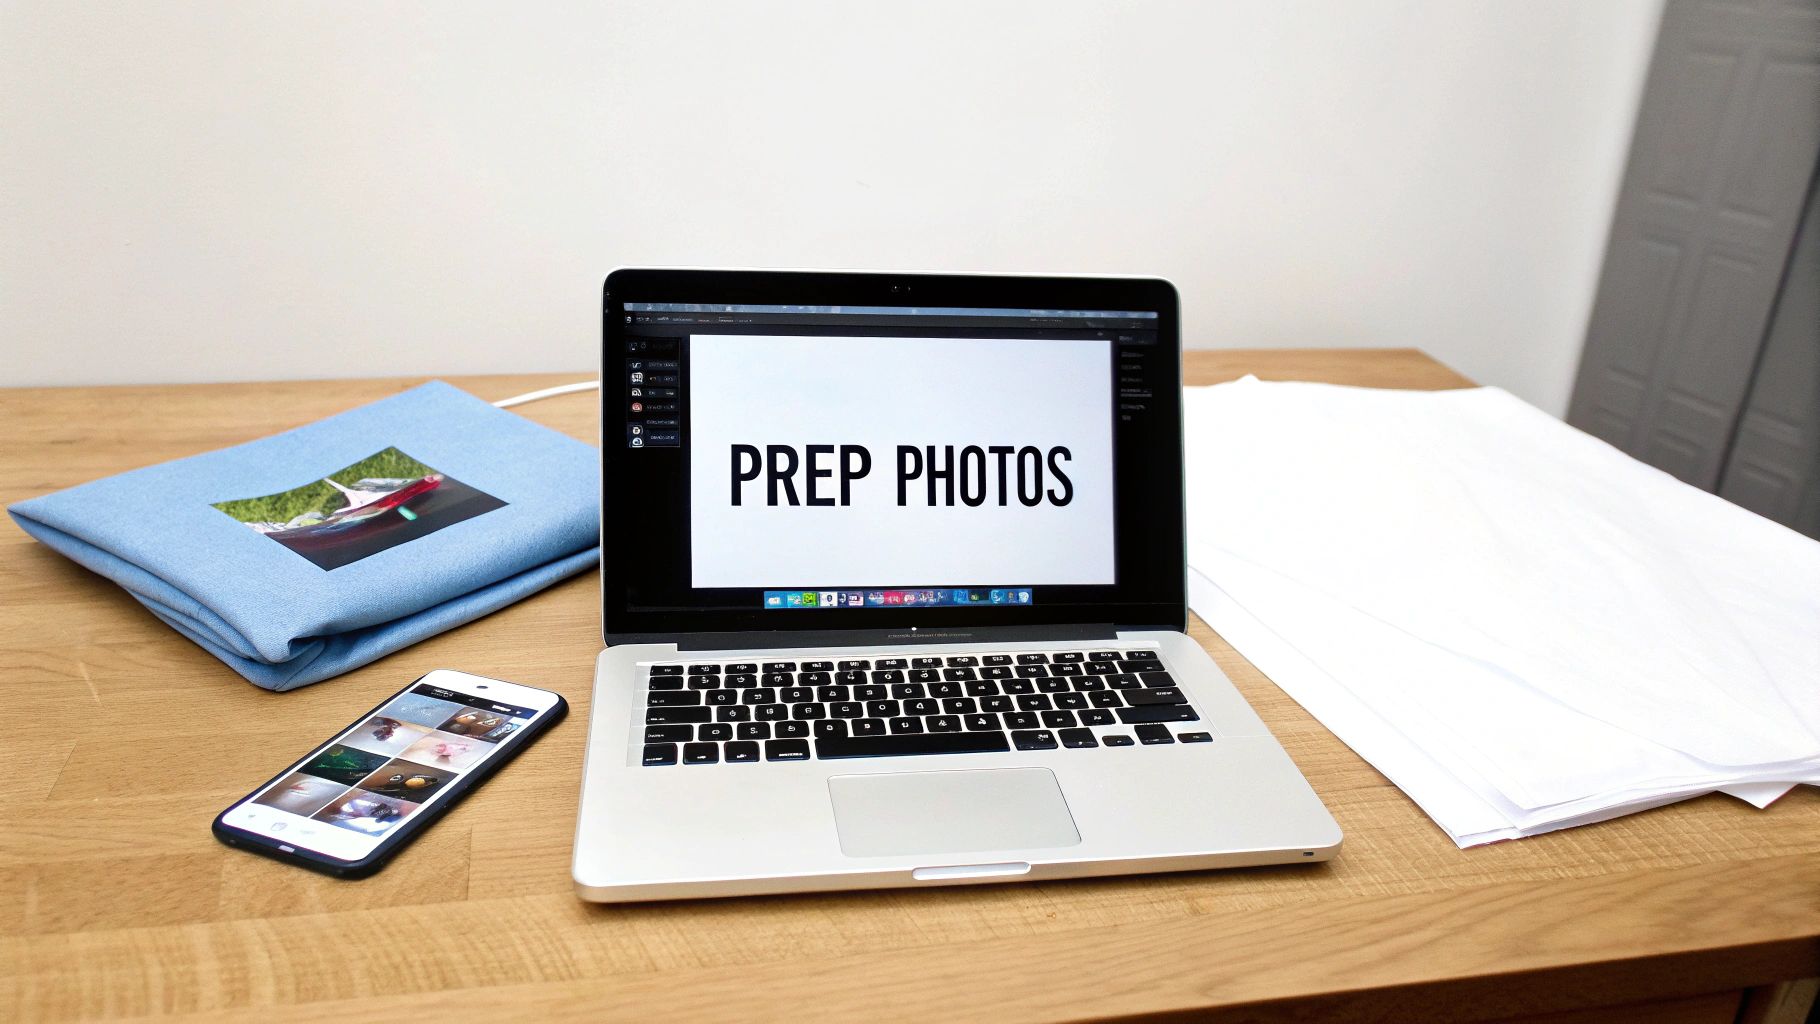
This doesn't mean you need to be a professional photographer. Most photos from a modern smartphone are perfectly fine! I just recommend pulling them up on a bigger computer screen first to spot any pixelation or fuzziness you might have missed on your phone.
Once you have your favorite photos picked out, a few simple tweaks in a photo editor can bring a beautiful, harmonious look to your finished quilt. You don't need fancy software; even free online tools will do the trick.
Here are a few quick edits that make a world of difference:
Alright, now for the fun part—getting those beautiful images onto your fabric. There are a few ways to do this, and the best method for you really boils down to your budget, the quality you're after, and how much of the work you want to do yourself.
For a great DIY option with fantastic results, you can use something like these printable fabric sheets for your project. You feed them right into your home inkjet printer. Another go-to is iron-on transfer paper, which is usually a bit more budget-friendly.
To help you decide, here's a quick look at the most common methods for transferring photos to fabric.
| Method | Best For | Cost | Durability |
|---|---|---|---|
| Iron-On Transfer Paper | Beginners and budget-friendly projects. | $ | Can feel stiff and may crack over time with heavy washing. |
| Printable Fabric Sheets | Excellent print quality with a soft fabric feel. | $$ | Good. Offers a nice balance of DIY control and a professional look. |
| Professional Printing | Heirloom-quality quilts that need to last a lifetime. | $$$ | Excellent. Printed with commercial, wash-fast dyes for vibrancy. |
Each option has its place, and I've used them all for different projects. The right one just depends on what you're trying to achieve with your quilt.
Whichever route you take, a little care goes a long way in making sure your images transfer cleanly and look great for years. If you're going the iron-on route, for instance, you have to follow the instructions on the package to the letter. Heat settings and pressure are everything. For more on this, there’s a great guide on using iron transfer paper effectively.
If you decide to have a company print your fabric, make sure your digital files are saved at a high resolution—at least 300 DPI is the industry standard. They’ll also usually ask for a specific file type, like a JPEG or TIFF. Taking these steps ensures the printer can create the sharpest, most vibrant version of your memories, giving you the perfect starting point for a truly special quilt.
Now for the fun part! With your photo blocks printed and ready, you get to play designer. This is where all those individual memories start to weave together into a single, beautiful story. Don't rush this stage; arranging and rearranging your blocks is a joy in itself.
Spread all your photo blocks out on a large, flat surface. A design wall is ideal if you have one, but a clean floor or even a spare bed will work perfectly. Start moving the photos around, seeing how they feel next to each other. You could group them chronologically, by a specific person, or just play with the colors to create a stunning visual flow.
The most straightforward and classic approach for a picture quilt is a simple grid. This layout puts all the focus right where it belongs—on your photos. It creates a clean, modern look and is a fantastic choice if you're just starting out.
If you want to add a little extra something, think about adding sashing and cornerstones. Sashing is just a fancy word for the fabric strips you sew between your blocks. It frames each picture beautifully. Adding small cornerstone squares where the sashing strips meet can introduce a fantastic pop of accent color.
For a more traditional quilt pattern, you could set your photo blocks into a design like an "Irish Chain." This pattern uses a mix of plain fabric squares and pieced blocks to create a diagonal, chain-like effect, with your precious photos nestled in between.
It's no surprise that handmade items like picture quilts are so popular. The global quilt market hit an estimated USD 5.32 billion and is expected to grow by 5.7% each year through 2034, driven by a real love for artisanal goods. You can explore the full quilt market analysis to see more on this trend.
Once you’ve settled on a design you love, it’s time to focus on precision. Accurate cutting is the absolute bedrock of a quilt that lies flat and has seams that match up perfectly. Always, always use a rotary cutter, a clear quilting ruler, and a self-healing mat for the cleanest, straightest cuts.
Remember the old carpenter's adage? Measure twice, cut once. It's golden advice for quilting, too! Make sure you add a ¼-inch seam allowance to all sides of your blocks and sashing strips. Forgetting this is one of the most common hiccups, so it pays to double-check your math. Our guide on calculating yardage for quilts can be a huge help here.
When you're ready to start sewing, the key is to be methodical.
To get those seams to line up perfectly, you'll want to "nest" them. This just means pressing the seams of one row in one direction and the seams of the adjoining row in the opposite direction. When you pin them together, the seams will lock right into place, giving you those crisp, professional-looking points that make a quilt truly special.
You’ve pieced together your quilt top, and it looks incredible. Now for the magic. This is the stage where your flat design transforms into a real, three-dimensional quilt by bringing together the top, the batting, and the backing fabric. It’s easily one of the most satisfying parts of the process, adding the texture and warmth that makes a quilt so special.
First up, you need to create what we call a "quilt sandwich." It’s a simple concept: you lay down your backing fabric (wrong side facing up), place the batting smoothly on top, and then finish with your quilt top (right side up). The real trick here is to get every single layer perfectly smooth and flat. Any wrinkles now will turn into frustrating puckers later.
With your three layers stacked, the next job is to temporarily fasten them together for quilting. This is called basting. You’ve got a few options here: you can use special curved safety pins for quilters, a temporary spray adhesive, or even do it the old-fashioned way with long, loose hand stitches. I've tried them all, but I almost always come back to pin basting—I just like the control it gives me, placing a pin every few inches across the entire quilt.
Key Takeaway: Always cut your backing and batting at least four inches wider on all sides than your quilt top. This extra fabric is your safety net. It gives you room to work and prevents the layers from shifting and leaving you with an edge that doesn't quite match up.
The journey from a stack of photos and fabric to a finished top is all about taking it one step at a time.
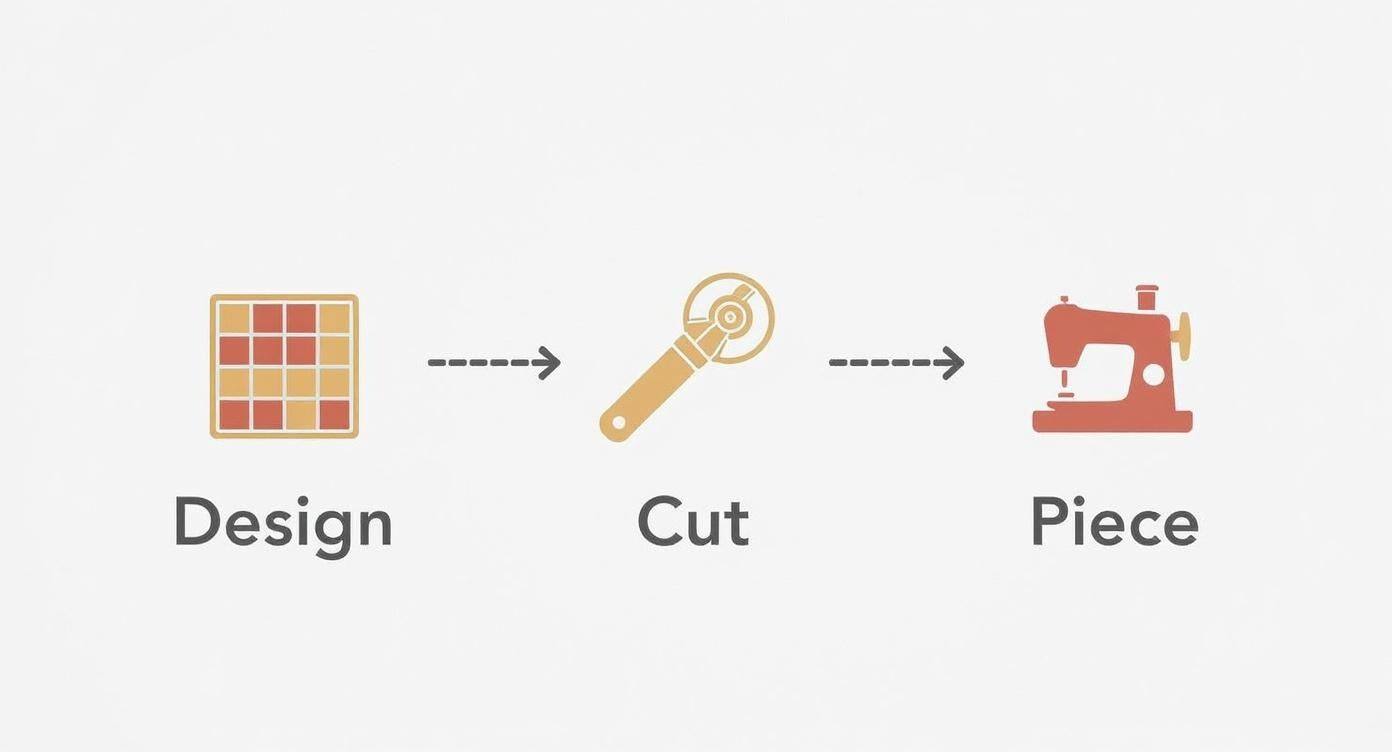
As you can see, following a methodical process through each phase makes that final assembly feel much more manageable.
Now it's time to add the stitches that will hold everything together permanently. For a picture quilt, the goal is to choose a quilting design that enhances your photos, not overpowers them. You want your pictures to remain the star of the show.
Here are a couple of great approaches:
Don't feel like you have to quilt every square inch. Often, a simple grid or some outlining is all a picture quilt needs to feel polished and complete.
The very last step is binding the raw edges. This isn't just for looks; it creates a durable frame that protects your quilt from fraying over time. To do this, you’ll cut long strips of fabric—2.5 inches wide is the standard—sew them together end-to-end, and then attach this long strip all the way around the perimeter of your quilt.
The secret to a crisp, professional-looking binding is the mitered corner. It can seem a little intimidating at first, but once you get the hang of folding the fabric, you'll be making perfect corners every time. For a really clear, step-by-step tutorial, we've put together a guide on how to bind a quilt. This final touch is what truly seals the deal, turning your project into a finished masterpiece ready for years of enjoyment.
As you get started on your first picture quilt, you're bound to run into a few questions. It happens to everyone! Let's walk through some of the most common hurdles so you can tackle your project with confidence and create a quilt that lasts.
This is probably the number one concern, and for good reason! You've put so much work into your quilt; you want it to stay vibrant. The secret lies in gentle care.
Always wash your quilt in cold water on a delicate cycle. I recommend using a mild, phosphate-free detergent. Steer clear of bleach and fabric softeners, as those harsh chemicals are notorious for breaking down the printed images over time.
When it comes to drying, your best bet is to air dry it flat or hang it somewhere out of direct sunlight. If you need to use a dryer, be sure to use the lowest heat setting available.
A Pro's Two Cents: If you're using DIY inkjet fabric sheets to print your photos, don't skip the heat-setting step! Following the manufacturer’s instructions to the letter before you wash it is the single most important thing you can do to lock in the color. This simple step makes a world of difference in preventing fading.
The old saying "garbage in, garbage out" really applies here. The better your original photo, the more beautiful your quilt block will be.
Look for high-resolution digital photos. The best ones have good lighting, a sharp focus, and plenty of contrast between the subject and the background. Photos that are already blurry, too dark, or grainy will only look softer and less defined once printed on the texture of the fabric.
Are you working with old family snapshots? If you're scanning physical photos, make sure your scanner is set to a high resolution—I always aim for at least 300 DPI (dots per inch). This captures all the precious detail, ensuring your final fabric block is as crisp and clear as possible.
Don't panic! This happens to even the most seasoned quilters. The fix is a fundamental quilting technique called "squaring up," and it's your key to a professional-looking finish.
The goal is to make every single block the exact same size before you even think about sewing them together. Grab a square quilting ruler and a rotary cutter. Find your smallest block—that's going to be your guide. Now, carefully trim all your other blocks down to match its dimensions.
When squaring up your photo blocks, be extra mindful of keeping the image centered. You don't want to accidentally trim off someone's head! Taking the time to do this one step meticulously is what separates a lumpy, frustrating project from a quilt that lays perfectly flat with beautifully aligned seams.
Here at High Country Quilts, we know every quilt has a story to tell. If you need the right fabrics, tools, or just a bit of friendly advice to bring your picture quilt to life, come see what we have to offer at High Country Quilts.
At High Country Quilts we care deeply about community. With our experiences in retail, we know that a store is not only a place to shop but also a place for the community to gather and share. During this busy...

Hi! We’re Adam and Renee Wheaton, the new owners of High Country Quilts! For more than 40 years, we’ve owned and operated vacuum and sewing businesses. Following in Renee’s father’s footsteps after he retired from All Discount Vacuum and Sewing in Colorado...


Leave a comment