

We Love Our Quilting Community
At High Country Quilts we care deeply about community. With our experiences in retail, we know that a store is not only a place to shop but also a place for the community to gather and share. During this busy...


So, you're ready to tackle a queen-size quilt? Fantastic! Let's get right to the most pressing question: how much fabric do you actually need?
For a standard queen quilt, a good rule of thumb is 8-9 yards for the top, another 8-9 yards for the backing if you're using standard 44" fabric, and about 1 yard for the binding. Want to make the backing a whole lot easier? Grab 3 yards of 108" wide-back fabric instead. That's your baseline.
Planning a new quilt is all about the creative vision, but the math part can sometimes feel like a chore. The real goal here is to walk into the fabric store feeling prepared, so you can focus on the fun stuff—like picking out gorgeous fabrics—instead of stressing over calculations. Getting this part right from the start makes the entire quilting journey so much smoother.
You might be surprised to learn that quilt sizes have changed over the years, mainly because mattresses have. Today's standard queen mattress measures 60" x 80". To get that cozy, generous drape over the sides that we all love, a finished queen quilt usually lands somewhere around 90" x 90". Knowing this target size is the first crucial step.
If you're curious about how different bed sizes impact quilt dimensions, this guide on choosing the best mattress size is a fantastic resource.
To make things simple, I've put together a quick-reference chart. This gives you a solid estimate for a standard queen quilt (around 90" x 90") using the most common fabric widths you'll find.
| Quilt Component | 44/45" Wide Fabric | 108" Wide-Back Fabric |
|---|---|---|
| Quilt Top | 8 - 9 yards (pattern dependent) | Not Applicable |
| Backing | 8 - 9 yards | 3 yards |
| Binding | 1 yard | Not Applicable |
As you can see, the quilt top is the biggest variable—a complex pattern with lots of small pieces will need more fabric than one with large, simple blocks. But for backing and binding, the numbers are pretty consistent. Using a 108-inch-wide backing fabric is a game-changer; it means you only need 3 yards and you get to skip piecing long, cumbersome seams together.
My Go-To Tip: I always, always wait to buy my backing fabric until after my quilt top is completely pieced and pressed. This way, I can get a final, precise measurement. Quilt tops can sometimes "grow" or shrink a bit during construction, and this simple habit has saved me from buying too much or—even worse—not enough fabric.
The quilt top is where all the magic happens. It's your canvas, the place where your design, your colors, and your personality really come to life. It's also where fabric math can start to feel a little intimidating, but I promise we can break it down. Let's get practical.
Think about it this way: a queen-size quilt made from simple 10-inch squares will need a totally different amount of fabric than one made from hundreds of tiny 2.5-inch squares. Even if they finish at the same size, the number of seams makes a huge difference. Every single seam eats up a little bit of fabric—that crucial quarter-inch—and it adds up fast.
This handy visual gives you a bird's-eye view of a quilt's construction, showing how the top, backing, and binding all come together.
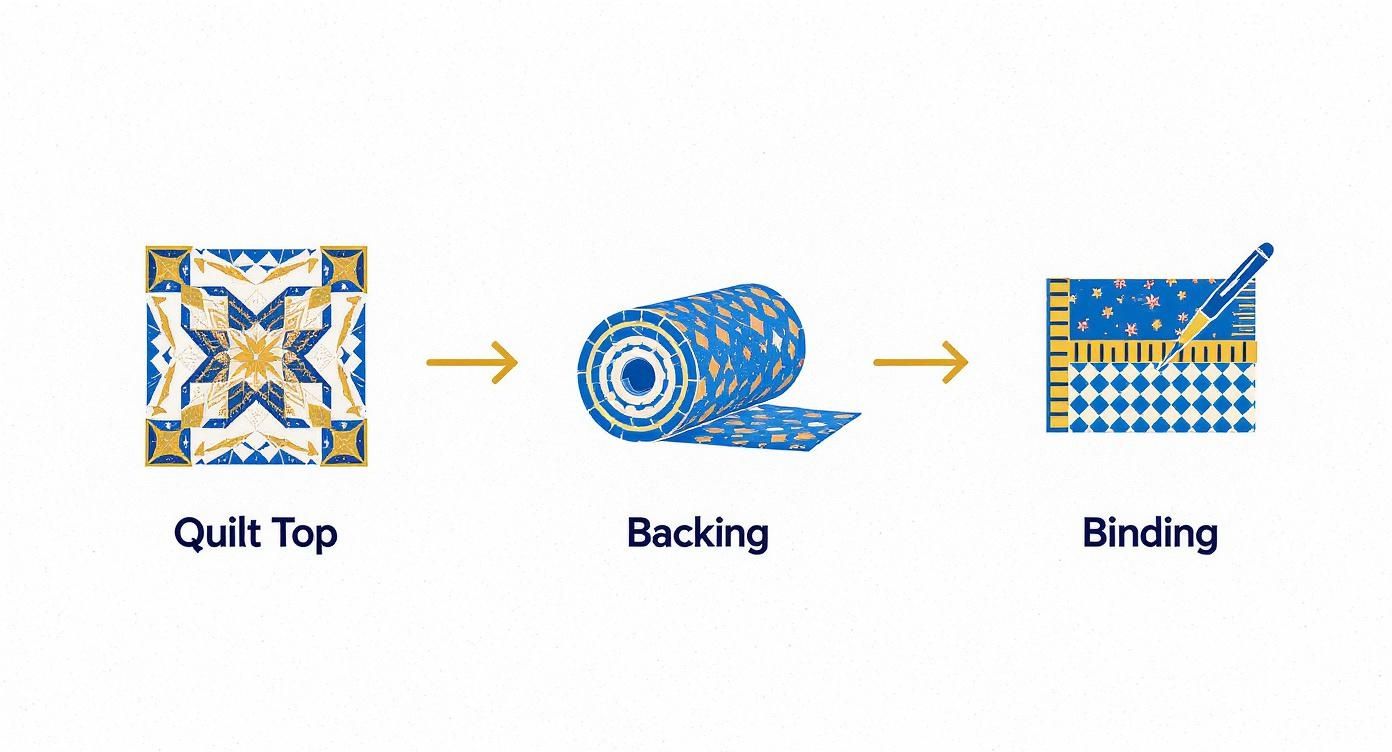
Each of these components needs its own calculation. Getting them right from the start saves headaches and ensures you have exactly what you need to finish your project without any last-minute fabric store runs.
Before you even think about picking up your rotary cutter, there are two details you have to nail down: seam allowance and shrinkage. Get these two things right, and you're well on your way to buying your fabric with confidence.
1. The Non-Negotiable Seam Allowance
In the quilting world, our gold standard is a quarter-inch (¼") seam allowance. What this means in practice is that for every two pieces of fabric you sew together, you lose a total of a half-inch of width (a quarter-inch from each piece).
So, if you want a block to finish at 10 inches square in your quilt, you can't cut a 10-inch square. You have to cut it at 10.5" x 10.5" to account for the seams on all four sides.
Let's put that in perspective: To make a 90" x 90" quilt top using 10" finished squares, you'd need a grid of 9 by 9, which is 81 squares. Every single one of those squares needs to be cut at 10.5" x 10.5". That little half-inch adds up to a significant amount of fabric across the entire quilt top.
2. Accounting for Fabric Shrinkage
I'm a big fan of pre-washing fabric. It prevents colors from bleeding later on and, just as importantly, takes care of shrinkage before you start sewing. Most quality cotton fabrics will shrink about 3-5% in their first wash.
On a single yard of fabric (36 inches), that can mean losing over an inch of length. It's always wise to add a little extra to your shopping list to give yourself a buffer for this.
Let's walk through a real-world example. We're going to plan a queen quilt top made entirely from 5-inch finished squares—what many of us know and love as "charm squares." Our goal is a finished quilt top that measures roughly 90 inches by 90 inches.
Here's how the math breaks down:
First, figure out how many blocks you need.
Next, determine your cutting size.
Then, calculate how many squares you can get from one yard.
Finally, find your total yardage.
To be on the safe side, you'd round this up and buy 8 yards of fabric for this specific top. For a deeper dive, our guide on calculating yardage for quilts explores more patterns and block sizes.
While we're focused on a queen-size quilt here, the principles are the same for any project. If you're curious, you can learn more about general fabric yardage calculations for any project. Once you understand the basic math, you can confidently tackle any sewing adventure that comes your way.
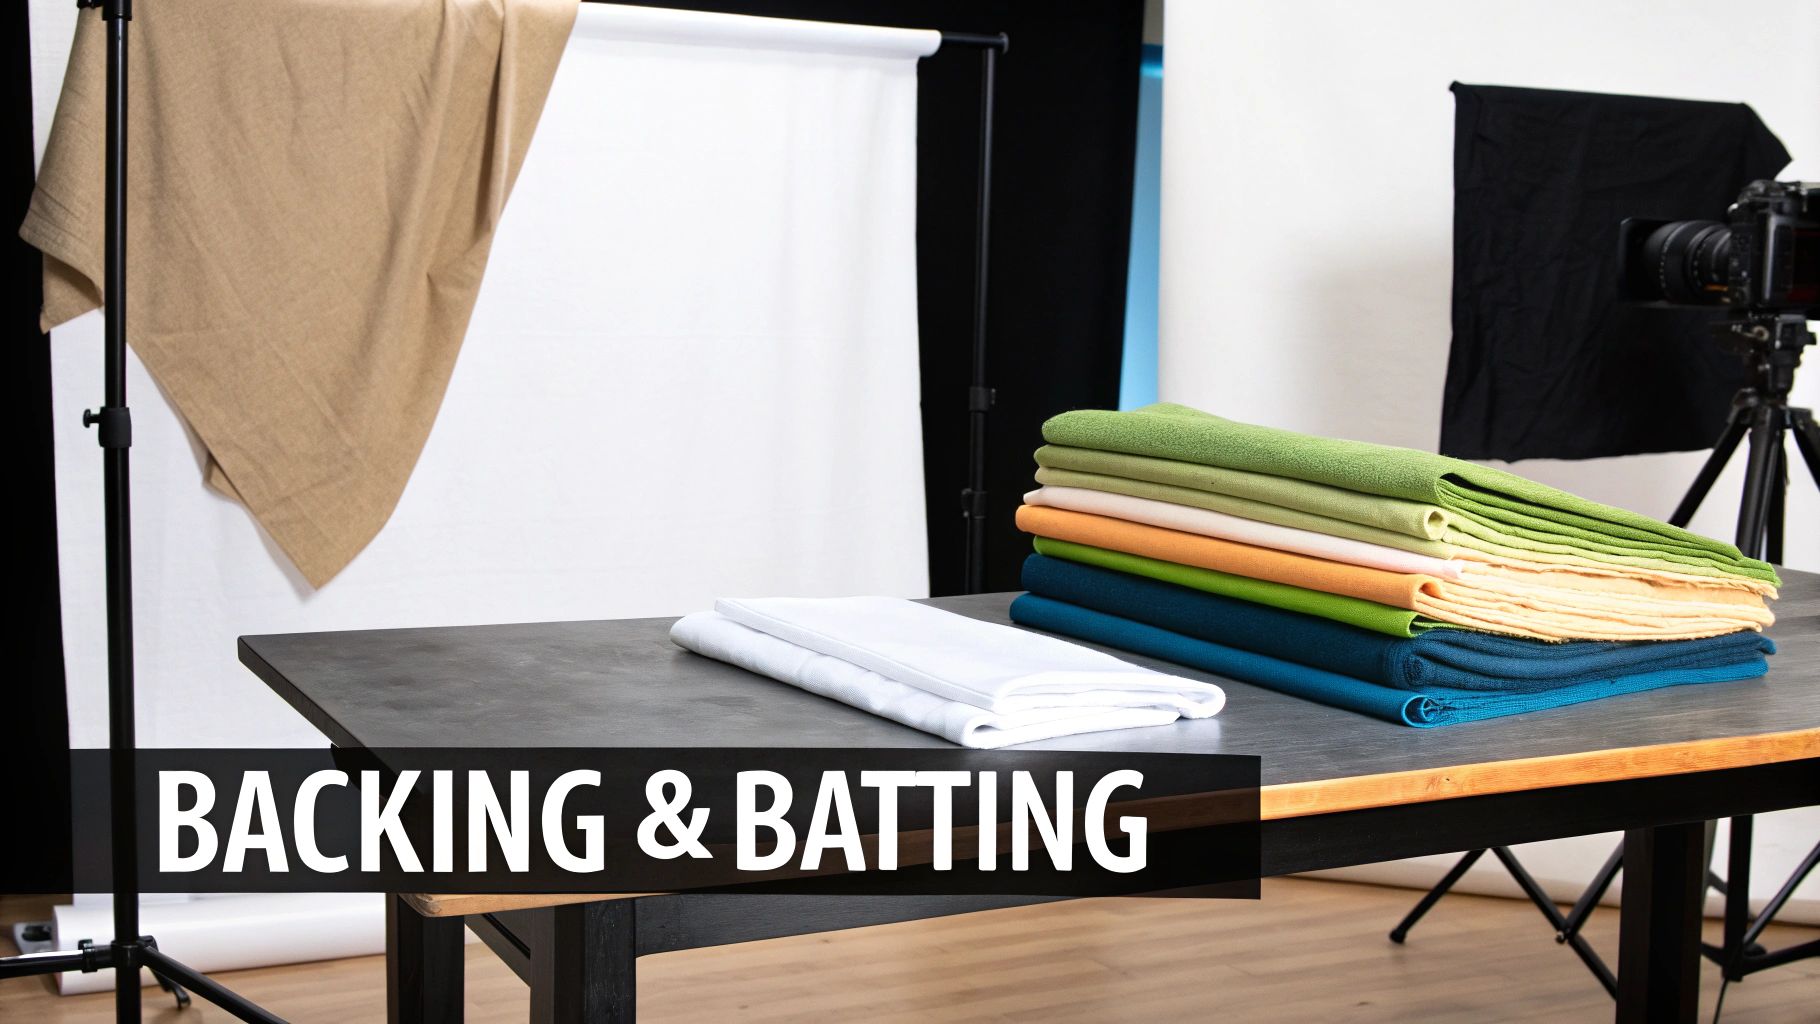
A gorgeous quilt top is only part of the equation. Think of the backing and batting as the unsung heroes—they provide the structure, the cozy warmth, and that professional finish that turns a project into a treasured heirloom. Getting these two components right is absolutely key for a quilt that lies flat, feels amazing, and is built to last.
Let's break down exactly how to figure out what you need for this crucial foundation.
The first fork in the road is deciding between standard-width fabric or a specialty wide-back fabric. This choice makes a huge difference in both the amount of fabric you'll buy and the prep work you'll have to do.
When you're ready to back your quilt, you've got two main paths to choose from. Each has its perks, and the best one for you often boils down to a mix of budget, time, and personal preference.
Option 1: Piecing Standard 44/45-Inch Fabric
This is the traditional route. You buy several yards of standard quilting cotton and sew them together into one large panel that’s big enough to back your quilt.
Option 2: Using 108-Inch Wide-Back Fabric
These fabrics were created specifically for this purpose. At a generous 108 inches wide, a single piece is usually large enough to back an entire queen-size quilt with no piecing required.
The demand for these wider fabrics has really taken off. In fact, between 2015 and 2020, major manufacturers ramped up production of 60-inch and 108-inch fabrics by 25% just to keep up with quilters who wanted an easier way to finish their large projects.
No matter which fabric you choose, one rule is non-negotiable: your backing and batting must be larger than your quilt top. This is the single most important thing to remember for this part of the process.
Always add 4 to 5 inches on every single side. So, for a 90" x 90" quilt top, your backing fabric and batting should measure at least 98" x 98". To be extra safe, I often go for a full 100" x 100".
This extra fabric, what we call "overage," is your insurance policy. It gives you room to pin or baste the quilt sandwich together without the layers shifting and coming up short at the edges. And if you're sending your quilt to a longarmer? This overage is absolutely essential for them to load it onto their machine's frame. Trust me, you never want to be short on your backing fabric.
Okay, let's get down to the math. We'll use a queen quilt top that finished at 90 inches by 98 inches as our example. Following our rule, we'll need a backing that’s at least 98 inches by 106 inches.
For 108-Inch Wide-Back Fabric
This is the easy one!
To be safe, you'd head to the cutting counter and ask for 3 yards of wide-back fabric. Done.
For 44-Inch Standard Fabric
This takes a little more planning because we have to join long panels of fabric. To get a piece that's 98" x 106", you'll need three separate lengths of fabric.
You’ll need to purchase 9 yards of your standard-width fabric. From that, you'll cut three 106-inch long pieces, trim off the selvages, and sew them together along the long edges to create your final backing panel.
As for the batting, it’s often sold in pre-packaged sizes like "Queen" or "King." Just grab a package that’s larger than your quilt top. A queen-size package is usually around 90" x 108", which works perfectly for our example. If you want a deeper dive, check out our guide on choosing the best batting for quilts.
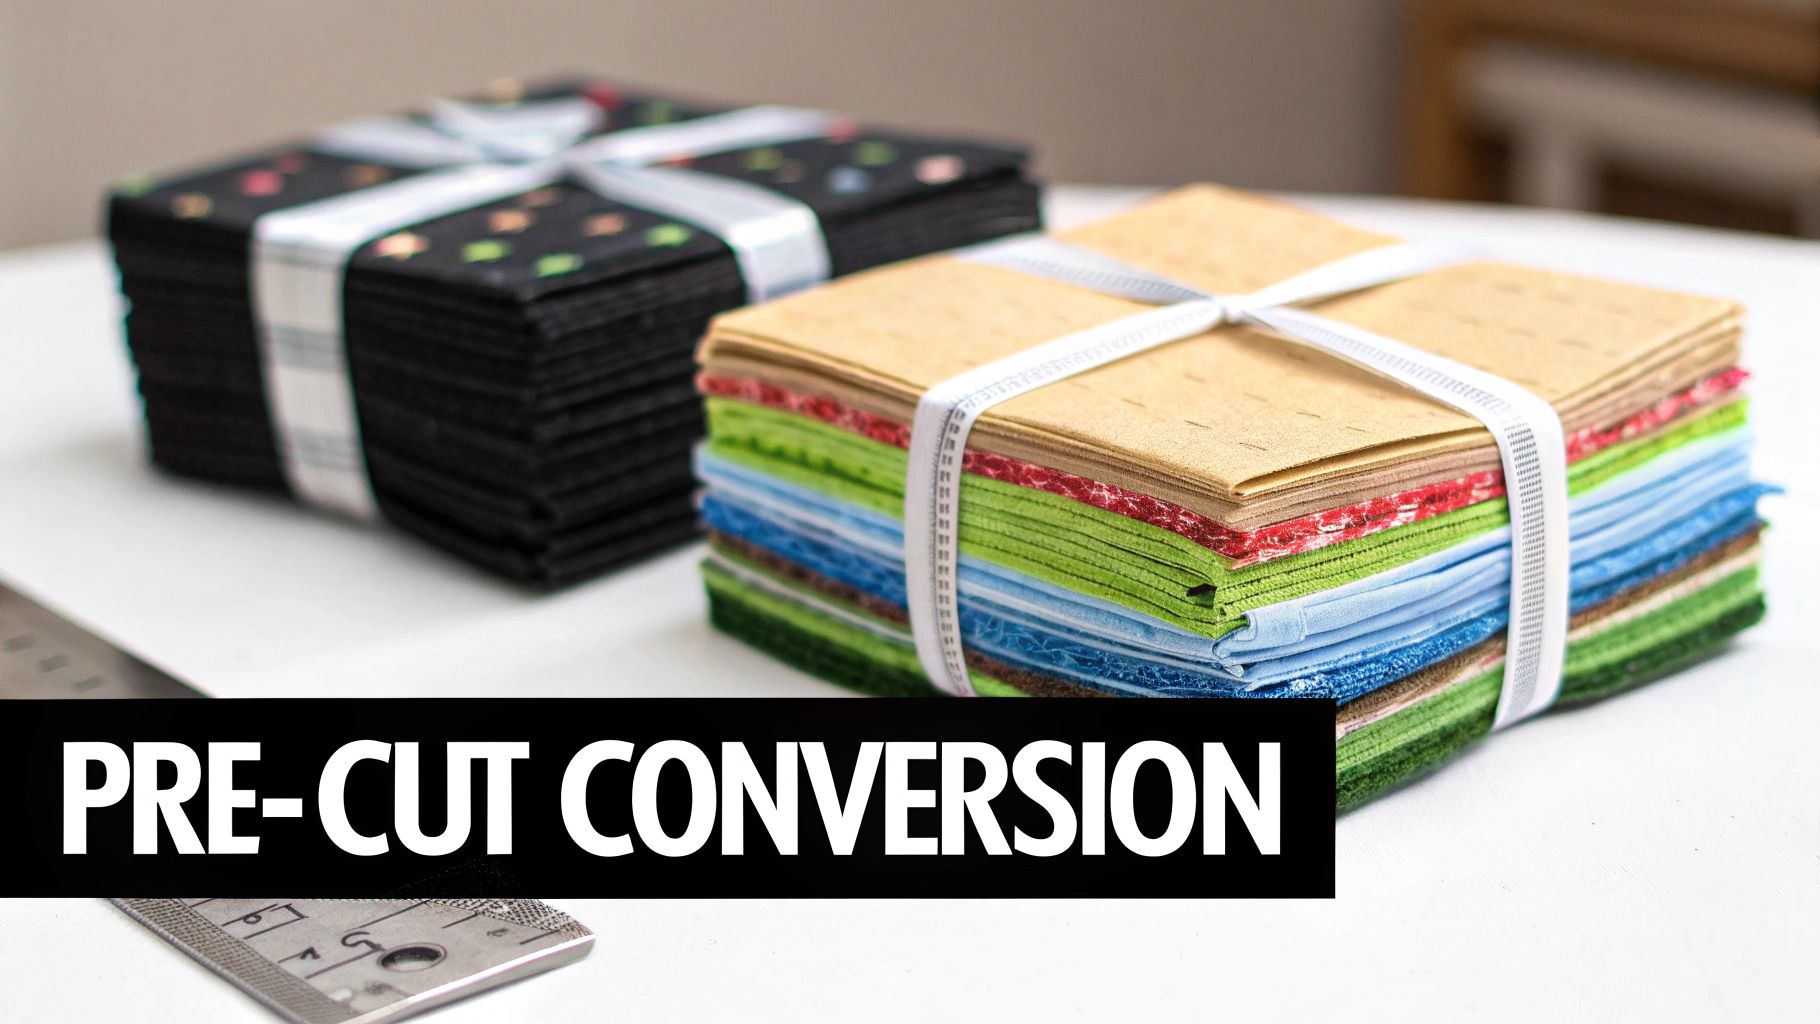
Let's be honest, walking into High Country Quilts and seeing those beautiful, neatly stacked precut bundles is one of the best parts of starting a new project. Charm Packs, Layer Cakes, Jelly Rolls… they’re pure inspiration. But how do you go from that stack of perfectly coordinated fabric to an actual queen-size quilt?
It's time to move past the guesswork. Understanding how to convert your yardage needs into specific precut bundles means you can shop that section of the store with complete confidence. You'll know exactly what you need, unlocking all the creative potential packed into each one.
Let's think through a real-world example. Say your queen quilt pattern is based on 10-inch squares. Instead of spending hours at the cutting mat, you could grab a Layer Cake, which is a stack of 42 precut 10-inch squares.
If your quilt layout is a simple 9x9 grid, you’ll need 81 total squares (that's 9 blocks across by 9 blocks down). A single Layer Cake gives you 42 squares, so you can see right away that you'll need two Layer Cakes to complete your quilt top. You’ll even have a few leftover squares for a mini project or to fix any cutting mistakes! This kind of quick math makes planning so much easier.
The secret to using precuts effectively is knowing what’s inside the package. While the exact piece count can vary a bit between manufacturers, these are the industry standards you'll see most often.
Think of this as your Rosetta Stone for precuts. Once you know these basics, you can glance at almost any pattern and figure out if a bundle will save you time.
My Personal Tip: I always recommend measuring one or two pieces from a new precut bundle before you start sewing. They're usually spot-on, but catching a slight variation early can save you a headache later and ensure your blocks come together perfectly.
A Jelly Roll, for instance, is incredibly versatile. A standard roll has 40 strips of 2.5" x 40" fabric, which works out to be about 2.67 yards of fabric. To piece a queen-size quilt, you’d generally need around 105 strips, which means you’d be looking at about 2.4 Jelly Rolls. The convenience is a huge part of why their popularity has exploded—global sales shot up by an impressive 35% between 2015 and 2020 alone.
So, how many bundles do you actually need for that queen quilt? The exact number will always depend on your specific pattern, but this chart gives you a fantastic starting point for a standard 90" x 90" quilt top.
I put together this table to help you quickly estimate what you'll need for a pieced top.
| Precut Type (and Size) | Approximate Quantity Needed | Notes & Considerations |
|---|---|---|
| Charm Packs (5" squares) | 8-9 packs | This gives you 336-378 squares, plenty for an 18x18 grid layout with some extra for design flexibility. |
| Layer Cakes (10" squares) | 2 packs | Two packs provide 84 squares, which is perfect for a 9x9 block layout. You’ll have three spares! |
| Jelly Rolls (2.5" strips) | 2-3 rolls | Ideal for strip-pieced patterns. This provides roughly 80-120 strips to work with. |
Think of these numbers as a solid foundation for your shopping list. Always double-check your pattern’s specific requirements before you buy. If you want to dive deeper into these time-saving bundles, you can explore our guide on what is a jelly roll of fabric and see all the amazing things you can do with them.
The binding is the final frame for your quilt, that last little detail that ties the whole project together. Getting this part right is so satisfying, and thankfully, the math is pretty simple. No complex algebra needed—just a reliable formula to get a perfect, professional-looking finish.
First things first, you need to find your quilt's perimeter. Let's stick with our queen-size example that finished at 90 inches by 98 inches. Just add up all four sides to get the total length you'll need to cover.
(90" + 98") x 2 = 376 inches
That’s the total length of the quilt's edge. But you can't just cut exactly 376 inches of binding. You need a little extra fabric to work with for turning those clean, mitered corners and for seamlessly joining the two ends of the binding strip when you’re done.
I always recommend adding at least 15 to 20 extra inches to your perimeter measurement. This gives you plenty of wiggle room for a stress-free finish. So, for our quilt, we're really aiming for a total binding length of about 396 inches (376 + 20).
Now that we have our target length, we need to figure out how many fabric strips that translates to. The most common width for binding strips is 2.5 inches. This size gives you enough fabric to fold over for a durable, beautiful edge without adding too much bulk.
To see how many strips you'll need, just divide your total required length (396 inches) by the usable width of your fabric. Most quilting cotton is about 42 inches wide once you trim off the selvages.
You can’t cut a fraction of a strip, of course, so you’ll always round up to the next whole number. In this case, you'll need to cut 10 strips of fabric, each measuring 2.5 inches wide.
The final step is to calculate how much total yardage those 10 strips will take up. Multiply the number of strips by how wide you're cutting each one.
To turn that into yards, divide by 36 (since there are 36 inches in a yard): 25 ÷ 36 = 0.69 yards. I'd always recommend buying ¾ yard (0.75 yards) of fabric for your binding. This gives you a comfortable buffer for any cutting mistakes and ensures you have enough to finish your quilt with confidence.
When you're ready to attach it, our guide on how to bind a quilt is a fantastic resource with step-by-step visuals.
https://www.youtube.com/embed/BzqHv8fCMM4
Okay, you've done the math and have your measurements ready. Now for the fun part—picking out your fabric! But smart shopping is more than just grabbing the bolts that catch your eye. It's about making deliberate choices that will save you from headaches later.
Over the years, I've learned to buy all my coordinating fabrics for a single project in one go. Why? Because dye lots can vary subtly from one bolt to the next. What looks like a perfect match in the store can suddenly seem just a tiny bit off once you get it home next to the fabric you bought last week.
My Golden Rule of Fabric Shopping: Always round up. If your math says you need 4.75 yards, just buy the full 5 yards. That little bit of extra fabric is your safety net for a slip of the rotary cutter or unexpected shrinkage in the pre-wash.
Trust me, that small extra cost is worth the peace of mind. It’s so much better to have a piece for your scrap bin than to run out of a fabric that’s now discontinued.
A little prep work before you walk into the quilt shop makes all the difference. Walking in with a plan helps you stay focused and ensures you come home with everything you need.
Choosing the right materials is the foundation of a quilt you'll love for years. If you want to dive deeper into what makes for a great quilting cotton, check out our guide to the best quilting fabric brands. It’s a great resource for spotting top-quality options.
Even after you've crunched the numbers, a big project like a queen-size quilt always seems to have a few lingering questions. Let's walk through some of the most common head-scratchers I hear from quilters so you can cut into your fabric with total confidence.
Nothing trips people up quite like a border. It's a gorgeous finishing touch, but it definitely needs its own fabric calculation.
The trick here is to calculate the border fabric completely separately from the quilt top yardage. Start by measuring the finished length of your quilt top—that measurement tells you how much you'll need for the two side border strips. Then, measure the new width of your quilt, this time including those side borders you just notionally attached, to figure out the fabric for the top and bottom strips.
Once you add up the total length of all four border strips, you can figure out how many width-of-fabric (WOF) cuts you'll need to piece them together. As a quick example, adding a 5-inch finished border to a 90" x 90" quilt usually means you’ll need about 1.5 extra yards of fabric.
This is a great question because fabric widths can be all over the place. The golden rule is to always use the usable width for your calculations—that's the measurement from selvage to selvage. If the fabric you fell in love with is narrower than the standard 42-44 inches, you'll simply need more yardage, since each WOF strip will be shorter and yield fewer pieces.
On the flip side, a wider fabric, like a 60-inch cotton sateen, can be a real budget-saver, especially for your quilt backing. You might be able to get away with buying less. Just remember to always measure before you do the math.
Oh, absolutely. Think about it: a pattern with big, simple blocks will need a lot less fabric than one with hundreds of tiny, intricate pieces. All those extra seams in a complex design eat up fabric—every single seam allowance adds up!
Patterns that involve "fussy cutting" to feature a specific part of a print will also drive up your yardage needs because of the fabric you have to cut away. Always trust your pattern's material list first and foremost; it was designed with all those little details in mind.
The best insurance policy a quilter can have is a little extra fabric. I always tell people to add 10-15% to their quilt top calculations, especially for the main and background fabrics. This little buffer is your safety net for cutting mistakes, unexpected shrinkage, or that one block you just have to recut.
Trust me, it’s a whole lot less stressful to have a bit leftover from the same dye lot than to run out and find that your fabric has been discontinued. That small investment can be the difference between a finished quilt and a UFO (Un-Finished Object).
Feeling inspired to start that queen-size masterpiece? Here at High Country Quilts, we've got a gorgeous collection of high-quality fabrics, precuts, and all the tools you need to make it happen. You can stop by our Colorado Springs shop or explore our curated selection online today
At High Country Quilts we care deeply about community. With our experiences in retail, we know that a store is not only a place to shop but also a place for the community to gather and share. During this busy...

Hi! We’re Adam and Renee Wheaton, the new owners of High Country Quilts! For more than 40 years, we’ve owned and operated vacuum and sewing businesses. Following in Renee’s father’s footsteps after he retired from All Discount Vacuum and Sewing in Colorado...


Leave a comment