

We Love Our Quilting Community
At High Country Quilts we care deeply about community. With our experiences in retail, we know that a store is not only a place to shop but also a place for the community to gather and share. During this busy...


Tumbler quilt blocks are one of those wonderfully simple shapes that can create the most charming, interlocking patterns. At its core, it's just a basic trapezoid, but don't let that fool you. Its unique form is incredibly forgiving for beginners while also giving experienced quilters a versatile canvas to play with color and fabric.
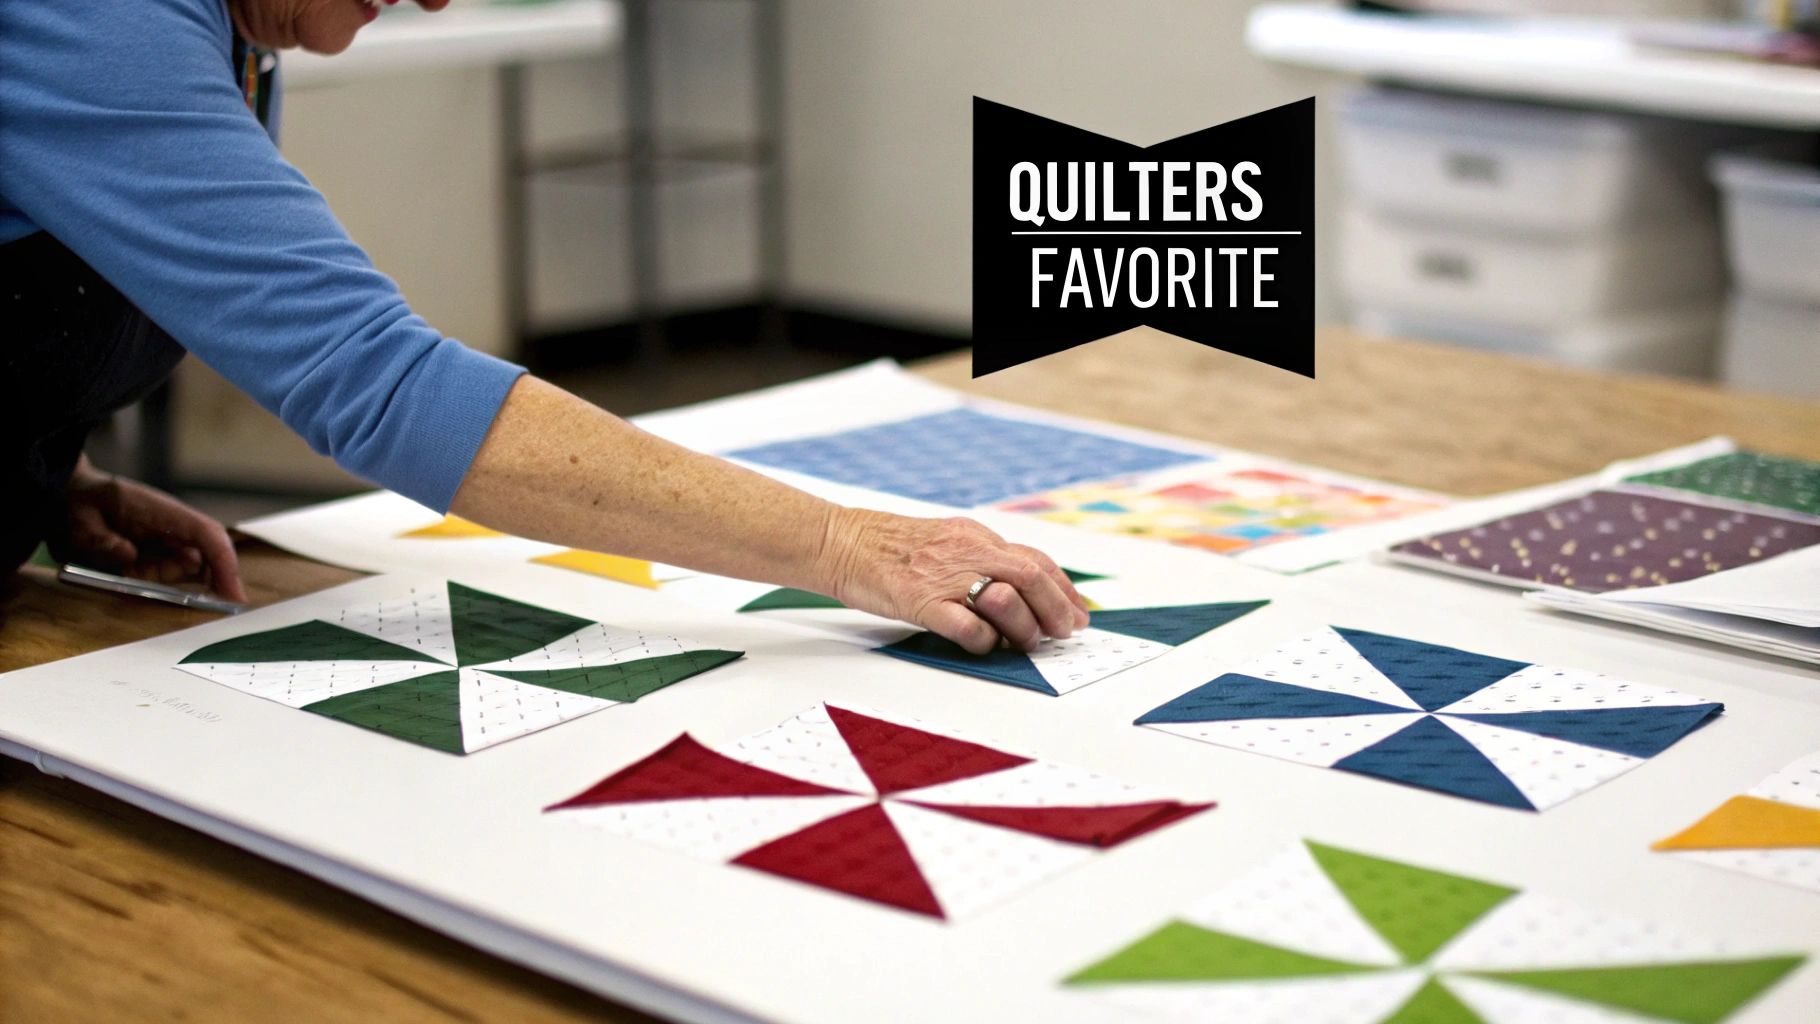
I think the lasting appeal of tumbler blocks really comes down to their simplicity and visual punch. Unlike your standard squares, the gentle angles of the tumbler shape give a quilt a sense of movement. Your eye naturally follows the cascading or "tumbling" motion across the quilt top, which is what makes it such a fantastic choice for showing off a whole range of fabrics.
One of its biggest selling points? It's incredibly scrap-friendly. If you've got a growing collection of leftover fabric strips and odd-sized pieces, a tumbler quilt is the perfect project to put them to good use. The block's straightforward geometry means you can get efficient cuts from smaller pieces, turning a pile of scraps into a beautifully cohesive quilt.
The actual piecing process is refreshingly direct. You don't have to worry about matching complex points or aligning intricate seams, so sewing the rows together is fast and incredibly satisfying. This makes it a perfect first project for anyone new to quilting who wants to build confidence without frustration.
But for those of us who have been quilting for a while, the tumbler block isn't just "easy"—it's a creative playground. That simple shape becomes a blank slate for exploring more advanced ideas like color theory, value placement, and even fussy cutting to highlight specific motifs in a fabric print.
This block also has a rich history behind it. The design creates a powerful optical illusion, which helps explain why it was so popular in the Victorian era and has stuck around ever since. Textile historians have traced the shape's roots all the way back to ancient mosaics and tessellations, with formal quilt patterns popping up in the late 19th century. You can even find examples in the Smithsonian's collections, which really cements the tumbler's place as a historically significant design.
The tumbler block adapts beautifully to just about any aesthetic you can imagine. Whether you’re dreaming of a vintage-inspired quilt or a bold, modern piece, the final look is all about your fabric choices.
This amazing adaptability makes it a go-to pattern for quilters of all styles. If you're looking for more ideas, you can find many other easy and free quilt block patterns that share this same versatile spirit.
A gorgeous tumbler quilt starts with a little bit of prep. I know it's tempting to jump right into cutting, but taking a few moments to get your space and fabric ready will make the whole process so much smoother. Trust me, a little planning now saves a ton of headaches later.
Before you even think about fabric, let's talk about your sewing space. Having everything in its place means you're not constantly searching for your favorite ruler or rotary cutter. If you need some fresh ideas, check out these tips for maintaining an organized sewing space. A clear cutting mat and an organized workstation are your best friends for accurate piecing. For a deeper dive, we also have our own guide filled with sewing room organization ideas.
First things first, how are you going to cut all those tumbler shapes? You've basically got two options: a commercial acrylic ruler or a template you make yourself. There’s no right or wrong answer here—it really comes down to your budget, your project, and how you like to work.
If you think you'll be making a lot of tumbler quilts (and they're pretty addictive!), a specialty acrylic ruler is a fantastic tool. It makes cutting fast, consistent, and super accurate. But if this is just a one-time thing, a DIY template made from sturdy template plastic or even cardboard works perfectly well and saves you some money.
Deciding between a dedicated ruler and a DIY template often comes down to balancing speed and cost. Here's a quick breakdown to help you choose the right path for your project.
| Cutting Method | Pros | Cons | Best For |
|---|---|---|---|
| Commercial Tumbler Ruler | Fast, highly accurate, and durable for repeated use. Built-in markings often included. | Higher initial cost. Another ruler to store. | Quilters making multiple tumbler quilts or who prioritize speed and precision. |
| DIY Template | Very budget-friendly. You can make any size you want. | Slower to use. Can wear down over time, affecting accuracy. Requires careful measuring. | One-off projects, custom sizes, or quilters on a tight budget. |
Ultimately, both methods will get you a beautiful quilt. The key is to pick the one that feels most comfortable for you and your project's needs.
Pro Tip: If you go the DIY route, remember to add your quarter-inch seam allowance to all four sides of the template. I always use my best quilting ruler to mark this out to make sure it's dead-on accurate.
How you treat your fabric before cutting makes a huge difference. The age-old debate is whether to pre-wash or not. Personally, I always pre-wash fabrics with deep, rich colors to avoid any bleeding down the road. It also takes care of any initial shrinkage, so your finished quilt stays the size you intended.
My real secret weapon for perfect cuts? Starch. A good press with spray starch makes your fabric crisp and stable, almost like paper. This little step is a game-changer when you're dealing with the bias edges on tumbler shapes, as it keeps them from stretching and warping while you cut and sew.
If you’re quilting on a BERNINA, you’re in luck. The Patchwork Foot #97D is an absolute dream for piecing. That little guide on the side of the foot makes sewing a perfect quarter-inch seam almost effortless.
I also recommend shortening your stitch length just a bit, somewhere around 2.0 to 2.2 mm. A shorter stitch creates a more secure seam, which is great for a quilt that’s going to get a lot of love and washes. It also helps lock in your stitches at the beginning and end of those angled tumbler seams.
A clean, accurate cut is really the foundation of a beautiful tumbler quilt. While the gentle angles on these blocks are pretty forgiving, getting your cuts just right is what makes the rows line up seamlessly and helps the whole quilt top lay perfectly flat. The good news? Once you get into a rhythm, cutting these shapes is actually a fast and really satisfying part of the process.
Before you even think about cutting, though, you have to get your setup right. It's all about choosing your fabrics, grabbing the right tools, and prepping your material.
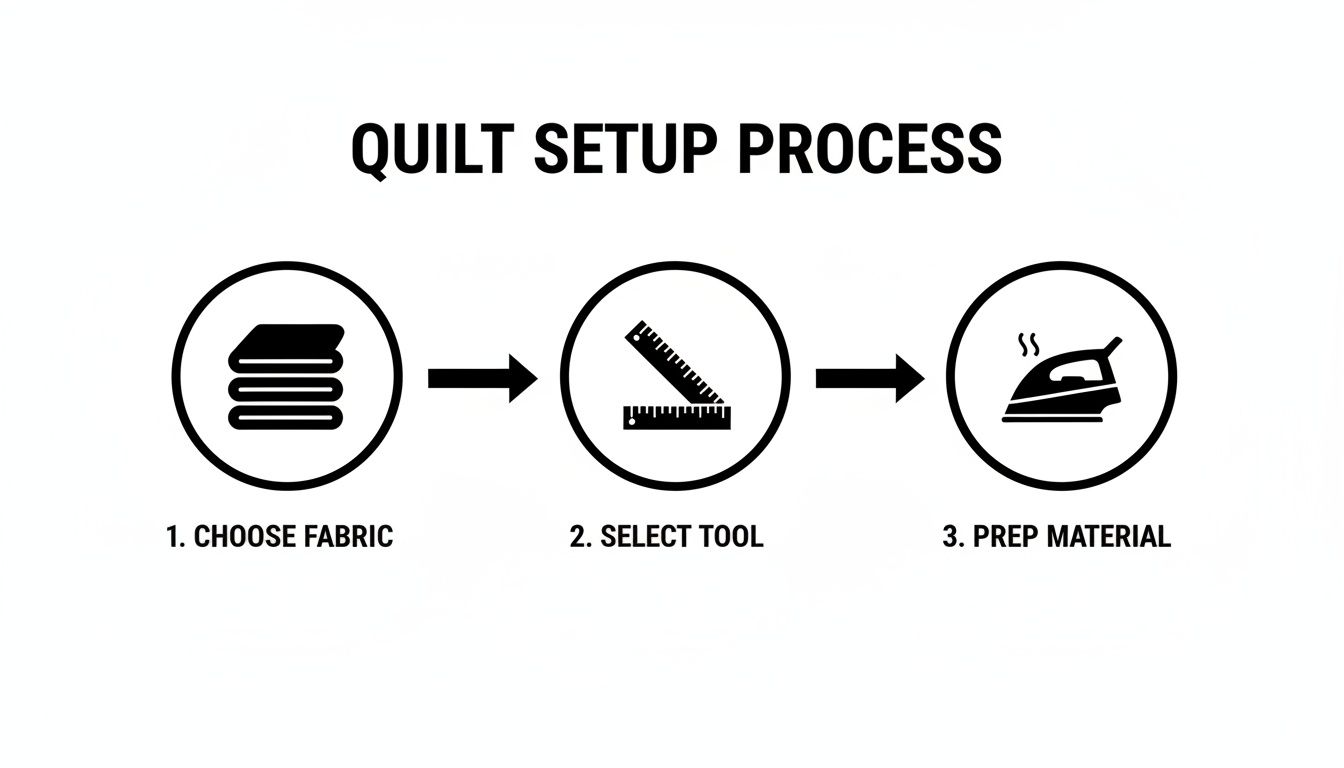
Nailing this prep stage is what prevents headaches like stretched fabric or wonky blocks down the road. It’s a classic case of "measure twice, cut once."
Want to cut tumblers fast? Work from fabric strips. It’s the single most efficient way to do it.
Just measure the height of your tumbler ruler or template and cut your fabric into strips that match. So, if your template is 4.5 inches tall, you’ll cut a bunch of 4.5-inch strips across the width of your fabric (WOF).
This one simple trick saves an incredible amount of time. You’ve already handled two of the four cuts, which means you only need to worry about the angled sides. Feel free to stack two or three strips to cut multiple tumblers at once, but just make sure your rotary cutter has a fresh, sharp blade to handle it.
Of course, none of this matters without a great cutting surface. For a deep dive into picking and caring for the right one, check out this excellent crafter's guide to sewing cutting mats.
Alright, you’ve got your fabric strip. Now, lay your tumbler ruler down at one end, making sure its top and bottom are perfectly aligned with the edges of the strip. Zip—make that first angled cut with your rotary cutter.
Here comes the magic. Don't lift and slide the ruler. Just rotate it 180 degrees. The angled side you just cut now lines up perfectly with the opposite side of the ruler, nesting the shapes together without any wasted space. Make your next cut, and you have your first perfect tumbler.
This flip-and-cut method is a total game-changer for both speed and saving fabric. You can chain-cut an entire strip in just a minute or two, ending up with a neat stack of identical blocks and almost no scraps.
If your rotary cutter is giving you trouble, it might be time for an upgrade. We've got a whole guide on the best rotary cutters for quilting that can help you find the perfect tool for the job.
Every now and then, you'll have a fabric with a specific little motif—a perfect flower, a cute animal, a cool geometric pattern—that you want to showcase right in the center of your block. That’s fussy cutting, and it’s how you can add a truly personal, custom look to your quilt.
Sure, it creates more fabric waste, but for a special project, the stunning results are absolutely worth it.
Fussy cutting is your chance to be the artist and really curate the look of your quilt. It can take a simple tumbler project and turn it into something special by highlighting the little details you fell in love with in your fabric stash. I find it’s especially effective when you alternate these special blocks with simpler, solid-colored tumblers, which really makes those fussy-cut prints pop.
Now for the fun part! With a neat stack of perfectly cut tumbler shapes, you're ready to watch your quilt top come to life. This is where your fabric choices really start to sing as you piece them together. Don't let those angled edges intimidate you; they're surprisingly forgiving once you get the hang of them.
The secret to straight rows lies in how you align the pieces. When you place two tumbler blocks right sides together, you'll notice the angled sides don't match up perfectly edge-to-edge. Instead, you’ll have small "dog ears" or overhangs at each end. Your job is to make sure these little overhangs are the same size on both ends. Nailing this alignment is what keeps your seam running straight and prevents your rows from veering off course.
Once you've got the alignment down for one pair, it’s time to pick up the pace with chain piecing. This technique is an absolute game-changer for any project with lots of repeating blocks, and tumbler quilts are the perfect candidate. Instead of sewing two pieces, cutting the thread, and starting over, you just feed them through your machine one after another.
Simply stitch your first pair of tumblers, but when you reach the end, don't lift the presser foot. Just grab the next pair and guide them right under the needle, creating a little chain of thread between each one. I like to sew an entire row's worth of pairs this way before snipping them all apart at once. It saves a surprising amount of thread and time, and you get into a wonderful rhythm at the machine.
By chain piecing your tumbler quilt blocks, you can reduce your assembly time by as much as 30%. It’s a small change in process that adds up to big gains in efficiency, letting you get to the finished quilt top that much faster.
Pressing is one of those steps that separates a good quilt from a great one. It truly makes a huge difference in your final quality. For tumbler blocks, I almost always recommend pressing your seam allowances to one side. This adds a little extra strength to the seams—a definite plus for any quilt that's going to be well-loved and frequently washed.
The real magic, though, happens when you join the rows. By alternating the pressing direction for each row, you create seams that "nest" together perfectly.
And so on. This alternating pattern makes the bulky parts of the seams fit together like little puzzle pieces. When you go to sew the rows together, you'll actually feel the seams lock into place. This is the key to getting those tumbler points to line up without a fight.
When it comes to pressing, there isn't one single right answer for every situation. Here's a quick breakdown of the different methods and when I personally choose to use them.
| Pressing Method | Description | Best For |
|---|---|---|
| Press to the Side | Seam allowances are pressed together toward one side of the seam. | Most tumbler quilts. Creates nesting seams for easy row assembly and adds strength. Ideal for beginners. |
| Press Open | Seam allowances are pressed open, with one allowance on each side of the seam line. | Reducing bulk, especially at intersections with many points. Great for flatter quilt tops. |
| Spin Seams | At a 4-patch intersection, a few stitches are removed to allow the seam allowances to spin around the center, forming a tiny pinwheel. | Intersections where multiple rows and columns meet. Dramatically reduces bulk at the corners. |
Ultimately, pressing to the side is the most straightforward and effective method for most tumbler quilts. But don't be afraid to press open if you find a particular intersection is getting too bulky.
If you'd like a more detailed look, our guide on how to press seams for perfect points offers even more great tips for achieving that professional finish.
You’ve done the hard work and now have a beautiful stack of tumbler quilt blocks. This is where the magic really happens—turning those individual pieces into a stunning, cohesive quilt top.
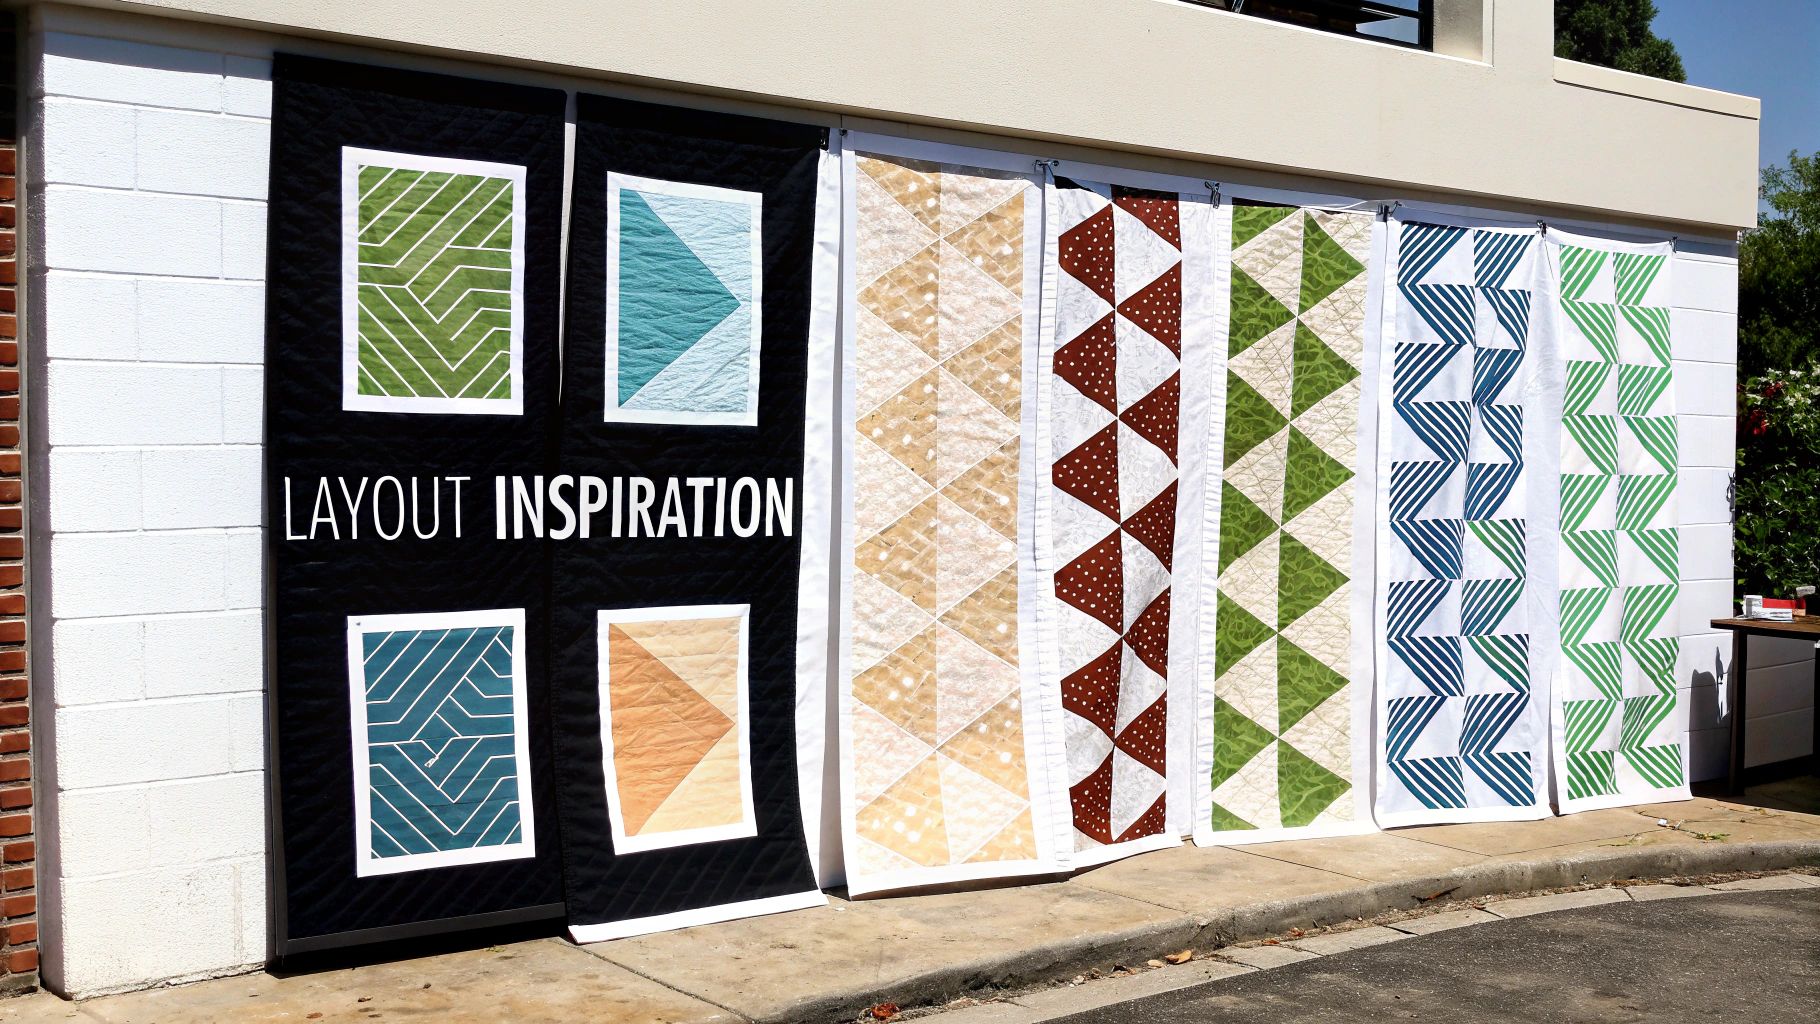
The classic horizontal row layout is popular for a reason; it’s straightforward and lets the fabrics shine. But don't feel boxed in!
The best first step is to get a bird's-eye view. Lay your blocks out on a design wall, a clean floor, or even your bed. This simple act lets you step back and see how everything works together. You can play with color placement, create deliberate patterns, or get that perfectly "random" scrappy look just right before you sew a single seam.
The fun, angled shape of a tumbler block is just begging for creative layouts. A few simple tweaks can dramatically change the feel of your quilt from traditional to totally modern.
Here are a few arrangements I love to play with:
I have to admit, the waterfall layout is my personal favorite. That gentle stagger just feels right for the "tumbling" nature of the blocks. It gives even a super scrappy quilt a more intentional, curated feel without sacrificing any of its charm.
Don't underestimate what a little fabric framing can do. Adding sashing—those strips of fabric between your blocks—can completely change your quilt’s personality.
A narrow, neutral sashing makes your colorful tumbler blocks pop, almost like they're floating. On the other hand, a wider or bolder sashing becomes a design element itself, creating a grid that can give your quilt a more formal, traditional structure.
Borders do a similar job by framing your masterpiece and giving the eye a place to rest. A simple, narrow border gives a clean finish, while a wide, decorative one can add another layer of artistry. A great trick is to pull one of your standout fabrics from the blocks to use for the border—it’s a surefire way to tie the whole design together and elevate your quilt into something truly special.
When you first dive into making a tumbler quilt, a few common questions always seem to surface. Trust me, I've asked them myself! Getting these little details sorted out from the start is what makes the whole process feel less like a puzzle and more like pure, creative fun.
Here are my go-to answers for the hurdles you might encounter along the way.
The moment you cut a tumbler shape, you create two sides that are on the bias. If you're new to quilting, that just means those edges have a natural stretch to them. This can be a headache, leading to wonky blocks and mismatched seams if you aren't careful.
My best advice? Handle the cut pieces as little as you possibly can. When you do have to move them from the cutting mat to your machine, do it gently. I swear by using a bit of starch or a fabric stabilizer before I even make the first cut. It gives the fabric a crisp, paper-like feel that tames that stretch beautifully.
Here's a pro tip for the sewing machine: let the feed dogs do their job! Resist the urge to push or pull the fabric as it goes under the needle. That’s the fastest way to stretch out those angled seams and end up with a distorted block.
You absolutely can. Don't let a missing tool stop you! While a dedicated tumbler ruler is a dream for cutting quickly and accurately, you can get the exact same results with a simple DIY template.
Grab a piece of template plastic, some sturdy cardboard, or even an old manila folder. Decide on the dimensions you want—the height, plus the width of the top and bottom. Draw out that classic trapezoid shape, carefully add a quarter-inch seam allowance around all four sides, and cut it out. Now you have a perfect guide to trace onto your fabric or use alongside your regular rotary cutter.
Ah, quilt math. It can feel a little intimidating, but let's break it down. It’s actually pretty straightforward.
Here at High Country Quilts, our passion is helping you bring your creative vision to life, one stitch at a time. From gorgeous fabrics to expert BERNINA support, we've got your back on your next quilting adventure.
At High Country Quilts we care deeply about community. With our experiences in retail, we know that a store is not only a place to shop but also a place for the community to gather and share. During this busy...

Hi! We’re Adam and Renee Wheaton, the new owners of High Country Quilts! For more than 40 years, we’ve owned and operated vacuum and sewing businesses. Following in Renee’s father’s footsteps after he retired from All Discount Vacuum and Sewing in Colorado...


Leave a comment