

We Love Our Quilting Community
At High Country Quilts we care deeply about community. With our experiences in retail, we know that a store is not only a place to shop but also a place for the community to gather and share. During this busy...


Before you even think about reaching for a screwdriver or taking your machine apart, let me share the single most important piece of sewing advice I've ever received: start with the simplest fix first. I can't tell you how many times a seemingly catastrophic machine failure turned out to be something incredibly basic.
In fact, two simple actions—completely re-threading the machine and putting in a fresh needle—will solve about 80% of the problems you'll ever encounter. Seriously. Skipped stitches, tangled thread nests, and wonky tension almost always trace back to one of these two things.
When your machine starts throwing a fit, take a deep breath. It's almost never a deep, dark mechanical problem. More often than not, it's just a simple setup error that's easy to overlook, especially when you're in the middle of a project and feeling frustrated.
This is your go-to checklist for those moments. Think of it as hitting the reset button before you dive any deeper. We're going to focus on those two game-changing steps: a full re-thread and a needle change. It sounds almost too simple, but trust me, even seasoned pros get these wrong sometimes.
When things go haywire, don't just snip the thread at the needle and pull it through. That's a temporary patch, not a real fix. You need to take everything out and start from scratch.
Take the spool off the pin. Pull the thread out of every single guide. Pop the bobbin out. This forces you to re-trace the entire thread path, which is where tiny mistakes hide.
As you get everything back in place, pay extra close attention to these critical checkpoints:
I see this all the time: people thread their machine with the presser foot down. It's the #1 reason for those frustrating thread nests under the fabric. If you remember nothing else, remember to lift that foot!
A sewing machine needle is a workhorse, but it's not meant to last forever. It’s a consumable part, just like the thread. A good rule of thumb is to swap it out after every 8 to 10 hours of actual sewing time, or simply at the beginning of every new project.
Even if a needle looks perfectly fine, the tip can get dull or develop microscopic burrs that you can't see. These tiny imperfections are notorious for causing big problems, like:
When you pop in a new one, make sure the flat side of the needle shank faces the right way (usually to the back, but check your manual!). Then, push it all the way up into the clamp before you tighten the screw. A needle that's even a millimeter too low or slightly crooked will throw off your timing and create a whole world of stitch issues.
To help you diagnose problems at a glance, here's a quick cheat sheet for the most common sewing machine headaches.
| Symptom | First Action to Take | Common Cause |
|---|---|---|
| Skipped Stitches | Change the needle. | A dull, bent, or incorrect type of needle for the fabric. |
| "Bird's Nest" of Thread | Re-thread the top of the machine (presser foot up!). | Incorrect upper threading, usually no tension on the top thread. |
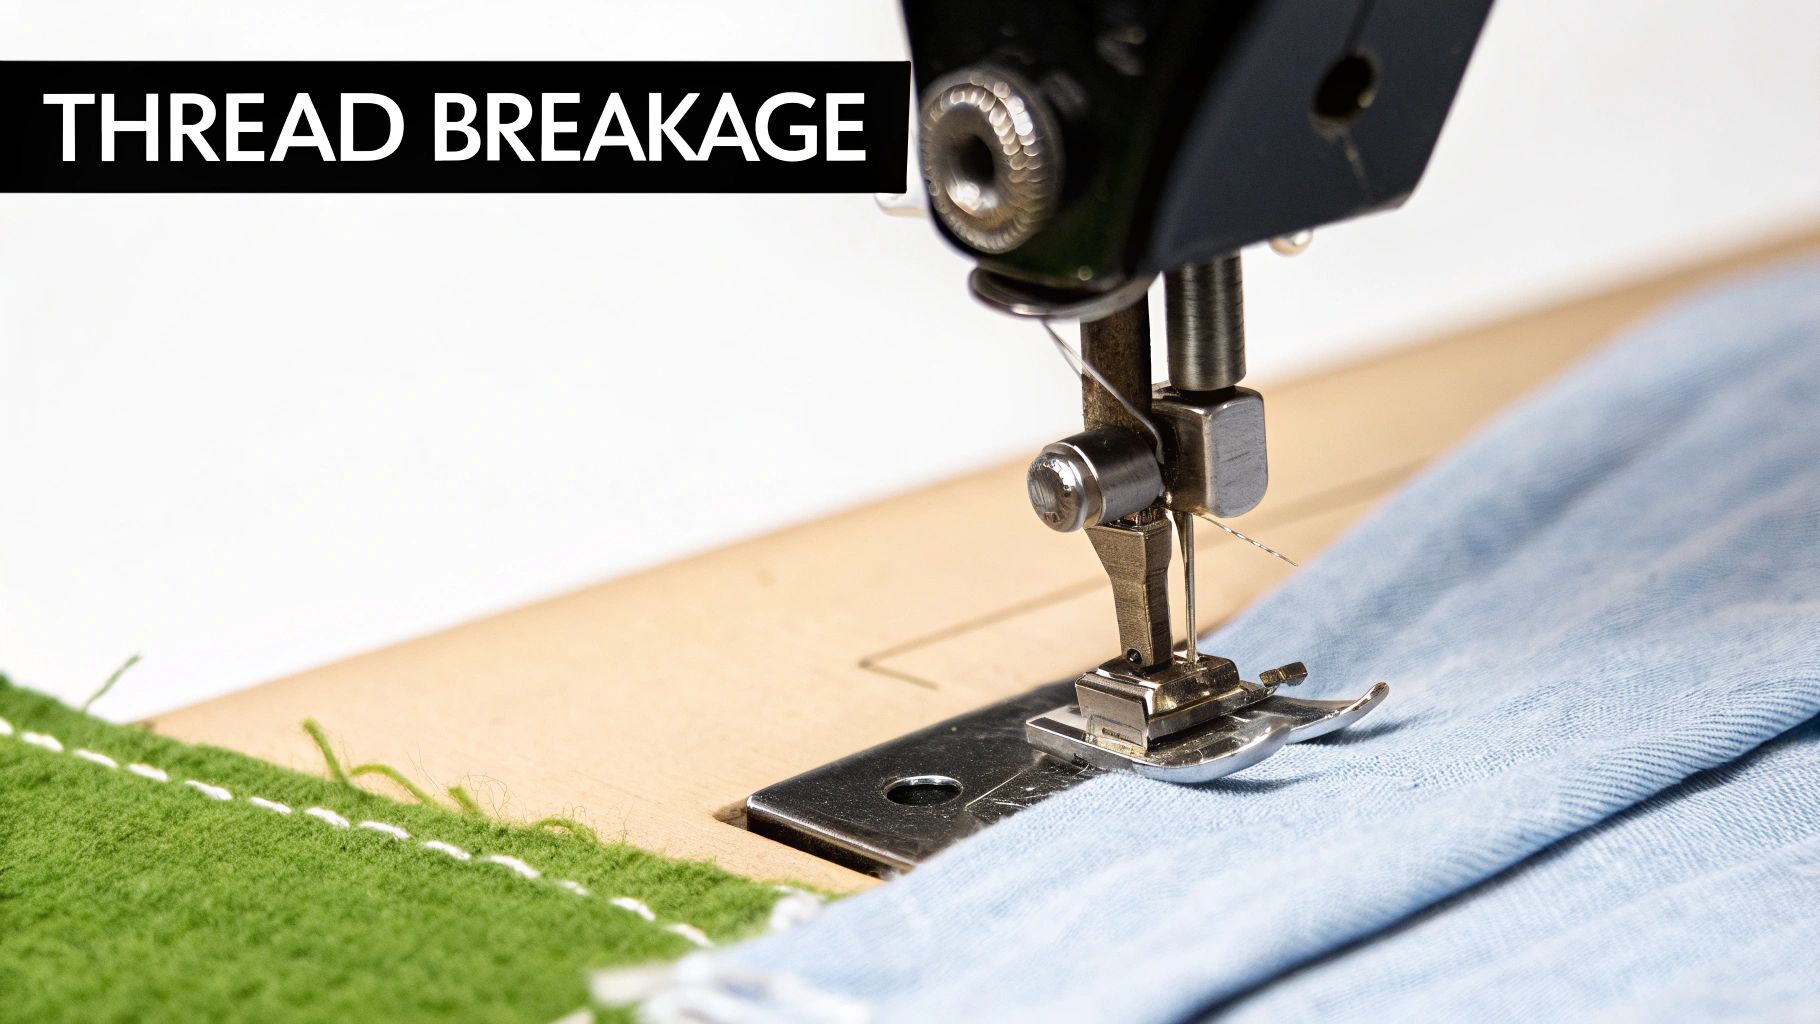
| Breaking Top Thread | Re-thread machine and change needle. | Poor quality thread, incorrect tension, or a burr on the needle/hook. |
| Breaking Bobbin Thread | Re-insert and check the bobbin. | Bobbin inserted incorrectly, wound too tightly, or tension is off. |
| Uneven or Loopy Stitches | Re-thread both top and bobbin completely. | Incorrect threading or mismatched bobbin/top thread tension. |
Remember, this table covers the first things you should always check. More often than not, one of these simple actions will have you sewing smoothly again in no time.
Nothing kills the creative flow faster than the sound of your machine skipping stitches. That rhythmic thump-thump-swoosh turning into a thump-thump... thump is a sure sign something’s wrong. Even worse is the sudden snap of breaking thread.
These aren't just minor annoyances; they're symptoms. They tell you the delicate partnership between your needle, thread, and fabric has hit a snag. While swapping out the needle is always a great first move, sometimes you have to dig a little deeper. Let's get past the basics and look at the real reasons your stitches are failing.
I can't stress this enough: the needle is the single most important part of forming a perfect stitch. Using the wrong one is like trying to paint a watercolor with a crayon—you might make a mark, but it won't be the one you want.
Think about it. If you're sewing delicate chiffon, a standard "universal" needle with its slightly rounded point might just push those fine fibers out of the way instead of piercing them. The thread loop never forms correctly, and voila—a skipped stitch. For that job, you need a sharp Microtex needle.
On the flip side, trying to punch that same tiny needle through heavy denim is a recipe for disaster. It'll bend, or worse, break. That often leads to a catastrophic thread nest under your fabric.
Here’s a quick cheat sheet I’ve learned over the years:
Pro Tip: Ever have your machine skip stitches only when going over a thick seam, like the hem on jeans? It's usually because the presser foot tilts up, causing the needle to deflect. You can fix this easily with a "hump jumper" tool or even just a piece of folded fabric placed behind the needle to level the foot.
Let's talk about thread. That beautiful wooden box of vintage thread you inherited might look lovely, but old cotton thread gets incredibly brittle. Put it under the high-speed tension of a modern machine, and it'll shred and snap all day long.
Low-quality thread is just as bad. It's often inconsistent, with thick and thin spots that get caught in the tension discs or the eye of the needle. It also creates a shocking amount of lint that can clog your machine's internal workings, leading to a whole new set of problems.
If your top thread keeps breaking even after you’ve re-threaded everything perfectly and put in a new needle, I'd bet money the thread itself is the problem. A small investment in good quality polyester or cotton thread from a brand you trust will save you a massive headache.
Sometimes the problem is so small you can't even see it. Before you start thinking your machine needs a major repair, take 30 seconds to give your needle a proper once-over.
First, take the needle out. Loosen the clamp screw and remove it completely.
When you put a new one in, are you positive it's pushed all the way up into the shaft? A needle that's even a millimeter too low will throw off the timing with the bobbin hook, guaranteeing skipped stitches.
Next, check for damage. Gently run your fingernail down the front and sides of the needle. Do you feel a tiny snag, a burr, or a rough spot? That invisible damage is like a tiny razor, shredding your thread on every single stitch. If you feel anything but perfect smoothness, toss that needle.
Finally, confirm its orientation. The flat side of the needle's shank must face the correct way—usually toward the back of the machine. An improperly installed needle will never be able to form a stitch.
These aren't just home sewing frustrations. In factories, problems with needles and thread are a leading cause of downtime, sometimes causing a 10-15% drop in productivity. It just goes to show how critical these "small" details are. If you’re interested in the industrial side, you can learn more about the findings on industrial machine efficiency.
Nothing throws a wrench in a sewing project faster than loopy, uneven stitches. That messy trail of loops on the bottom of your fabric, or tiny knots popping up on top, is the classic calling card of a thread tension problem.
That little numbered dial on your machine isn't just for show. It's the control center for creating a strong, balanced stitch. The whole point is to achieve a perfect lock stitch, where the top thread and bobbin thread meet right in the middle of your fabric layers. When it's right, both sides of your seam look identical. When one thread pulls too hard, you get those dreaded loops.
Before you even think about touching that tension dial, you have to play detective. Where the loops are showing up tells you exactly what’s wrong. It’s a simple rule that trips up so many people, but once you get it, you’ll never forget.
It feels totally backward at first, but it's the absolute key to fixing the problem. Messy bottom stitches mean a problem with the top thread. Messy top stitches mean the top thread is too tight for the bobbin.
This quick table breaks it down, helping you visually connect the symptom to the solution.
| Symptom (Where You See Loops) | Likely Problem | Solution |
|---|---|---|
| Loops on the Underside of the fabric. The top stitch might look fine. | The upper thread tension is too loose. | Increase the upper tension dial (turn to a higher number). |
| Loops or Knots on the Top of the fabric. The bottom stitch might look flat. | The upper thread tension is too tight. | Decrease the upper tension dial (turn to a lower number). |
| Stitches look perfect on both top and bottom. | The tension is balanced. | No adjustment needed! Keep sewing. |
By simply looking at your test seam, you can pinpoint the exact adjustment needed without any guesswork.
Never, ever adjust your tension on your actual project. Always grab a scrap of the exact same fabric and thread you plan to use. Fold it over so you're sewing through the same number of layers.
Sew a test line a few inches long and take a close look. If you see loops on the bottom, increase your top tension by one full number (like from a 4 to a 5). If you see knots on the top, decrease the tension by one full number (from a 4 to a 3). Sew another test line and compare.
Here’s the part everyone forgets: you must lift the presser foot before you turn the tension dial. This simple action opens up the tension discs inside the machine, allowing them to reset properly to the new setting. If you adjust with the foot down, you’re not really changing anything.
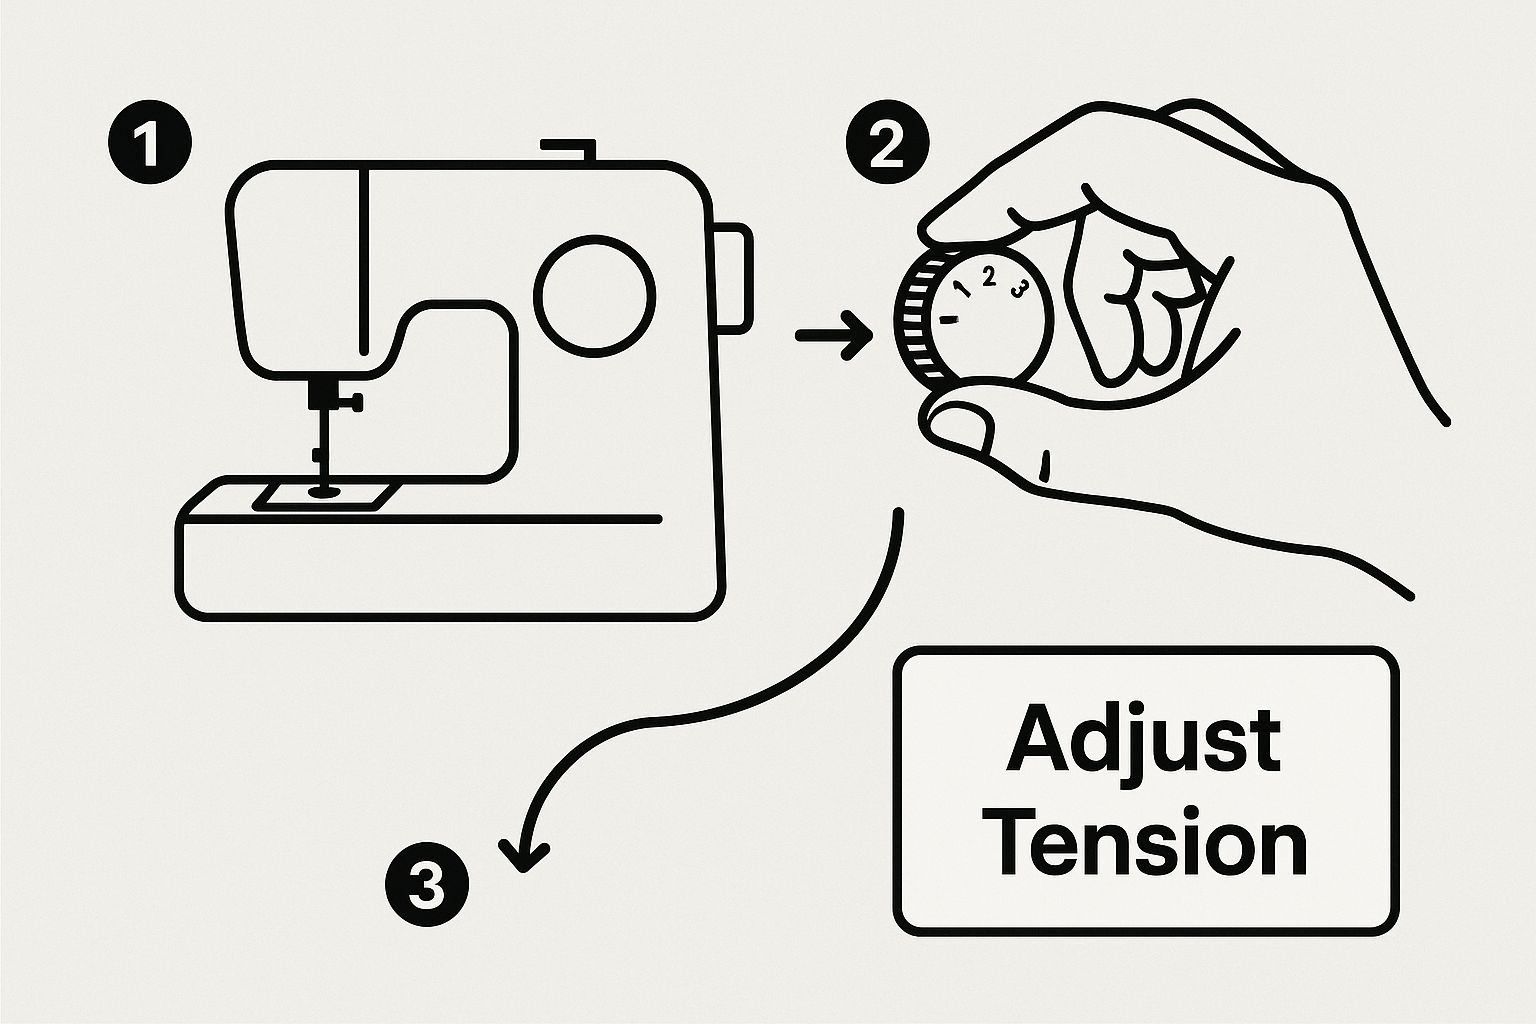
As the picture shows, making small, precise adjustments is how you dial in that perfect stitch. It's a hands-on process that requires a bit of patience.
So, what happens when you’ve cranked the dial up and down and nothing is fixing the problem? Before you get frustrated, stop and investigate these other common issues that love to disguise themselves as tension problems.
A Poorly Wound Bobbin
If your bobbin thread is wound loosely or unevenly, it can't feed out smoothly. This creates inconsistent tension from below, which no amount of top tension adjustment can fix. A good bobbin should be wound smoothly and firmly.
Lint in the Tension Discs
This one is huge. Tiny bits of lint or broken thread can get wedged between the metal discs that control your upper thread. This prevents them from closing properly, often resulting in zero upper tension and a massive "bird's nest" of thread on the bottom of your fabric. With the presser foot up, try "flossing" between the discs with a piece of unwaxed dental floss to dislodge any hidden gunk.
This isn’t just a home sewing frustration. Research shows that about 25-30% of industrial sewing machine manufacturers report tension issues as a recurring problem. In fact, manual tension adjustments account for roughly 15% of all maintenance calls, which just goes to show how critical a clean and clear thread path is. You can read more about the industrial sewing machine market on expertmarketresearch.com.
Incorrect Threading
Honestly, this is the most common culprit of all. Did you miss a thread guide? Is the thread really seated in the take-up lever? Go back to square one. Unthread the entire machine—top and bobbin—and re-thread it from scratch, making absolutely sure the presser foot is up. This simple reset solves the problem more often than you'd think.
There’s nothing quite like the feeling of dread when you flip your fabric over and find a massive, tangled "bird's nest" of thread. That mess, which brings any sewing project to a screeching halt, almost always points to a problem in the bobbin area. Getting to know this small but crucial part of your machine is the secret to avoiding one of sewing's biggest headaches.
It all starts with something so basic it's easy to overlook: winding the bobbin. We often rush this step, but a poorly wound bobbin is a hidden gremlin that will cause chaos later. Think about a new spool of thread from the store—it's smooth, firm, and perfectly even. That's your goal.
If your bobbin thread is loose, lumpy, or has crisscrossing loops, it can't feed out smoothly. This creates tiny, inconsistent jerks in the bobbin tension, which is a direct path to those frustrating loops and jams on the underside of your fabric.
First things first, make sure you're using the right bobbin for your machine. It sounds obvious, but metal and plastic bobbins are not interchangeable. Grabbing a generic one that's even a fraction of a millimeter off can throw the whole mechanism out of whack. When in doubt, your sewing machine's manual is your best friend.
For a flawless wind every single time, here’s what I’ve learned to do:
A poorly wound bobbin is the root cause of so many tension nightmares. You can fiddle with the top tension dial all day long, but it will never fix a problem that's starting underneath. Taking an extra 30 seconds to wind your bobbin correctly will save you 30 minutes of seam ripping later.
With your perfectly wound bobbin in hand, the next step is putting it in correctly. The exact process differs between front-loading machines and the more common top-loading (or drop-in) style, but the mechanics are the same. The thread must click into the bobbin case's tension spring, and it has to unwind in the right direction. For most drop-in bobbins, that means the thread should be coming off the bobbin in a counter-clockwise direction. Your manual will have a clear diagram of this.
One of the biggest culprits behind bobbin-area issues is something you can't always see: lint. Tiny fibers from thread and fabric build up incredibly fast, packing themselves into the bobbin case and around the feed dogs. This linty mess can soak up machine oil, jam moving parts, and even snag the thread as it tries to form a stitch.
I make it a habit to do a quick clean after every 8-10 hours of sewing, or at least between major projects. Just turn off the power, remove the needle and presser foot, and pop out the bobbin. Use the little brush that came with your machine to sweep away all the fuzz you can see.
For a more thorough cleaning, you'll need to take off the needle plate.
This simple maintenance is one of the most effective troubleshooting steps you can take. More often than not, it's the magic fix for those mysterious thread nests. A clean machine is a happy machine, and a clean bobbin area is the foundation for every single perfect stitch.
Every sewist knows that heart-stopping moment when a familiar hum turns into a sudden clunk, grind, or squeal. These sounds can be unnerving, but they're rarely a death sentence for your machine. Think of them as your machine’s way of talking to you—it’s trying to tell you something needs attention before it becomes a bigger problem.
Learning to interpret these auditory cues is one of the most valuable skills you can develop. A little preventative maintenance now can save you from a major, and often expensive, repair bill later.
Think of yourself as a machine translator. With a bit of experience, you can pinpoint the likely cause just by listening. Each sound has a story to tell.
Here are a few of the most common noises I hear about and what they usually mean:
Regular cleaning is your best defense against most of these noises. I recommend popping off the needle plate and giving the bobbin area and feed dogs a good sweep with a small brush after every 10-12 hours of sewing. You'd be amazed at how much lint can build up in a short time.
When it comes to oiling, your machine's manual is your bible.
CRITICAL TIP: Never, ever use household oils like WD-40 or 3-in-1 oil on your sewing machine. These products are not designed for high-precision machinery and will create a sticky, gummy mess that causes far more harm than good. Only use oil specifically made for sewing machines.
Many modern, computerized machines are self-lubricating and should not be oiled by the user. If you have an older mechanical model that does require it, your manual will show you exactly where to put a single drop. Remember, over-oiling is just as bad as under-oiling—excess oil can stain your fabric and attract even more lint.
A machine jam—where the handwheel locks up and everything freezes solid—is almost always caused by a tangled nest of thread in the bobbin area. The absolute first thing to do is turn off the power. Resist the urge to force the handwheel; you can easily bend delicate internal parts.
With the power off, here’s how to safely clear the jam:
This methodical approach will get you back to sewing without damaging your machine.
While these tips are great for most home machines, industrial models present unique challenges, such as motor overheating and heavy mechanical wear. Because of their complexity, operator error can contribute to a 5-10% increase in annual maintenance needs. You can learn more about the industrial sewing machine market on straitsresearch.com. No matter what you sew on, addressing noises and jams right away is the key to a long and happy machine life.
Even with the best step-by-step guide, sometimes you just have a nagging question you need answered right now. I get it. Think of this as a quick-reference cheat sheet for those head-scratching moments that pop up when you're in the middle of a project.
Fabric puckering is one of the most common frustrations, and nine times out of ten, it’s a tension problem. Specifically, your upper thread tension is too tight for the fabric you’re using. The top thread is literally yanking on the bobbin thread, causing the fabric to bunch up along your seam.
Your first and easiest fix is to simply lower the upper tension dial by a number or two. Sew a test scrap. If you're still getting puckers, there are a couple of other culprits to investigate.
Don't panic! Before you start thinking the motor is dead, take a deep breath and check the simple stuff. I can’t tell you how many times a "broken" machine was just a loose plug.
Start with the obvious: is the power cord plugged securely into the wall and into the machine itself? It's surprisingly easy to knock one of these loose. Next, trace the foot pedal cord and make sure it's pushed all the way into its port. On many machines, no pedal connection means no power.
Finally, feel around the side or back for a master power switch. It's often separate from the light switch. If you've checked all three of these and it's still dead, try a different wall outlet just to be sure. If that doesn't work, then it might be time to think about professional service.
This is a great question because it gets to the heart of routine maintenance versus a serious mechanical repair.
Changing your needle is basic, non-negotiable maintenance. You should be putting in a fresh needle after every 8-10 hours of sewing. Seriously. A dull, bent, or slightly burred needle is the number one cause of skipped stitches, pulled threads, and fabric damage. It's the cheapest, fastest fix in your arsenal.
On the other hand, checking and adjusting the timing is a complex mechanical repair. The "timing" is the perfect, split-second dance between the needle going down and the shuttle hook grabbing the thread from it in the bobbin area. If that choreography is off, no stitch can be formed.
You should only start to suspect a timing issue after you've exhausted every other possibility—new needle, re-threaded from scratch, cleaned the machine, and adjusted tensions—and you're still getting consistently skipped stitches. Adjusting timing involves getting into the guts of the machine and is best left to a professional. A wrong move here can cause even more damage.
This really depends on how much you sew and what kind of machine you have. As a general rule, you should get into the habit of brushing the lint out from the bobbin case and feed dogs after every project, or roughly every 10 hours of sewing. Lint is like cholesterol for your machine; it builds up and gums up the works.
Oiling is a completely different beast. The most important thing you can do is read your manual. Many modern, computerized machines are self-lubricating and oiling them can actually cause damage. Older, all-metal mechanical models, however, often need a single drop of sewing machine oil on key moving parts every 15-20 hours of use.
Whatever you do, never use a household oil like WD-40. It will create a sticky residue that attracts even more lint and will eventually seize up your machine's mechanics.
At Famcut.com, we know that a happy sewing machine is the key to bringing your cosplay and creative visions to life. From high-quality fabrics and notions to expert advice like this, we're here to support your journey. Explore our resources and supplies to keep your projects running smoothly.
At High Country Quilts we care deeply about community. With our experiences in retail, we know that a store is not only a place to shop but also a place for the community to gather and share. During this busy...

Hi! We’re Adam and Renee Wheaton, the new owners of High Country Quilts! For more than 40 years, we’ve owned and operated vacuum and sewing businesses. Following in Renee’s father’s footsteps after he retired from All Discount Vacuum and Sewing in Colorado...


Leave a comment