

We Love Our Quilting Community
At High Country Quilts we care deeply about community. With our experiences in retail, we know that a store is not only a place to shop but also a place for the community to gather and share. During this busy...


Learning how to sew a zipper really just comes down to four key steps: getting your fabric ready, lining up the zipper, basting it in place, and finally, topstitching with a zipper foot. Once you nail this, a whole world of new projects opens up, letting you give your homemade garments a truly professional finish.
Does installing a zipper feel a little intimidating? You're definitely not alone. A lot of us have been there! Many sewers see it as a major hurdle, but it's a skill that fundamentally expands what you can create. From zippered tote bags and pillows to custom-fit skirts and jackets, a clean, well-sewn zipper is the signature of a polished project.
My goal here is to demystify the whole process. We'll break down the four most common zipper types into clear, manageable techniques, skipping the confusing jargon. It's time to forget any past frustrations—this guide is all about building your confidence one stitch at a time with methods that actually work.
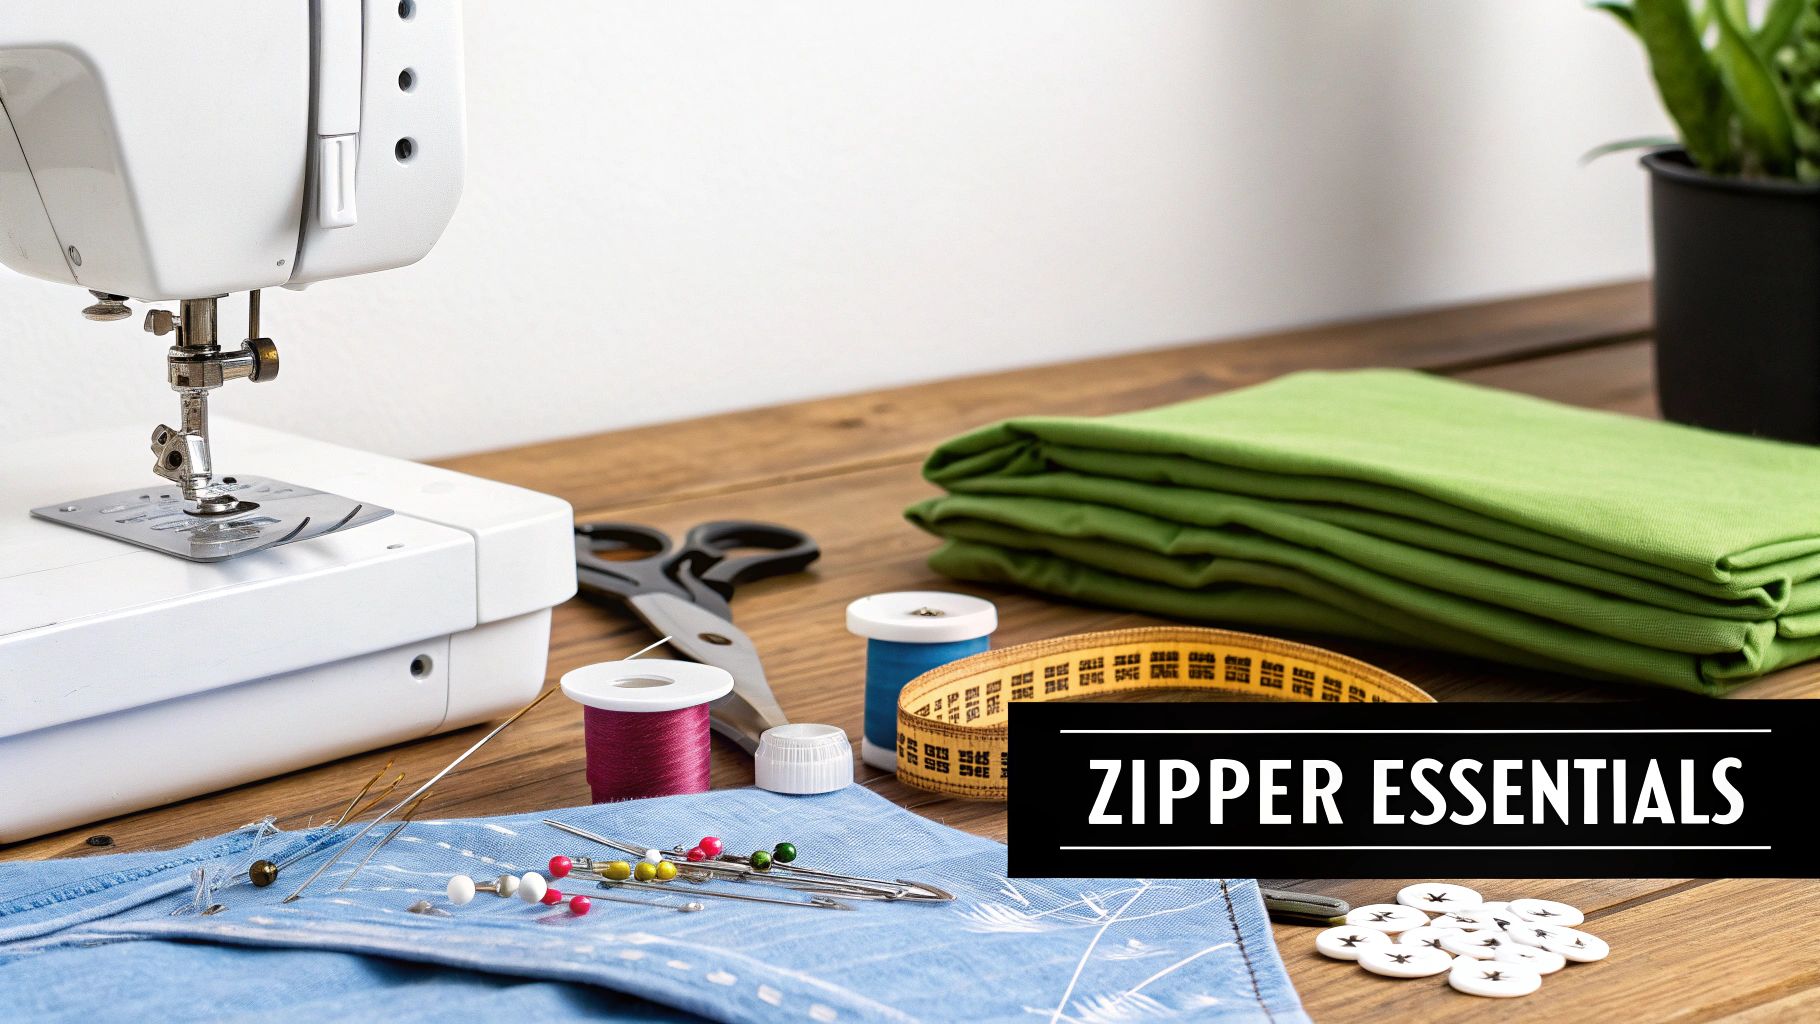
Before you even sit down at your sewing machine, getting your tools and materials in order is the real first step toward a flawless finish. Good prep work is what prevents those all-too-common mistakes, like puckered fabric or uneven stitches. This guide will walk you through everything you need, making sure you’re perfectly set up before the first stitch is even sewn.
Think of this as your friendly sewing companion, here to help you master one of sewing's most rewarding skills. And it's a technique that's more in demand than ever. In fact, the global zipper market was valued at approximately USD 15.27 billion in 2024 and is projected to keep on growing. This just shows how essential zippers are in modern clothing and accessories, making this a truly valuable skill for any sewist to have. You can learn more about these zipper market trends and see just how big their impact is.
A perfectly installed zipper doesn’t just add function—it elevates the entire look and feel of your handmade item. It’s a detail worth mastering.
We'll start by gathering all the foundational tools you'll need for any zipper project. Once you understand your tools and how to use them, you'll feel much more prepared and in control. This foundation will set you up for success as we move into the specific techniques for centered, lapped, invisible, and separating zippers.
Here’s a quick rundown of the gear you'll want to have on hand. Having these items ready will make the process smoother and far more enjoyable.
| Tool/Supply | Purpose | Pro Tip |
|---|---|---|
| Zipper Foot | Allows the needle to stitch close to the zipper teeth without hitting them. | For BERNINA machines, Zipper Foot #4 is your go-to. If you have a Dual Feed machine, use Zipper Foot #4D. |
| Seam Ripper | Used to remove basting stitches and correct any mistakes. | A sharp, high-quality seam ripper is your best friend. It can save a project from a sewing mishap. |
| Fabric Marking Tool | Chalk, disappearing ink pen, or a water-soluble pencil to mark zipper placement. | Always test your marking tool on a scrap of your project fabric first to ensure it removes completely. |
| Pins or Wonder Clips | To hold the zipper securely in place before and during sewing. | Wonder Clips are great for thicker fabrics like vinyl or leather where pins would leave permanent holes. |
| Measuring Tape/Ruler | For precise measurements of the seam allowance and zipper placement. | A small, clear ruler is incredibly helpful for checking topstitching distances and ensuring even lines. |
With these tools organized, you’re ready to tackle any zipper. Let's get started
The secret to a flawless zipper application doesn't start at the sewing machine—it starts with picking the right zipper for the job. Honestly, your choice of zipper is just as critical as your sewing technique. A truly professional finish comes from matching the zipper's style, material, and weight to your specific fabric and project.
Think about it: you wouldn't put a chunky metal zipper on a delicate silk blouse, right? It would completely ruin the drape. By the same token, a dainty invisible zipper would get chewed up by heavy-duty denim. The goal is to find a zipper that works perfectly and actually enhances your finished piece.
Different zippers are designed for different tasks. Once you get a feel for what each one does best, you'll be able to choose the perfect one every time, making your projects look so much more polished.
Here’s a quick rundown of the most common types I use and what they're best for:
I've seen it happen so many times: someone uses a standard zipper on a jacket, only to realize it won't open at the bottom. Always think through how the garment needs to function before you buy your supplies.
Beyond just the style, the material a zipper is made from has a huge impact on its performance.
Metal zippers, for example, are incredibly robust. It’s no surprise they are so popular—their durability means they account for 70.4% of the total market income. They are the clear choice for heavy-duty items like luggage and outerwear where strength is key. You can explore the full zipper market report if you're curious about the industry trends.
On the other hand, nylon coil zippers are much more flexible and lightweight. This makes them perfect for things like throw pillows or the handy zippered pockets on quilted bags. If you’re looking for ideas, we have some fantastic patterns for quilted bags that show them off beautifully.
When in doubt, your sewing pattern is your best friend. It will almost always recommend the ideal zipper length, material, and type to ensure your project turns out just right.
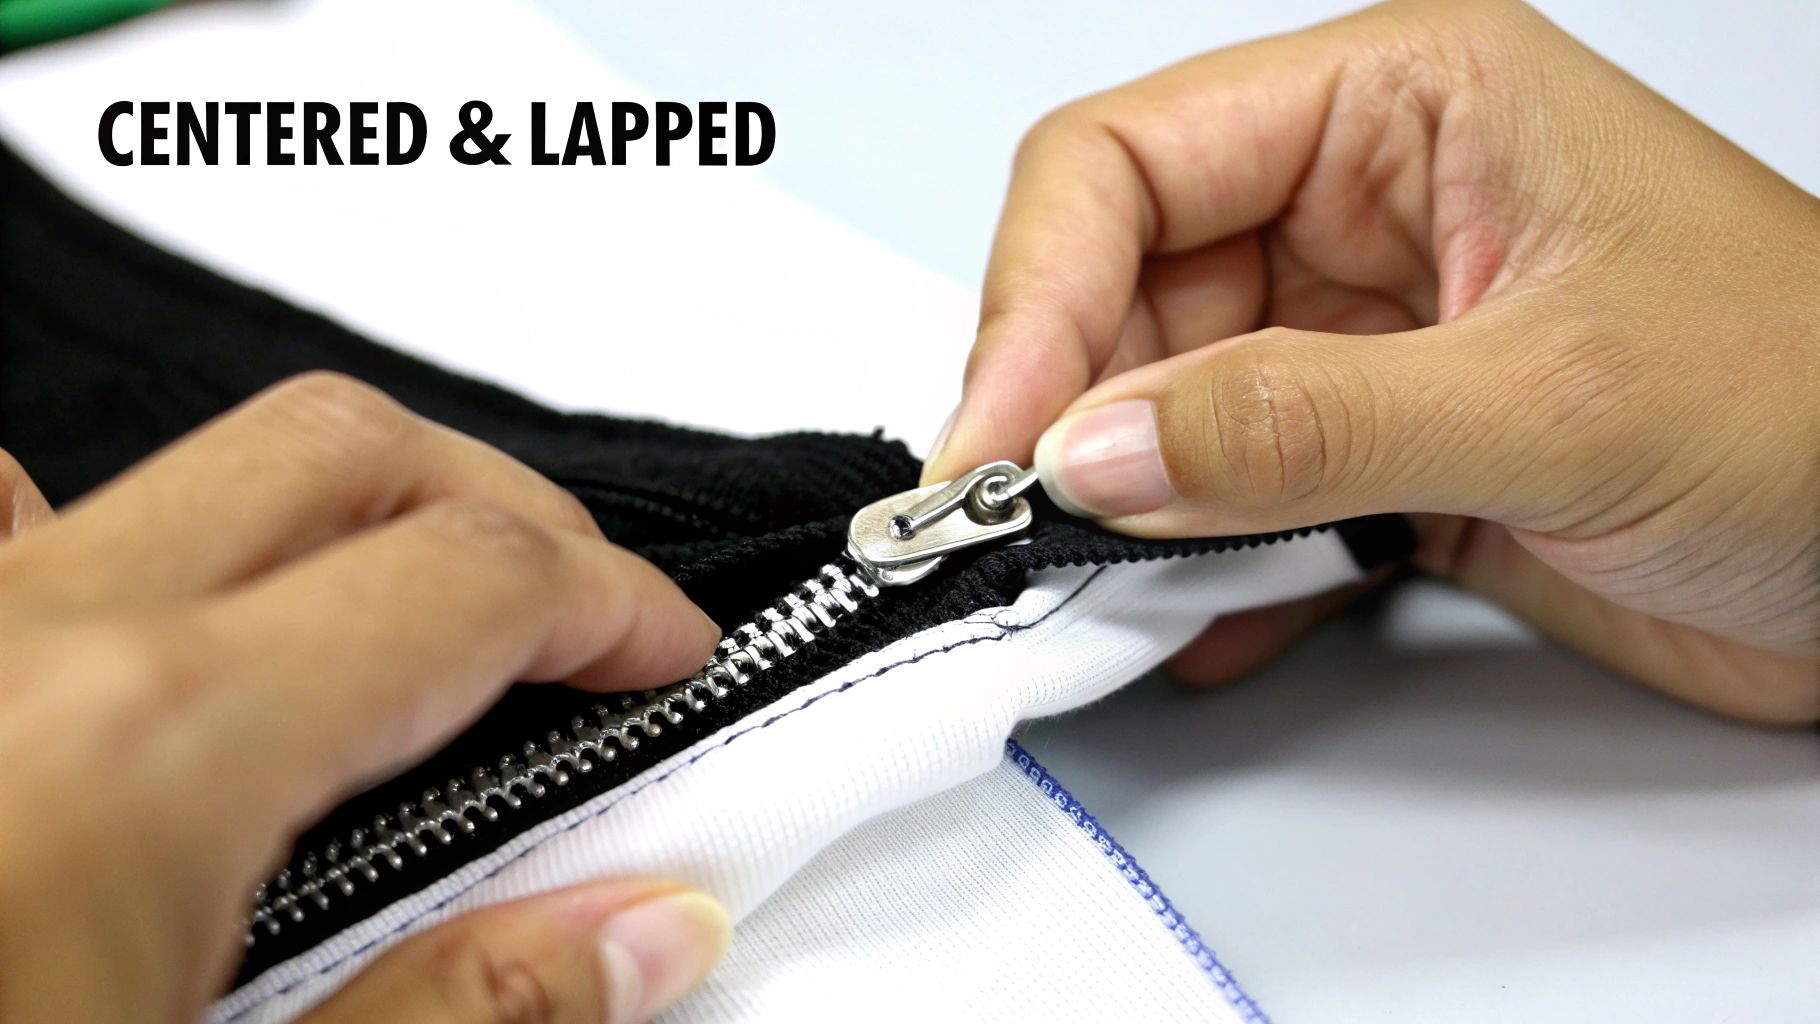
Let's dive into two of the most fundamental zipper techniques you'll ever learn: the centered and the lapped zipper. You'll find these workhorses everywhere—from the back of a skirt and side of trousers to throw pillows and tote bags. Once you get these down, you'll have a solid skill set for almost any project that comes your way.
A centered zipper is all about perfect symmetry. It's positioned right down the middle of a seam, with the same amount of fabric and topstitching visible on each side. The lapped zipper, on the other hand, is a bit more classic. It creates a really clean, asymmetrical look where one fold of fabric elegantly hides the zipper teeth completely.
The secret to a flawless zipper application—no puckers, no wavy lines—is all in the prep work. Seriously, don't skip this part.
Before anything else, finish the raw edges of your seam allowances. You can use a serger for a super clean edge or just a simple zigzag stitch on your sewing machine. Doing this now prevents fraying down the road and makes the inside of your garment look so much more professional.
Next, get out your iron and press those seam allowances open. A flat, crisp seam is the best foundation you can give yourself. If you need a refresher on getting that perfect press, we have a whole guide on how to press seams that can really elevate your results.
Now, lay your closed zipper face down right on top of the pressed-open seam allowance. The goal is to get the zipper teeth lined up perfectly with the seam line. You can use pins, but I'm a huge fan of double-sided basting tape for this. It holds the zipper absolutely still, which is a lifesaver for preventing any shifting while you sew.
With your zipper taped or pinned securely, you're ready to head to the machine. Your first step is to baste the main seam closed, right over the zipper, from the top edge down to where the zipper ends. Just use a long stitch length, as you'll be taking this out later. This temporary seam is your best friend for keeping everything aligned.
Attach your zipper foot and start stitching down one side of the zipper tape, staying nice and close to the teeth. When you get to the bottom, sink your needle, lift the presser foot, and pivot the fabric to stitch across the base, just below the metal zipper stop. Pivot one more time and stitch all the way up the other side, completing the rectangle.
BERNINA Pro Tip: The BERNINA Zipper Foot #4 is fantastic for this. Its narrow shape lets you get right up against the zipper teeth for a really clean look. A great trick is to adjust your needle position a few clicks to the left or right to get that stitch line exactly where you want it.
Once you’re done, grab a seam ripper and carefully remove those basting stitches you put in earlier. Pull them out, and voilà—a perfectly installed centered zipper!
A lapped zipper has a wonderfully traditional, high-end feel you often see on vintage-inspired skirts or finely tailored pants. The process starts out similarly to the centered zipper, but the pressing is completely different.
Instead of pressing the seam allowances open, you'll press them both over to one side. For a center-back seam on a garment, you would typically press them toward the left side. This creates the fabric "lap" that's going to cover the zipper.
Position the zipper underneath that lapped side and secure it with pins or tape. Working from the right side of the fabric, you'll topstitch down the side, pivot at the bottom, and stitch across. You’re essentially creating a neat “L” shape with your stitches.
This single, clean line of visible stitching is what gives the lapped zipper its signature professional finish. It’s a beautiful technique that shows how learning to sew a zipper can truly elevate your projects.
When it comes to formalwear, tailored skirts, and any garment where you want clean, uninterrupted lines, the invisible zipper is the absolute best choice. It creates a truly professional finish that lets your fabric be the star. While it might seem intimidating, the technique is surprisingly straightforward, and once you get the hang of it, you’ll want to put one in everything.
The whole approach to an invisible zipper is flipped on its head compared to other methods. Instead of stitching it into a pre-sewn seam, you attach the zipper to the open seam allowances first. Only then do you sew the rest of the seam closed. This little trick is what makes it completely disappear.
First things first, let's get that zipper ready. An invisible zipper has nylon coils that curl over to the back of the zipper tape. To get your stitch nice and close, you need to gently uncurl those coils with a warm iron.
Lay the zipper face down on your pressing mat and use the tip of your iron to carefully press the coils flat. Stick to a low or medium heat setting—too much heat will melt the nylon teeth! You aren't trying to make them permanently flat, just relax them enough to reveal the little ditch right next to the coils where your needle needs to go.
The real secret to a perfect invisible zipper is stitching right in that groove at the base of the teeth. Taking a moment to press the coils open is the single most important thing you can do to get your needle exactly where it needs to be.
With the coils pressed open, you’re ready to sew. Line up the first side of the zipper tape with the raw edge of your fabric, right sides together. The flattened coils should sit right on your seam line. Pin it or use wonder clips to hold it securely.
This is where having the right tool for the job makes a world of difference. A standard zipper foot can work if you’re in a bind, but it’s nearly impossible to get that flawless, hidden look.
An invisible zipper foot is specially designed with two grooves on the bottom that cradle the zipper coils as you sew. This setup guides your needle perfectly into the ditch. For those of you on a BERNINA, the Invisible Zipper Foot #35 is an absolute game-changer and makes this process practically foolproof.
Sew the first side of the zipper from the top down. Before moving on, zip it closed and use a fabric marker to note where the waistline (or any other critical matching point) hits the unsewn zipper tape. Now, open the zipper back up and use that mark to align it with the other side of your garment. This little step ensures everything lines up perfectly later.
Once both sides of the zipper are stitched down, it’s time to sew the main seam below it. Zip the zipper closed so everything lays flat. Switch back to your regular zipper foot and start sewing the seam from the hem of your garment, working your way up toward the zipper.
As you approach the bottom of the zipper, slow down. You want to sew right up until your needle is about a half-inch from your last zipper stitch. From there, carefully walk your machine by hand to get your needle as close as you possibly can to the end of the zipper stitching—ideally just a millimeter or two to the side. This prevents that tell-tale pucker at the base of the zipper. Backstitch to secure it, and you're all set
When it comes to jackets, hoodies, and anything that needs to open completely, the separating zipper is your go-to. Unlike the zippers we’ve talked about so far, these are installed on a front opening rather than into a closed seam. This means the zipper is front and center, so precision really matters.
The biggest challenge here is getting both sides of the jacket to align perfectly. If the zipper is even slightly off, the hem and neckline won't match up when you zip it, which can throw off the look of the whole garment.
Stability is your best friend when installing a separating zipper, especially with fabrics that have a bit of stretch, like fleece or knits. Before you do anything else, apply a strip of lightweight fusible interfacing along the seam allowance of both front opening edges. I can’t stress this step enough—it prevents the fabric from stretching out of shape as you sew, which is the main culprit behind those wavy, unprofessional-looking zippers.
After interfacing, go ahead and finish the raw edges of the jacket front. A serger gives a beautiful, clean finish, but a simple zigzag stitch on your sewing machine works just as well. This little bit of prep work prevents fraying and makes your jacket much more durable in the long run.
This diagram breaks down the basic process for any successful zipper application.
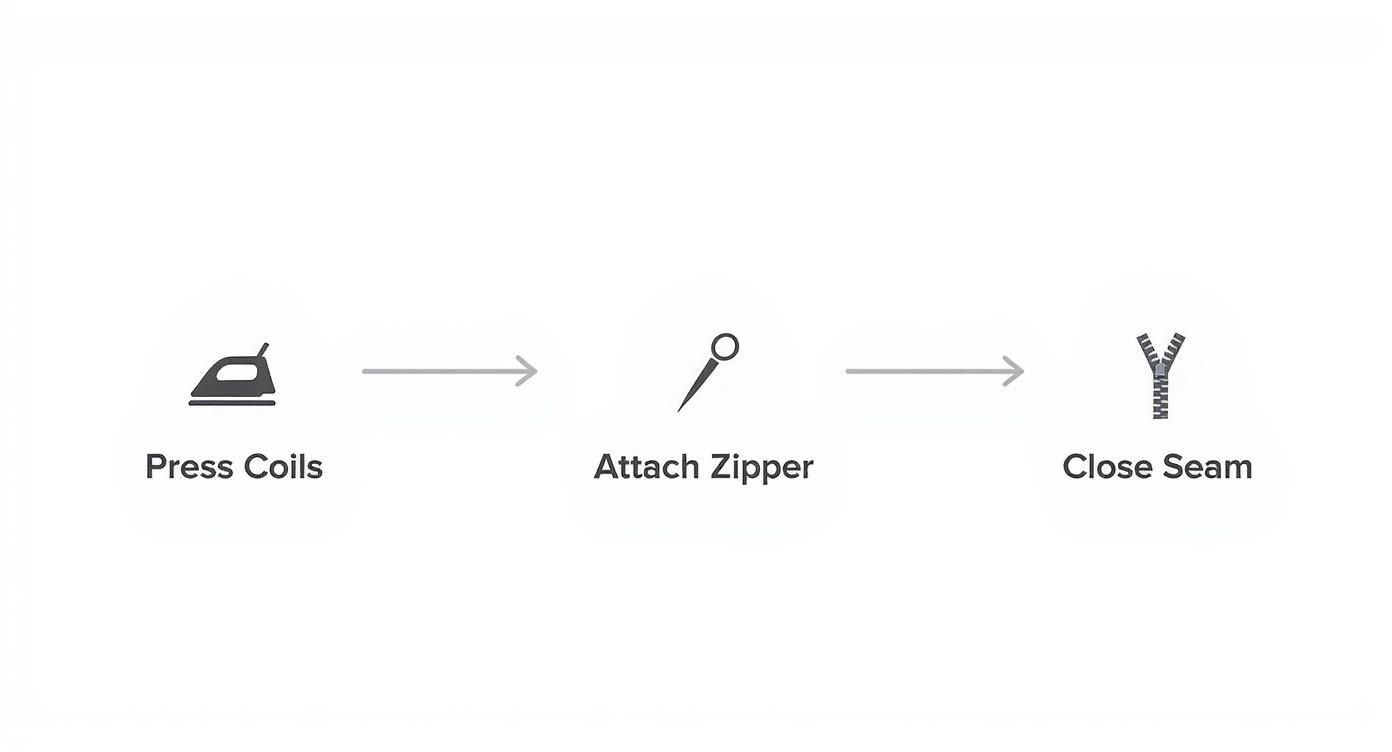
As you can see, getting things properly pressed and prepped before you start sewing is the foundation for a great result.
First, lay one side of your jacket front flat, right side up. Place the closed zipper face down along that edge, making sure the zipper tape lines up with the raw edge of the fabric. It’s crucial that the bottom zipper stop sits exactly where your finished hemline will be. Pin everything securely or use fabric clips.
Switch to your zipper foot and stitch the zipper tape to the fabric. Now for the most important part of the whole process. Close the zipper and place the second jacket front on top. You need to carefully match up the neckline and hemline. I like to push pins straight through both layers at these key points to make absolutely sure they’re perfectly aligned. Once you're confident, open the zipper and attach the other side of the zipper tape.
If you’re working with bulky fabrics like fleece or quilted materials, a walking foot is a lifesaver. It grips the top and bottom layers of fabric and feeds them through the machine evenly, which stops things from shifting and puckering. If you haven't used one before, our guide on how to use a walking foot is full of helpful tips.
Once both sides are sewn, you’ll fold the zipper to the inside of the jacket, give it a good press, and topstitch from the right side. This final step not only secures the zipper but also gives your jacket that classic, clean finish. The way you finish the very top of the zipper will depend on your pattern—some have a facing, while others might attach to a hood.
https://www.youtube.com/embed/wrSFIWG-mqU
Even when you do everything right, zippers can sometimes put up a fight. We’ve all been there—that moment of frustration when you see a wavy zipper, puckered fabric, or a seam that just doesn't line up. The good news is, these are common hiccups and almost always fixable. Let's walk through how to diagnose and solve the most frequent issues you'll run into.
One of the biggest culprits I see is the dreaded wavy zipper. This almost always happens when you're sewing a stable zipper tape onto a knit or any fabric with a bit of stretch. As you sew, the fabric stretches but the zipper tape doesn't, creating that tell-tale ripple effect.
The absolute best way to prevent a wavy zipper is to stabilize the fabric first. Before you even think about sewing, fuse a thin strip of lightweight interfacing or something like Stitch Witchery to the seam allowance where the zipper will go. This one simple step makes a world of difference.
Another classic problem is the fabric getting snagged in the zipper teeth, especially with lightweight or slippery fabrics like silk, rayon, or chiffon. A little bit of careful topstitching along the zipper tape is a great preventative measure to keep the fabric folded back and out of the way.
So, your zipper is in, but the fabric around it is all bunched up and puckered. This usually points to a tension problem, or it means the fabric was stretched out of shape as you were sewing it.
Here’s what to check:
And what if you get to the end and realize the seams at the base of your zipper don't match up? Don't despair and definitely don't call it a "design feature." Grab your seam ripper and carefully unpick the last few inches of the zipper stitching and the main seam just below it. Re-pin everything meticulously, making sure those seams are perfectly aligned, and then slowly stitch it back up. It’s a tiny bit of extra work that pays off big time in the final, professional-looking garment.
When you're first getting the hang of zippers, a few questions always seem to pop up. Let's tackle some of the most common ones I hear from sewists.
For a fast reference, I've put together a table with quick answers to the questions we get asked most often.
| Question | Answer |
|---|---|
| Can I shorten a zipper that's too long? | Yes, you absolutely can! For polyester coil zippers, just create a new bottom stop by sewing several tight zigzag stitches over the teeth. Then, trim the extra length about an inch below your new stop. |
| Why is my zipper puckering? | This is a classic sign of mismatched fabric types. It often happens when you sew a stable, non-stretch zipper onto a stretchy knit fabric. The best fix is prevention: stabilize the seam allowance with fusible interfacing first. |
| What's the best zipper foot to use? | The BERNINA Zipper Foot #4 is perfect for centered or lapped zippers. For invisible zippers, you’ll get the cleanest finish with the specialized Invisible Zipper Foot #35. |
| How do I avoid sewing into the teeth? | Go slow! Use your machine's needle-down function to stop and pivot. A zipper foot is designed to ride right alongside the teeth, acting as a guide to keep your needle exactly where it needs to be. |
These quick tips can solve a lot of the initial headaches you might run into when installing zippers.
One of the best things you can do to improve your machine sewing is to understand the fundamentals of how a zipper works. For a deeper dive into these core skills, check out our comprehensive guide on how to sew a zipper by hand. The principles you learn there will make your machine work even better.
Here at High Country Quilts, our goal is to be part of your sewing journey. We're always here with expert advice, top-notch supplies, and a wonderful community to share it all with. Come explore our selection of BERNINA machines and beautiful fabrics at https://hcquilts.com today.
At High Country Quilts we care deeply about community. With our experiences in retail, we know that a store is not only a place to shop but also a place for the community to gather and share. During this busy...

Hi! We’re Adam and Renee Wheaton, the new owners of High Country Quilts! For more than 40 years, we’ve owned and operated vacuum and sewing businesses. Following in Renee’s father’s footsteps after he retired from All Discount Vacuum and Sewing in Colorado...


Leave a comment