

We Love Our Quilting Community
At High Country Quilts we care deeply about community. With our experiences in retail, we know that a store is not only a place to shop but also a place for the community to gather and share. During this busy...


If you've spent any time at all in the quilting world, you've heard about half square triangles, or HSTs. They're everywhere! And for good reason. This simple little block, made by sewing two triangles together, is the absolute bedrock of countless classic and modern quilt patterns. Think pinwheels, chevrons, flying geese variations, and intricate star blocks—they all start here.
Before you ever make that first cut, it helps to understand why each step matters. Making an HST isn't just one action; it's a little process where every choice you make, from fabric prep to pressing, adds up. Getting these little guys right from the very beginning saves a world of frustration later on.
The name of the game is precision. A tiny slip of the ruler or a wobbly seam might not seem like a big deal on one block, but multiply that error across an entire quilt top? You'll wind up with points that don't match and borders that wave. That’s why we always start with the fundamentals.
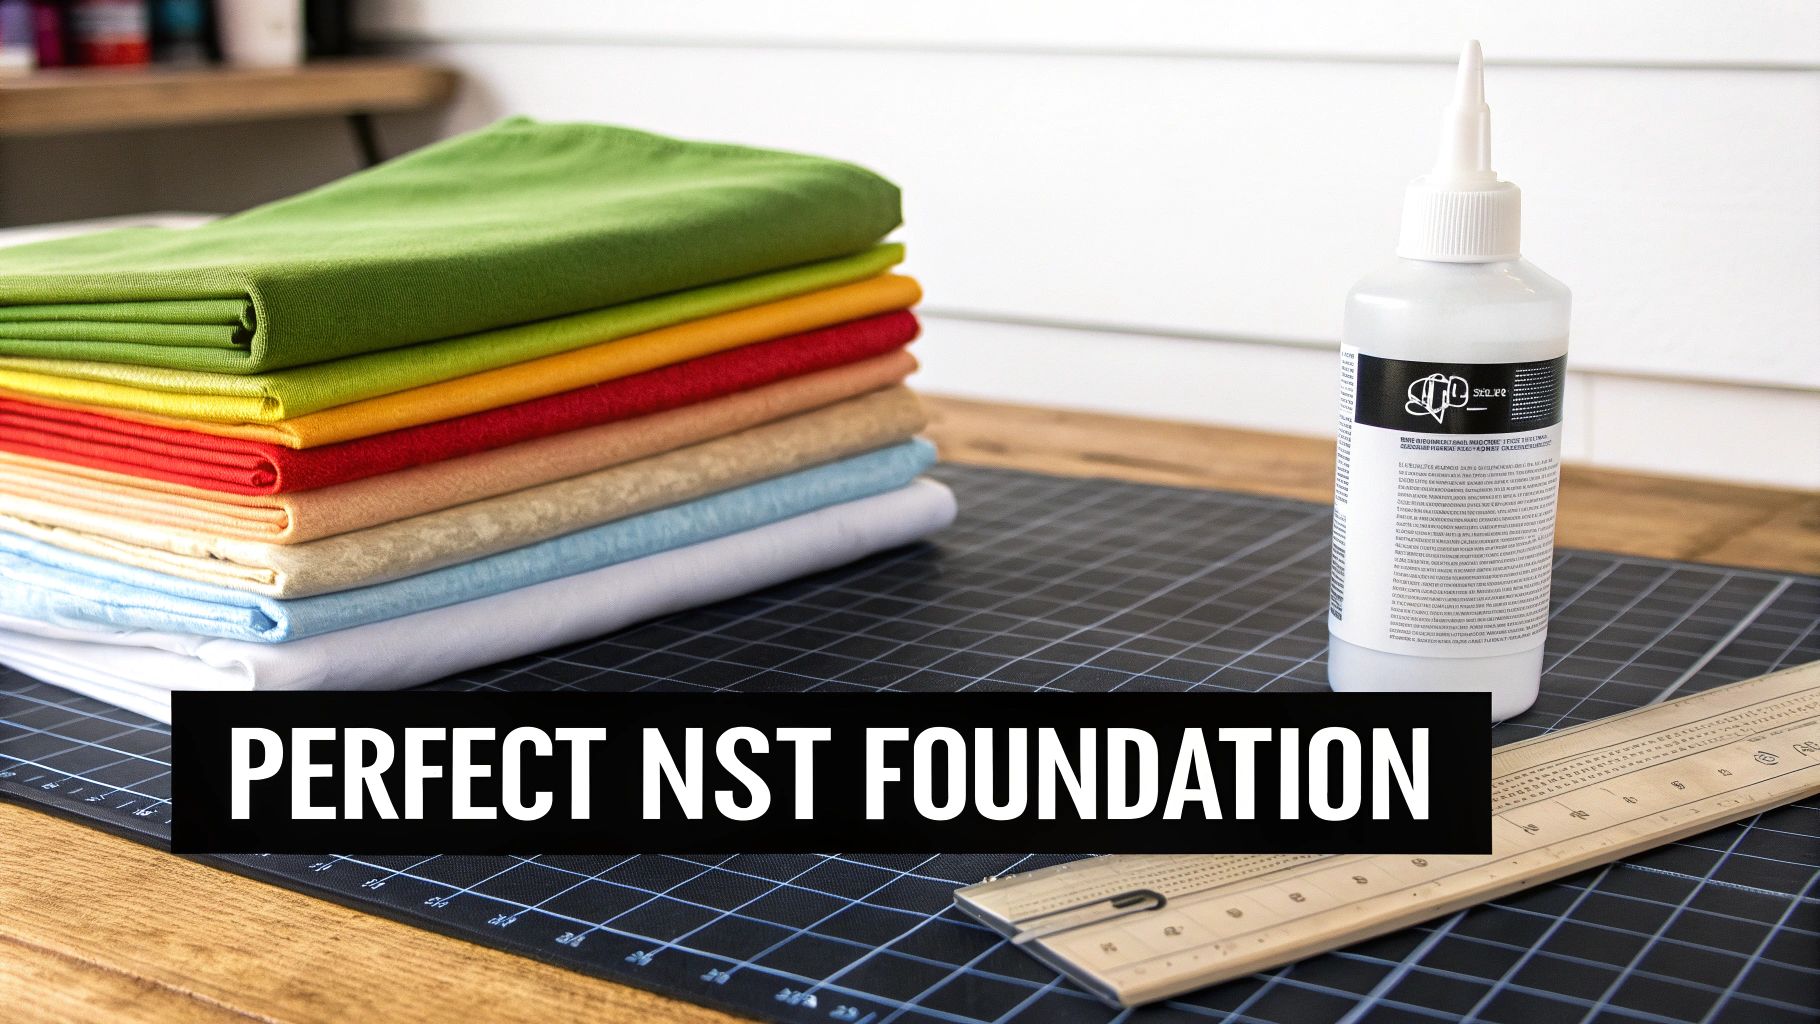
Great HSTs begin with great fabric prep. I can't stress this enough. Always reach for a high-quality, 100% cotton quilting fabric. Its tight, stable weave is designed to behave itself and resist stretching.
Before your rotary cutter even comes out of its holster, take a moment for these two game-changing steps:
A well-prepared piece of fabric is like a perfectly primed canvas. It gives you a stable, predictable surface to work with, which is the secret to achieving those coveted sharp points and flat seams in your quilt blocks.
The final piece of the puzzle is how you handle your seams. In quilting, a consistent ¼-inch seam allowance is gospel. If you wander away from that perfect quarter-inch, the math just won't work out, and your blocks won't be the right size.
Just as crucial is how you press. Whether you press your seams open or to one side makes a huge difference in how flat your blocks lie and how neatly your points come together later. There's a real art to it, and learning a few different techniques for how to press seams will seriously level up your quilting. A good press reduces bulk and guarantees your HSTs are perfectly flat and ready to become part of something beautiful.
Before we dive into sewing, let's talk about tools. Having the right gear isn't just a nice-to-have; it's the foundation for great results. When your tools are accurate, your blocks will be too, and that’s what makes a quilt truly sing. Think of this as building your quilting A-team.
Setting yourself up with these core items from the start means you can focus on the fun part—the creative process—instead of wrestling with your equipment.
In quilting, everything starts with a precise cut. There's no fudging it later. That's why these three tools are absolutely non-negotiable for anyone serious about making accurate blocks.
Getting this trio right will change your entire quilting experience. If you’re trying to decide on a cutter, our guide to the best rotary cutters for quilting breaks down the options to help you find the perfect fit.
Once your cutting setup is solid, a few other key items will dramatically improve your piecing.
A dedicated ¼-inch sewing machine foot is my number one recommendation for perfect seams. Most modern machines include one, but if you don't have one, it's a small purchase that delivers huge returns. It gives you a physical guide, making a consistent seam allowance practically automatic.
Pro Tip: Never underestimate your iron! It's just as important as your sewing machine. A good steam iron is your secret weapon for pressing seams flat, which helps prevent distortion and ensures all your points meet up beautifully.
And let's not forget thread. A high-quality, 50-weight cotton thread is the gold standard for piecing. It’s strong enough to last a lifetime but fine enough that it won’t create bulky seams, which is a real blessing when you have multiple points coming together.
While you can absolutely get by with the basics, specialty rulers can be a game-changer if you find yourself making a lot of HSTs. They are designed to make the trimming step faster and more foolproof.
By starting with these key tools, you're not just buying supplies—you're investing in your own success. Your cuts will be cleaner, your seams will be straighter, and your finished quilt blocks will fit together like a dream.
Knowing how to make a half-square triangle is one thing, but knowing the best way to make one for the project in front of you? That’s what takes your quilting to the next level. There’s no single "right" way to do it. The best technique really depends on whether you're making a few scrappy blocks on the fly or churning out hundreds of identical units for a big, complex quilt.
Let's walk through four of the most reliable and popular methods I use in my own sewing room. Each one has its own strengths, offering a different balance of speed, fabric efficiency, and usefulness for everything from tiny scraps to big stacks of pre-cuts.
This is the tried-and-true technique that nearly every quilter learns first. It’s wonderfully straightforward and my absolute go-to when I only need a handful of HSTs or when I’m digging through my scrap bin.
The process couldn't be simpler:
The biggest advantage here is flexibility. It works with any size square, which makes it a fantastic way to turn a pile of mismatched scraps into beautiful, unique blocks.
When you need more than just a couple of identical HSTs, the Four-at-a-Time method is a massive time-saver. It’s especially brilliant for using pre-cut 5-inch charm squares or 10-inch layer cakes, as it gets the most out of your fabric and really streamlines the piecing process.
Here, instead of drawing a line down the middle, you’ll sew all the way around the perimeter of your paired squares.
A Quick Tip: Before you start sewing, take a second to make sure your two fabric squares are perfectly aligned. Even a tiny shift can lead to wonky HSTs later, so pinning them securely is well worth the effort.
You’ll place your two squares right sides together and sew a ¼-inch seam around all four edges. Once you've created that sealed fabric pocket, you'll make two diagonal cuts from corner to corner, forming an "X." This single step magically yields four perfect, identical HST units. This is a game-changer for patterns that call for lots of repeating blocks.
Need a lot of HSTs, and you need them fast? The Magic 8, or Eight-at-a-Time, method is your new best friend. This technique is a true powerhouse for production quilting, letting you create eight identical units from just two starting squares.
Here’s how this clever method works:
And just like that, you have eight perfectly matched HSTs, all ready for pressing and trimming. This technique is a lifesaver for large quilts.
For those of us who crave absolute perfection (and who doesn't?), HST paper is an amazing tool. This method, also known as triangle paper, has you sew directly on printed paper templates. It guarantees flawless accuracy and completely eliminates the need for drawing lines or even trimming your blocks afterward.
You just place your fabric under the paper and stitch right on the dotted lines. After sewing, you cut on the solid lines. The paper stabilizes the fabric beautifully, preventing any stretching along the bias—a common headache for many quilters.
This simple workflow shows the essential steps of cutting, measuring, and pressing that are at the heart of any quilting project.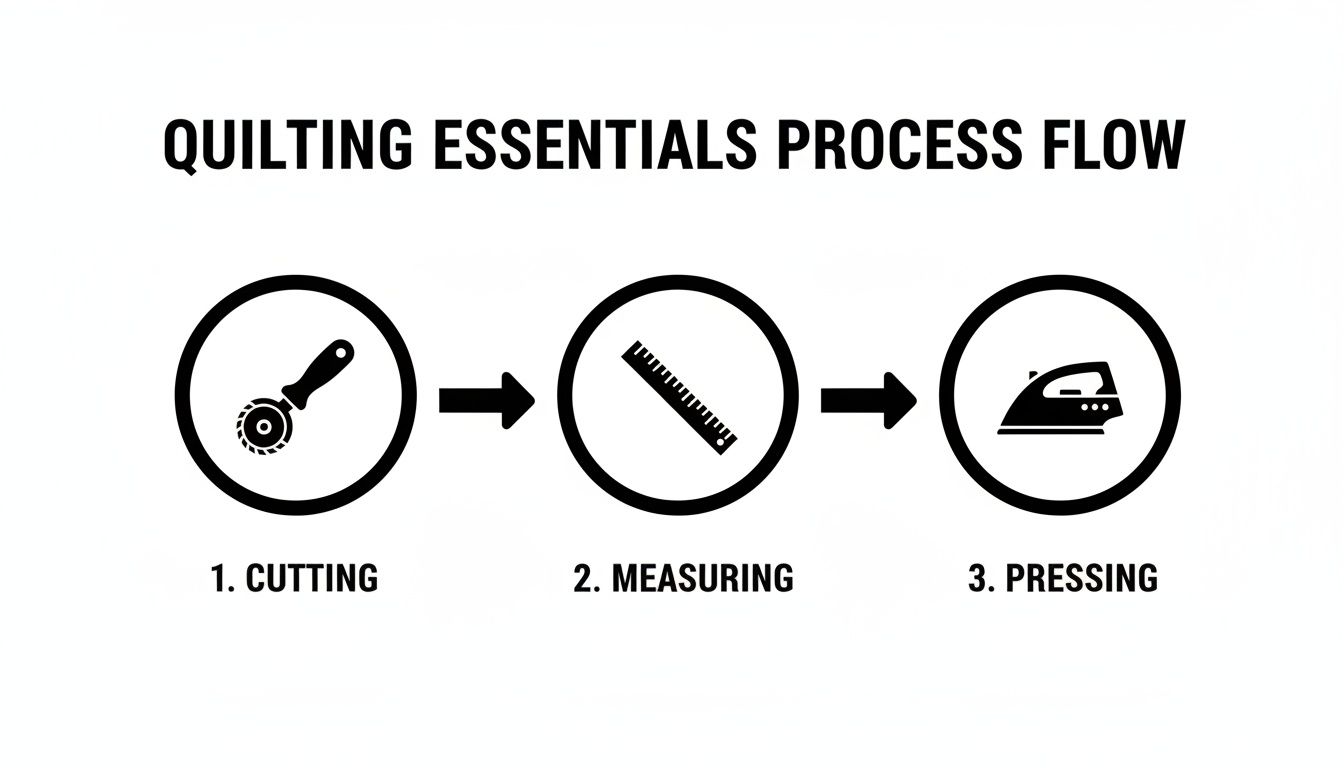
As you can see, these three actions are a cycle. The accuracy of one step directly impacts the success of the next, so it pays to be mindful at each stage.
This method is incredibly similar to another precision technique called paper piecing. If you love the accuracy you get from HST paper, you might also really enjoy exploring patterns that use a similar foundation. To learn more, check out our guide on foundation paper piecing for beginners and see how you can apply these skills to even more intricate designs.
The only real drawback is that you have to carefully tear the paper away after sewing, but for many, getting perfect points every single time is well worth that little extra step.

Accurate cutting and trimming are the moments that make or break your quilt. I can’t stress this enough—this is where the real magic happens, turning your freshly sewn units into perfectly uniform building blocks. Getting this right from the start means your quilt top will come together beautifully, without any fuss.
Before we even touch a rotary cutter, let’s talk math. It’s the key to knowing exactly what size squares to start with.
The tried-and-true formula, especially if you’re using the two-at-a-time method, is wonderfully simple: just add 7/8 of an inch to your desired finished HST size. So, if your pattern calls for a 3-inch finished block, you’ll start by cutting two 3 7/8-inch squares of fabric.
This simple math is the foundation for the half square triangle, which quilters affectionately call the "workhorse of quilt blocks." It’s no exaggeration—this humble block appears in over 70% of classic quilt patterns. Its popularity isn't fading, either. According to one quilting historian, this block is a constant feature on inspiration boards and drives fabric sales around the globe. You can dive deeper into the history of this foundational quilt block on sherriquiltsalot.com.
I've put together a handy chart for the most common sizes to keep by your cutting mat. Just remember, the “Trim To” size includes your seam allowances, so it’s your finished size plus 1/2 an inch.
Here’s a quick reference for the traditional two-at-a-time method. The formula is your desired finished size plus 7/8”.
| Finished HST Size | Cut Square Size | Trim To Size |
|---|---|---|
| 2" | 2 7/8" | 2 1/2" |
| 3" | 3 7/8" | 3 1/2" |
| 4" | 4 7/8" | 4 1/2" |
| 5" | 5 7/8" | 5 1/2" |
| 6" | 6 7/8" | 6 1/2" |
Print this out or save it to your phone—it’s a real time-saver!
Trimming, or "squaring up," is probably the single most important thing you can do for a professional-looking quilt. No matter how carefully you sew, fabric shifts and stretches. It just does. Squaring up is how you correct those little imperfections before they become big problems.
For this job, you’ll need a square quilting ruler that has a 45-degree diagonal line. Here’s my foolproof method:
This two-step process guarantees your block is perfectly square and exactly the right size. If you find yourself making a lot of the same size block, a specialty half square triangle ruler can be a fantastic tool to speed things up.
Squaring up is the great equalizer in quilting. It’s the step that cleans up any small errors in cutting or sewing, ensuring every single block is identical. This is what makes assembling your quilt top a joy instead of a struggle.
Ask any group of quilters how they press their seams, and you’ll get a lively debate! Both popular methods have their pros and cons.
Pressing Seams to the Side
This is the classic approach. You press both seam allowances toward the darker fabric, which hides the seam and helps your points match up perfectly when you "nest" the seams together. The only downside is that it can create extra bulk where several seams come together.
Pressing Seams Open
This technique involves pressing the seam allowances open, one to each side, like a butterfly. It distributes the fabric more evenly and creates a much flatter block. This is a favorite method for many machine quilters because it makes quilting over the seams so much smoother.
So, which is best? It really depends on the project and your own preference. I often find myself using a mix of both techniques in the same quilt. Don't be afraid to experiment to see what works best for you.
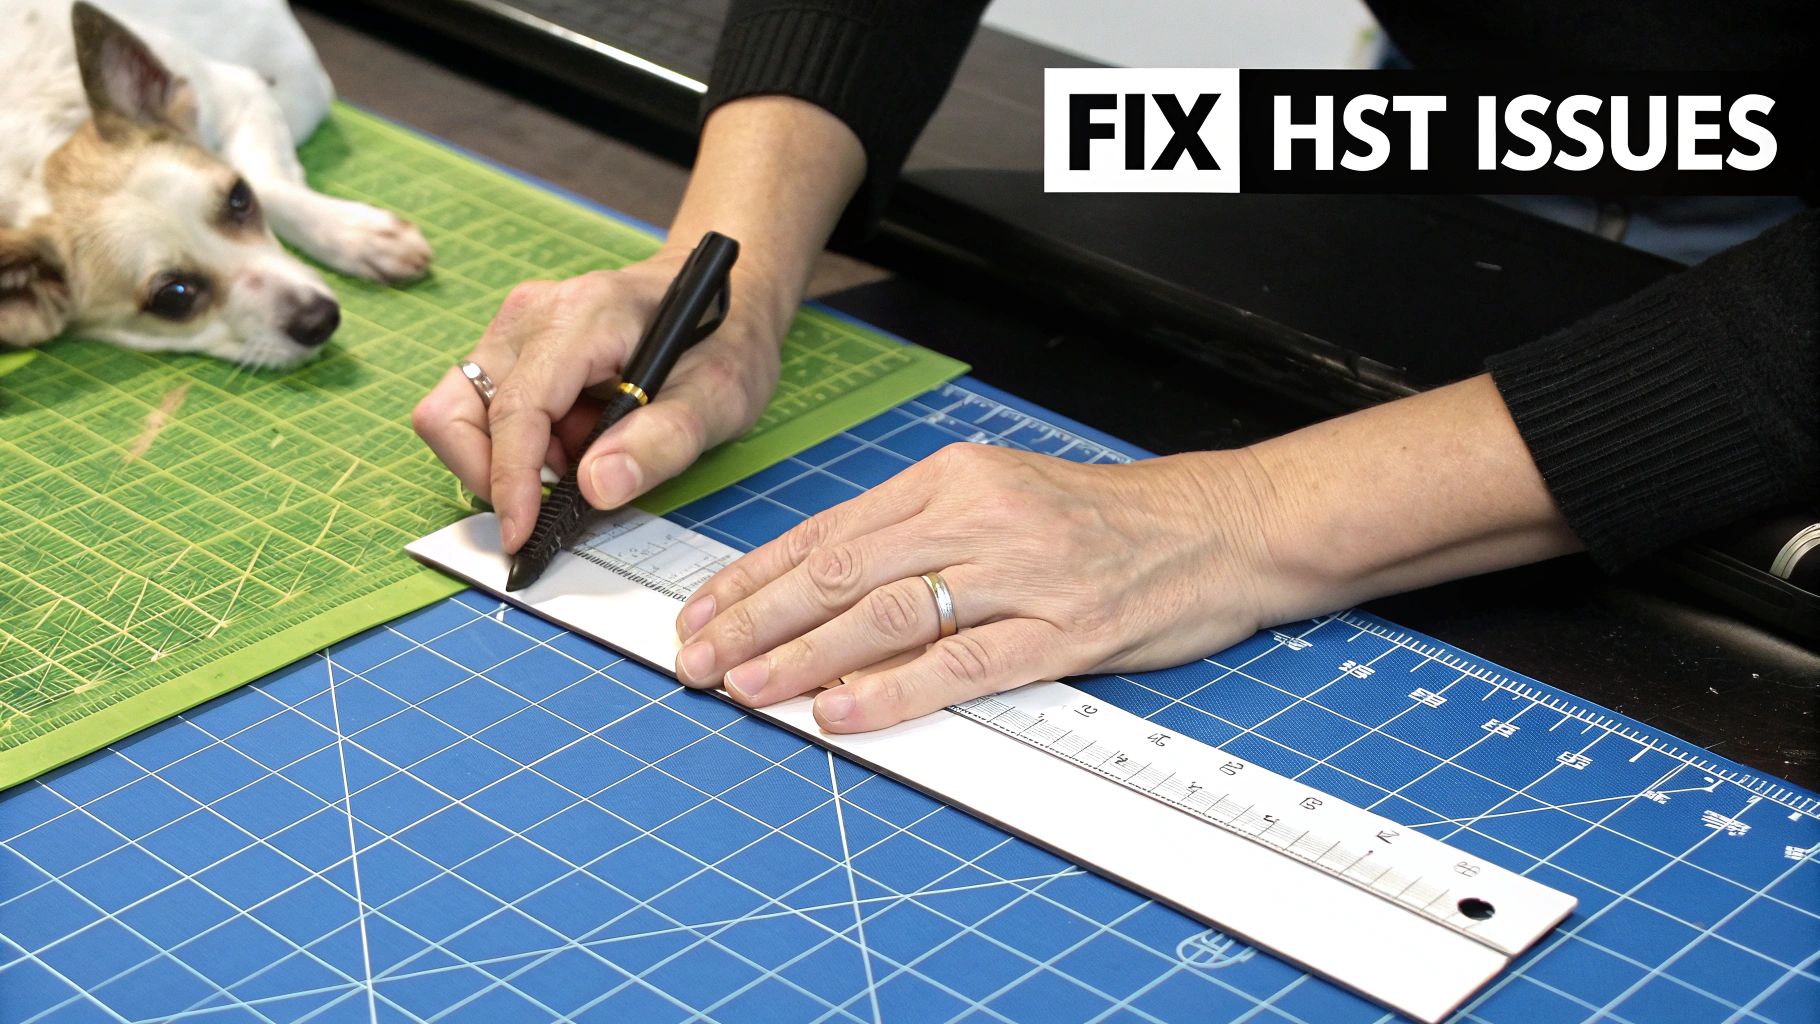
We’ve all been there. Staring down a pile of wonky, misshapen half square triangles, wondering where it all went wrong. It's a quilting rite of passage! The good news is that most HST issues come from just a few common culprits, and they are all surprisingly easy to fix once you know what to look for.
Think of this as your personal diagnostic guide. We'll walk through the most frequent frustrations, from blocks that magically shrink to points that just won't line up, and give you practical ways to get your HSTs back on track.
This is, without a doubt, the most common hurdle. You measure carefully, sew your seam, and somehow, the block is smaller than the pattern calls for. Nine times out of ten, the reason is one of these three things:
Your seam allowance is off. That ¼-inch seam needs to be a scant or true quarter-inch. If it’s even a thread's width too wide, it eats into your block's final size. A dedicated ¼-inch presser foot is an absolute game-changer for consistency.
The fabric is stretching. The diagonal you sew along is the bias, the stretchiest part of the fabric. Any pulling or aggressive handling while sewing or pressing can easily distort the block, making it smaller. This is where starch or a starch alternative becomes your best friend; it gives the fabric some backbone.
You're not pressing flat enough. If the seam isn't pressed completely open or to the side, it creates a tiny ridge of fabric. This little "poof" in the middle pulls the block's edges inward, shrinking its overall dimensions. A good, hot iron and a firm pressing surface are non-negotiable.
These foundational blocks have been around since the late 1800s, and the core principles haven't changed much. Modern quilters still rely on a precise seam allowance for accuracy. It's no surprise that HST tutorials, which account for roughly 35% of online quilting searches each year, all drill down on the importance of taming that bias stretch. You can learn more about the long history and modern techniques for these essential quilt blocks on tierneycreates.com.
Another classic problem is the bulky intersection where multiple HST points meet. This not only creates a lumpy quilt top but can also throw your points completely out of alignment, which is incredibly frustrating. The fix almost always comes down to your pressing technique.
Many of us were taught to press seams to one side. This is fantastic for "nesting" seams, which helps line up points perfectly. However, when four or more points converge, you get a mountain of fabric right in the middle. The alternative is to press your seams open. This distributes the bulk evenly and helps the block lie beautifully flat. There’s no right or wrong answer here; I recommend trying both to see what works best for your project.
For me, the most satisfying part of making an HST is trimming off the "dog ears"—those little fabric triangles that stick out at the corners after pressing. Snipping them off is more than just tidy; it removes bulk from your seams, making your piecing much more accurate down the line.
Ultimately, the secret to perfect points is starting with a perfectly squared-up block. If you’re fighting with alignment, it’s time to get serious about trimming. Our guide on how to square up quilt blocks is packed with tips on the tools and techniques that guarantee sharp, professional results every single time. It’s the one step that truly elevates your work.
As you get comfortable making half square triangles, you'll inevitably run into a few little quirks. It happens to all of us! Let's walk through some of the most common questions I hear from fellow quilters, so you can solve them like a pro and keep your projects moving forward.
This is your go-to spot for clearing up those last few "but what if..." moments before you dive into your next quilt.
Oh, the dreaded shrinking HST! This is probably the most common frustration out there, but don't worry, the fix is usually pretty straightforward. More often than not, the culprit is an inaccurate ¼-inch seam allowance. Even a thread's width too wide can eat up your fabric and make your finished block just a bit too small.
Another sneaky reason is fabric stretch. That diagonal seam is a bias edge, which is the stretchiest part of the fabric. It's incredibly easy to accidentally pull it out of shape while sewing or pressing. A quick spritz of spray starch before you start can work wonders, giving the cotton a bit more body to resist distortion. And one last thing to check: make sure your seam is pressed completely flat—a little poof in the middle can throw off your measurement.
Ah, the great quilting debate! Honestly, there’s no single "right" answer here. The best method really depends on the project you're working on and, frankly, your personal preference.
I find myself using a hybrid approach. For a quilt with a lot of bulky intersections, I’ll almost always press the seams open. For simpler blocks, pressing to the side is quick and effective.
The best advice I can give is to make a few test blocks and try both methods. See how they feel in your hands. That hands-on experience is the only way to know which finish you’ll love for your specific quilt.
When a pattern calls for a whole pile of identical HSTs, you need a plan that values your time. For true mass production, the Magic 8 (or Eight-at-a-Time) method is my absolute go-to. You get eight finished units from just two squares of fabric, which feels like, well, magic!
The Four-at-a-Time method is another stellar option, and it's particularly great if you're using pre-cuts like 5-inch charm packs or 10-inch layer cakes. But if I'm working on a scrappy quilt or just need a few oddball units, the classic Two-at-a-Time method is still the most flexible and reliable choice.
Yes. A thousand times, yes! If there's one non-negotiable step, this is it. Trimming, or "squaring up," is the secret sauce for a polished, professional-looking quilt top. No matter how carefully you cut or how perfectly you sew, tiny variations and a little bit of fabric stretch are simply part of the process.
Squaring up every single HST to its precise unfinished size is what guarantees that all your blocks are identical. This one step makes piecing them together a joy, helps all your points line up beautifully, and keeps your finished quilt top from looking wavy. It’s the single action that takes a good quilt and makes it a great one.
Ready to put all these tips into action? At High Country Quilts, we've got all the tools, gorgeous fabrics, and friendly advice you need to conquer HSTs and more. Stop by our shop in Colorado Springs or check out our selection online to get everything for your next masterpiece.
At High Country Quilts we care deeply about community. With our experiences in retail, we know that a store is not only a place to shop but also a place for the community to gather and share. During this busy...

Hi! We’re Adam and Renee Wheaton, the new owners of High Country Quilts! For more than 40 years, we’ve owned and operated vacuum and sewing businesses. Following in Renee’s father’s footsteps after he retired from All Discount Vacuum and Sewing in Colorado...


Leave a comment