

We Love Our Quilting Community
At High Country Quilts we care deeply about community. With our experiences in retail, we know that a store is not only a place to shop but also a place for the community to gather and share. During this busy...


A Courthouse Steps quilt is a really cool twist on the classic Log Cabin block. What makes it special is its symmetrical design. Instead of adding fabric strips one by one around a center square, you add them in pairs to opposite sides, which creates this amazing visual rhythm.
The Courthouse Steps pattern has been a favorite among quilters for well over a century, and for good reason. It has this enduring appeal that just captivates you, whether you're a beginner looking for an impressive first project or an experienced quilter wanting a canvas to play with fabric and color. At its heart, the design is a simple yet brilliant use of geometry.
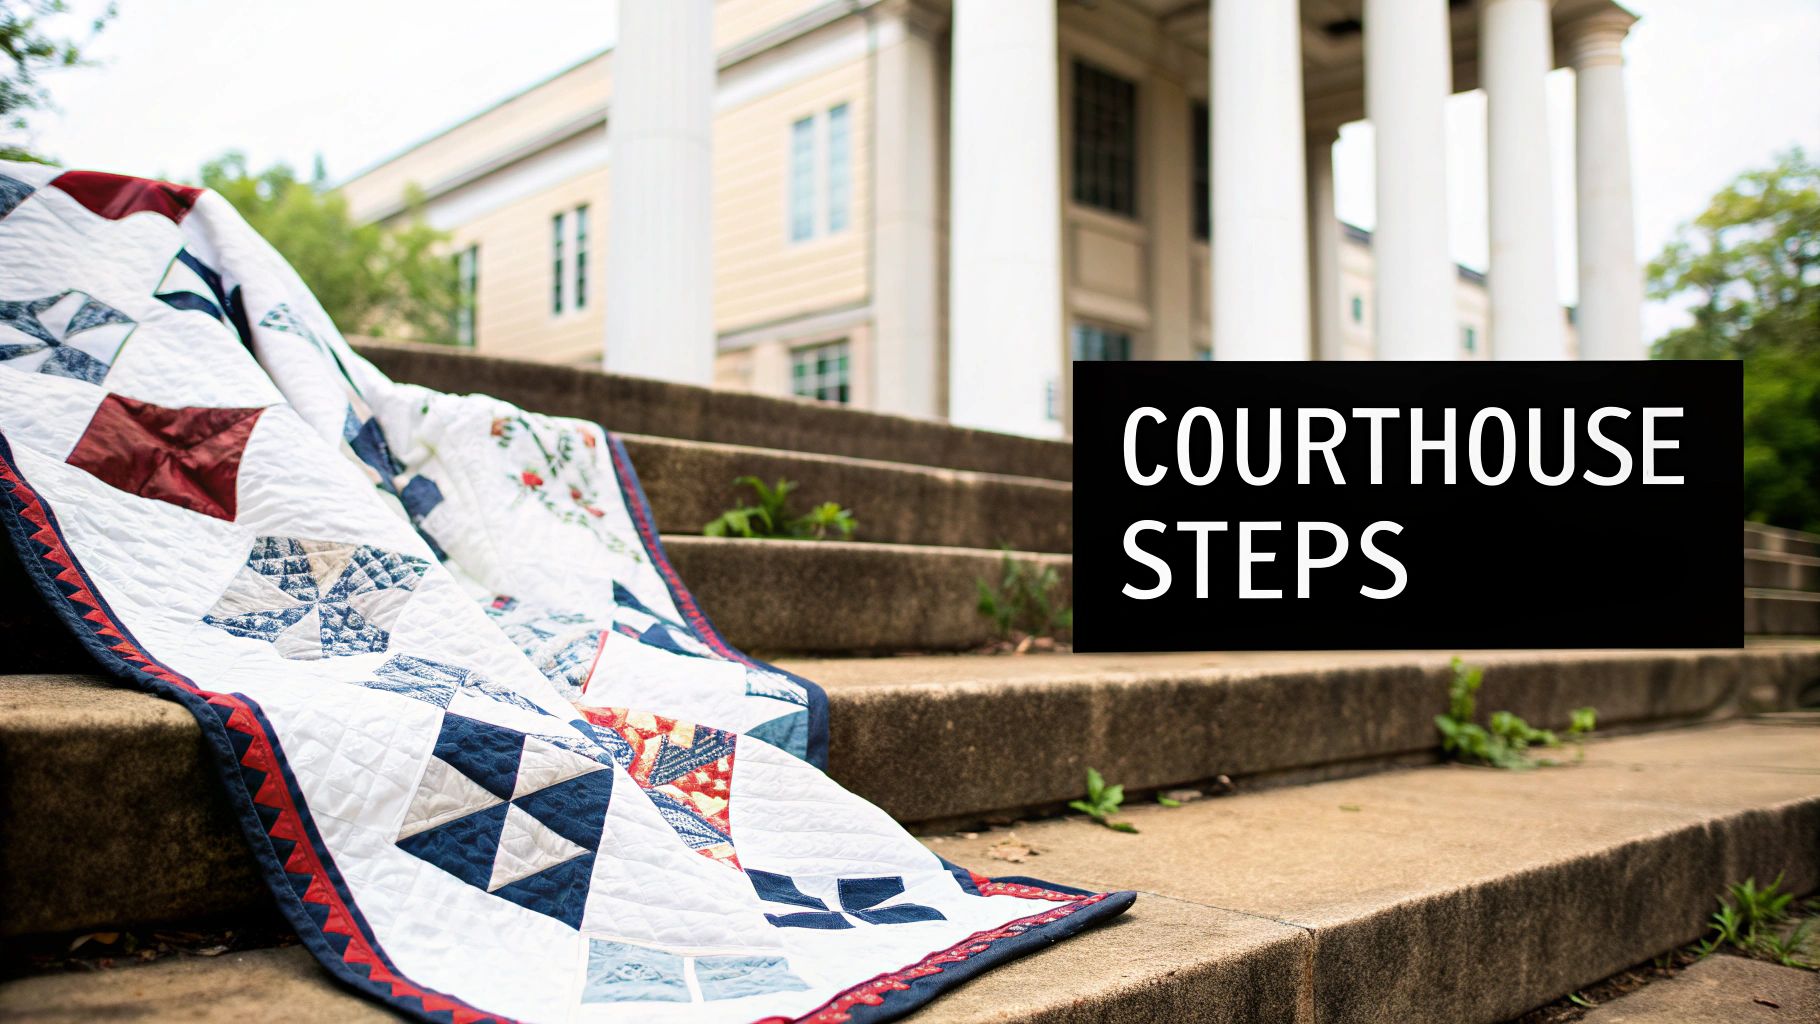
Unlike a standard Log Cabin block, where the "logs" spiral out from the middle, the Courthouse Steps block is built with perfect side-to-side symmetry. You'll typically add light fabric strips to two opposite sides of the center square first, then add darker strips to the other two sides. This orderly placement gives the block its signature look, which many say looks just like the steps leading up to an old-fashioned courthouse.
This isn't a new design by any means. The Courthouse Steps pattern is a well-documented 19th-century variation of the Log Cabin family, with some beautiful examples dating back to the 1870s and 1880s. Textile historians believe it really took off during the "calico craze" of the late 1800s, a time when all those wonderful little printed fabrics became affordable and easy to find.
Early quilts often used the popular browns, blues, and grays of that era. When you make one of these quilts today, you're really connecting with generations of quilters who used the very same techniques. It's a special feeling. You can find some incredible historical examples in the Quilt Index records.
Key Takeaway: The defining feature of a Courthouse Steps block is its symmetrical construction. Light and dark strips are added in opposing pairs, creating a structured, graphic look that sets it apart from other Log Cabin styles.
The true beauty of the Courthouse Steps quilt is its versatility and simplicity. It's an absolute dream for chain piecing, which lets you fly through the sewing process and makes it perfect for tackling a larger quilt without getting bogged down.
Beyond its efficiency, the design offers endless room for creativity:
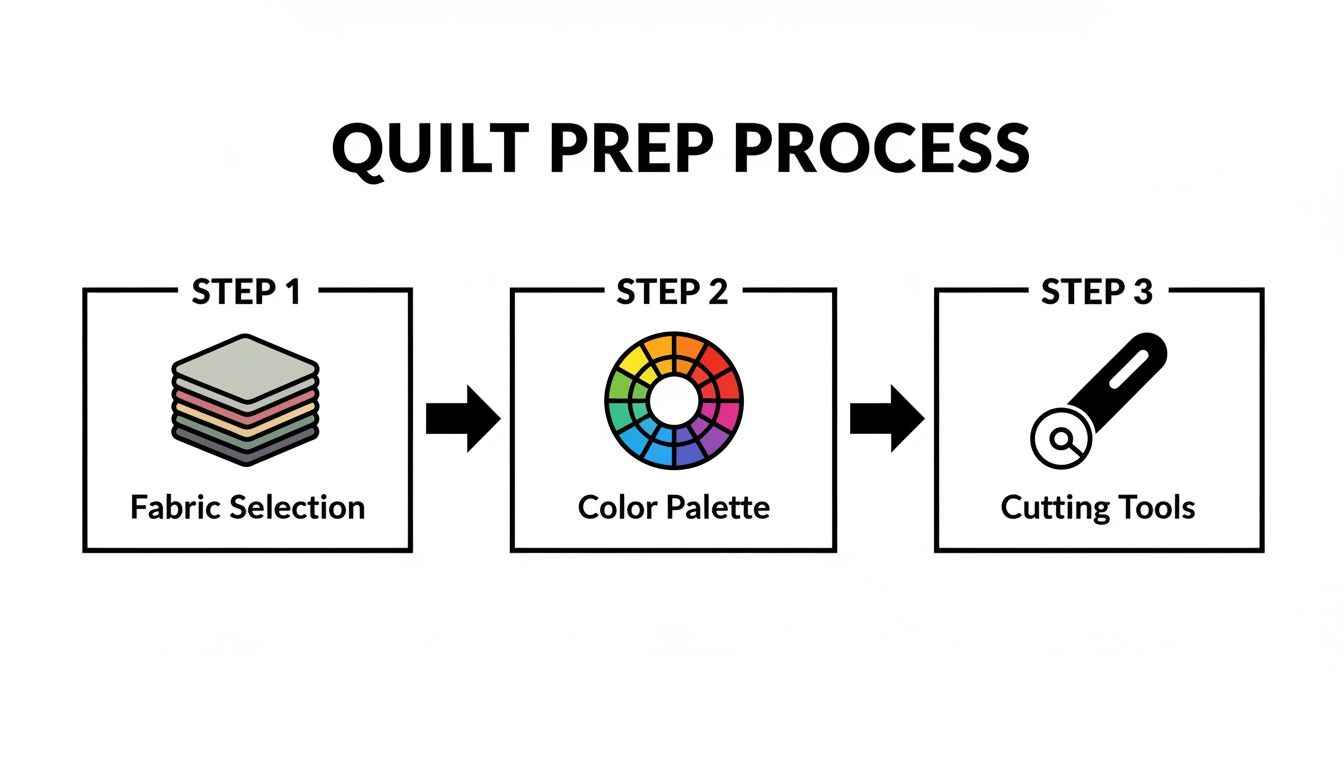
Any great quilt starts long before you ever make the first cut. The secret to a beautiful Courthouse Steps quilt is all in the prep work—picking the right fabrics and having the best tools ready to go. Let's walk through what you'll need to set yourself up for success.
For this pattern, and really for most patchwork, you can't go wrong with a good 100% quilting cotton. It's just so reliable. It doesn't stretch all over the place, it presses like a dream, and it holds a crisp crease, which is exactly what you want for those sharp, clean lines in a Courthouse Steps block. Plus, it's durable enough to make a quilt that will be loved and used for years.
The real fun of a Courthouse Steps quilt is playing with color and value. This pattern is a fantastic backdrop for exploring contrast. You can go for a very controlled, planned-out look or let loose and create something wonderfully scrappy.
Going for High-Contrast: If you want a bold, graphic quilt, pick two color groups that really pop against each other—one light and one dark. Think classic black and white, a sophisticated navy and cream, or even a vibrant orange and cool gray. This approach makes the "steps" of the pattern stand out beautifully.
Making it Scrappy: On the other hand, this is the perfect project for busting that scrap bin! Just pull out all your favorite bits and pieces and sort them into two piles: lights and darks. The mix of prints and colors gives the quilt an incredible energy and personality, but the block's strong structure keeps it all from looking chaotic.
If you feel like your stash could use a little boost, checking out some of the best quilting fabric brands is a great way to find new prints and colors that will get you excited to start sewing.
A Little Tip from Me: Don't hesitate to mix your prints and solids! I love how small-scale prints, tone-on-tone blenders, and solid fabrics work together to create depth and visual interest. The key is just to make sure you have a clear difference between your light pile and your dark pile.
Having the right tools makes a world of difference. It makes the whole process smoother, more accurate, and honestly, just more enjoyable. Precision is your best friend with this pattern, because even tiny mistakes in your seam allowance can add up and throw your whole block off.
Here’s what I recommend having on your cutting table:
To help you get started without all the guesswork, I've put together a quick cheat sheet for how much fabric you'll likely need. These are just estimates, of course—it's always smart to buy a little extra, just in case!
| Quilt Size | Center Squares | Light Fabric Strips (Total) | Dark Fabric Strips (Total) | Backing Fabric | Binding Fabric |
|---|---|---|---|---|---|
| Crib (40" x 50") | 1/4 yard | 1 1/2 yards | 1 1/2 yards | 3 yards | 1/2 yard |
| Throw (60" x 70") | 1/2 yard | 3 yards | 3 yards | 4 1/2 yards | 1/2 yard |
| Queen (90" x 100") | 3/4 yard | 5 yards | 5 yards | 8 1/2 yards | 3/4 yard |
These numbers should give you a great starting point for planning your trip to the fabric store or shopping your own stash.
Alright, let's get to the fun part: building the actual blocks for your courthouse steps quilt. This is where your fabric choices and careful cutting start to pay off, strip by strip. You'll find a wonderful rhythm to this process once you get going.
What I love about this block is how straightforward it is. You start with a single square in the middle and then add strips, or "logs," in pairs to opposite sides. Building the block this way keeps everything growing evenly, which is the secret to a flat quilt top where all your points line up just right. It’s all about creating that classic, symmetrical look.
Before you even think about your sewing machine, let’s talk cutting. If there’s one place to slow down and be fussy, it’s here. Accurate cuts are the foundation of a good block—they prevent that frustrating wonky, skewed look down the line.
Your center square is the heart of the block, and the strips you cut become the "steps" climbing up each side.
Think of it this way: your prep work—picking fabrics, planning colors, and gathering your tools—is what sets you up for success before you make a single stitch.
Each of these early steps flows right into the next. By the time you sit down to sew, all the big decisions are already made, letting you focus on the craft.
The magic of the Courthouse Steps block is all in the piecing order. It's a little different from a traditional Log Cabin, where you work your way around the center. For this block, you're always working across the center, adding new strips in pairs to opposite sides.
Here’s the basic sequence you'll repeat for each block:
This back-and-forth construction is what gives the block its name. Some quilt historians believe this specific symmetry is what creates the visual of courthouse stairs while also making it a bit simpler to piece than other Log Cabin variations.
Pro Tip: If you want to save a massive amount of time, you have to try chain piecing. Just sew the same strip to one center square after another without ever cutting your threads. When you're done with a whole pile, you can snip them all apart and take them to the ironing board in one big, efficient batch.
How you press your seams can be the difference between a block that lies flat and one that fights you the whole way. For a Courthouse Steps quilt, the absolute best practice is to press your seams toward the newest strip you just added.
This little habit does two really important things for you. First, it helps prevent your darker fabrics from shadowing through the lighter ones. More importantly, it sets up your seams to "nest" together when you join your finished blocks. Nesting seams lock into each other, making it so much easier to get those perfect points where all the corners meet.
After you've added a few rounds of strips, it’s always a good idea to check your work. Don't hesitate to grab a square ruler and trim up the block if it’s gotten a little off-kilter. To really master this, take a look at our complete guide on how to square up quilt blocks for perfectly accurate results every time.
You’ve done the work, and now you have a gorgeous stack of finished blocks. This is my favorite part—watching all those individual pieces finally become a quilt! How you arrange your blocks is what creates the "wow" factor, unlocking stunning secondary patterns that make the design truly your own.

Before you even think about sewing, find a design wall or clear a big space on the floor. This is your chance to play. It's amazing how a simple rotation can completely change the quilt's personality.
Lining up all the blocks in the same direction—a straight set—gives you clean, bold stripes running through the quilt. But if you turn every other block by 90 degrees, you can create a dynamic zig-zag or even a beautiful basketweave illusion. Don't rush this step; it's where the magic happens.
Once you’ve landed on a layout you absolutely love, it’s time to start stitching those blocks into rows. The secret to a quilt that looks professionally made is getting your seams to nest perfectly. Since you pressed all your seams toward the outer strips, the seam allowances on any two blocks you join should naturally face opposite directions.
This lets them lock together snugly, almost like the teeth of a zipper. It's this little trick that helps you get those crisp, perfect points where four corners meet.
With your rows all sewn and pressed, you can stitch them together. Again, take your time to nest the seams where the rows meet and pin those intersections. Give the finished top one final, thorough press and stand back to admire what you’ve made!
Here’s a pro tip I swear by: use numbered pins or little sticky notes to label your rows. It’s so easy to get things mixed up when moving from the floor to your sewing machine, and this little bit of organization saves a ton of headaches.
Now, let's turn that beautiful top into an actual quilt. This means making a "quilt sandwich" by layering your quilt top, the batting, and your backing fabric. The batting is that wonderful middle layer that gives your quilt warmth and dimension.
Your choice of batting really depends on the feel you're going for. Cotton batting will give you a classic, flatter look that gets that lovely, crinkly texture after washing. If you want more puffiness and loft, a wool or polyester blend is a great choice.
Basting is the crucial step of temporarily holding these three layers together so nothing shifts or puckers while you quilt. You can use safety pins, a temporary spray adhesive, or even long hand-stitches. The goal is the same: a smooth, wrinkle-free sandwich. For a complete walkthrough, our guide on how to baste a quilt covers everything you need for a perfect finish.
This is it—the final steps that will bind your layers together and frame your masterpiece. The quilting itself is another layer of artistry. You can use a walking foot to stitch simple straight lines that echo the geometry of the blocks, which always looks fantastic.
Or, you could explore free-motion quilting to create more organic swirls, stipples, or custom designs. It’s like drawing with thread!
Finally, the binding encloses all the raw edges with a durable, clean border. It’s the finishing touch that gives your quilt a polished look and ensures it will be loved for years to come.
The traditional Courthouse Steps block is a thing of beauty, a classic for a reason. But once you’ve got the hang of the basic construction, it becomes a fantastic playground for your own creative ideas.
Don't feel locked into the original "rules." A few simple tweaks can completely transform the look and feel of your quilt, taking it from a timeless classic to a modern masterpiece that’s all you.
What if the center wasn't a square? Just starting with a rectangle instead of a square immediately creates a more elongated, modern-looking block. It's a small change that has a big visual impact, shifting the whole dynamic of the design.
Another fun way to play is with the width of your strips, or "logs." Instead of keeping every strip a uniform 1.5 or 2.5 inches, why not go improv? Throwing in some skinny strips alongside wider ones gives your blocks a wonderfully scrappy, spontaneous feel that’s brimming with personality and movement.
Changing the block's physical structure is just one path. You can create some truly stunning effects just by being intentional with your color and fabric placement. This is where your inner artist really gets to shine.
A scrappy look is perfect for this pattern, but that doesn't mean it has to be completely random. You can guide the chaos.
Don't be afraid to bend the "light on two sides, dark on the other two" guideline. What happens if you make a block with three dark sides and just one light? Or what if you alternate between two different color families altogether? Sometimes the most exciting designs come from those little moments of rebellion.
Even a pattern as beautifully simple as the Courthouse Steps can throw you a curveball. It happens to all of us! Let's walk through some of the most common questions and little hiccups quilters run into, so you can keep your project moving along smoothly.
This is probably the number one question I hear. Getting those seams to lie flat is the key to a gorgeous, pucker-free quilt top.
The secret is simple: always press your seams toward the newest “log” strip you’ve just added. Think of it as pressing "outward" from the center. This little habit makes a huge difference because it prevents bulky seams from building up and helps them nest perfectly when you join the blocks later.
If you're finding your blocks are getting a little wonky, don't worry—it’s usually an easy fix. A few common culprits are often to blame.
The biggest one is almost always a slightly off quarter-inch seam. Even a thread's width of difference can multiply as you add more and more strips, throwing the whole block out of whack. Another thing to watch for is stretching. It's so easy to accidentally pull on your fabric as you guide it through the machine or press a little too aggressively with the iron.
To get back on track, double-check that your seam allowance is a true quarter-inch. Let your machine's feed dogs do the heavy lifting and just guide the fabric gently. A great habit to get into is "squaring up" your block with a ruler after every couple of rounds. This lets you catch and trim any minor issues before they become major headaches.
My Favorite Trick for a Perfect Seam: A quarter-inch foot is fantastic, but you don't need one. Grab a stack of sticky notes or a strip of painter's tape and place it on your machine's throat plate, creating a little fence exactly 1/4 inch from the needle. Your fabric edge will glide right along it, giving you a perfect seam every single time.
First off, don't panic! In a scrappy, busy quilt, a tiny variation in the center squares will likely be completely invisible once everything is finished. The eye is drawn to the overall pattern, not tiny imperfections.
That said, if you're aiming for a more uniform look, the best solution is to trim all your center squares to a consistent size before you start sewing. Taking a few minutes to do this prep work is the foundation for a flawless finish.
At High Country Quilts, we know that having the right tools and a little bit of guidance can make all the difference. Whether you're hunting for that perfect fabric, dreaming of a new BERNINA machine, or want to join a class to build your confidence, we're here for you. Stop by the shop or explore everything we have to offer at https://hcquilts.com.
At High Country Quilts we care deeply about community. With our experiences in retail, we know that a store is not only a place to shop but also a place for the community to gather and share. During this busy...

Hi! We’re Adam and Renee Wheaton, the new owners of High Country Quilts! For more than 40 years, we’ve owned and operated vacuum and sewing businesses. Following in Renee’s father’s footsteps after he retired from All Discount Vacuum and Sewing in Colorado...


Leave a comment