

We Love Our Quilting Community
At High Country Quilts we care deeply about community. With our experiences in retail, we know that a store is not only a place to shop but also a place for the community to gather and share. During this busy...


Learning how to square up quilt blocks is one of those foundational skills that really separates a good quilt from a great one. It's simply the process of trimming your pieced blocks down to a precise, uniform size with perfect 90-degree corners. This one step makes your final quilt assembly so much smoother and more accurate. Honestly, it's the secret sauce for getting those professional-looking results we all crave.
Before we get into the "how," let's talk about the "why." I know it can feel like a fussy, time-consuming extra step, but squaring up your blocks is the absolute bedrock of a quilt that lies flat, has sharp, matching points, and just looks polished. This simple technique is your best defense against wavy borders, mismatched seams, and the sheer frustration of trying to force pieces together that just don't want to align.
Picture two quilts hanging side-by-side. The one made with perfectly squared blocks looks crisp, clean, and professional. The other one puckers in some spots and has borders that seem to bow. The difference? It all comes down to precision, and that precision starts right here.
I always say this skill is what elevates your work from looking "homemade" to looking truly "handmade." It makes the entire quilting process more rewarding because when every single block is the exact same size, your rows come together beautifully without any weird stretching or bunching. Your points meet exactly where they should, and your finished quilt top is a flat, stable canvas just waiting for the quilting stage.
The impact isn't just anecdotal. A study by the International Quilting Guild found that 72% of quilters who consistently squared up their blocks reported fewer alignment issues during final assembly, a huge jump compared to only 45% of those who skipped the step. That's a massive difference in the final product.
Squaring up is an investment of time that pays off tenfold. It transforms potential frustration into a smooth, satisfying journey toward a beautiful finished quilt.
Think of it like building with blocks—if your foundation is wobbly, the entire structure will be unstable. The same goes for quilting. For anyone just starting out, mastering this skill early is absolutely crucial. If you're new to the craft, our guide on how to start quilting is packed with essential tips to get you off on the right foot.
Ultimately, taking a few extra minutes to square up each block gives you some serious benefits:
Let's be honest—having the right tools can make the difference between a frustrating quilting session and one that feels like pure creative magic. When it comes to squaring up your blocks, a few key items will not only make the job easier but will give you that crisp, professional finish we all crave.
Your absolute must-haves are a sharp rotary cutter, a good self-healing mat, and a square acrylic ruler. This is your power trio. A dull blade on your cutter will just snag and pull your fabric, ruining your hard work. Keep it fresh! If you're on the hunt for a new one, our guide to the best rotary cutters for quilting has some great recommendations.
While your standard long quilting ruler is a workhorse, a dedicated square-up ruler is what truly elevates your precision. These rulers typically come in common block sizes like 6.5", 9.5", and 12.5". The trick is to use a ruler that matches your unfinished block size. So, if you're trimming a 6.5" half-square triangle, grab your 6.5" square ruler. It just makes life easier.
It’s no surprise that precision tools are becoming a staple in every quilter's studio. In fact, their use has jumped by 28% since 2020, and today, nearly 85% of North American quilters wouldn't dream of squaring up without their rotary cutter and ruler. You can see more on this trend in this quilting industry report.
Once you've got the basics covered, you might find a few other tools incredibly helpful:
Deciding which tools to invest in first can be tricky. This quick table breaks down what you truly need versus what's nice to have when you're ready to upgrade.
| Tool | Why It's Essential | Pro-Tip |
|---|---|---|
| Square Acrylic Ruler | The markings are designed specifically for squaring, making it far more accurate than a standard long ruler for this task. | Get one that matches the most common block size you make. A 6.5" or 12.5" is a great starting point. |
| Self-Healing Cutting Mat | Protects your table and your rotary blade. The grid lines are your best friend for alignment. | Keep it flat! Storing it upright can cause it to warp over time, which will throw off your cuts. |
| Sharp Rotary Cutter | A sharp blade gives you a clean, precise cut without fraying or dragging the fabric. | Change your blade more often than you think you need to. You'll feel the difference immediately. |
| Rotating Cutting Mat | (Nice-to-Have) Prevents you from having to shift your block, which is where most trimming mistakes happen. | This is especially helpful for quilters with limited shoulder mobility or those working in a small space. |
Ultimately, a few high-quality rulers will serve you much better than a drawer full of single-use gadgets. Your cutting mat and ruler work together, using those grid lines to ensure every single corner is a perfect 90-degree angle. That's the foundation of a quilt that lies flat and looks fantastic.
This is where the real magic happens in quilting. I’m going to walk you through my foolproof, two-cut method that takes all the guesswork out of squaring up and gives you perfect blocks every single time. The secret is anchoring your ruler to a specific feature inside your block, like a central point or a key seam line.
Before you even think about cutting, make sure your block is pressed well. A flat block is an accurate block. If you need a refresher, we have a great guide on how to press seams that can make a huge difference. Once it’s pressed, lay your block on the cutting mat. It’s okay if the edges are a little wonky—that’s exactly what we’re about to fix.
You only need three core tools for this: your rotary cutter, a good ruler, and a self-healing mat. They all have to work together to get this right.
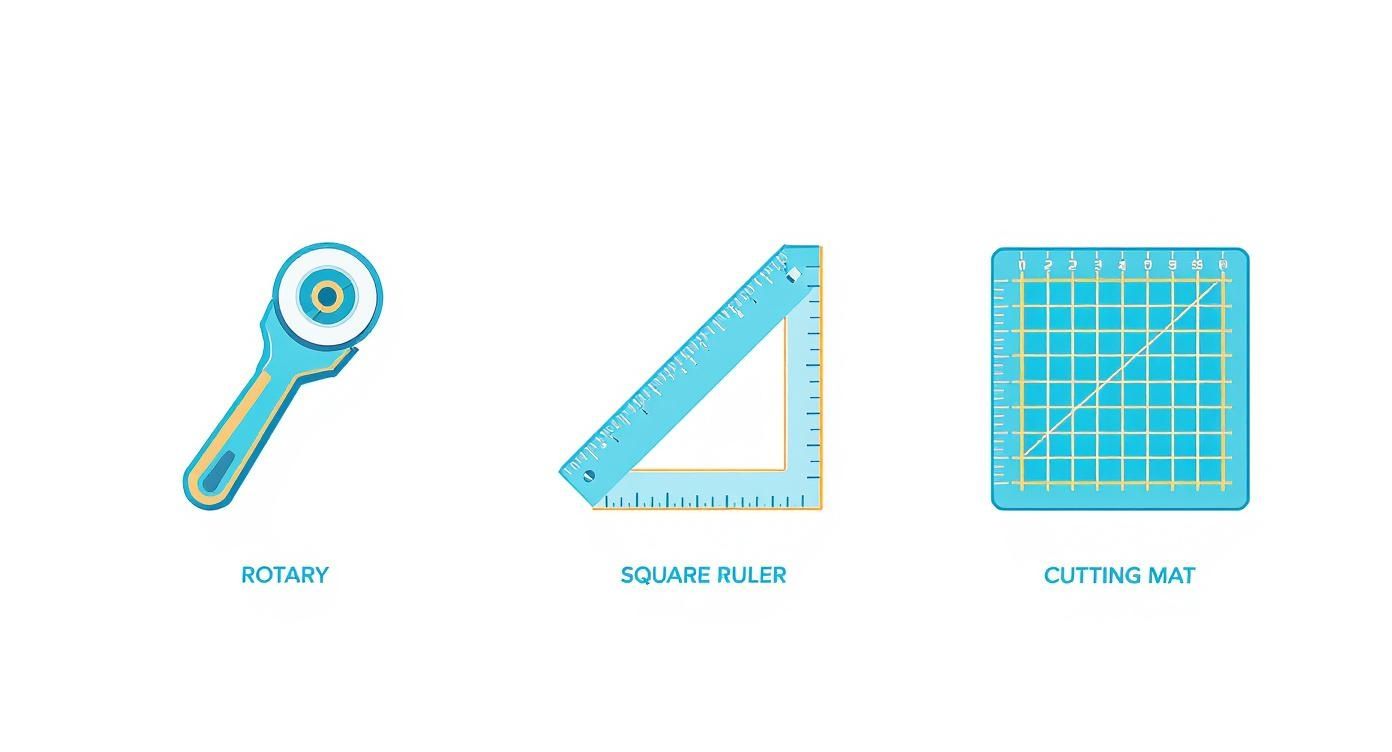
As you can see, each tool has its job, but it's how you use them in sync that guarantees a precise, square block.
Let's take a classic half-square triangle (HST) as our example. Place your square-up ruler right on top of the block. Here's the most critical part: align the ruler's 45-degree diagonal line directly over your seam. This is your anchor point, and it’s non-negotiable for a perfect result.
Nudge the ruler around until that diagonal line is sitting perfectly on the seam, making sure you have a little bit of extra fabric sticking out on at least two sides. You only want to trim off the smallest amount needed to create a clean, straight edge. Once you’re happy with the placement, hold that ruler down firmly and make your first two cuts along the top and right sides.
Pro-Tip: For safety, always cut away from your body. Use your non-dominant hand to apply firm, even pressure to the ruler, keeping your fingertips safely away from the edge. This is the best way to prevent the ruler from slipping mid-cut—a common mistake that can ruin your block's accuracy.
Now for the really satisfying part. Without moving the block itself, simply rotate it 180 degrees on your mat. If you have a rotating cutting mat, this is where it truly shines.
Line up your ruler again, but this time, you’ll be focusing on the ruler’s grid lines. Find the measurement for your unfinished block size (for example, the 4.5-inch lines if you need a 4-inch finished block) and place those lines directly over the two clean edges you just cut. By doing this, you're automatically setting up the ruler to trim the last two sides to the perfect size.
Once everything is aligned, make your final two cuts. What you're left with is a beautifully squared-up block with a perfect 90-degree corner and exact dimensions. This technique works for nearly any block you can think of, from simple squares to intricate nine-patches. Just find a key seam or intersection to anchor your first cuts, and the rest will fall right into place.
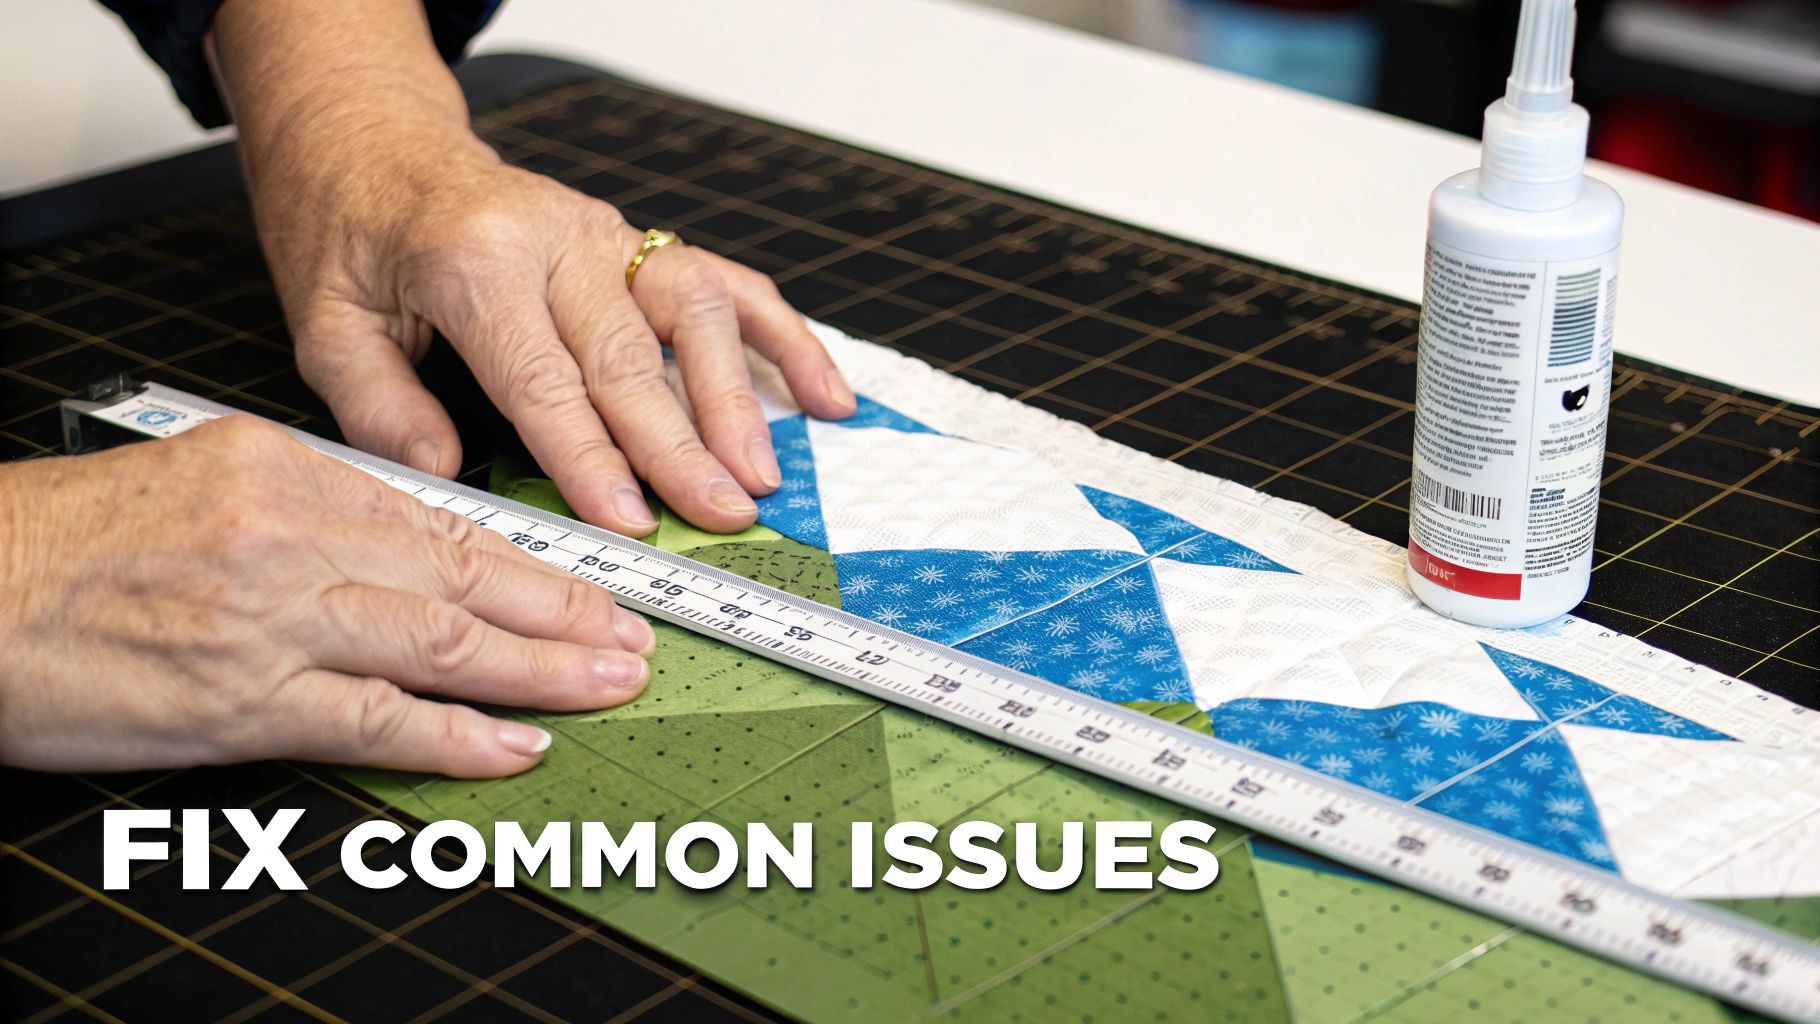
Let's be real—sometimes a quilt block just decides to have a mind of its own, no matter how carefully you've pieced it. This is a normal part of quilting, and learning how to troubleshoot these little issues is what separates the novices from the seasoned pros. Instead of getting frustrated, let's walk through some of the most common hiccups you'll face when squaring up your blocks.
The classic problem? A block that comes up just a little bit short. Before you even think about tossing it into the scrap bin, take a hard look at your seam allowance. Nine times out of ten, a seam that's even a thread's width too wide is the culprit. While you can't magically add fabric back, the simple fix is to trim your other blocks to match the smallest one. A consistent quilt top is the goal.
Another tricky situation is dealing with those stretchy, unstable bias edges. This is especially common in blocks with a lot of triangles, like a classic pinwheel. Those edges can warp and stretch with just a little too much handling or an aggressive press with the iron, completely throwing off your final dimensions.
My go-to trick for taming unruly bias edges is a good dose of spray starch. A quick, light mist before pressing adds just enough body and stability to the fabric. This makes it so much easier to handle and trim without accidental distortion.
So, you’ve trimmed your block, and you notice your carefully pieced points don't quite kiss the corner. This usually points to a slightly off seam or a pressing mistake. If it’s just happening on one or two blocks, I say embrace it! Those little quirks are what make a handmade quilt special and are almost invisible once the whole top is assembled.
If you find it’s happening over and over, you might need to bring in a specialty tool. For units like half-square or quarter-square triangles, a purpose-built trimming ruler can be a game-changer. For example, the Tucker Trimmer I is a fantastic ruler with markings designed specifically to help you align and trim these blocks, ensuring those points land right where they belong every single time.
Here are a few quick-fix strategies I've learned over the years:
At the end of the day, remember that the goal is a beautiful finished quilt you can be proud of, not a collection of technically flawless blocks. Learning how to navigate these minor issues will not only boost your skills but make the whole quilting process a lot more fun.
Once you've gotten the hang of squaring up your blocks, you can start adding a few tricks to your routine that seasoned quilters swear by. These aren't huge changes, but they make a world of difference in your speed and precision. It’s all about working smarter, not harder.

A fantastic way to speed things up is to "chain-trim" your blocks. Instead of squaring up one block completely before moving to the next, do the same step on a whole batch at once. For example, make those first two cuts on a stack of ten blocks, then go back through the stack, rotate them, and trim the final two sides on all of them. This assembly-line approach really gets you into a rhythm.
If there's one tool I can't live without, it's my rotating cutting mat. It’s an absolute game-changer. You can make all four cuts without ever picking up your ruler or shifting the fabric block. That little bit of movement is where things often go wrong, so keeping the block in place is key to perfect squares.
Also, think about how you're standing. Quilting can be tough on the body, and good posture helps you stay comfortable and focused for longer. Relax your shoulders and make sure your cutting arm is in a natural position to avoid strain. It sounds simple, but it matters.
Using rulers with clearer, specialized markings can also be a huge help. A great example is The Learning Curve Ruler, which is designed to reduce guesswork and make measurements more intuitive.
Investing in the right tools isn't just about saving time; it saves fabric, too. Many quilters find they see a 25% reduction in fabric waste once they upgrade to more precise tools, simply because their initial cuts are spot-on. If you're curious about industry trends, you can explore more quilt market insights on businessresearchinsights.com.
Even with a solid plan, a few questions always come up when you're at the cutting mat. Let's tackle some of the most common ones I hear from fellow quilters.
In a word, yes. I know it can feel like a tedious extra step, but trust me on this one. Taking the time to square up each block individually is the secret to a quilt top that lays flat and has seams that match up beautifully.
If you skip this step, even on just a few blocks, you’ll likely run into frustrating issues like puckering, stretched seams, and wavy borders down the road. It’s a classic case of a little extra effort now saving you a major headache later.
Don't panic! This happens to everyone, usually because of a seam allowance that was just a little too generous. First, resist the urge to toss the block.
Your best bet is to measure that smallest block and then trim all the other matching blocks down to that same size. For instance, if you were aiming for 6.5" blocks but one came out at 6.25", make them all 6.25". Consistency is far more important than hitting a specific measurement. A quilt made of perfectly uniform blocks will look a hundred times better than one with mismatched sizes.
Remember, the goal is a beautiful, finished quilt, not technical perfection. Most minor size adjustments become invisible once the entire quilt top is assembled and quilted. Embrace the process!
That’s a different, but also important, step! When you trim the entire quilt sandwich (the top, batting, and backing) before adding the binding, you're "squaring the quilt."
What we're talking about here—"squaring up blocks"—is something you do before sewing those blocks together. Getting each individual unit perfectly square first is what prevents small errors from compounding and throwing off the geometry of your entire quilt top.
For all the tools, fabrics, and expert advice you need to master your quilting skills, visit High Country Quilts at https://hcquilts.com.
At High Country Quilts we care deeply about community. With our experiences in retail, we know that a store is not only a place to shop but also a place for the community to gather and share. During this busy...

Hi! We’re Adam and Renee Wheaton, the new owners of High Country Quilts! For more than 40 years, we’ve owned and operated vacuum and sewing businesses. Following in Renee’s father’s footsteps after he retired from All Discount Vacuum and Sewing in Colorado...


Leave a comment