


We Love Our Quilting Community
At High Country Quilts we care deeply about community. With our experiences in retail, we know that a store is not only a place to shop but also a place for the community to gather and share. During this busy...


Do you already have a jelly roll on the shelf but feel stuck choosing the “right” project? That's the gap in most advice about what to make with jelly roll fabric. A jelly roll is a coordinated bundle of 2.5-inch strips, usually 40 strips cut to about 42 inches long, so it can do far more than one basic quilt layout (precut reference for jelly rolls). The better question isn't just what looks pretty. It's what fits your time, confidence, fabric quantity, and the kind of finished piece you want to use.
If you're shopping locally or building out supplies, High Country Quilts is a practical stop for precuts, notions, BERNINA support, and in-store learning. If you want to start with the fabric itself, browse the shop's jelly roll collection at High Country Quilts and choose a bundle that already gives you a coordinated palette. That's the simplest first move if you want less cutting and fewer color decisions.
Each idea below pairs a project with materials, skill level, and finishing notes, so you can pick something realistic and finish it.
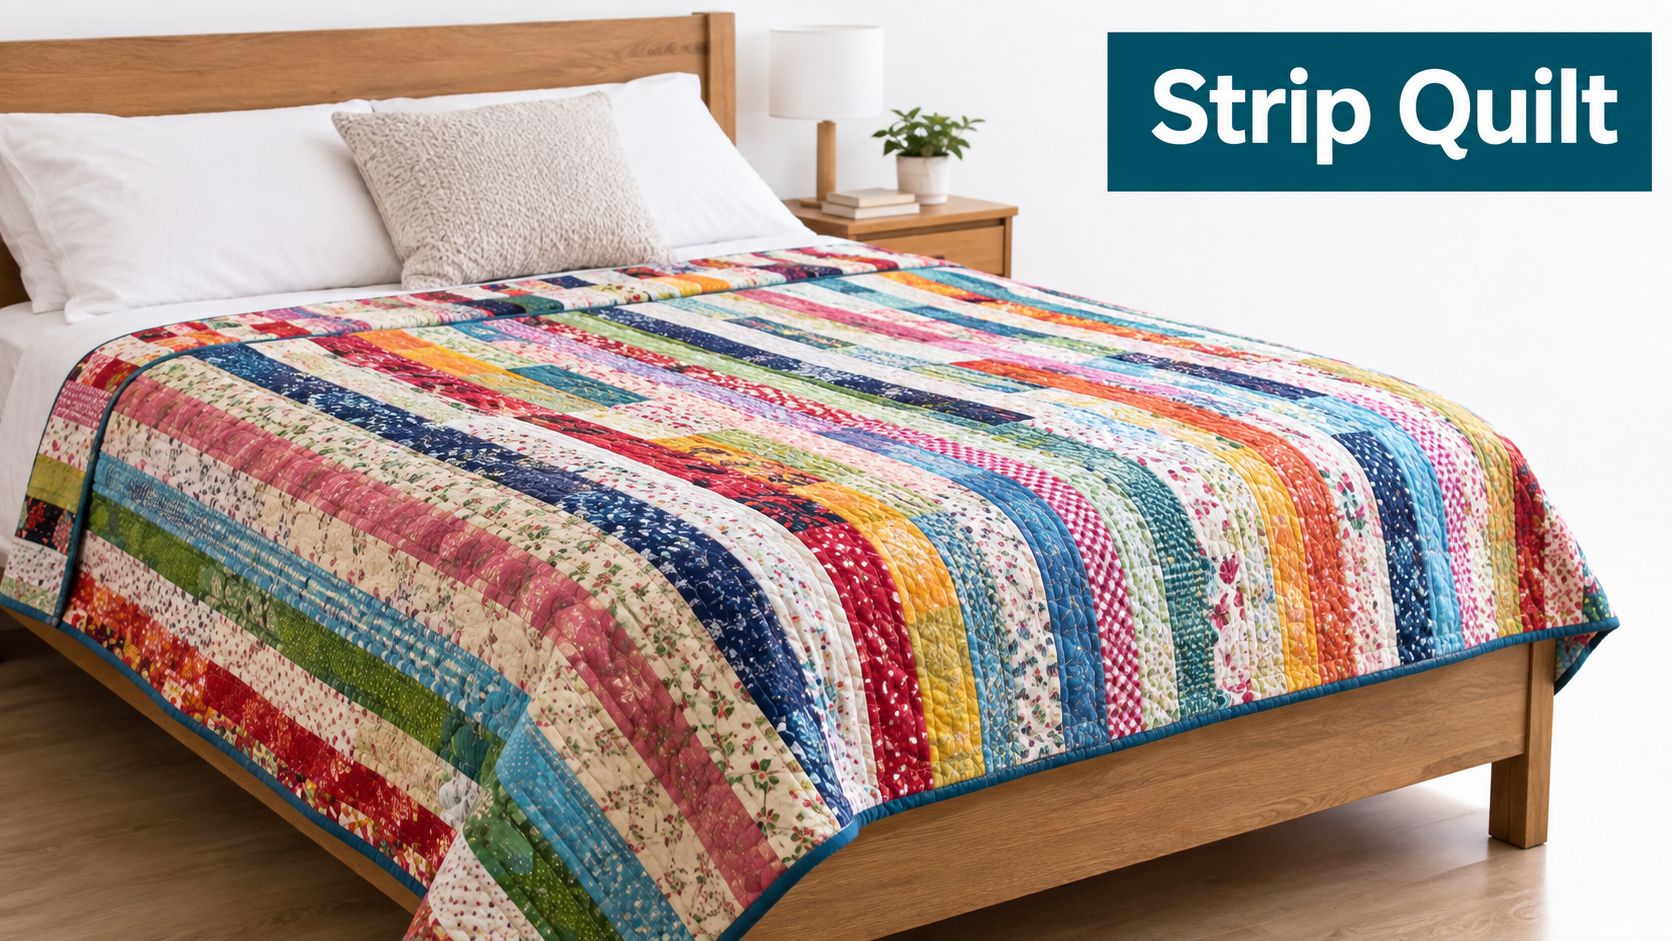
This is still the best first answer to what to make with jelly roll fabric. The strips are already cut to a standard size, which means you can sit down and sew instead of measuring and trimming long units first. That's a big reason jelly rolls became so popular after the modern format was introduced by Moda in 2006, with the first products reaching stores in 2007 (history of jelly rolls and strip format).
A strip quilt can be very simple or much more controlled. Beginners can sew strips edge to edge in rows. More experienced quilters can sort by value, group prints by temperature, or break the top with a solid to avoid visual overload.
Practical rule: If you want your first finish, choose the least fussy layout and focus on straight seams, pressing, and keeping rows aligned.
For a BERNINA owner, this is also a smart project for learning your machine. A walking foot or dual feed can help when quilting over many seam intersections. If you'd like guided sewing practice rather than trial and error, the course options linked here fit naturally with the “learn by making” approach many beginners need.
Ready for the next skill level after straight strip piecing?
Jelly roll and charm pack patchwork is a good middle step. You still work with precuts, so fabric choice stays manageable, but the construction asks a little more of you. Instead of long rows alone, you begin building smaller units that fit together like tiles on a floor. That shift teaches layout, accuracy, and color spacing in a way a basic strip quilt does not.
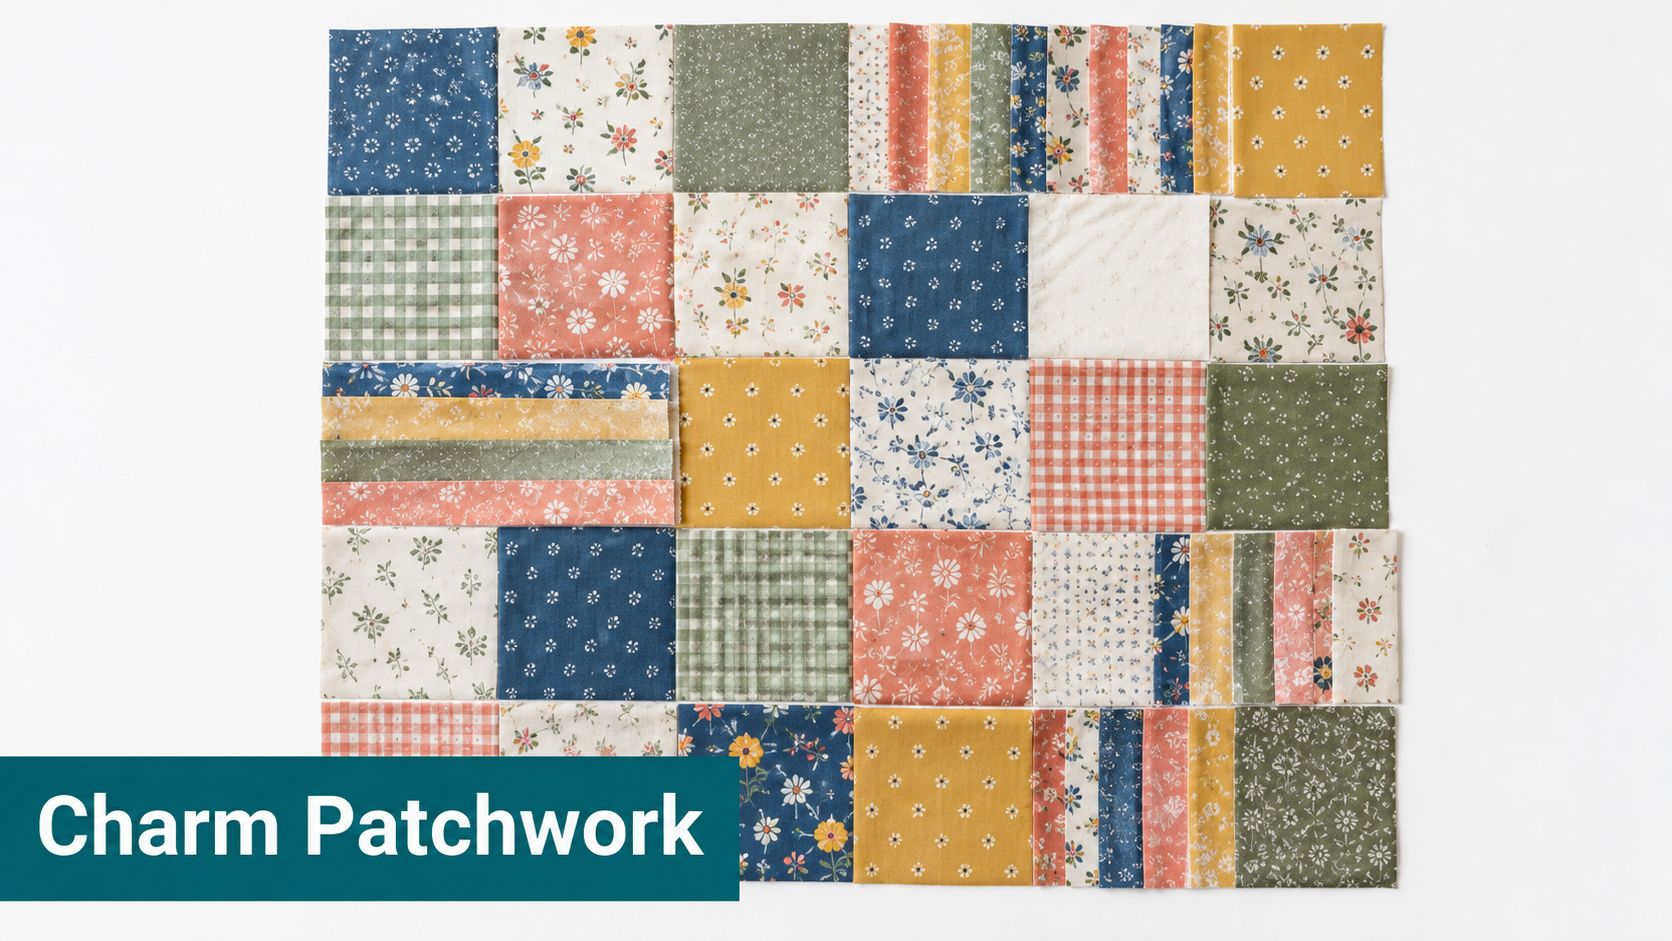
A simple version might pair one 5-inch charm square with two short jelly roll strips to make framed blocks. A slightly more involved option uses strip sets cut and resewn into four-patches or rail-fence units, with charm squares acting as resting points between busier prints. For a throw, that balance matters. Too many strong prints packed together can feel noisy, while the squares give your eye places to pause.
Here is a practical way to judge whether this project fits your current skill and time:
The main trade-off is precision. Long strip quilts forgive small inconsistencies because the eye reads the rows first. Patchwork blocks do not. If one unit runs a little large, the mismatch shows up at the corners. A quarter-inch seam and regular trimming solve most of that problem before it grows.
Pressing also changes here. With many small intersections, pressed-open seams can reduce bulk, while nested seams can help corners meet more cleanly. If you are unsure which to choose, test both on two sample blocks before sewing the full top. Experienced quilters can push the design further by sorting charm squares by value, adding sashing, or repeating one accent print to create a stronger secondary pattern.
If you want help choosing a beginner-friendly precut combination or turning these units into a polished throw, High Country Quilts classes and product guidance can shorten the trial-and-error stage. Quilters who enjoy sharing progress and getting outside feedback can also use the creator community signup form for project collaboration and support.
Want a jelly roll project that teaches design choices without asking you to piece a full quilt first? A wall hanging is a good middle step. It uses the color coordination of precut strips, but keeps the size, time, and layout decisions easier to control.
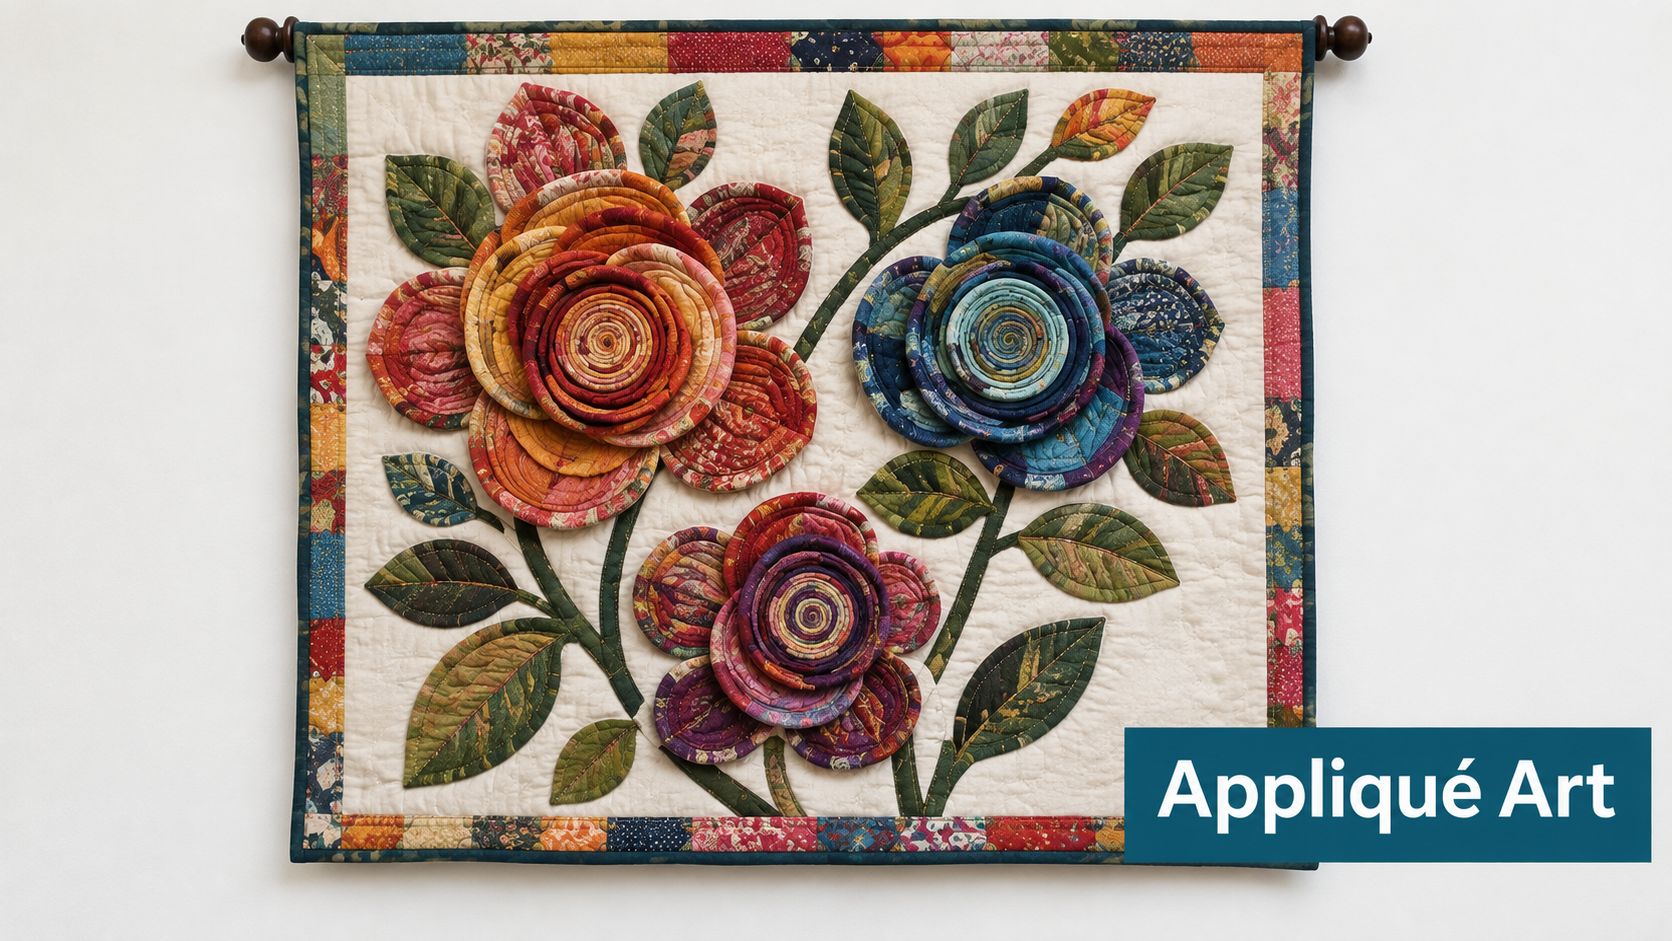
Appliqué shifts the skill focus. Instead of matching many corners, you cut shapes and place them on a background, almost like arranging paper cutouts before gluing a collage. Beginners often find that less stressful than building dozens of blocks, while experienced quilters can use the same format to test bolder composition, negative space, or layered motifs.
A simple version might use 6 to 10 jelly roll strips for petals, leaves, houses, trees, or abstract curves, plus one background fabric that lets those prints stand out clearly. Light background, dark shapes is usually the easiest pairing to read from across the room. If your strips are very busy, repeat one shape several times rather than introducing many different motifs.
Here is the main decision to make before you cut.
Use fusible appliqué if you want a faster finish and crisp edges. Choose turned-edge or raw-edge stitched appliqué if you want more texture or a softer handmade look. Fusible works well for first projects and class settings because you can audition the layout, press it in place, and stitch after everything looks balanced.
Skill and commitment matter here more than size alone. A small wall hanging can still take time if the shapes are intricate, while a larger piece with repeated leaves or circles can go together quickly. For a beginner, a 20 by 24 inch layout with three to five repeated shapes is a manageable place to start. If you already have appliqué experience, try adding pieced strip stems, folded flowers, or a lightly pieced background for more movement.
Finishing also changes with wall art. Quilting can be simple, such as echo stitching around the shapes, or more decorative if you want the background to recede and the appliqué to stand forward. Add a hanging sleeve or corner tabs before binding if the piece is going on a wall. High Country Quilts classes and product guidance can help you choose fusibles, needles, thread, and batting that match the look you want.
One caution helps beginners avoid frustration. Recent quilting coverage notes that jelly roll projects can bring trade-offs such as strip-edge distortion, seam bulk, and less control over fabric order, especially in larger builds (recent discussion of jelly roll project trade-offs). A wall hanging limits those problems because you can cut only the sections you need and place them with more intention.
Keep the first composition simple. Repeated shapes nearly always look stronger than a crowded mix of motifs.
A quilt can be well pieced and still feel like it has no frame. Binding and borders solve that problem. They work like the mat and frame around a picture, giving the eye a clean edge and helping the center read as a finished composition.
This idea sits in a different skill lane than the earlier jelly roll projects. You are not building the whole quilt from strips. You are using strips to control the finish. That makes this a smart option for quilters who want a lower-commitment jelly roll use, or for anyone who has a partial roll left after a larger project.
Start by deciding what job the strips need to do.
If the quilt top already has plenty of movement, a quiet border or a mixed binding can pull those fabrics together without adding more visual noise. If the center feels flat, a narrow accent border can create a pause between the middle and the outside edge, much like punctuation makes a sentence easier to read.
Here are three common ways to use jelly roll strips at this stage, with different effort levels and results:
Beginners often run into one confusing point here. Border strips should fit the quilt, but they should not be stretched to make the numbers work. Measure through the center of the quilt vertically and horizontally, then cut the borders to those measurements. That approach helps square the quilt instead of letting the edges dictate the shape.
Binding has its own finishing choices too. A straight-grain binding from jelly roll strips is convenient for quilts with square corners, while a bias binding is better if your project has curves because it bends more easily. If you are using several prints, lay them out before sewing so one dark or high-contrast strip does not land awkwardly at a corner.
For a beginner, binding is usually the better first project in this category because it teaches joining, pressing, and turning corners on a small scale. For an experienced quilter, borders offer more room to adjust proportion, repeat color, or calm a busy top. High Country Quilts classes and product guidance can help with practical choices such as binding tools, border-friendly rulers, batting, and thread.
Historically, strip piecing itself goes back much further than modern precuts, with comparable strip work traced to the 1800s. The modern jelly roll format made that older method more standardized and easier for beginners to approach (background on strip piecing tradition and modern jelly roll format). Binding and borders show that connection clearly because they use the same strip logic at the finishing stage, where precision matters as much as color.
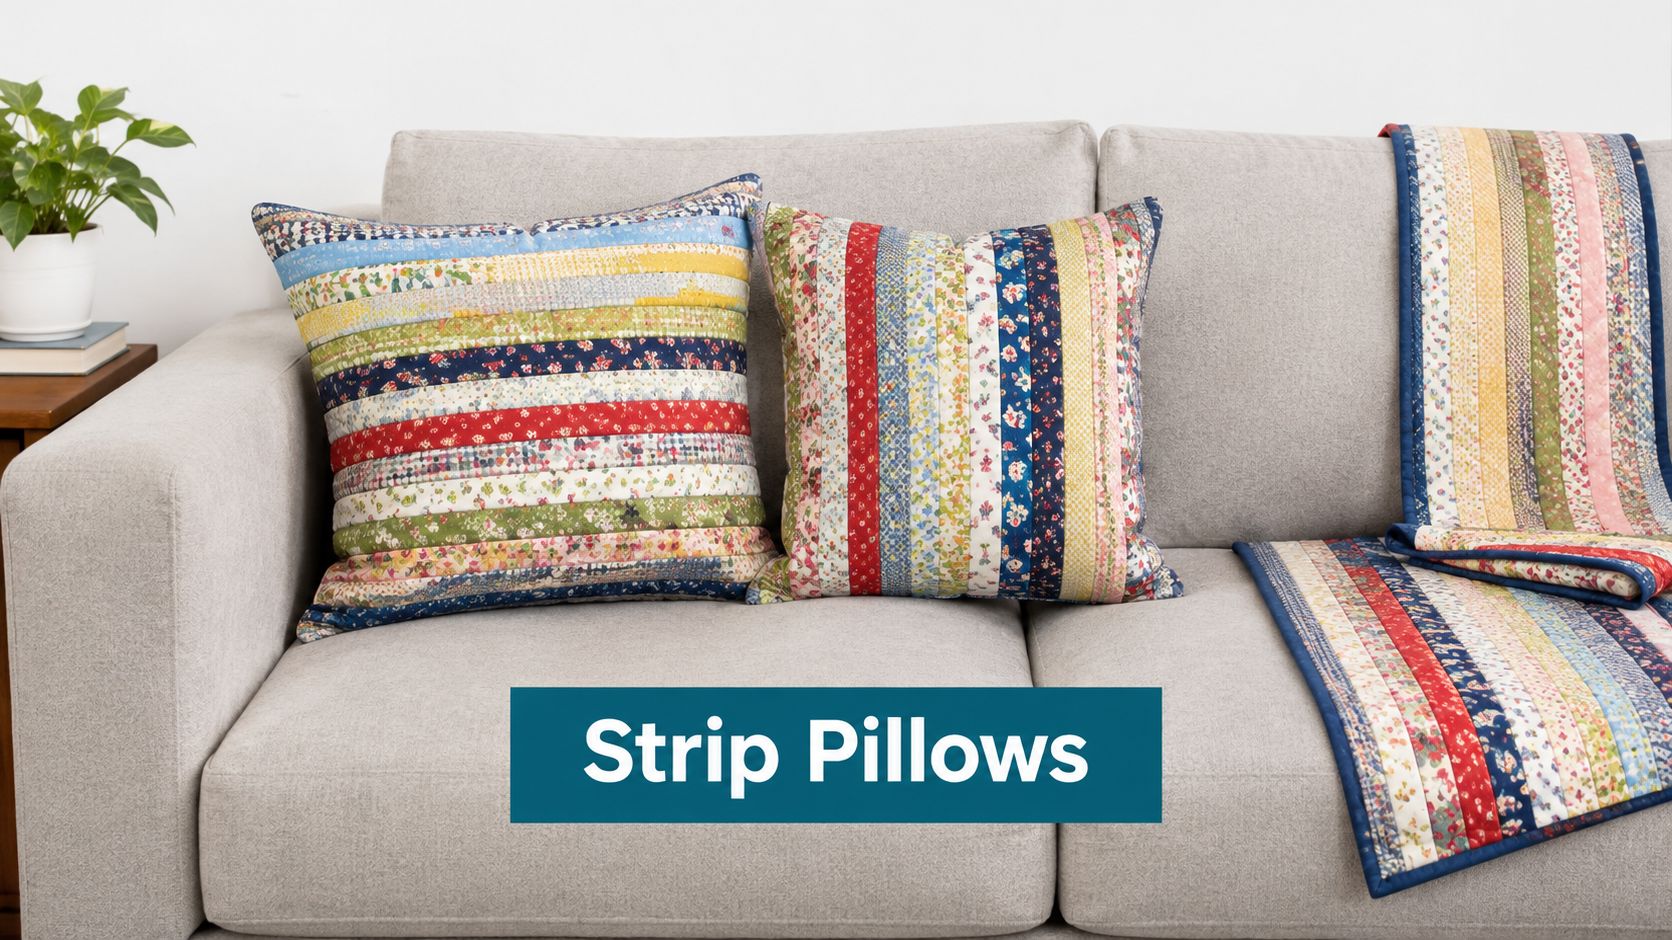
Want a jelly roll project you can finish before your momentum fades? Pillows, runners, placemats, and small quilted panels sit in the middle of the skill ladder. They ask for more finishing choices than binding, but far less fabric and planning than a full quilt.
A good way to choose is to match the project to the skill you want to practice.
Start with a table runner if you want the clearest path from strips to a finished piece. Straight strip sets, rail-fence layouts, and gentle color shifts all work well because the long, narrow shape shows off print order without forcing you to manage many intersections. One runner top may use only part of a roll, which leaves room for matching placemats or a pillow front.
Choose placemats if repetition helps you learn. Sewing four similar pieces works like practicing the same recipe a few times. By the second mat, your seam allowance usually steadies. By the fourth, pressing and quilting choices feel much less mysterious. The trade-off is consistency. Small size makes mismatched trimming easier to spot.
Pick pillows if you want to add construction skills after the piecing is done. A pillow front can be as simple as parallel strips, or it can include quilted texture, piping, boxed corners, an envelope back, or a zipper. That makes pillows especially useful for quilters who want a fast project that still teaches finishing.
Here is the practical breakdown many beginners need:
Materials stay fairly simple. You need your jelly roll strips, a backing fabric or pillow back fabric, batting or interfacing depending on the project, thread, and a ruler long enough to square edges accurately. For pillows, add a zipper or extra fabric for an envelope back. For runners and placemats, quilting density matters. Heavy quilting can make them lie flatter, but it also adds time and can stiffen the piece.
If you are testing a fabric line before cutting into a larger quilt, this category is especially useful. Small home projects act like a sample board. You can see whether bold prints overpower the group, whether low-volume strips disappear, and whether a color order creates movement or looks choppy.
Some shops carry strip-friendly patterns and classes for runners, placemats, or quilted pillows. High Country Quilts can also help with the practical side, such as batting choices, pillow forms, zipper supplies, and rulers that make squaring up easier.
For bedroom sewing that uses larger unpieced panels instead of patchwork, this simple duvet cover sewing method offers a helpful comparison. It shows how home sewing changes once fabric selection matters more than pieced construction.
If you like comparing project formats before buying supplies, this comparison of creator platforms and options reflects the same decision process. In quilting terms, you are weighing time, finishing steps, and how much seam bulk you want to handle before choosing the right small-format project.
What can one roll of 2.5-inch strips become when the goal is comfort first and decoration second? For many quilters, it becomes the easiest entry point into group sewing, because the fabric is already cut, the colors already relate, and the project can stay focused on strength, warmth, and finish.
Donation quilts reward clear construction choices. A jelly roll works well here for the same reason a prepared kit works well in a class. Less setup means more time sewing. Beginners can stay with long strip sets or simple blocks that repeat across the quilt. Experienced quilters can speed assembly even more by sewing in pairs, organizing strips by value, or adding a plain border to reach a charity's preferred size.
A practical starting plan helps:
The trade-off is straightforward. Simpler layouts usually finish faster and hold up well in laundering, but they leave less room for intricate piecing or directional print placement. That is often the right trade for community quilts.
If you sew with a guild, a church group, or a shop class, this category also fits different skill levels better than many beginners expect. One person can piece strip sets, another can press, and a more confident quilter can handle layout, borders, or final quilting. High Country Quilts classes and strip-friendly supplies can support that kind of shared workflow, especially if your group needs rulers, batting guidance, or help choosing an efficient pattern.
Industry reporting from Craft Industry Alliance notes continued interest in quilting among newer makers, including quilters who adopt precuts early because they reduce preparation time and fabric-matching decisions (quilting market survey coverage and beginner precut adoption). That matters here. Community quilts give newer sewists a useful place to practice straight seams and consistent pressing while still making something that serves someone else.
Purpose-driven sewing also appeals to groups that organize projects around shared impact. The outreach service page linked here reflects that same connection-first approach, even though the medium is different.
What do you make when your jelly roll no longer matches itself?
Scrap quilts answer that question well because they turn leftover strips into a planned finish instead of a crowded bin. A partial bundle still gives you plenty to work with, especially if you treat each strip like pre-cut lumber in a workshop. The pieces are already sized. Your job is choosing a structure that makes mixed fabrics read as one quilt.
Start with the commitment level that fits your energy. If you want a low-risk first try, sew rail-fence blocks, coin rows, or simple strip sets cut into squares. If you want more control, sort strips by value first, light, medium, and dark, then repeat one block across the quilt so the variety has a frame. Experienced quilters can push the same leftovers further with controlled color gradation, asymmetrical balance, or negative space.
A few practical choices make the difference between "scrappy" and "scattered."
One helpful rule is to let one part stay steady. If every strip is different, repeat the block. If every block changes, keep the quilting simple. That trade-off gives the eye a place to rest.
The same idea applies to stash-busting pillows, table runners, and kid-size quilts. Small projects let beginners test combinations before cutting into a full layout, and they let experienced makers use up short leftovers that are too good to discard. If you like collecting parts from different projects and turning them into one cohesive finish, the gifted collaboration application for creative project planning reflects that same mix-and-build approach.
| Project | Complexity 🔄 | Resources & Time ⚡ | Expected Outcomes 📊 | Ideal Use Cases 💡 | Key Advantages ⭐ |
|---|---|---|---|---|---|
| Jelly Roll Strips Quilt – The Classic Strip Piecing Project | Low, straight-line piecing; beginner-friendly | One jelly roll, basic sewing machine, batting/backing; ~8–30 hrs | Finished quilt ~48–60 in; cohesive, fast finish | Beginners, confidence-building projects, quick gifts | Fast, low waste, pre-coordinated color |
| Jelly Roll Charm Pack Patchwork – Small-Scale Piecing for Quilts and Throws | Medium, mixed-scale piecing; intersection matching | 1 jelly roll + 1 charm pack, design wall, intermediate tools; ~12–40 hrs | Dynamic throw to lap/twin (48x48–60x80); secondary patterns emerge | Intermediate makers exploring color/theory, gallery-style quilts | Sophisticated designs without advanced foundation piecing |
| Jelly Roll Appliqué Wall Hanging – Design Meets Precut Convenience | Medium–High, appliqué (needle-turn or fusible) skills needed | 1 jelly roll, background fabric, appliqué supplies; ~20–40 hrs | Decorative art 24x24–36x48; high visual impact | Wall art, gifts, appliqué skill development | Design-forward, artistic use of precuts |
| Jelly Roll Binding and Borders – Finishing Touches That Frame Your Quilt | Low–Medium, finishing precision, continuous binding technique | Leftover strips or 1 roll for binding, binding tools, hand-stitch time; ~3–5 hrs for large quilts | Professional framed look; cohesive color story | Finishing quilts, reducing waste, professional presentation | Cost-effective, unifies design, elevates final piece |
| Jelly Roll Strip-Pieced Pillows and Home Goods – Quick Décor Projects | Low, small-scale piecing and basic finishing | 1 jelly roll can yield multiple items, pillow forms/zippers/piping; ~5–12 hrs per item | Functional home items (pillows, runners, placemats) | Gift-making, seasonal décor, quick retail items | Fast turnaround, multiple coordinated pieces from one roll |
| Jelly Roll Donation and Community Quilts – Stitching With Purpose | Low–Medium, simple, durable designs for batch production | Jelly rolls + washable backing, organized volunteers; scalable time | Donation quilts 36x48–60x80; durable, washable | Community drives, charity quilts, batch production | Purpose-driven, efficient, scalable community impact |
| Jelly Roll Scrap Quilts and Stash-Busting Projects – Maximizing Precut Potential | High, extensive planning, color-sorting, complex layout | Multiple partial rolls/remnants, design wall, advanced planning; variable time | Large, personal quilts (60–90 in); highly varied, memory-rich | Stash reduction, advanced color theory practice, heirlooms | Zero waste, deeply personal results, advanced skill growth |
The simplest start is still the strip quilt. It lets you practice consistent seams, pressing, and basic quilt assembly without asking you to cut much before you begin. If you want a quicker finish, choose home goods like pillows, placemats, or a table runner. Those projects teach many of the same skills while keeping the scale manageable.
If your favorite part is design, try the appliqué wall hanging. It gives you room to play with shape, layering, and composition without committing to a full-size quilt. If you've already finished a top and have strips left, binding and borders are the smartest use of the remainder. They stretch the value of the bundle and often improve the finished look of the quilt.
Mixed precuts are a good next step when you want more patchwork variety and more practice matching seams. Donation quilts make sense when you want your sewing to serve a practical community purpose and you'd rather keep the pattern sturdy and straightforward. Scrap quilts are best when you've built up leftovers and want a project that rewards sorting, editing, and color judgment.
Before you buy or cut anything, confirm what your pattern really needs. A standard jelly roll usually contains 40 strips at 2.5 inches by about 42 inches, or roughly 3 yards of fabric depending on how the source rounds it, so one bundle can go a long way but won't automatically make every quilt size (basic jelly roll dimensions and total fabric overview). It also helps to gather background fabric, batting, backing, thread, and binding plans at the start so the project doesn't stall after piecing.
If you're ready to pick a bundle and start sewing, browse the High Country Quilts jelly roll selection. Then match your project to the time you have, not just the project you admire most. That's usually how a jelly roll becomes a finish instead of shelf décor.
High Country Quilts offers jelly rolls, sewing supplies, BERNINA support, and classes that fit both first-time strip piecers and experienced quilters refining their process. If you want help choosing fabric, matching notions, or finding a realistic project to start with, visit High Country Quilts.
At High Country Quilts we care deeply about community. With our experiences in retail, we know that a store is not only a place to shop but also a place for the community to gather and share. During this busy...

Hi! We’re Adam and Renee Wheaton, the new owners of High Country Quilts! For more than 40 years, we’ve owned and operated vacuum and sewing businesses. Following in Renee’s father’s footsteps after he retired from All Discount Vacuum and Sewing in Colorado...


Leave a comment