


We Love Our Quilting Community
At High Country Quilts we care deeply about community. With our experiences in retail, we know that a store is not only a place to shop but also a place for the community to gather and share. During this busy...


You've found a sewing machine at a secondhand shop, inherited one from a relative, or opened a gift box only to discover that the manual is missing. The machine looks ready to sew, but the threading path is unfamiliar, the bobbin doesn't seem to fit, and the stitch symbols might as well be another language. Before you start turning dials, pause. The right sewing machine manual can prevent setup mistakes, explain model-specific features, and turn a confusing machine into a useful quilting partner.
A manual is more than disposable paperwork. The Smithsonian Libraries' historical sewing-machine collection contains more than 3,000 pieces, with publications dated from 1842 through 1976 (Smithsonian Libraries sewing-machine bibliography). That record shows how instruction books became a lasting part of machine ownership as sewing moved from handwork toward mechanized production. The sections below treat the manual as a practical reference, with a model-number decision process, plain-English explanations, visual aids, and cross-references for setup, care, and troubleshooting.
By the end, you should feel comfortable identifying your machine, locating a trustworthy manual, and using the exact page you need without reading every paragraph from cover to cover. If you're comparing machines or checking whether a particular guide matches your BERNINA, start with the BERNINA sewing machine product pages and compare the visible model details before downloading anything.
A beginner often approaches a manual like a school textbook. That makes the first sewing session feel harder than it needs to be. A better approach is to treat the book as a map. You only need the right route for the task in front of you, whether that's winding a bobbin, attaching a presser foot, choosing a stitch, or clearing a jam.
Historical documentation supports that view. The Smithsonian archive identifies instructions for named machines, including the Howe Sewing Machine Step Feed, which shows that manuals were closely tied to particular designs rather than written as universal sewing advice (Smithsonian Libraries sewing-machine bibliography). A general threading diagram may look familiar across brands, but the needle threader, bobbin case, presser-foot system, display controls, and service instructions can differ substantially.
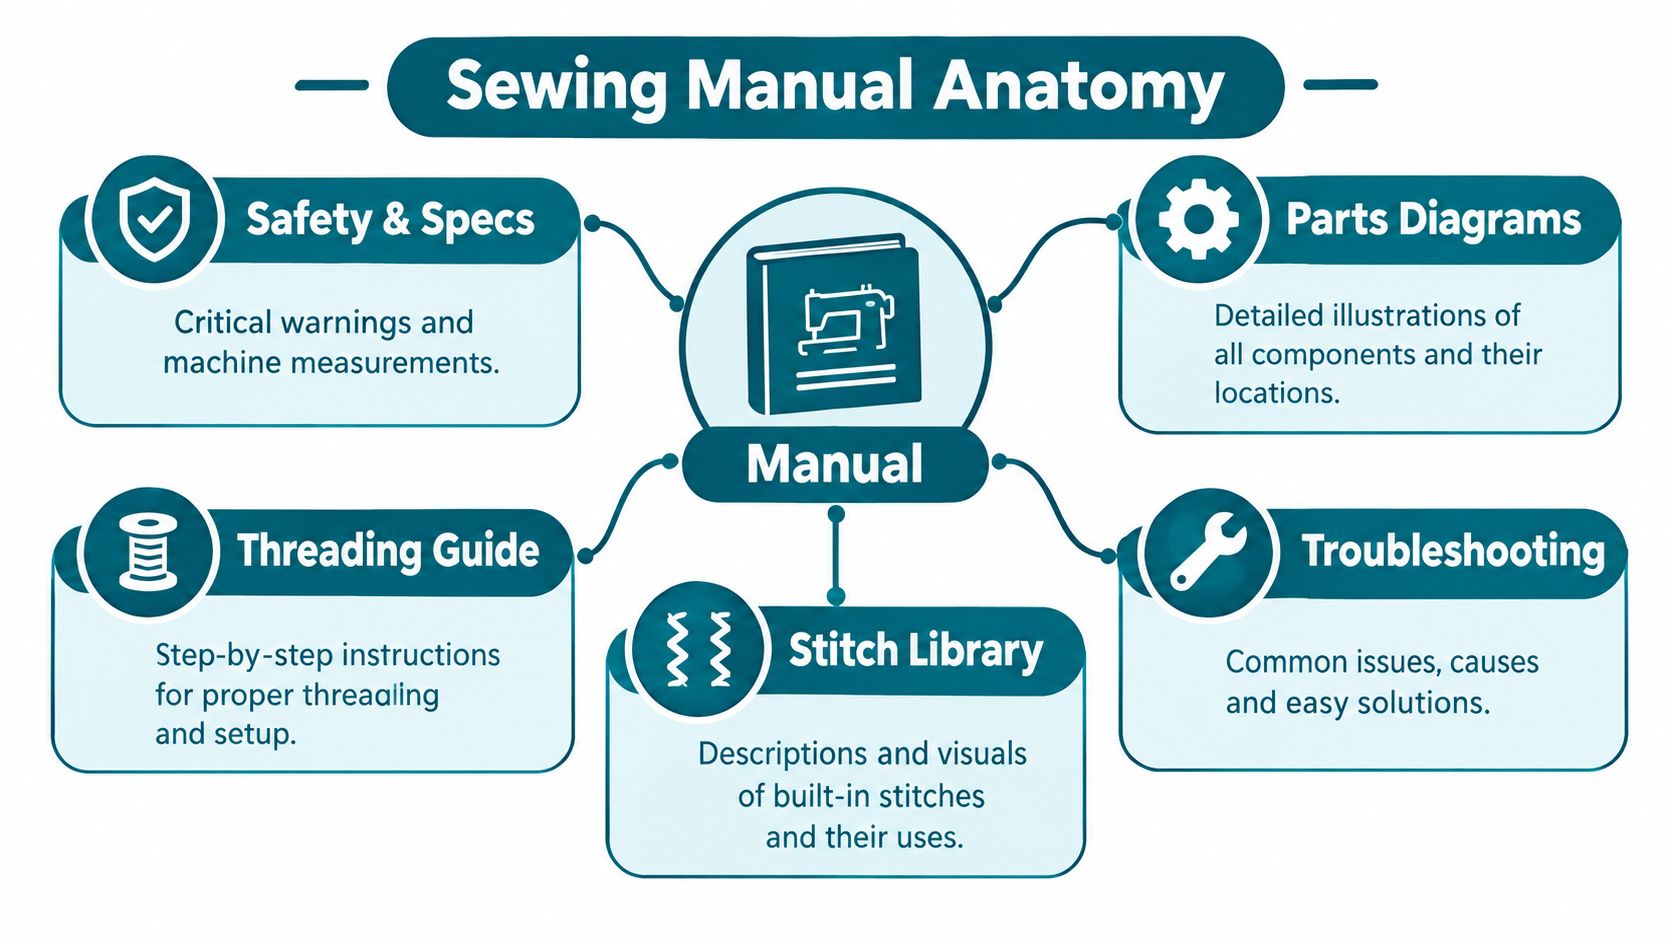
Most household manuals gather several kinds of information in one place:
Some older Singer household manuals were nearly 100 pages long, according to the ISMACS archive, and the collection preserves instruction books for many different household models (ISMACS Singer household manuals). That length isn't accidental. A sewing machine combines mechanical movement, electrical power, fabric handling, needle selection, thread tension, and accessories. A short quick-start sheet can get you moving, but the full manual holds the details that prevent confusion later.
Practical rule: Use the manual for model-specific decisions, and use general sewing advice only for techniques that don't depend on the machine's design.
A good reference habit is to bookmark the setup pages, the stitch chart, the maintenance instructions, and the troubleshooting index. You won't need to memorize the manual. You need to know where the answer lives.
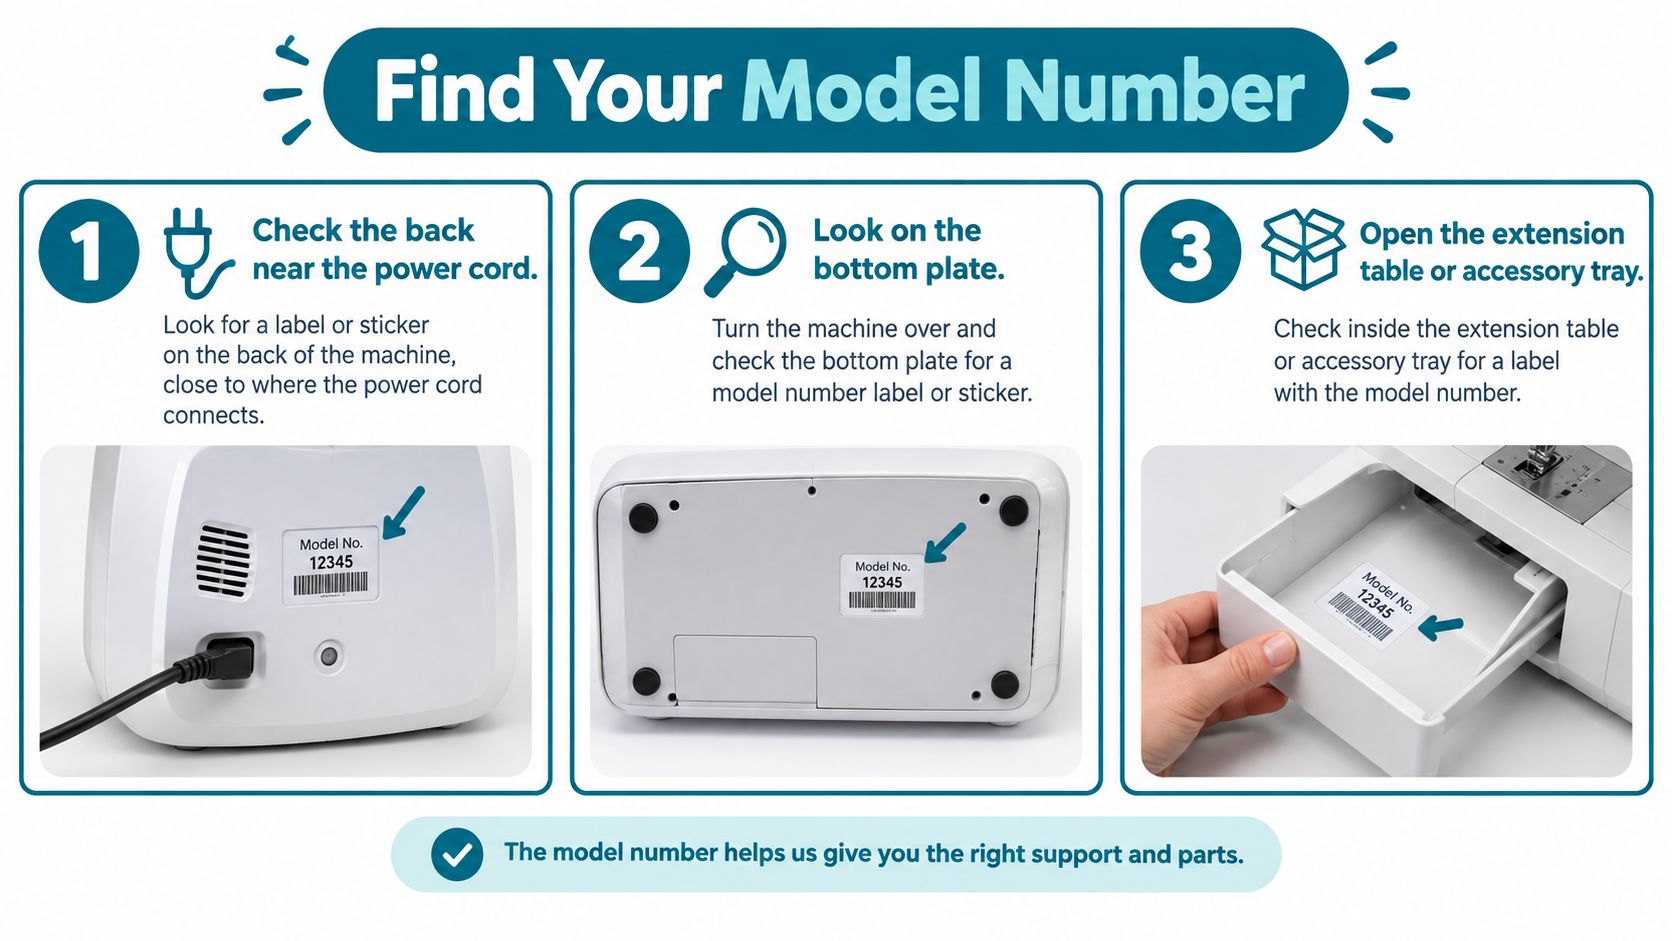
The fastest way to find a sewing machine manual is to identify the machine before searching. Brand names alone aren't enough. A manufacturer may sell several machines with similar shapes, while a small change in model can affect the bobbin system, accessories, display controls, or threading instructions.
Use this decision path:
This process matters most with an inherited or secondhand machine. If the packaging is gone, the original owner may remember only “a BERNINA” or “an old Singer.” If someone gave you a machine without paperwork, the visible model number is more reliable than the machine's color, shape, or approximate age.
Brand support portals often separate a full operation manual from a quick reference guide, accessory information, and multilingual files. That separation can feel messy, but each file serves a different purpose.
Third-party directories can help when an official portal is difficult to search or an older document is no longer prominent. Still, verify the file against the exact model before following its instructions. When a model number is unclear, BERNINA machine support and product information can help you compare the machine with official documentation. You can also review BERNINA machine families when the label is worn or incomplete.
A sewing machine manual is a working reference. Open it with a question in mind, such as “Where does this thread go?” or “Which foot matches this stitch?” Scan the headings, diagrams, warning symbols, and index first. Then read the instructions connected to that task instead of starting at page one.
Safety and specifications belong at the top of your reading list when you power, move, install, or service the machine. Household machine manuals commonly address requirements such as IEC/EN 60335-2-28, UL 1594, and India's IS 1610:2018, covering electrical safety, construction, and intended use (household sewing-machine safety and performance reference). In plain English, confirm the correct power conditions, approved accessories, and operating limits before sewing.
Parts diagrams connect technical names with physical locations. If the text names a “presser-foot lifter,” find that label in the drawing before searching the machine by sight. Use the same method for the feed dogs, needle plate, bobbin cover, take-up lever, and handwheel.
Threading and bobbin setup need close attention. Follow numbered arrows in order, including guides that appear easy to skip. A missed guide can alter tension and lead to looping, shredding, or thread breaks.
Stitch libraries show both the available stitches and the controls that shape their results. A decorative stitch may call for a specific foot, stabilizer, speed, or fabric preparation. Read the symbol, settings, and foot information together.
Maintenance and troubleshooting answer different questions. Maintenance prevents faults through cleaning and inspection. Troubleshooting starts after a symptom appears, such as skipped stitches, a jam, or uneven tension.
Arrows, shaded areas, footnotes, and warning icons carry part of the instruction. If a diagram shows the presser foot raised during threading, that position affects the procedure. If a table pairs a foot with a stitch, follow the pairing until the manual gives another option.
For a digital manual, comfortable body text and clear headings make diagrams and cautions easier to follow. Readability guidance commonly recommends body copy of at least 16px (16-pixel body copy guidance).
When a term is unfamiliar, compare it with a BERNINA sewing feature glossary. Knowing the part's exact name makes the manual easier to search and helps you connect its wording with the labels on your machine.
Setup instructions often sound formal because they describe a precise mechanical sequence. Translate each sentence into an action, a position, and a reason. For example, “raise the presser foot before threading” means lift the foot, follow the marked path, and allow the tension discs to receive the thread correctly.
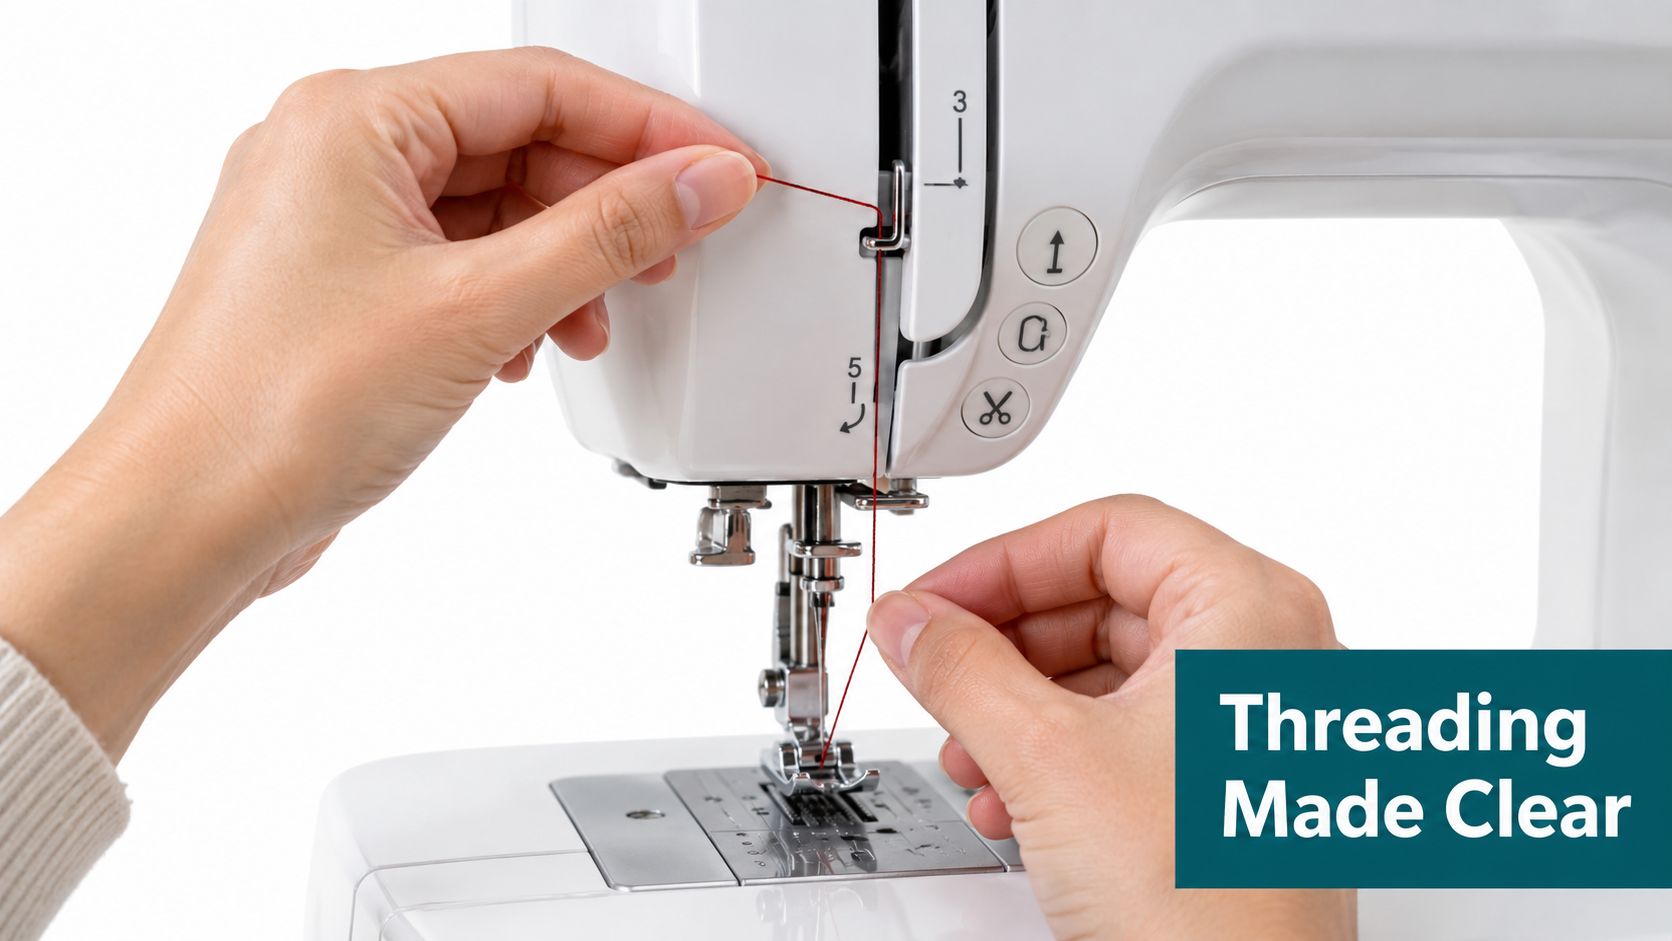
Start by identifying the manual's threading diagram. Trace the path visually from the spool, through the guides and take-up lever, down toward the needle, and through the needle eye. Don't rely on memory from another machine, even if the path looks familiar. A BERNINA model may use a different guide arrangement or needle-threading mechanism than a machine you've used before.
When the manual shows a small arrow around a guide, follow that direction exactly. If the thread slips out while you sew, stop and compare the actual path with the diagram rather than immediately changing tension.
Bobbin instructions usually include winding, inserting, and bringing up the bobbin thread. Treat those as separate actions. Check the bobbin type specified for your model, confirm that the thread winds evenly, and insert it in the direction shown by the drawing.
A top-loading bobbin and a front-loading bobbin case don't use the same insertion method. The manual's illustration should settle the question. If the bobbin resists, don't force it. Remove it and compare its shape, size, and orientation with the parts diagram.
Needle selection should match the fabric and thread, while the manual confirms what the machine and foot can handle. A fresh needle is a sensible starting point for a new project, especially if the previous needle struck a pin, became bent, or produced skipped stitches.
Presser-foot instructions deserve the same attention. The manual may show a shank release, a snap-on foot, or a compatibility note for specialized accessories. Use the model's approved accessory information rather than assuming that every foot with a similar shape is interchangeable.
A display language option can also affect setup. Some machines allow users to switch the on-device language, while support portals may offer operation manuals in multiple languages. Look for a settings or language page instead of searching through stitch menus.
The following video can help you compare the physical motion shown in a manual with a real threading sequence:
For model-specific demonstrations, compare the setup information with BERNINA machine product details and features before applying a video's technique to your own machine.
Maintenance belongs in the manual because cleaning and servicing involve moving parts, electrical power, and model-specific procedures. Expert sewing-machine safety guidance recommends checking the cord and machine for damage, keeping ventilation openings free of lint and fabric, using the correct needle, avoiding pins while sewing, and switching off and unplugging the machine before cleaning or servicing the hook or bobbin area (sewing-machine safe work procedure).
Before you begin, make a quick visual check. Look at the power cord, foot control, needle, presser foot, needle plate, and bobbin cover. Remove loose lint from accessible areas and confirm that nothing is blocking ventilation openings.
If the needle is bent, blunt, damaged, or unsuitable for the fabric, replace it before sewing. Avoid sewing over pins. A pin can deflect the needle, damage the machine, or create a safety hazard.
Quilting produces lint from fabric edges, batting, thread, and batting fibers. Use the brush and cleaning method specified for the model, concentrating on the bobbin area, feed-dog area, and exposed paths where lint gathers. Don't push debris deeper into the machine with compressed air unless the manual specifically permits that method.
Turn the machine off and unplug it before opening covers or reaching near the hook. If the manual requires a particular position for the needle, presser foot, or handwheel, follow that sequence before cleaning.
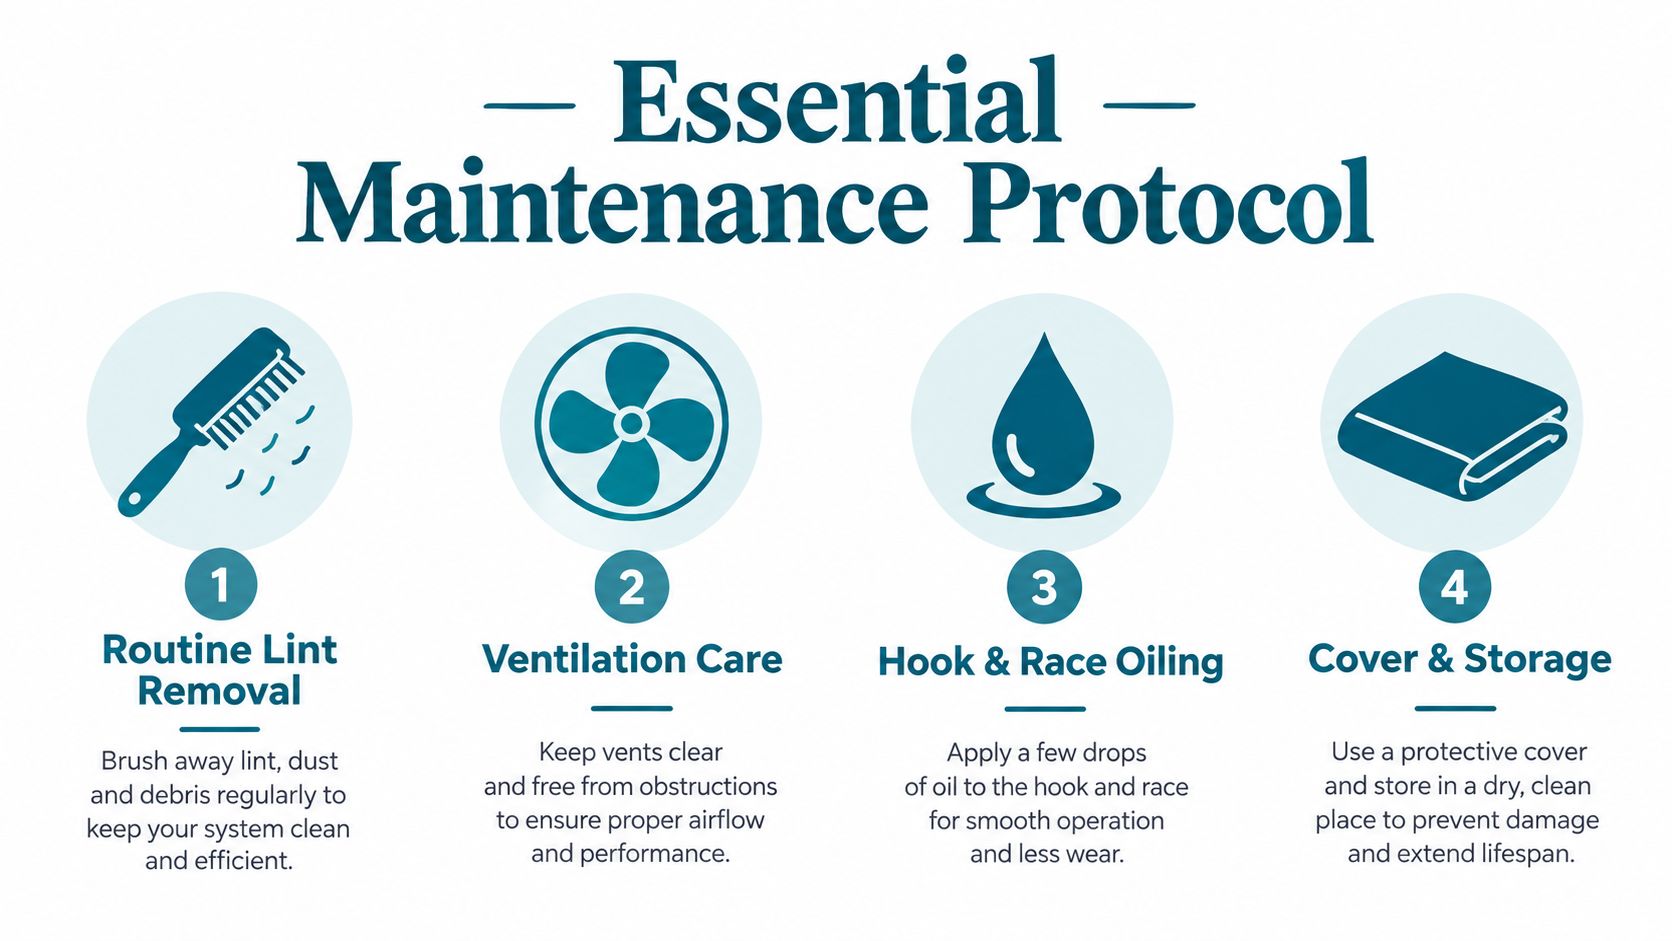
Never assume that every machine needs oil in the same places. Some modern machines are designed for specific service procedures, and applying oil where it isn't requested can attract lint or affect performance. Follow the manual's lubrication directions, including the approved oil and location, or ask a qualified technician.
Accessories also need model-specific confirmation. A foot, bobbin, needle system, or cleaning tool that works on one machine may not be approved for another. The manual is the safest starting point for matching supplies, while BERNINA accessories and machine details can help you compare compatible options.
Store the machine with its cover in place, away from dust, moisture, and unnecessary handling. For industrial machines, manufacturer safety documentation may also call for guards and eye protection where needle breakage presents a risk. That reinforces a broader point: a strong manual combines operating instructions with preventive care.
A manual can be technically correct and still fail a beginner. The language may be unfamiliar, the PDF may be split into several files, or the answer may be buried in a troubleshooting table. The practical solution is to translate the symptom into a small set of checks, then return to the exact manual category that describes those checks.
Look for a language selector on the machine if it has a display. The setting may appear under setup, preferences, or general machine settings rather than under sewing functions. If the manufacturer offers multilingual PDFs, download the full operation manual in the language you understand best, then keep the quick reference guide nearby for routine use.
For visual learners, pair the written instruction with a photograph or diagram. A picture can show whether the thread is above or below a guide, whether the bobbin is oriented correctly, or whether the presser foot is fully attached. Don't treat a short FAQ as a replacement for the safety and maintenance sections.
| What you notice | Plain-English meaning | Manual page to find |
|---|---|---|
| Loops appear beneath the fabric | The upper thread path, bobbin insertion, or tension may need checking | Threading and tension |
| The bobbin area jams | Thread, lint, or bobbin placement may be obstructing the hook area | Bobbin insertion and cleaning |
| Stitches skip | The needle, needle insertion, fabric, or threading may not match | Needle selection and setup |
| The stitch looks wrong | The selected stitch, width, length, foot, or fabric may not match | Stitch chart and accessory guide |
| The thread breaks | The path, needle, thread, or tension setting may need inspection | Threading and troubleshooting |
Start with threading before changing several settings at once. A correctly selected tension value cannot compensate for thread that missed a guide. If the issue began after changing a needle or presser foot, return to those setup instructions and verify each step.
Write down the model number, preferred language, bobbin type, common presser feet, and the pages you use most. Add short notes such as “raise foot before threading” or “check bobbin direction.” This turns a fragmented PDF library into a compact reference you can use beside the machine.
For hands-on guidance, BERNINA learning resources can complement the manual with educational material. A class or one-to-one walkthrough is especially useful when the same error returns after you've followed the printed steps.
Choose the source based on the machine's age, the confidence of your model identification, and the type of answer you need. Official manufacturer portals are the strongest starting point for current machines because they organize documents around the brand's own model names and accessory systems.
| Source | Best use | What to verify |
|---|---|---|
| Official brand portal | Current operation manuals, language files, and support documents | Exact model and document type |
| Authorized dealer library | Local clarification, model comparison, and practical support | Dealer relationship and machine compatibility |
| Third-party manual directory | Older or difficult-to-locate documentation | Scan quality, model match, and missing pages |
| Quick reference guide | Fast reminders after setup | Whether it includes safety and maintenance details |
| FAQ or support page | Short answers to recurring problems | Whether the advice applies to your exact model |
A full operation manual usually includes the information needed for safe installation, threading, care, and troubleshooting. A quick reference guide may be easier to scan but can omit the explanations that help when something goes wrong. For an older machine, compare the manual's illustrations with the actual control panel, bobbin area, presser-foot attachment, and casing.
Manual directories can fill a genuine retrieval gap. Search results may divide documents among operation manuals, quick-start sheets, language versions, and FAQ pages. Before downloading, check the file title, cover page, model marking, revision information if present, and photographs inside the PDF.
If you're also looking for broader digital learning material, the Wideo resource collection offers a useful place to explore free online resources alongside your machine documentation. Use general learning resources for sewing concepts, but return to the machine's own manual for electrical safety, approved accessories, threading paths, and servicing.
For a manual that's out of print, contact an authorized dealer or manufacturer support team with every marking you found. A clear photo of the machine and its label can be more helpful than a vague description such as “old computerized model.”
A manual becomes easier to use when you create a small lookup system around it. Keep the PDF open on a tablet, place sticky tabs in a printed copy, or write page references in a notebook. The aim isn't to replace the manual. It's to reduce the time between a problem and the correct instruction.
| Manual term | Plain-English meaning |
|---|---|
| Take-up lever | The moving part that pulls the upper thread through its cycle |
| Feed dogs | The teeth that move fabric beneath the presser foot |
| Hook or race | The rotating area that forms the stitch with the bobbin thread |
| Presser-foot pressure | The force holding fabric against the feed dogs |
| Stitch width | How far a zigzag or decorative stitch moves from side to side |
| Stitch length | The distance between individual stitches |
| Tension | The balance between upper and bobbin thread |
Use cross-references instead of starting over. A threading problem points to setup first, then tension or troubleshooting. A bobbin-area problem points to insertion and cleaning. A stitch-selection question points to the stitch library and accessory guide. This network of references is more useful than memorizing isolated instructions.
For continued practice, explore BERNINA education and classes and keep a project notebook with the fabric, thread, needle, foot, and settings that worked. If you're in Colorado Springs, local workshops, service support, longarm quilting, and fabric guidance can help connect the manual to real sewing decisions.
When you're ready to replace or add a machine, compare BERNINA sewing machine options with your actual projects, preferred features, and support needs. The best machine manual is the one you can identify, understand, and use confidently.
High Country Quilts offers BERNINA machines, sewing supplies, classes, and hands-on support for quilters who want more than a confusing PDF. Visit High Country Quilts to explore machine options, book help with your manual, or stop by the Colorado Springs shop for a practical walkthrough.
At High Country Quilts we care deeply about community. With our experiences in retail, we know that a store is not only a place to shop but also a place for the community to gather and share. During this busy...

Hi! We’re Adam and Renee Wheaton, the new owners of High Country Quilts! For more than 40 years, we’ve owned and operated vacuum and sewing businesses. Following in Renee’s father’s footsteps after he retired from All Discount Vacuum and Sewing in Colorado...


Leave a comment