


We Love Our Quilting Community
At High Country Quilts we care deeply about community. With our experiences in retail, we know that a store is not only a place to shop but also a place for the community to gather and share. During this busy...


You're probably here because you've had that small pause before a cut. The ruler is lined up, the fabric looks right, and then one thought pops up: what if the cutter slips?
That hesitation is normal. A rotary cutter is one of the most useful tools in quilting, and it's also one that deserves real respect. The good news is that rotary cutter safety isn't mostly about being nervous or overly cautious. It's about building a setup and a routine that help your hands do the right thing naturally.
Beginners often hear the same short advice: cut away from your body, keep your fingers back, close the blade. All of that matters. But the bigger lesson is that safety is a workflow problem. If your blade is dull, your mat is too small or warped, your ruler shifts, or your table feels cramped, you'll start compensating with force. That's when clean technique breaks down.
Industrial safety rules have treated rotary cutting hazards as serious enough to require guards, controlled access, and quick shutoff systems in factory settings, including OSHA rules for pulp, paper, and paperboard mills in industrial rotary cutter machine guarding requirements. Handheld quilting tools are different, but the principle is the same. Control the blade, cover it when you can, and reduce unnecessary exposure.
Most rotary cutter mistakes begin before the blade touches fabric. They start when you rush, cut in poor light, balance fabric on a too-small surface, or keep using a blade that's dragging.
That's why I teach rotary cutter safety as a chain of decisions. A safe cut usually comes from good preparation, not last-second reflexes. When your mat fully supports the fabric, your ruler sits flat, and your blade moves smoothly, you don't have to push hard or correct mid-cut.
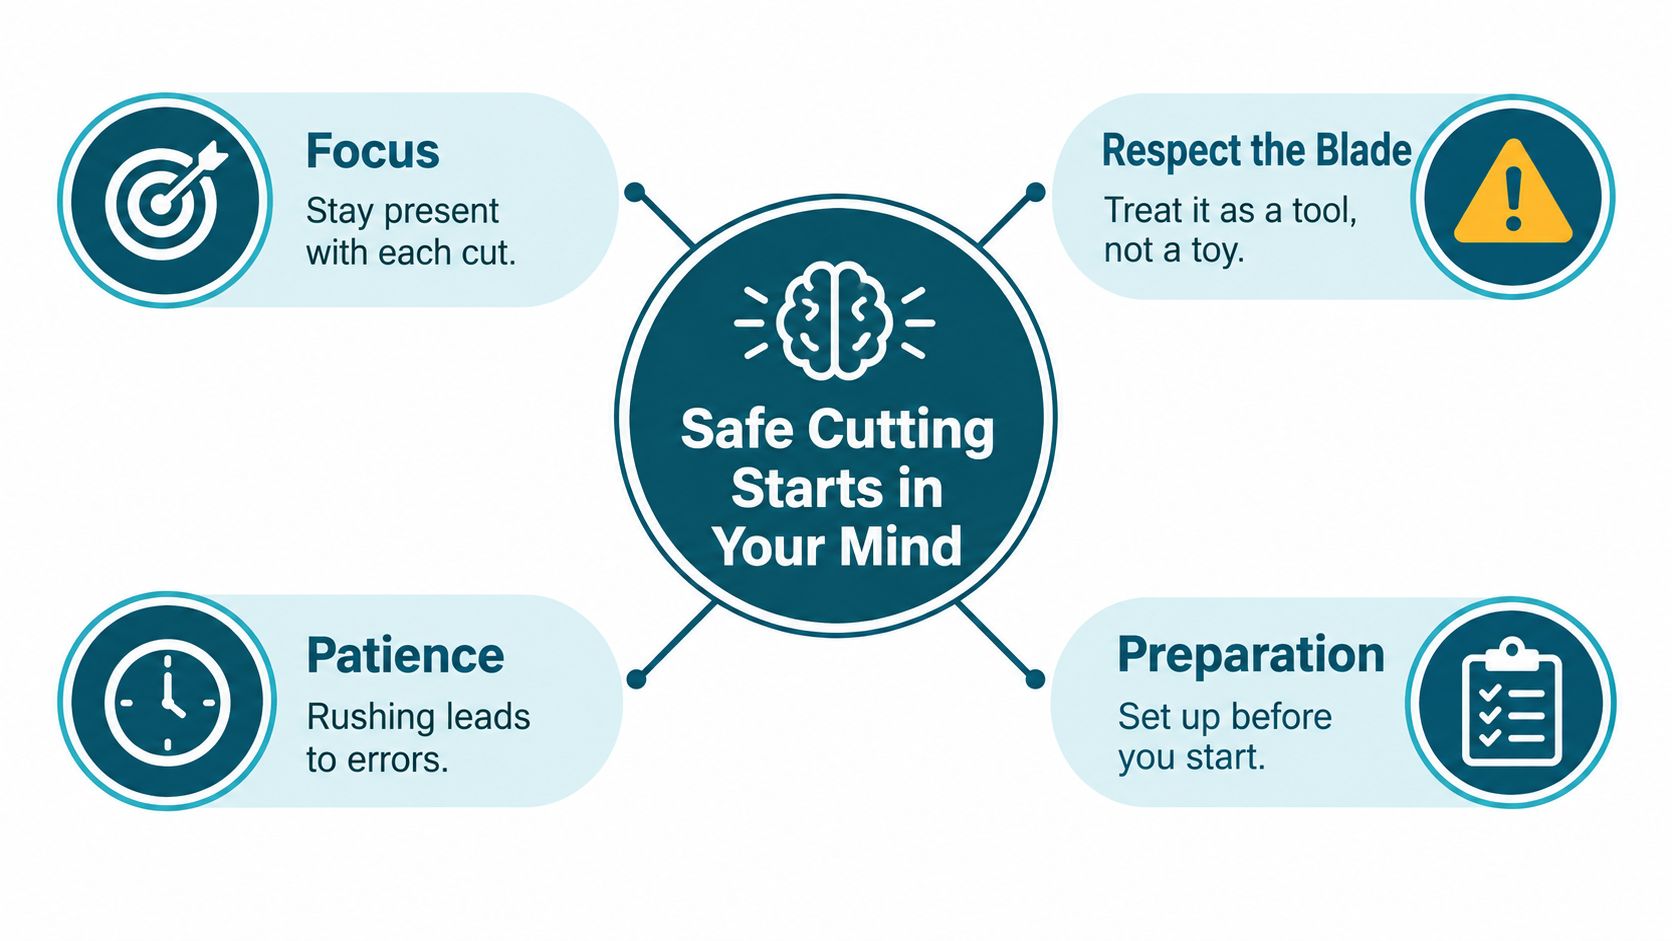
Practical rule: If you notice yourself pressing harder than usual, stop there. Something in the setup is asking you to compensate.
This is one place where a simple pause helps. In workplace safety, people use short checks to spot risks before starting a task. Quilters can borrow the same thinking from worksite hazard spotting with Take 5. Before you cut, scan the table, the blade, the mat, and your hand position.
A good setup feels boring in the best way. Nothing shifts. Nothing snags. You aren't leaning awkwardly or reaching across clutter.
Use rotary cutter safety as your pillar, not just a keyword. Think of it as one connected system: blade sharpness, mat support, ruler stability, body position, storage habits, and disposal practices. When those pieces work together, cutting feels calmer and more accurate.
If you're building that system from scratch, browse dedicated rotary cutting tools so you can compare the kinds of supplies that affect control, not just the cutter itself.
Your grip controls both accuracy and risk. A rotary cutter shouldn't feel clenched in your hand. It should feel guided.
Stand while you cut if you can. One quilting safety guide recommends cutting standing up, keeping the blade covered whenever it isn't in fabric, and pushing the cutter away from your body in one continuous stroke instead of sawing back and forth in short motions, as outlined in safe rotary cutter technique for quilters. That simple change improves both control and visibility.
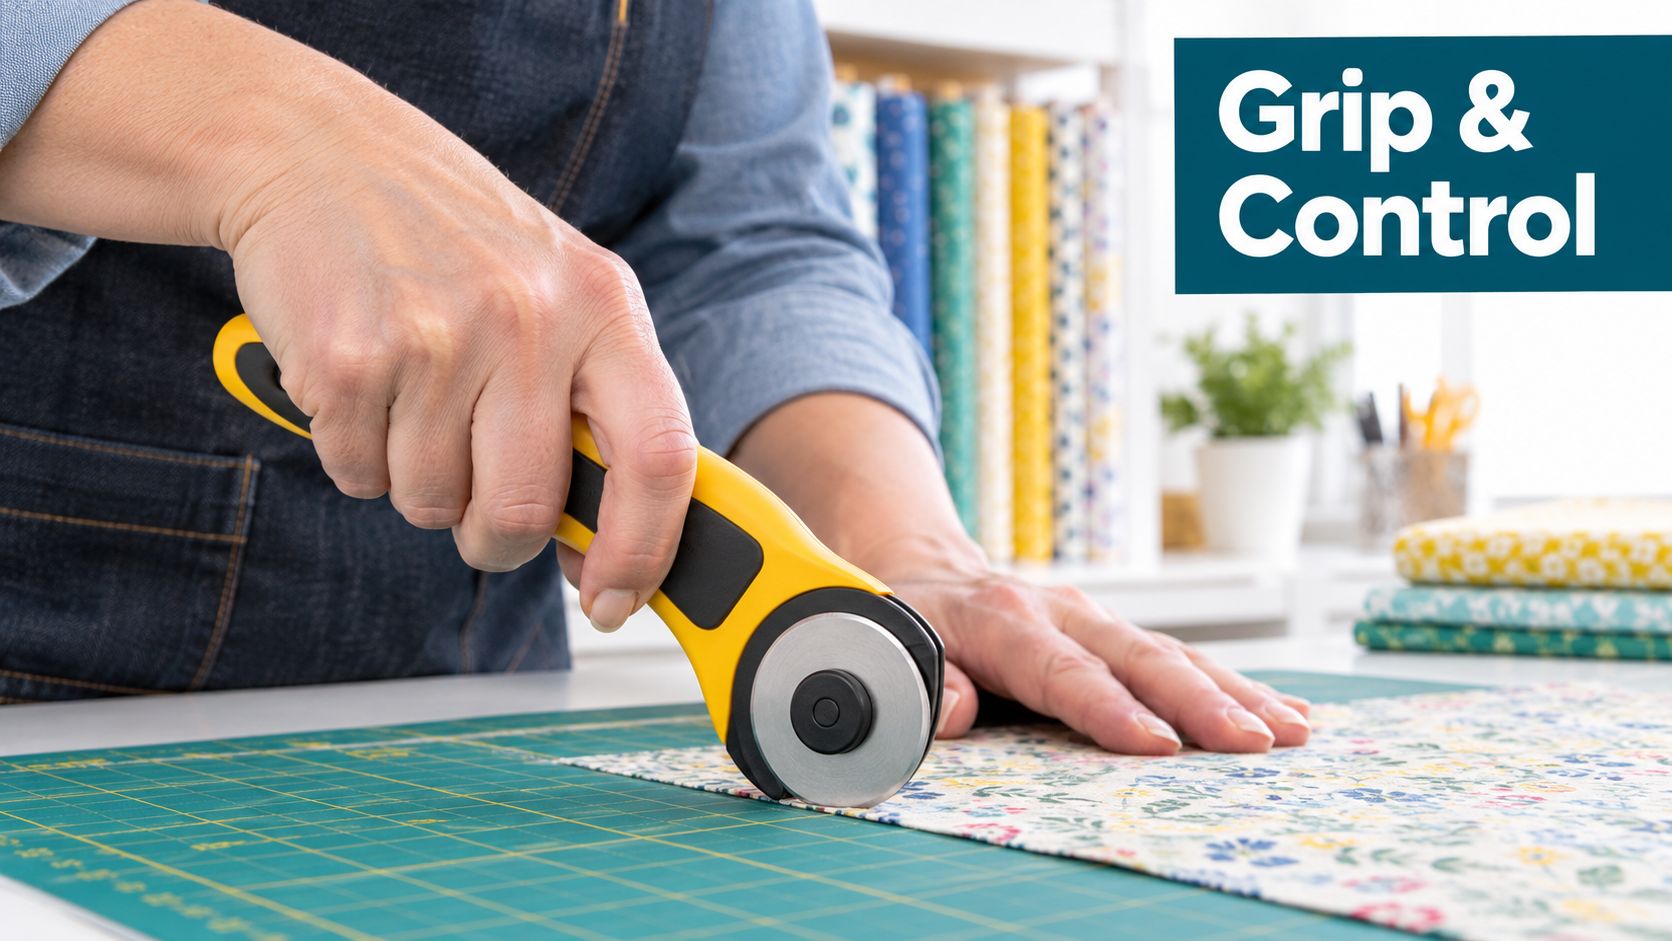
Start with your dominant hand on the cutter handle in a natural handshake position. Keep your wrist as straight as possible. If your wrist bends sharply inward or outward, the blade is more likely to wobble near the end of the cut.
Your cutter should travel alongside the ruler, not lean into it. Pressing sideways into the ruler can make the ruler shift or cause the cutter to jump.
Your non-cutting hand has one job: stabilize the ruler without drifting into the cutting path. Keep that hand flat. Don't curl fingertips over the ruler edge where the blade passes.
Keep the anchor hand well behind the ruler edge. That hand is usually the closest point to the blade during ruler-guided cuts.
Here's a quick comparison that helps beginners self-correct:
| Hand position | What happens |
|---|---|
| Fingertips near ruler edge | Increases exposure if the cutter slips |
| Palm flat over ruler | Improves grip and spreads pressure |
| Elbow lifted awkwardly | Reduces control and strains the shoulder |
| Shoulder relaxed over the cut line | Improves straight tracking |
Use one smooth push away from your body. Don't saw forward and backward over the same line unless the pattern or tool specifically calls for a different motion. Back-and-forth cutting raises the chance of uncontrolled blade re-entry.
If you miss a thread, don't force the next pass harder. Reset the ruler, check the blade, and make a fresh controlled cut. For rulers and replacement edges that support cleaner motion, it helps to compare quilting rulers and cutting accessories that are made for rotary cutting systems.
A safer cut starts with the surface under the fabric. Rotary cutters should be used with a self-healing cutting mat because the mat protects the work surface and helps extend blade life, according to OLFA guidance on using cutting mats. That matters for safety because a supported blade glides more predictably.
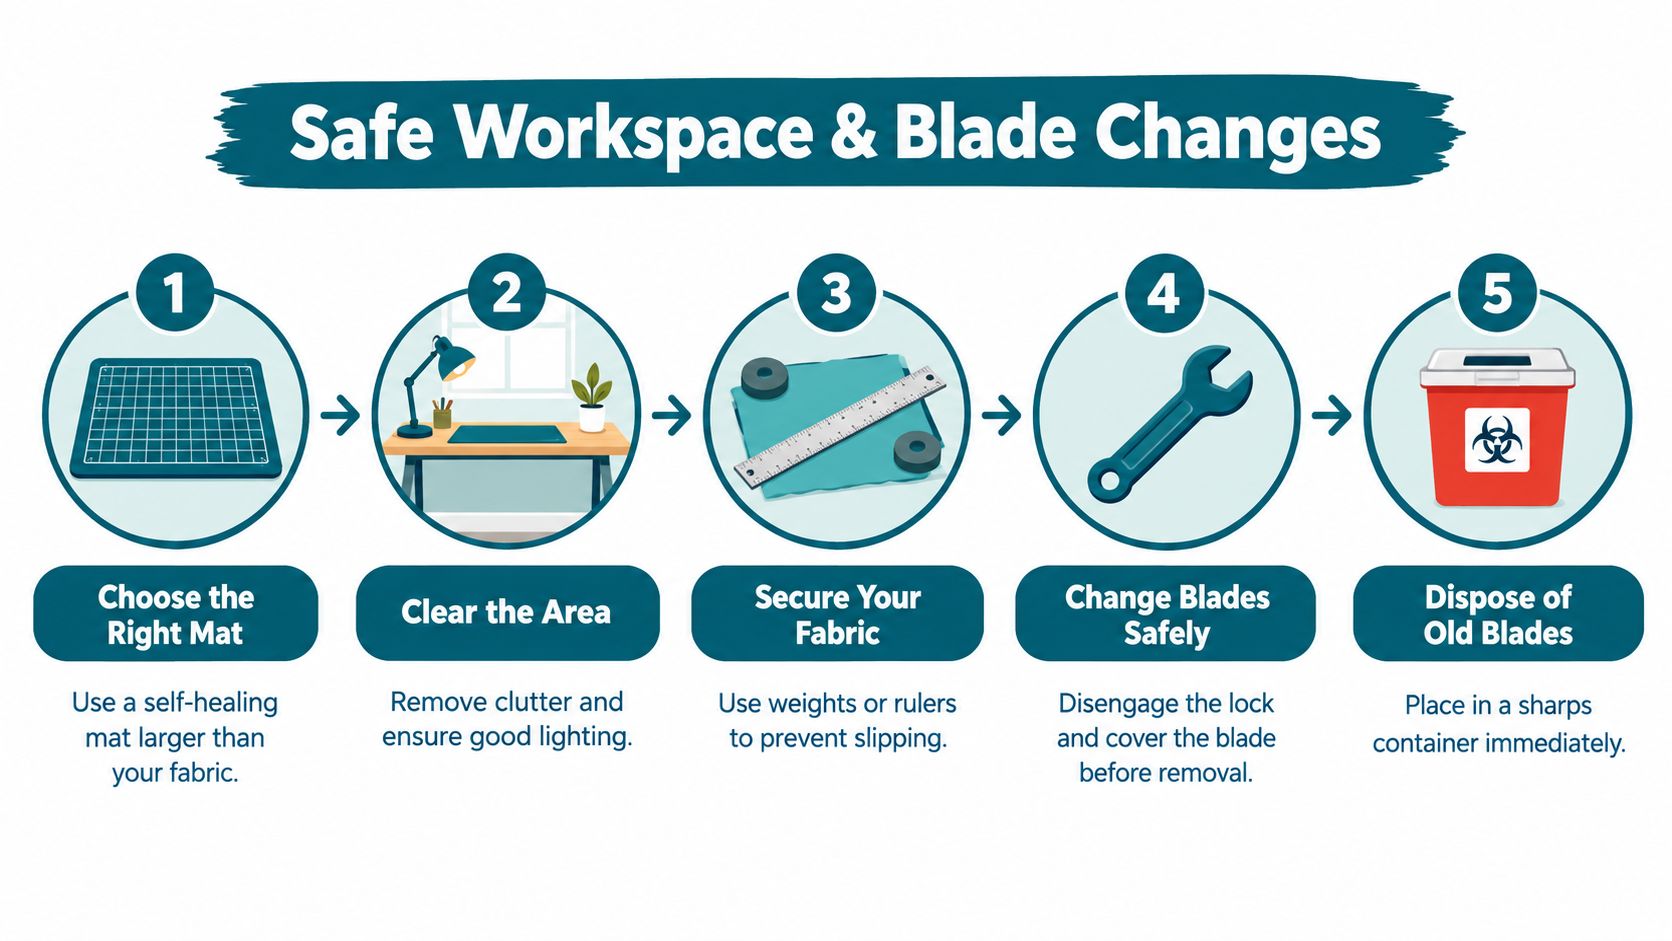
Set your mat on a flat table with enough room for the full piece you're cutting. If fabric hangs off the edge, it can pull against the blade and change the angle of your cut. Clear away pins, scissors, drinks, and scraps that can catch your forearm or ruler.
Acrylic rulers and self-healing mats work as a pair. The ruler gives you a stable guide, and the mat keeps the blade from skidding across a hard surface. If your fabric slides easily, pause and reset instead of trying to “save” the cut with extra pressure.
For a visual walk-through, this demonstration helps show the order of setup and handling:
Blade changes deserve their own ritual. Don't do them when you're distracted, tired, or balancing parts in your lap.
Use this sequence:
A dull blade often announces itself by snagging, skipping threads, or asking you to lean harder into the cut.
When the old blade comes off, don't drop it loose into a trash can. Use a rigid or puncture-resistant container. If you're replacing worn cutting tools or stocking fresh rotary blades, keeping extras on hand makes it easier to change a blade as soon as performance drops.
Maintenance sounds less exciting than technique, but it's one of the most practical parts of rotary cutter safety. A cutter that opens smoothly, closes fully, and rolls cleanly is easier to trust.
One sewing safety source identifies common rotary cutter injury patterns that go beyond acute cuts, including finger and hand lacerations, wrist strain or fatigue, neck and back pain, and carpal tunnel syndrome, and it also cites about 18,000 U.S. emergency-room visits annually from rotary cutter injuries in guidance on avoiding common rotary cutter injuries. That combination tells us something important. Safe cutting isn't only about avoiding one dramatic accident. It's also about reducing strain over time.
Your mat deserves more attention than most beginners give it. Sewing.org advises storing mats flat and away from heat and sunlight, and Joann's OLFA guide warns that direct sunlight or extreme cold can warp them, as noted in cutting mat storage guidance.
A warped mat changes how the blade meets the fabric. Even a slight lift can make a ruler rock or create pressure points in the cut. If your mat doesn't lie flat, don't work around it. Replace it or move to a stable surface.
For long-term storage, keep the blade closed whenever the cutter isn't active and store it where it won't be bumped around with loose metal tools. That protects both the blade edge and the people sharing the space.
A lot of people assume the safest cutter is the one with the oldest blade in it. That sounds sensible, but it often leads to exactly the behavior that causes trouble. When a blade drags, people push harder, lean farther over the ruler, and make awkward second passes.
Major safety agencies treat rotary-blade injuries as capable of severe trauma. The U.S. Consumer Product Safety Commission says rotary power mowers are associated with 60,500 emergency-room-treated injuries annually, including serious cuts, punctures, fractures, amputations, loss of sight, and other permanent disabilities, in CPSC safety tips for rotary power mowers. A separate government workplace document cited there also notes 41 workplace amputations in Michigan from 2014 to 2016 involving food slicers, and 98% involved the end of a finger. Those aren't fabric cutters, but they do show the injury profile of rotary blades. Small mistakes can have outsized consequences.
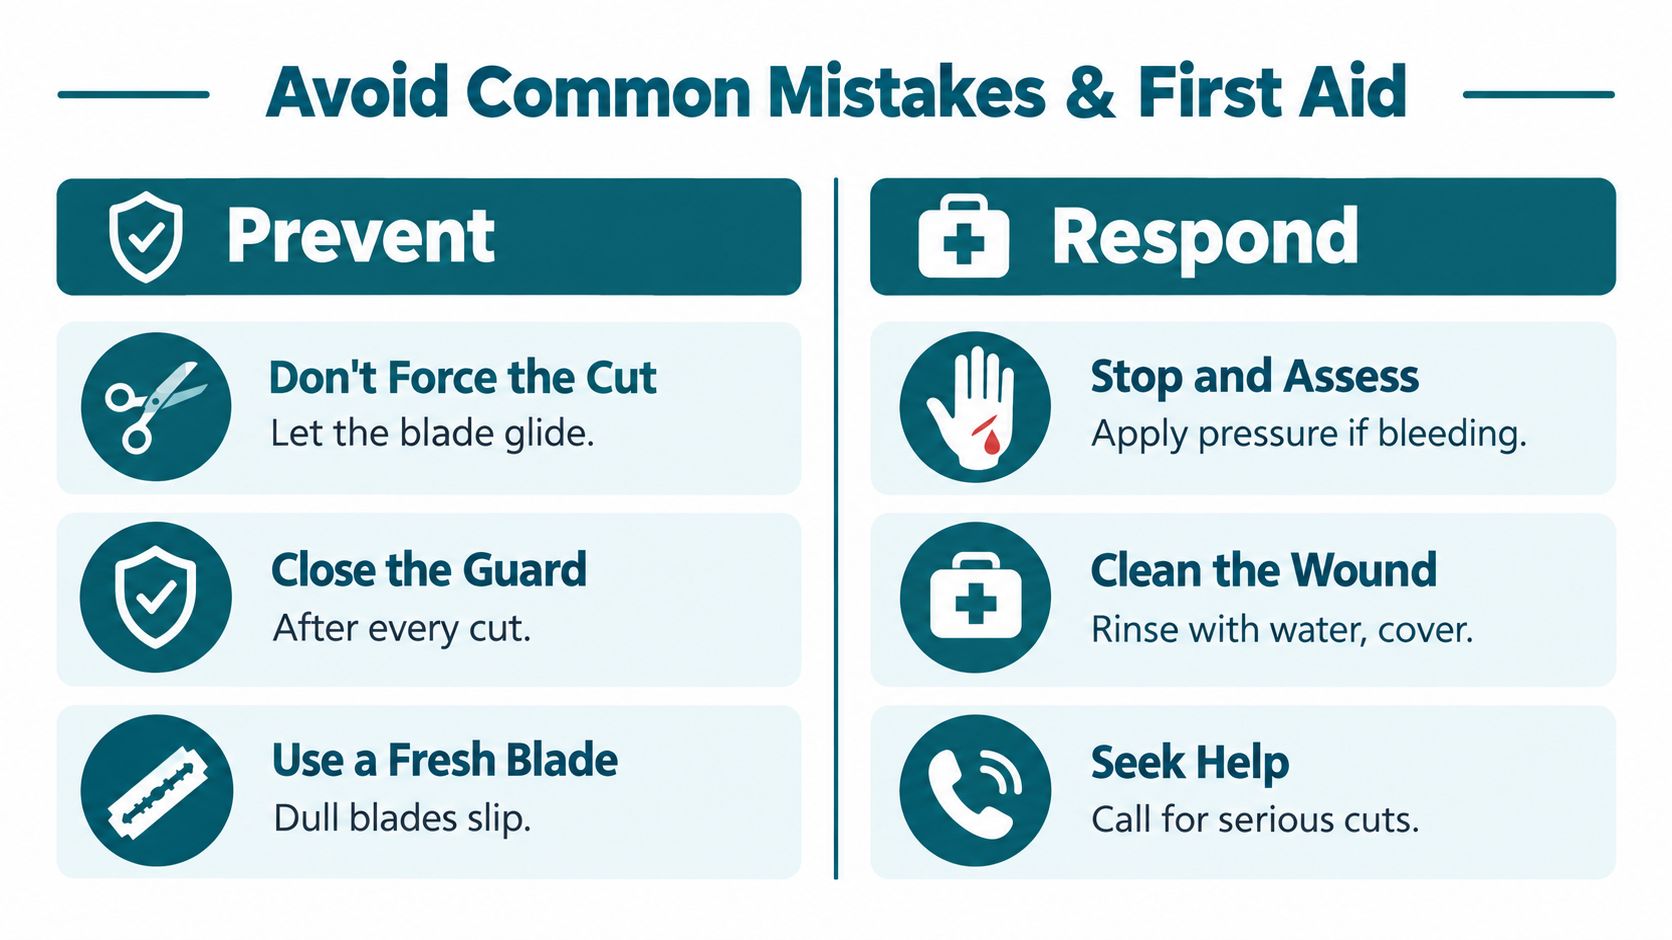
A sewing guideline also stresses engaging the safety guard when the cutter isn't in use and keeping the tool out of children's reach, as described in rotary cutter safety guidance for storage and handling.
For a minor nick, wash the area, apply pressure if it's bleeding, and cover it with a clean dressing. If the cut is deep, won't stop bleeding, or affects movement, seek medical care promptly.
If the injury involves the eye or flying debris, don't rub the area or wait it out. Get urgent evaluation. If you need a local example of what that kind of care looks like, emergency eye exam near Aventura shows the kind of immediate eye-injury response people should look for in their own area.
If you teach classes or sew with children nearby, include storage and disposal in your routine every single time. The cut you prevent may not be your own.
The idea that a dull blade is safer comes from one misunderstanding. People confuse less sharp with less dangerous.
In actual use, a dull rotary blade often creates more risk because it asks you to add force. A home-sewing safety checklist emphasizes using a full-support self-healing mat, clearing the table, locking the blade between cuts, and replacing blades when they snag or require extra pressure in a rotary cutter safety checklist for home sewing rooms. That's the key link many beginners miss. The problem isn't only the blade. It's the pressure compensation that follows.
A fresh blade usually glides with less effort. That means:
Think about the difference between slicing a tomato with a sharp knife and crushing it with a dull one. The sharper tool still needs respect, but it usually asks for less force and less correction.
Replace the blade when it starts snagging threads, skipping spots, or requiring a second pass to finish a simple cut. Those are not minor annoyances. They're signs that your workflow is becoming less stable.
If you want fewer cutting problems, don't wait until the blade feels unusable. Change it while you still have good control. That habit supports clean piecing and better rotary cutter safety at the same time.
For quilters who want to compare fresh replacement options before a project starts, dedicated replacement rotary blades make it easier to keep your setup ready instead of squeezing extra life out of a struggling blade.
A strong routine removes guesswork. You don't need a dramatic safety speech before every project. You need a repeatable sequence that keeps the blade controlled and your body comfortable.
Before the first cut, pause for these checks:
That last one matters more than people think. Safe habits include what happens after the cut, not just during it.
Try this pattern until it becomes automatic:
Good rotary cutter safety doesn't rely on perfect reflexes. It relies on habits that lower the number of risky moments.
If you sew in a classroom, guild room, or family home, add one more rule. Never assume the next person understands your tool setup. Close the blade, clear old blades into a puncture-resistant container, and keep cutters out of children's reach.
Joann's OLFA guide specifically advises storing the rotary cutter in a closed blade position and keeping cutters and blades away from children in OLFA rotary cutter storage instructions. That's not extra caution. It's part of the job.
If you want to round out your setup with tools that support cleaner cutting sessions, it helps to compare self-healing mats and cutting essentials before your next project.
If you're ready to build a safer, more comfortable cutting setup, High Country Quilts offers quilting fabrics, notions, cutting supplies, sewing machines, and hands-on support for quilters at every stage. Whether you're replacing worn rotary blades, choosing a better mat, or learning better cutting habits, visit High Country Quilts and put together a workflow that helps you cut with confidence.
At High Country Quilts we care deeply about community. With our experiences in retail, we know that a store is not only a place to shop but also a place for the community to gather and share. During this busy...

Hi! We’re Adam and Renee Wheaton, the new owners of High Country Quilts! For more than 40 years, we’ve owned and operated vacuum and sewing businesses. Following in Renee’s father’s footsteps after he retired from All Discount Vacuum and Sewing in Colorado...


Leave a comment