

We Love Our Quilting Community
At High Country Quilts we care deeply about community. With our experiences in retail, we know that a store is not only a place to shop but also a place for the community to gather and share. During this busy...


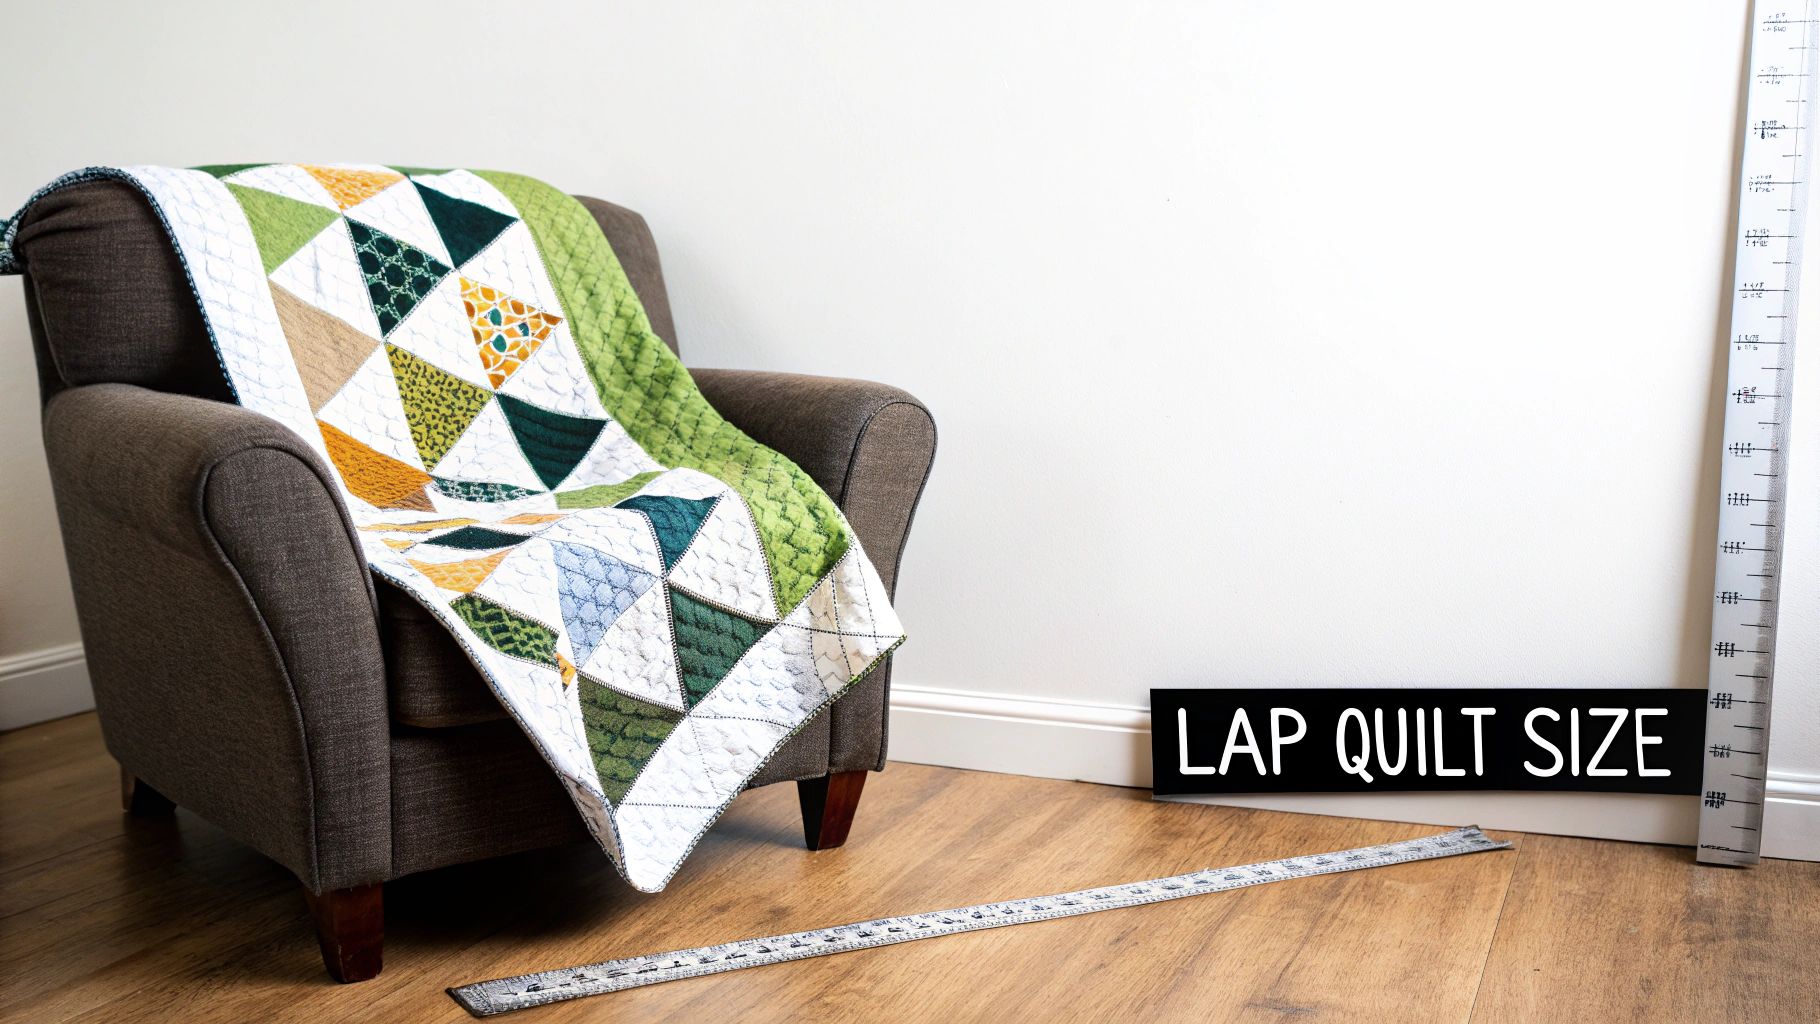
If you're asking, "What is the size of a lap quilt?" the most common, go-to dimension you'll hear is around 45 by 60 inches. Think of it as the perfect personal blanket—bigger than a baby quilt but smaller and much more manageable than something you'd throw on a bed. It's designed for pure, cozy comfort.
While that standard size is a fantastic starting point, the real beauty of a lap quilt is how easily you can adjust it for the person who will be using it. Lap quilts, often called throw quilts, can really range anywhere from 36 to 56 inches wide and 48 to 66 inches long. This flexibility is what makes them such a popular and personal project.
Let’s dig into some of the most common sizes to help you find the perfect fit.
This handy visual breaks down how those dimensions shift depending on whether you're making a quilt for an adult, a child, or someone who uses a wheelchair.
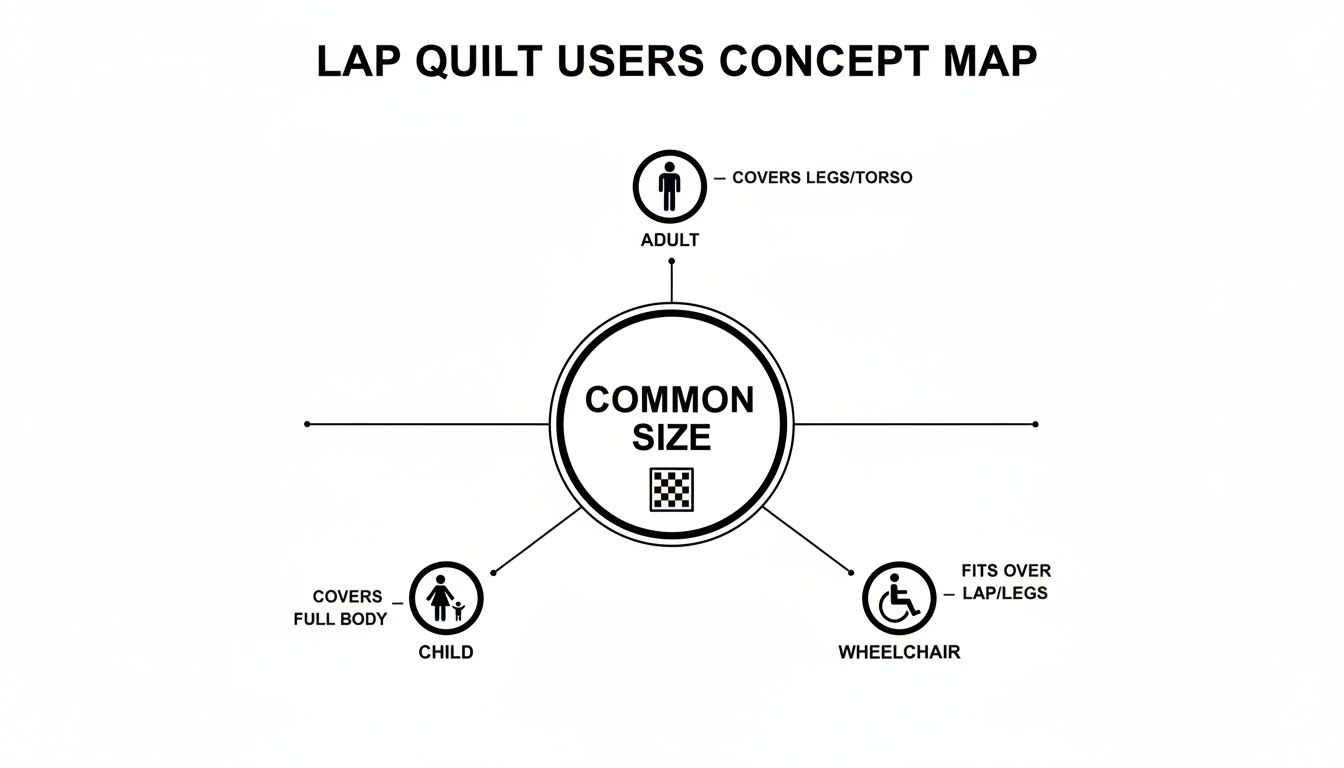
As you can see, that "standard" size is really just a suggestion. The best quilts are always the ones made with a specific person and purpose in mind.
Standard dimensions are a fantastic starting point, but the real heart of a quilt comes from making it just right for the person who will cherish it. Take a moment to think about who you're sewing for. Is it a tall friend who loves to stretch out in their recliner? They'll probably appreciate a bit of extra length. Or is it for a child who needs a comfy spot for floor play? A smaller, more manageable quilt is the way to go.
It's also worth considering any special circumstances. For example, the quilting community has become incredibly thoughtful about creating quilts for people with specific physical needs. While a standard 45 by 60 inch lap quilt is perfect for most, someone who uses a wheelchair needs warmth without the worry of extra fabric getting tangled in the wheels.
In that situation, a smaller quilt, perhaps closer to 36 by 36 inches, is much safer and more practical. It's a great example of how a little customization can make a world of difference. You can find more details on how common quilt sizes are adapted for various needs and get inspired for your own project.
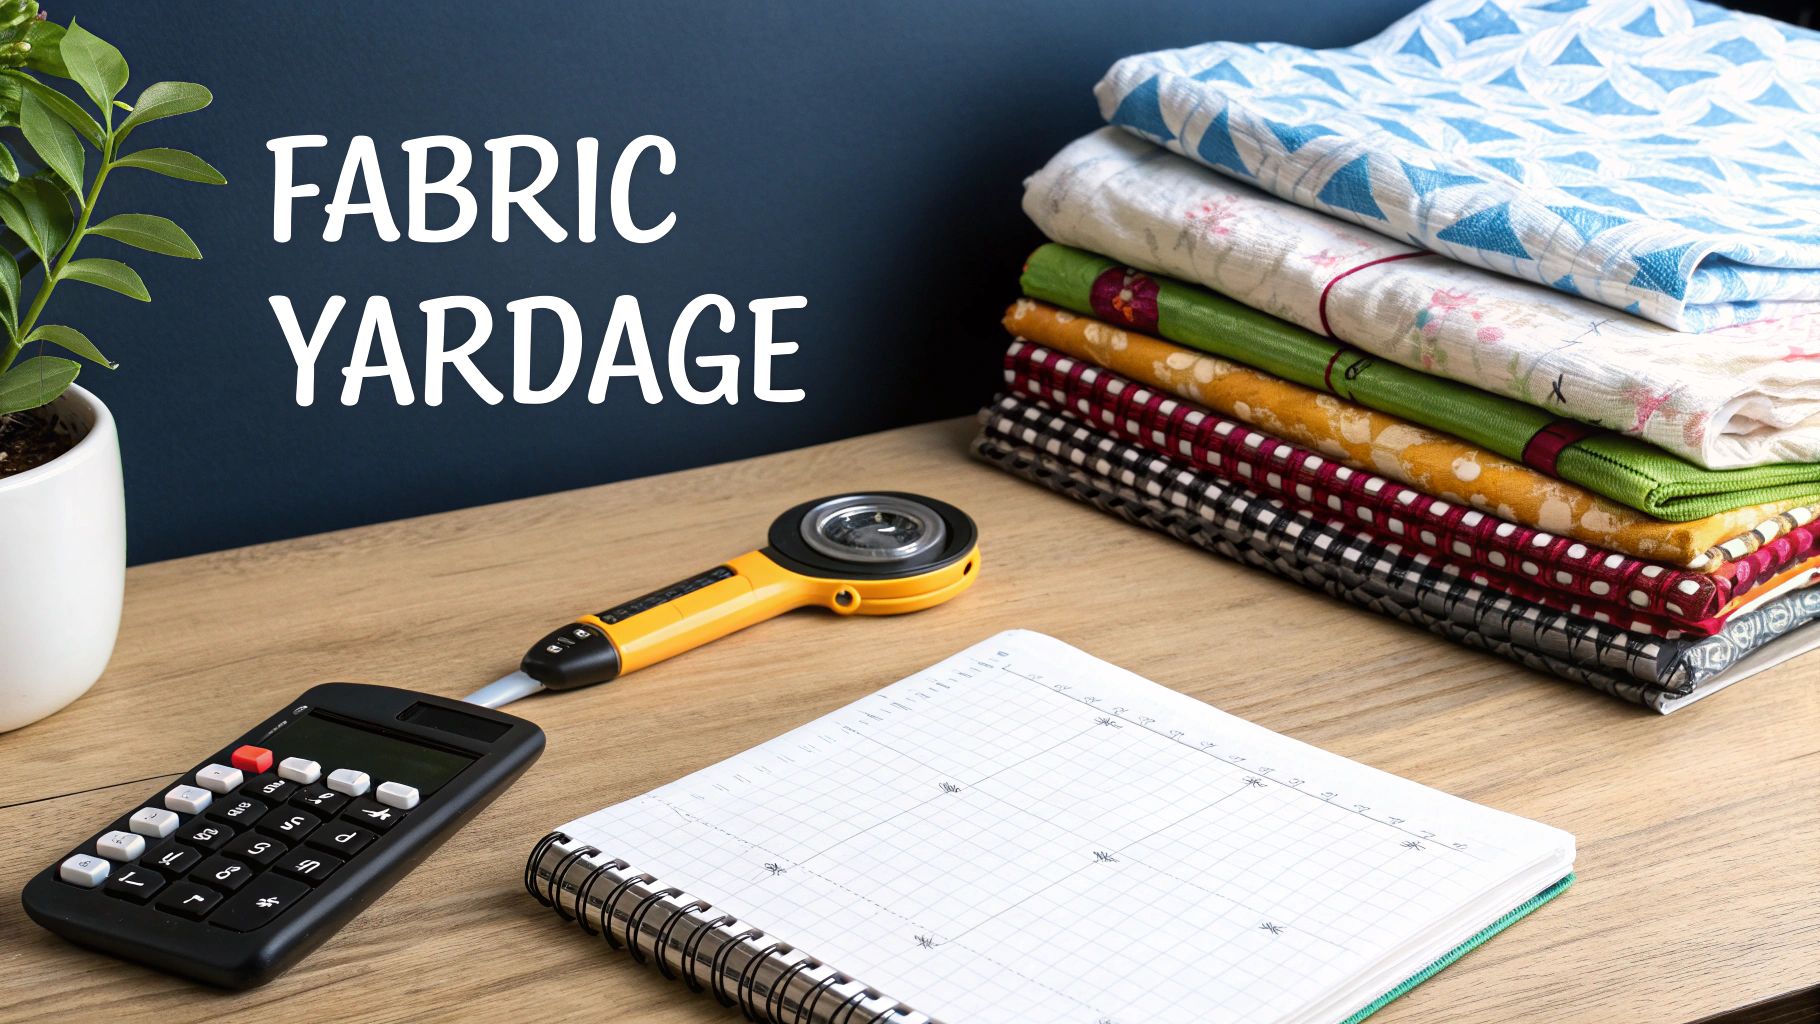
Once you’ve settled on the perfect size for your lap quilt, the next big step is figuring out how much fabric you'll need. This part can feel a little intimidating at first, but it's really just a matter of thinking about the three layers that make up every quilt: the decorative quilt top, the cozy batting in the middle, and the backing fabric that finishes it all off.
Let's break it down with a popular lap quilt size, say 45" x 60". While the patchwork for your quilt top will finish at exactly 45" x 60", your batting and backing need to be bigger.
I always recommend adding at least 4 to 8 inches of extra material to both the length and width for your batting and backing. Think of this as your insurance policy. This "overage" gives you plenty of room to maneuver during the quilting process and makes trimming and squaring up the final quilt so much easier. It also accounts for any slight shrinkage that might happen in the wash, ensuring you get those crisp, professional edges we all love.
With your fabric all picked out and ready to go, the real magic of making a quilt top can begin. Before you even think about cutting, though, there's one step you should never skip: pre-wash and press your fabrics. It might seem like a hassle, but this simple task prevents a world of hurt later on, from colors bleeding in the wash to fabric shrinking and warping your beautiful work.
Once everything is pressed and smooth, it’s time to cut. This is where precision becomes your best friend. I always tell new quilters to live by the old carpenter's motto: measure twice, cut once. For the straightest, most accurate cuts, nothing beats a sharp rotary cutter, a self-healing mat, and a clear quilting ruler. They are the holy trinity of quilting prep work.
As you start piecing everything together, the single most important habit to develop is a consistent 1/4-inch seam allowance. This isn’t just a suggestion—it’s the secret sauce that makes all your blocks and rows line up perfectly. Mastering this small detail is what separates a good quilt from a great one, no matter what size of a lap quilt you're aiming for.
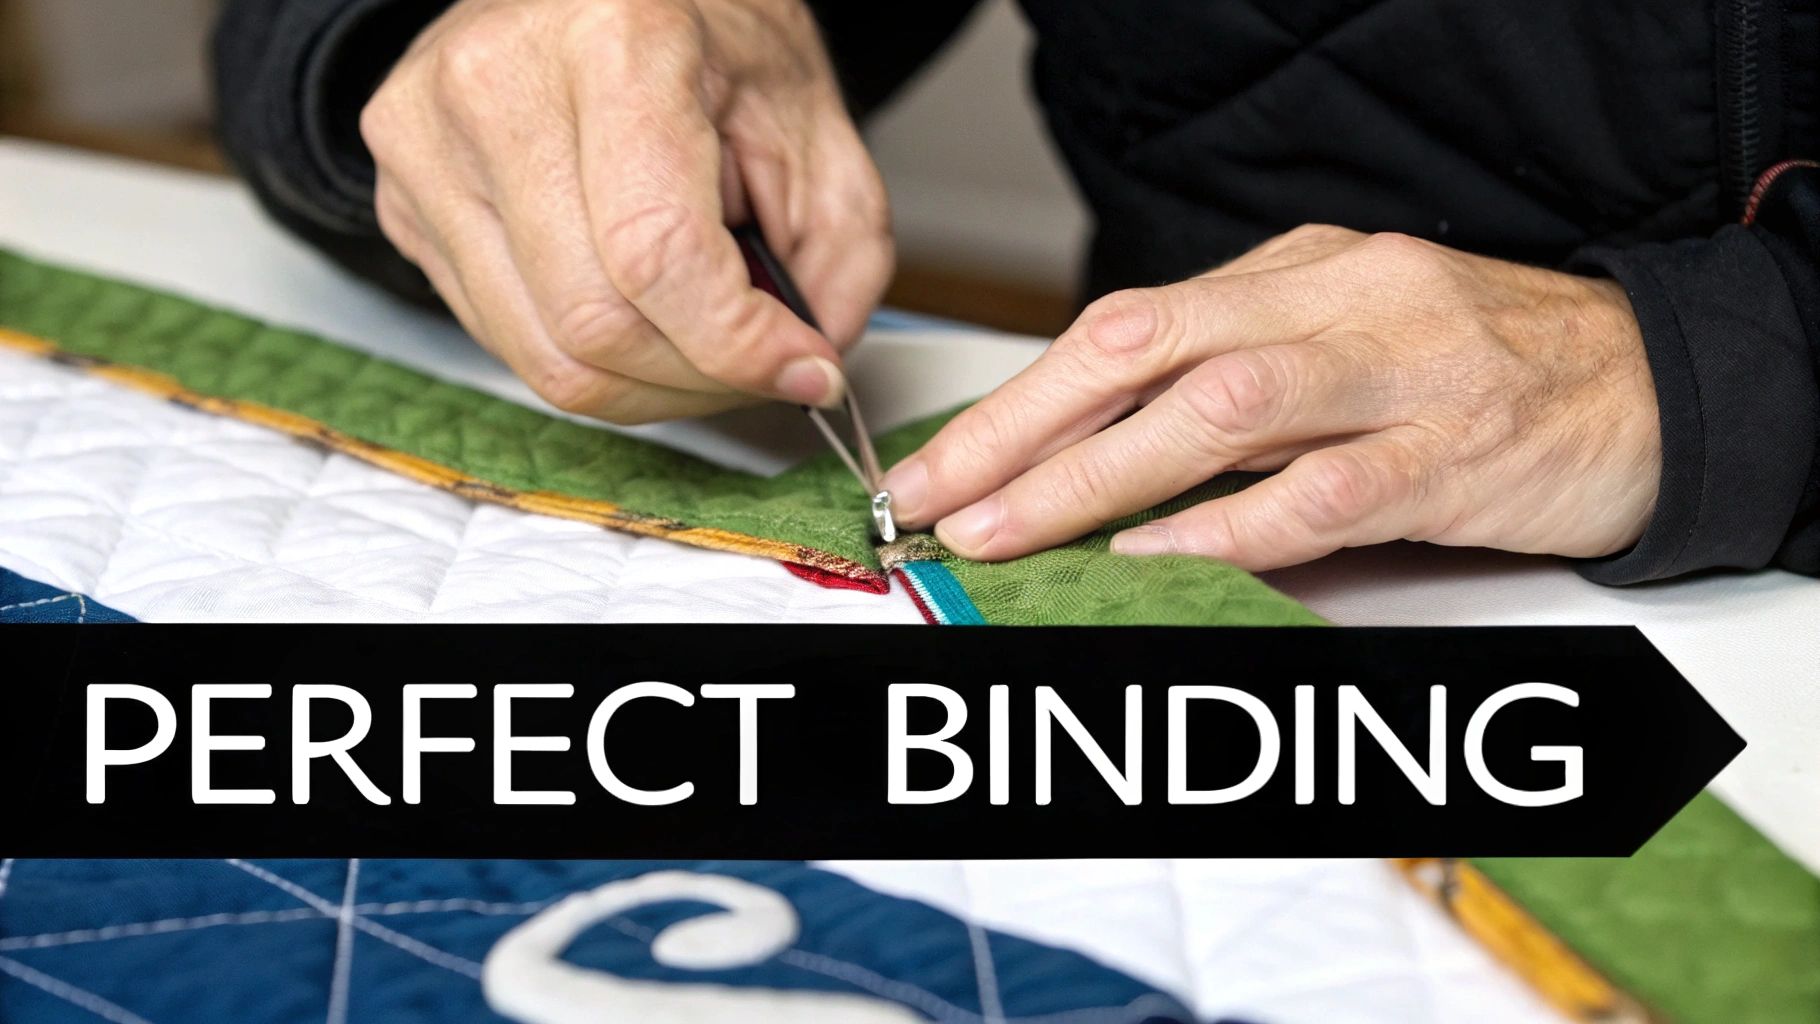
Think of the binding as the frame for your artwork. It’s that final touch that transforms a quilt top into a polished, durable keepsake ready to be loved for years. This last step can feel a little intimidating, but I promise it's more straightforward than it looks.
First things first, let's figure out how much fabric you'll need. Just measure the perimeter of your quilt by adding up the lengths of all four sides. Once you have that number, be sure to add an extra 15-20 inches. This little bit of wiggle room is a lifesaver for turning corners and joining the ends seamlessly.
Whether you're working with straight-grain or bias strips, the process is all about careful, steady work. Attaching the binding and getting those crisp, mitered corners is what gives a lap quilt that truly professional finish. With the right technique, you’ll be able to tackle this final, crucial stage with confidence, no matter the size of your quilt.
Figuring out the perfect size for your lap quilt is a fantastic starting point. But let's be honest, it's just the first stitch in a much bigger, more exciting creative journey. Here at High Country Quilts, we live for that "aha!" moment and are here to guide you from that first cut of fabric to the final, satisfying stitch.
If you're just getting your feet wet, our beginner-friendly classes are the perfect place to start. We’ve designed them to build your confidence step-by-step, covering everything from picking out the right fabrics to sewing that final binding.
Ready to tackle a new technique? Our workshops dig into specific skills, and you can always count on our friendly staff to help you decipher a tricky pattern. As an authorized BERNINA dealer, we can also get you set up with a machine you'll love for years to come.
We're more than just a quilt shop; we're a hub where you can connect with fellow quilters, find your next spark of inspiration, and truly grow your skills. We'd love for you to stop by and become part of our community.
Now that we’ve covered the basics, let's tackle a few questions that pop up all the time when you're getting ready to start a new project. Think of this as our little quilting bee chat.
You’ll hear quilters use "lap quilt" and "throw quilt" almost interchangeably, and honestly, that’s perfectly fine these days. If you want to get technical, a lap quilt was traditionally a bit smaller—just big enough to cover your legs when you’re sitting in your favorite chair. A throw was slightly larger, designed to look nice draped over the arm of a sofa.
But the lines have really blurred over the years. Now, both terms pretty much mean the same thing: a cozy, personal-sized quilt. So don't get hung up on the terminology; call it whichever you like!
This is the million-dollar question, and the answer is always, "well, that depends!" But don't worry, the math isn't as scary as it sounds. It all comes down to the size of your fabric squares and the final dimensions you're aiming for.
Let's walk through an example. Say you want to make a 45" x 60" quilt top using 5-inch charm squares. Once you account for a quarter-inch seam allowance on all sides, each square will finish at 4.5 inches. To figure out what you need, you'd divide your target dimensions by that finished size.
You'd need a grid of 10 squares wide (45" ÷ 4.5") and about 14 squares long (60" ÷ 4.5"), which means you'll need roughly 140 squares for the quilt top. Just remember to always base your calculations on the finished size of your blocks, not the cut size.
Oh, absolutely! In fact, pre-cuts are a fantastic shortcut. Bundles like layer cakes (10" squares) or jelly rolls (2.5" strips) are a quilter's best friend, saving you hours of cutting and guaranteeing a perfectly coordinated look right from the start.
Using pre-cuts is one of the easiest ways to dive into a lap quilt project. A single layer cake, for example, often has more than enough fabric to piece together a beautiful, generously sized quilt top without any fuss.
Feeling inspired to start your quilting journey or need a hand with that next project? The team at High Country Quilts is always here to help with expert advice, beautiful fabrics, and fun classes. Come see what we have in store!
At High Country Quilts we care deeply about community. With our experiences in retail, we know that a store is not only a place to shop but also a place for the community to gather and share. During this busy...

Hi! We’re Adam and Renee Wheaton, the new owners of High Country Quilts! For more than 40 years, we’ve owned and operated vacuum and sewing businesses. Following in Renee’s father’s footsteps after he retired from All Discount Vacuum and Sewing in Colorado...


Leave a comment