

We Love Our Quilting Community
At High Country Quilts we care deeply about community. With our experiences in retail, we know that a store is not only a place to shop but also a place for the community to gather and share. During this busy...


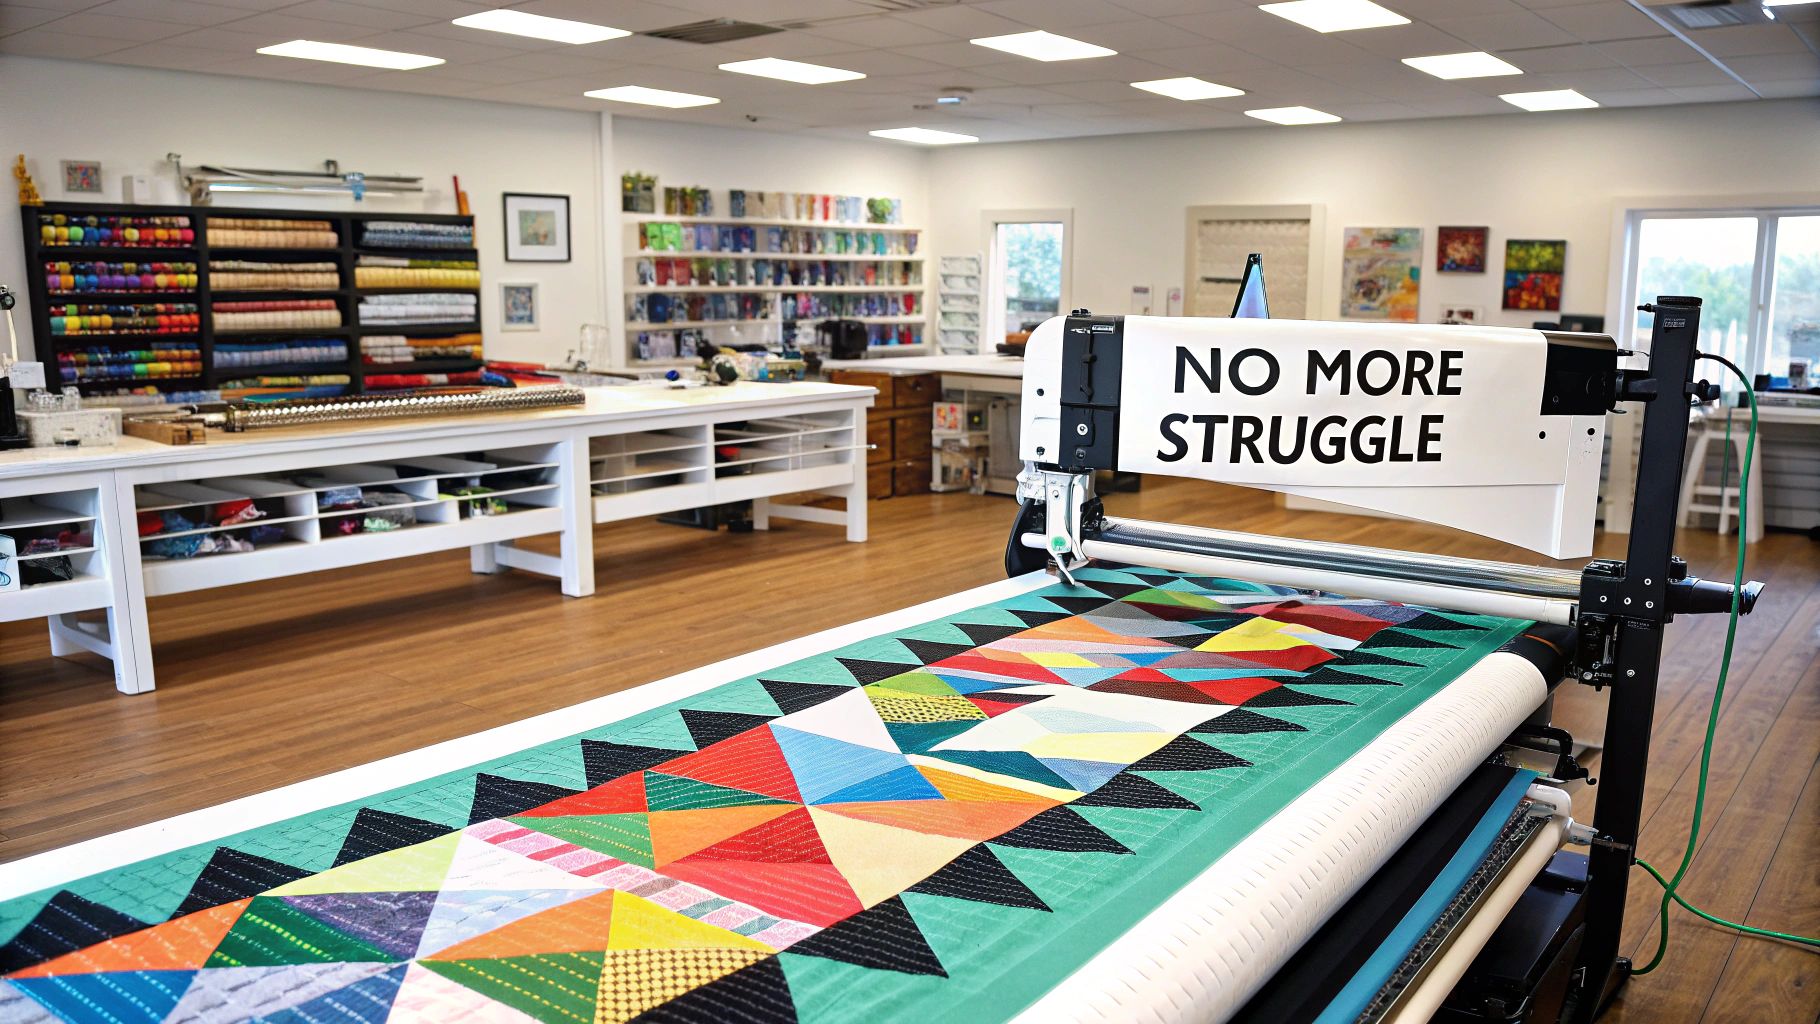
If you’ve ever tried to shove a queen-sized quilt through the tiny opening of your home sewing machine, you know the struggle is real. It’s a full-body workout that often ends with bunched fabric, uneven stitches, and seriously sore shoulders. It can completely drain the joy out of finishing your beautiful quilt top.
Longarm quilting flips that entire process on its head. Instead of fighting to move the quilt, you move the machine.
Think of it like this: quilting on a domestic machine is like trying to draw a huge mural by moving the paper under a stationary pen. A longarm machine is like having a giant easel where the canvas stays still, and you can freely move the pen anywhere you want.
Your quilt—the top, batting, and backing—is stretched perfectly taut on a large frame. The sewing machine itself is mounted on a carriage that glides effortlessly over the fabric. This gives you incredible freedom and control, allowing you to create fluid, sweeping designs that are nearly impossible on a home machine.
So, what makes up this impressive setup? It really comes down to three key parts working in harmony:
This professional-level approach is a huge reason why quilting has grown into such a massive industry. The global quilting market was recently valued at $5.32 billion, and it's still growing! You can discover more insights about the quilting market trends and see just how popular this timeless craft has become.
To really see the difference, it helps to put the two methods side-by-side.
| Feature | Longarm Quilting | Domestic Machine Quilting |
|---|---|---|
| Movement | Machine moves over stationary fabric | Fabric moves under a stationary machine |
| Quilt Size | Ideal for large quilts (queen, king) | Best for small to medium projects |
| Tension | Quilt is held taut on a frame | Relies on basting (pins, spray) to prevent shifting |
| Workspace | Requires a large, dedicated space | Fits in a standard sewing room |
| Control | Allows for free-motion and computerized patterns | Limited by throat space and physical effort |
| Speed | Significantly faster for large projects | Slower and more labor-intensive |
While a domestic machine is a fantastic and accessible tool, the longarm truly opens up a new world of possibilities for finishing large, ambitious quilts with professional polish.
To really get what longarm quilting is all about, you have to look at the impressive machine that makes it all happen. Picture a massive, industrial-grade sewing machine mounted on a huge frame. The whole setup is designed to work together seamlessly.
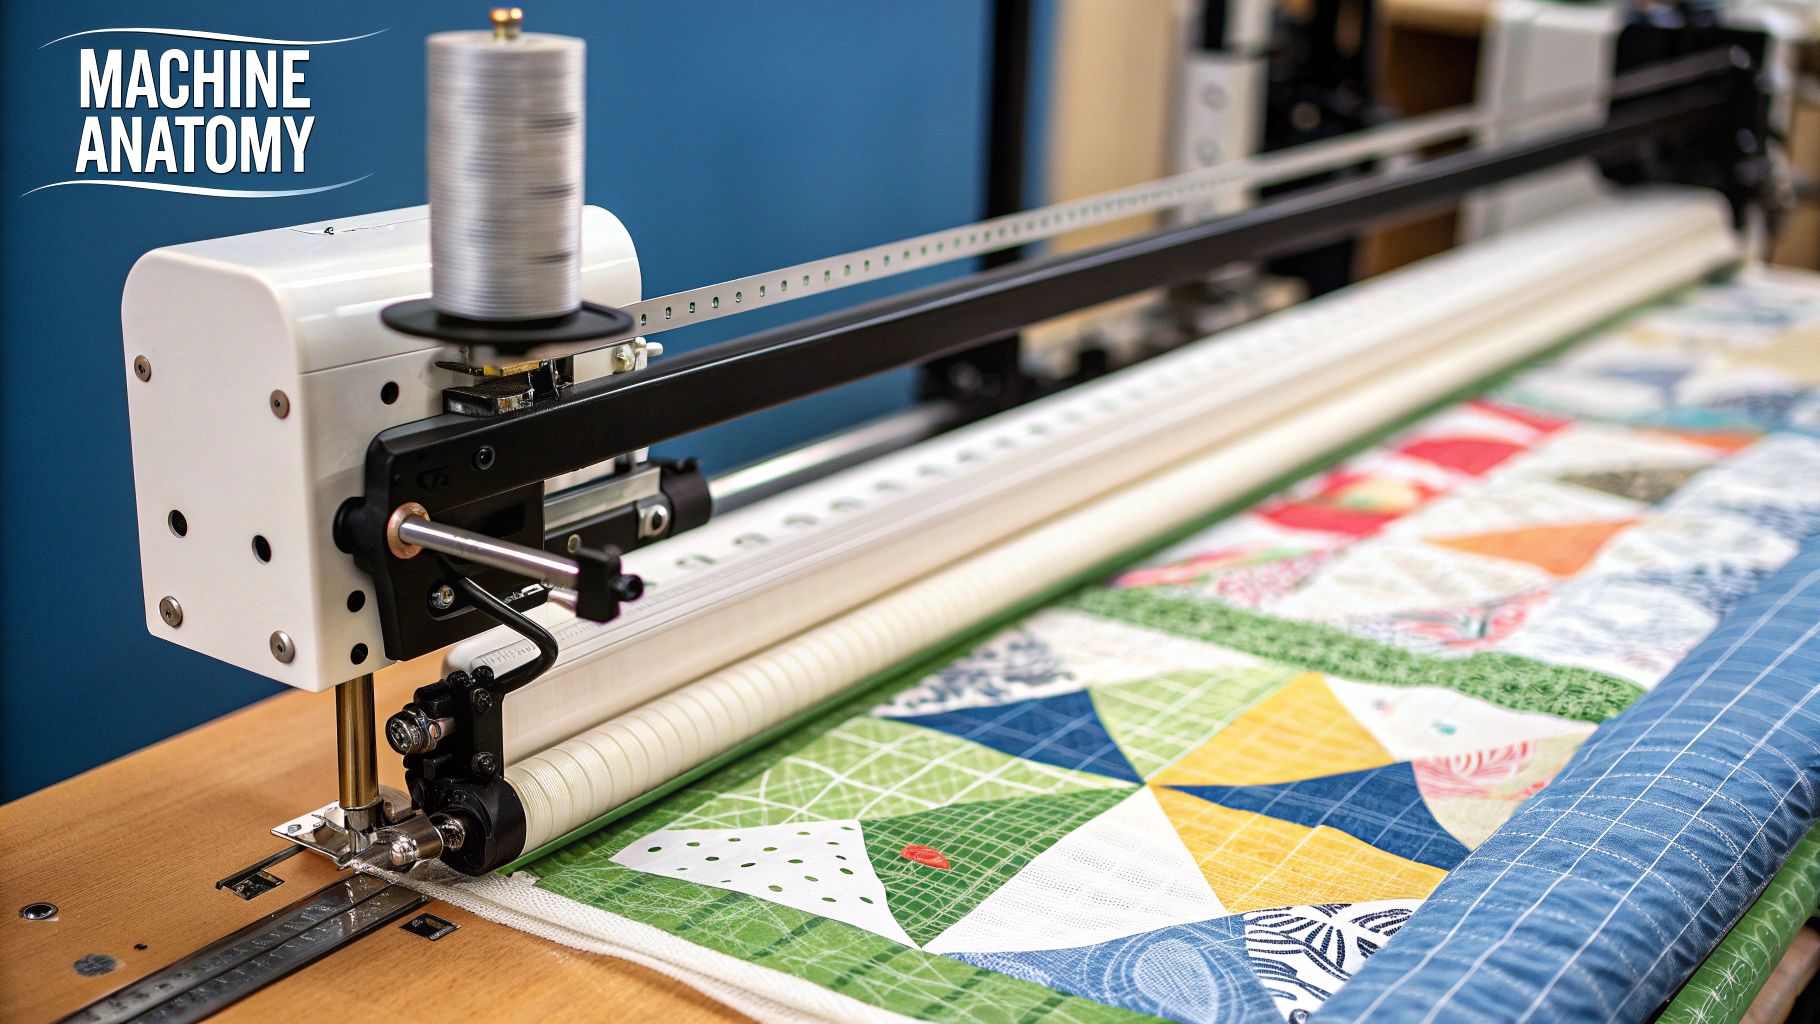
Unlike your home sewing machine where you're constantly shoving and maneuvering the fabric under the needle, a longarm machine flips that script entirely. The machine itself moves freely over a stationary quilt. That simple reversal is the secret to its incredible precision and speed.
Several key parts work in concert to get those flawless, professional-looking results. Each component has a specific job, all aimed at eliminating the frustrating fabric bunching and shifting that can plague traditional quilting.
The Sewing Head: This is the heart of the operation. It's a powerful, high-speed industrial machine with a seriously deep "throat" space—we're talking 15 to 24 inches. That massive opening is what allows for those big, sweeping patterns without having to constantly reposition the quilt.
The Frame: Think of this as the skeleton. It's a sturdy metal structure, usually 10 to 14 feet long, that holds all the quilt layers. Its whole purpose is to keep the quilt top, batting, and backing under smooth, even tension from edge to edge.
The Rollers: These are part of the frame system. You load each layer of your quilt sandwich onto its own roller. Once you finish quilting a section, you just turn the rollers to advance the quilt, bringing a fresh, unstitched area under the needle.
The Carriage System: The sewing head sits on a wheeled carriage that glides effortlessly along tracks on the frame. This setup allows the machine to move left, right, forward, and back—basically in any direction—guided either by your hands or by a computer.
By keeping the quilt perfectly flat and stationary, the longarm system ensures every stitch is uniform and the final product is free of puckers or tucks. This mechanical precision is what lets quilters focus entirely on the artistry of the design.
This industrial-level engineering is reflected in both the machine's capabilities and its price tag. The stationary longarm quilting machine market was recently estimated at around $500 million and is still growing. It's not uncommon for high-end models to cost between $10,000 and $13,000, which really highlights their professional-grade quality. You can find more data on the longarm machine market to see just how much this sector is expanding.
Seeing a longarm in action is the best way to understand the magic. It’s a process that turns three separate layers of fabric into one beautifully stitched quilt, and it all starts long before the first stitch is even made.
First things first: preparation. You need to get your quilt sandwich—the top, batting, and backing—ready for the frame. This means squaring everything up and giving it a good press to get rid of any wrinkles.
One of the most important rules is to make your backing and batting at least four inches larger on all sides than your quilt top. This extra fabric, often called "overage," is what gets attached to the frame's leaders, ensuring the machine has something to grab without distorting your actual quilt.
With your materials prepped, it's time to load them onto the machine’s roller system. This is probably the most crucial part of the setup, as it dictates how well the final quilting will turn out.
Each layer gets its own roller. The backing fabric is attached to one, the quilt top to another, and the batting is typically floated on top of the backing. The key is to create perfectly smooth, even tension across all three layers. You want the fabric taut, but never stretched—this prevents any pesky puckers or folds from forming while you sew.
This infographic breaks down the essential stages of a longarm session.
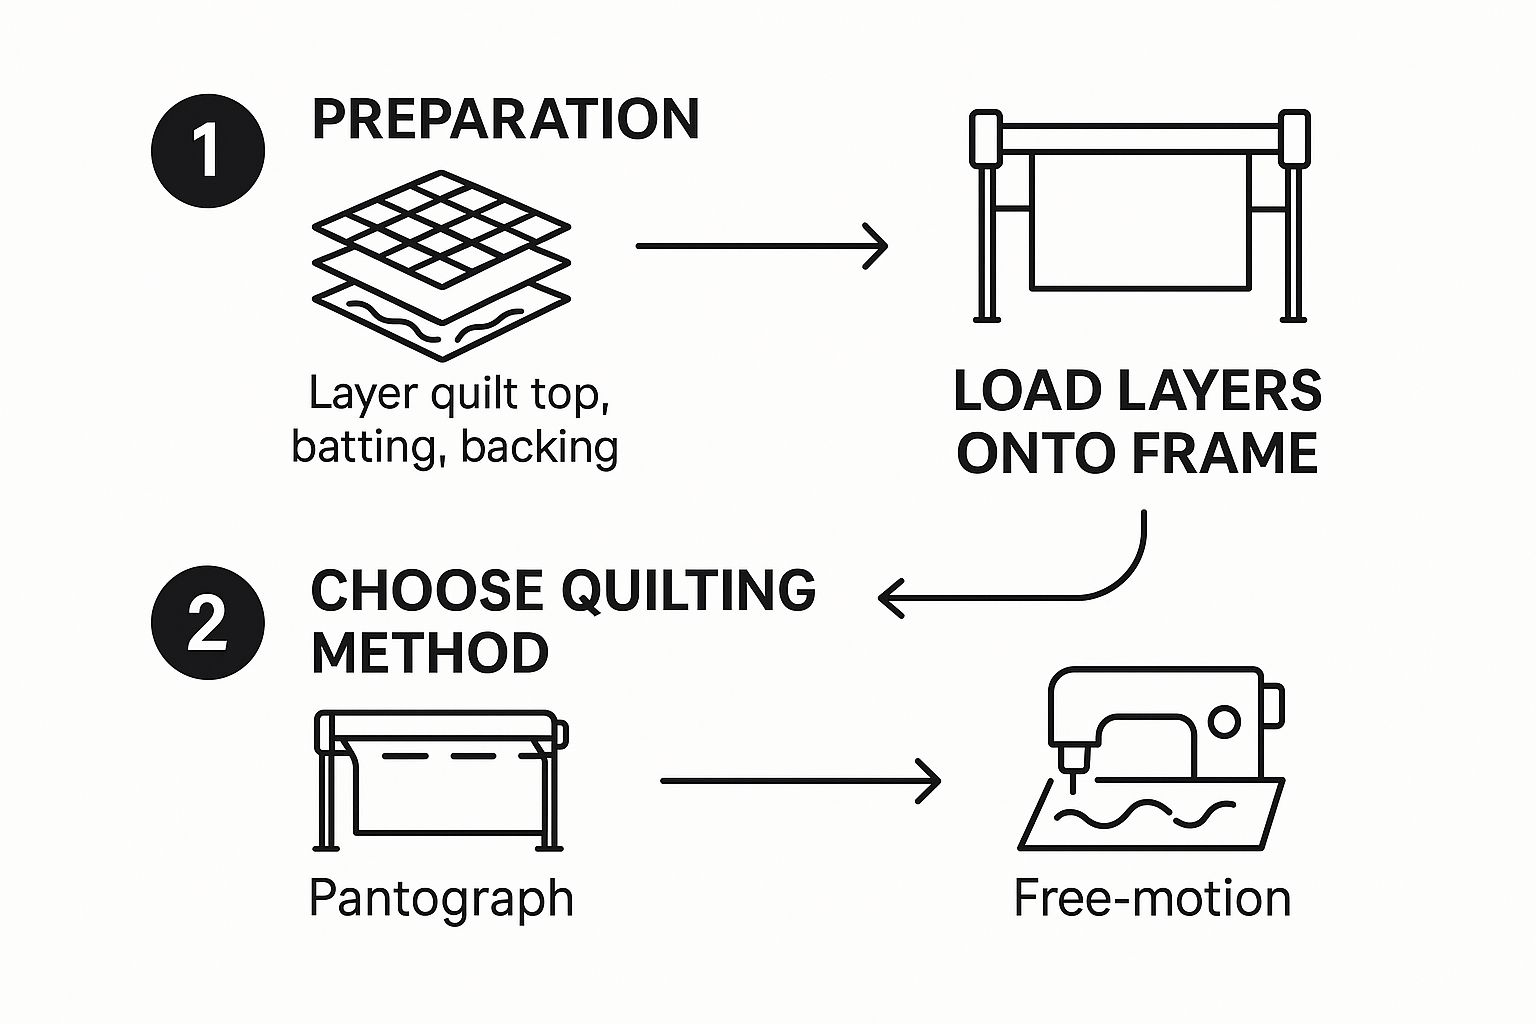
As you can see, getting everything perfectly set up on the frame is the foundation for beautiful stitching.
Once the quilt is loaded and tensioned, the real fun begins. You generally have two ways to approach the actual quilting design:
No matter which method you choose, the workflow is the same. You quilt the section you can see in the frame, then roll the quilt forward to reveal the next unstitched area. You just repeat this process—quilting and advancing—until the entire piece is complete.
For a lot of us in the quilting world, moving to a longarm is a real game-changer. It's the moment you stop fighting with your quilt and start creating with it. This method takes on the biggest headaches of finishing a quilt on a domestic machine and transforms the whole experience.
We're not just talking about saving your back and shoulders, either. The benefits are huge.
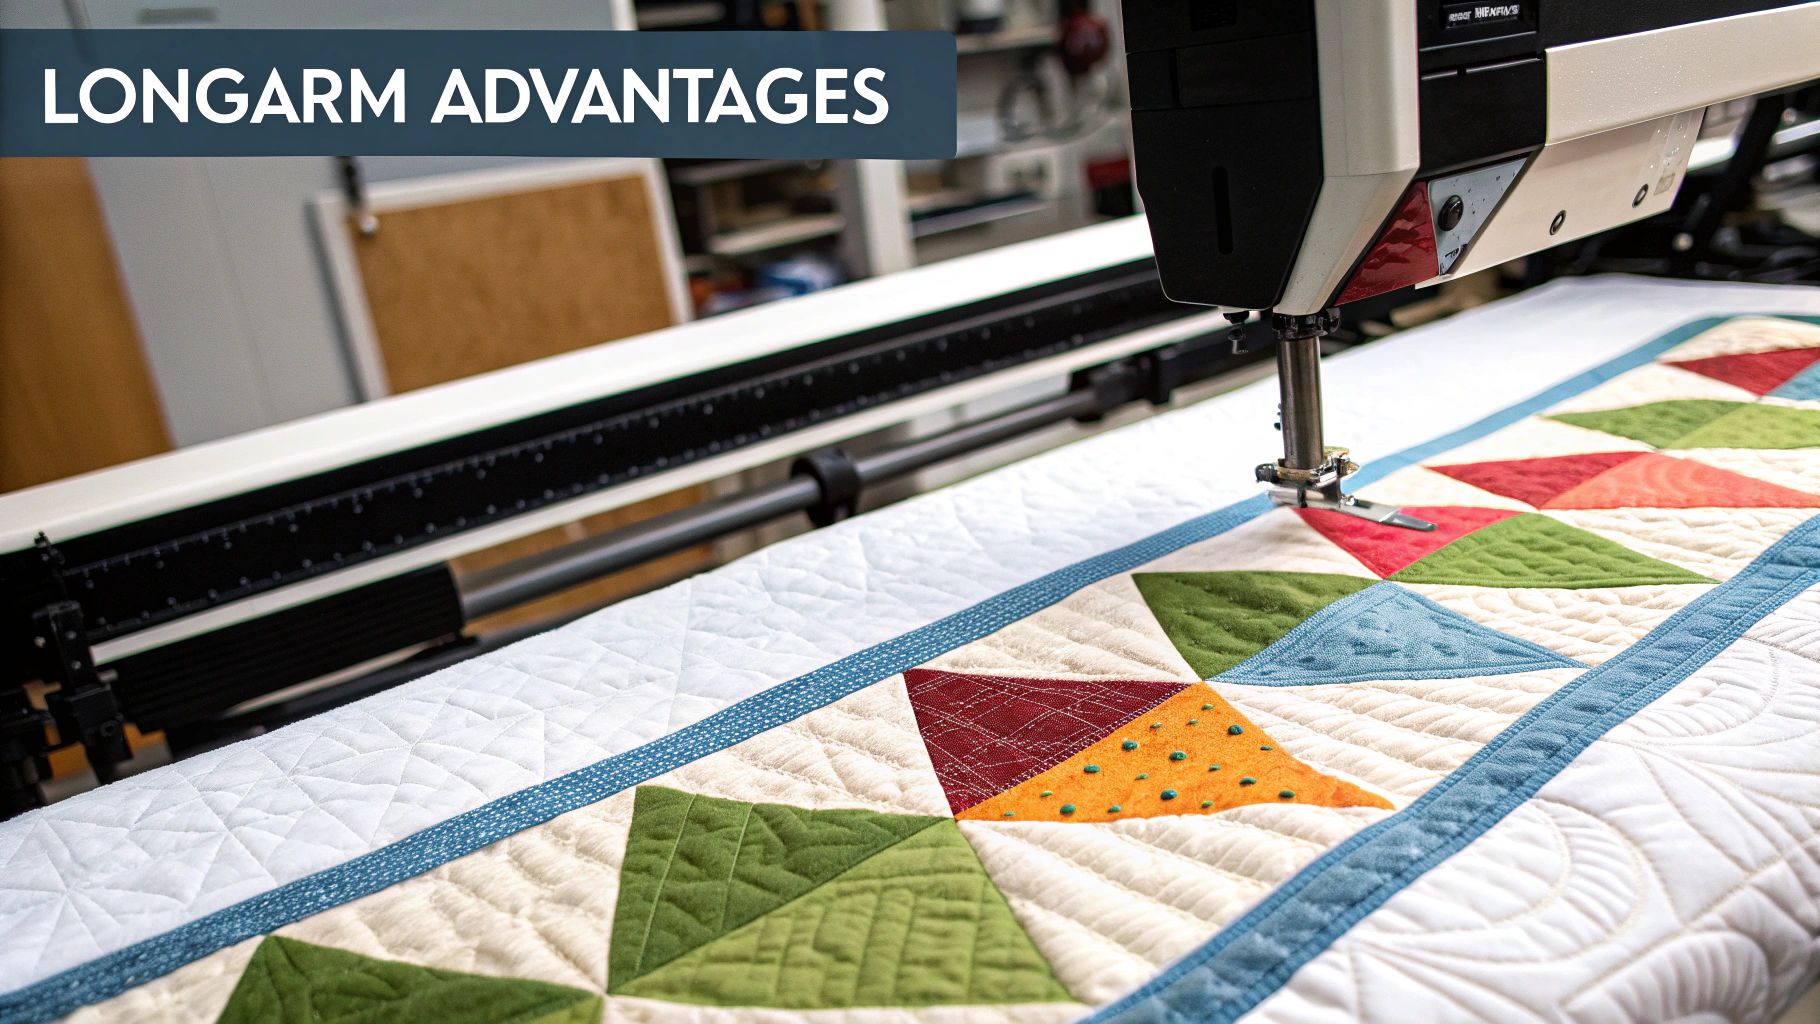
The number one advantage is speed. Seriously. A quilt you might spend days or weeks painstakingly wrestling under the tiny harp of a home machine can be completely finished in just a few hours. That stack of quilt tops you've been meaning to get to? A longarm helps you finally conquer it.
Then there's the incredible precision. The frame holds the quilt sandwich perfectly taut and smooth, so the machine glides over it, laying down flawless, even stitches. Say goodbye to the puckers, fabric shifting, and frustrating bunching that often plague bigger projects.
But maybe the most exciting reason quilters fall in love with longarming is the creative freedom it unlocks. The wide-open space and the machine's effortless movement mean you can finally stitch the complex, beautiful designs you see in your head.
With a longarm, your creative vision is no longer limited by the physical constraints of your machine. Intricate feathers, detailed motifs, and sweeping all-over patterns become achievable goals, not frustrating impossibilities.
This ability to elevate the finished quilt is what keeps the craft so vibrant. The quilting industry in North America is a big deal, generating around $5 billion every year from machines, fabrics, and services. It's all driven by passionate quilters like us who are always looking for better ways to bring our ideas to life. If you're curious, you can learn more about the quilting market and its dedicated community and see just how big this world of ours is.
https://www.youtube.com/embed/6q7kefXsj-o
So, you’ve got a stack of quilt tops and you're dreaming of finishing them on a longarm? That's a great goal, and thankfully, you don't have to go out and buy a machine right away to make it happen. There are really three main ways people get into longarm quilting, and each one fits a different budget, goal, and level of commitment.
Figuring out which path is right for you just comes down to a few questions. How many quilts do you realistically finish in a year? How much space can you spare? And what are your biggest creative ambitions? Let's walk through the options.
Your first step into the world of longarm quilting should feel exciting, not overwhelming. Whether you just want to dip your toes in or you're ready to cannonball, there’s a starting point that makes sense for you.
Rent Time at a Local Quilt Shop: This is the perfect "try before you buy" option. Many quilt shops have longarm machines you can rent by the hour after a quick certification class. It’s an amazing, low-commitment way to get a feel for the process and finish a few projects a year without the huge investment.
Hire a Professional Quilter: Maybe you absolutely love the piecing process but dread the quilting part. No problem! You can send your quilt top to a professional longarm quilter who will work their magic. It's a fantastic choice when you want a flawless, expert finish without having to learn a new skill yourself.
Purchase Your Own Machine: For the quilter who is constantly creating or even thinking about starting a small business, buying a machine is the ultimate dream. It’s a serious investment, but it gives you complete creative freedom to quilt whenever inspiration strikes, right in your own home.
No matter which path you take, having a tidy space is key to a smooth process. You might find some great tips for mastering craft supply organization that can help you keep your fabrics and tools ready to go.
Making the right choice is all about balancing cost, convenience, and creative control. Renting lets you learn hands-on without the price tag, hiring guarantees a professional result, and buying gives you total freedom.
To make things even clearer, I've put together a little comparison to help you see how these three paths stack up. It’s a quick way to see which one might be the best fit for you right now.
| Option | Best For | Estimated Cost | Key Advantage |
|---|---|---|---|
| Rent a Machine | The curious quilter wanting to try it out or finish 1-3 quilts per year. | $20 - $35 per hour | Low-cost entry and hands-on experience. |
| Hire a Pro | Quilters who want professional results without learning a new skill. | $100 - $500+ per quilt | Expert quality and saves you time. |
| Buy a Machine | Serious hobbyists, aspiring professionals, or those with many quilts to finish. | $5,000 - $25,000+ | Total creative control and long-term value. |
Ultimately, there's no wrong answer here. It's all about finding the approach that supports your quilting hobby in a way that feels sustainable and fun for you.
Even after you see a longarm machine in action, a lot of practical questions start bubbling up. It’s only natural! Thinking about the cost, the learning curve, and the different setups is how you figure out if this is the right next step for your quilting journey. Let's dig into some of the questions I hear all the time.
Sending your quilt top to a professional is a fantastic option, but the pricing can seem a little mysterious at first. Most longarmers charge by the per square inch (PSI), and the final cost really hinges on two things: your quilt's size and how complex you want the quilting to be.
Simple Designs: For a straightforward, edge-to-edge pattern (often called a pantograph), you're typically looking at a range of $0.02 to $0.035 per square inch. This gives you a beautiful, consistent texture across the whole quilt.
Custom Work: If you’re dreaming of intricate, custom quilting with special motifs in certain blocks or borders, the price goes up. Expect to pay $0.08 per square inch or more for this kind of detailed artistry.
So, what does that look like in real life? For a queen-sized quilt (around 90" x 108"), a simple design might cost you about $195, while a highly detailed custom job could be upwards of $770.
The bottom line: The more hands-on and detailed the quilting, the more it will cost. It's always a good idea to chat with your quilter and get a clear quote upfront so there are no surprises.
Not at all! I know they look intimidating, but these machines are built to make quilting easier, not harder. If you want to rent time on one at a local quilt shop, they'll almost always require a short certification class. In just a few hours, you'll learn everything you need to know to load a quilt and run the machine safely.
Many quilters start with pantographs. These are patterns you trace with a laser or a stylus, which guides the machine for you. It's a nearly foolproof way to get a gorgeous finish without having to master free-motion quilting first. And with computer-guided systems becoming more common, even the most elaborate patterns are accessible to total beginners.
When most of us picture a longarm, we think of the massive stand-up frame. But there's another flavor: the sit-down longarm.
Think of it as a home sewing machine on steroids. A sit-down longarm is stationary, and you sit at it just like you normally would. The big difference is the massive throat space—we're talking 15 to 20 inches or more from the needle to the arm. Instead of moving the machine head, you move the fabric under the needle. It's the perfect compromise for quilters who are craving more room to work but just don't have the space (or budget) for a full 12-foot frame.
At High Country Quilts we care deeply about community. With our experiences in retail, we know that a store is not only a place to shop but also a place for the community to gather and share. During this busy...

Hi! We’re Adam and Renee Wheaton, the new owners of High Country Quilts! For more than 40 years, we’ve owned and operated vacuum and sewing businesses. Following in Renee’s father’s footsteps after he retired from All Discount Vacuum and Sewing in Colorado...


Leave a comment