

We Love Our Quilting Community
At High Country Quilts we care deeply about community. With our experiences in retail, we know that a store is not only a place to shop but also a place for the community to gather and share. During this busy...


Picture this: you're not just sewing straight lines anymore. You're drawing with your sewing machine. That's the magic of free motion quilting (FMQ). It's a technique that lets you glide fabric under the needle to stitch any design you can dream up, from simple, swooping loops to incredibly detailed feathers.
So, what exactly is free motion quilting? Think of it as turning your sewing machine into a pencil. In standard sewing, the machine's "feed dogs"—those little teeth under the needle—pull your fabric forward in a straight line. With FMQ, you drop those feed dogs out of the way.
This one simple adjustment puts you in the driver's seat. You're now in complete control, free to move your quilt sandwich (the quilt top, batting, and backing layers) in any direction you please. It’s a total game-changer.
While the technique really took off in the 20th century, its roots go back to technological leaps in the 19th century. If you're curious about the deeper history, you can explore quilting advancements on Wikipedia.
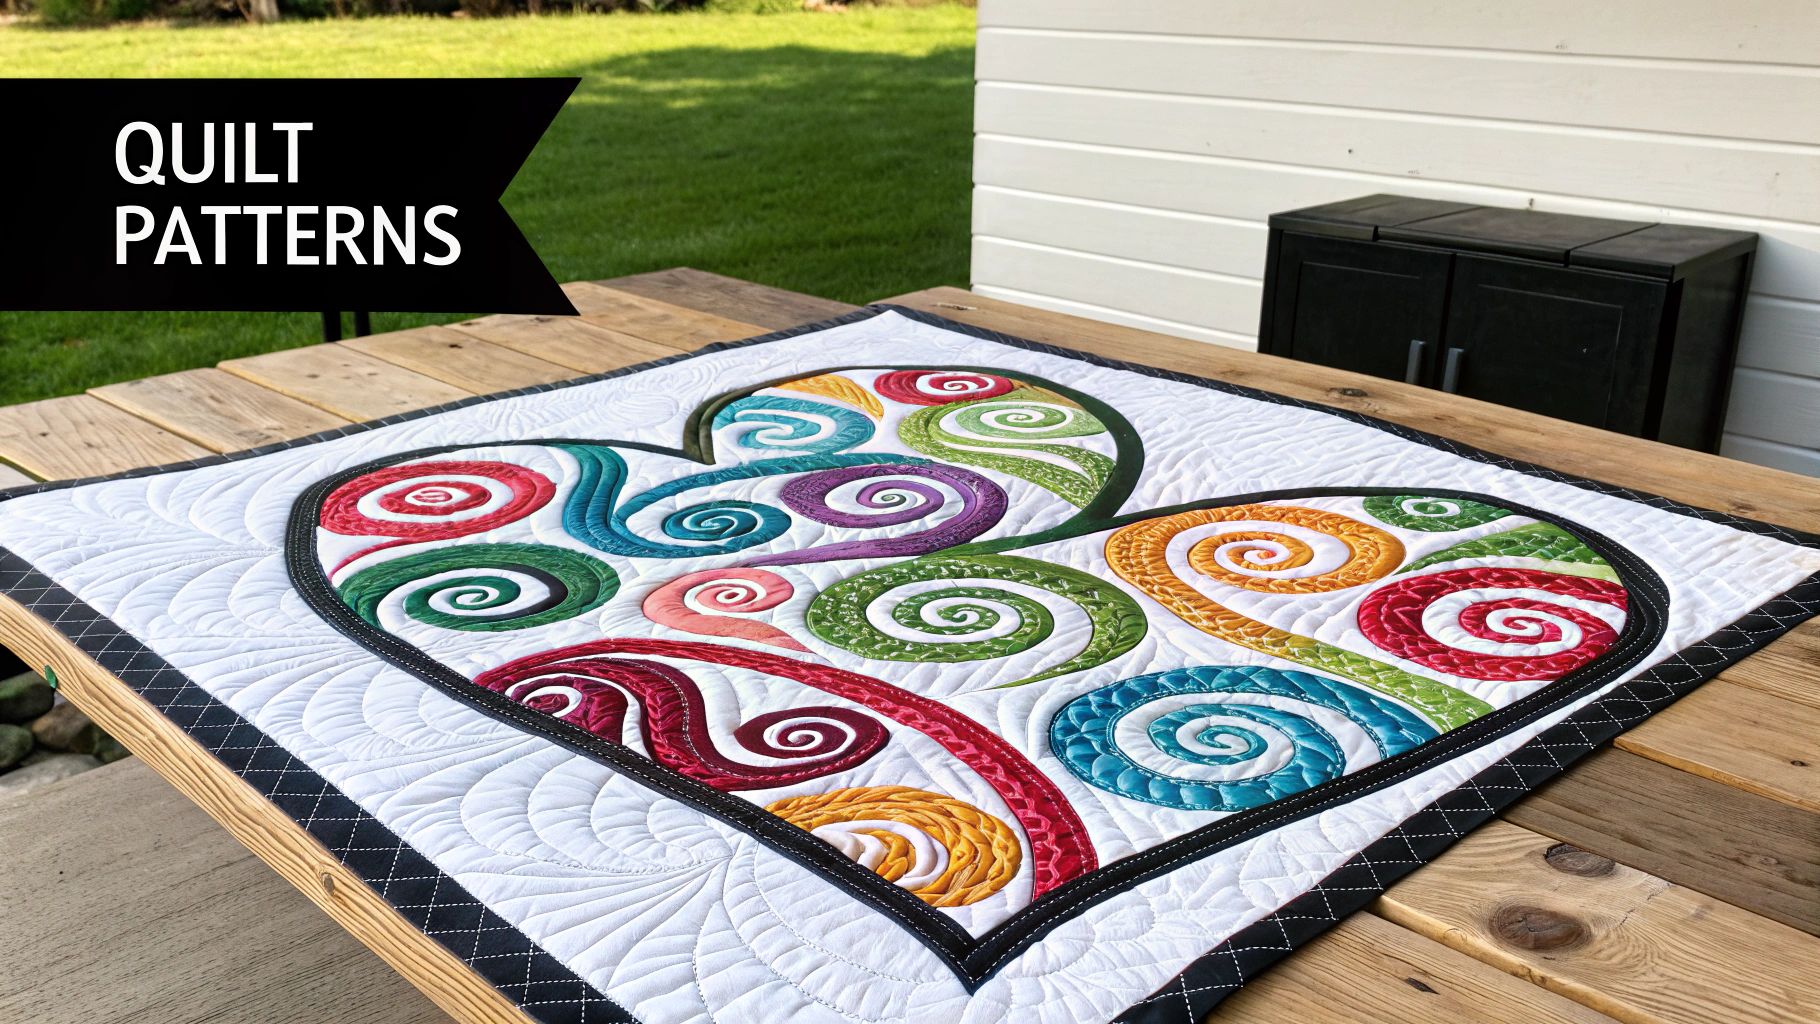
This freedom transforms quilting from a purely structured process into a genuine form of artistic expression. It opens up a world of possibilities:
To really get a feel for how different this is, let's compare it directly to the traditional machine quilting you might be used to.
The table below breaks down the key distinctions. It’s a quick way to see how fundamentally different the two approaches are.
| Feature | Free Motion Quilting | Traditional Machine Quilting |
|---|---|---|
| Fabric Control | You move the fabric manually. | The machine's feed dogs move the fabric. |
| Stitch Direction | Any direction: forward, backward, side-to-side. | Primarily straight lines, forward or reverse. |
| Design | Organic, free-form, and custom designs. | Geometric, grid-based, or straight-line patterns. |
| Required Foot | Darning or free motion quilting foot. | Walking foot or standard presser foot. |
| Feed Dogs | Disengaged (lowered). | Engaged (raised). |
Ultimately, traditional quilting is about following a path, while free motion quilting is about creating your own.
This diagram helps visualize how your machine, your control of the needle, and your creative vision all come together in FMQ.
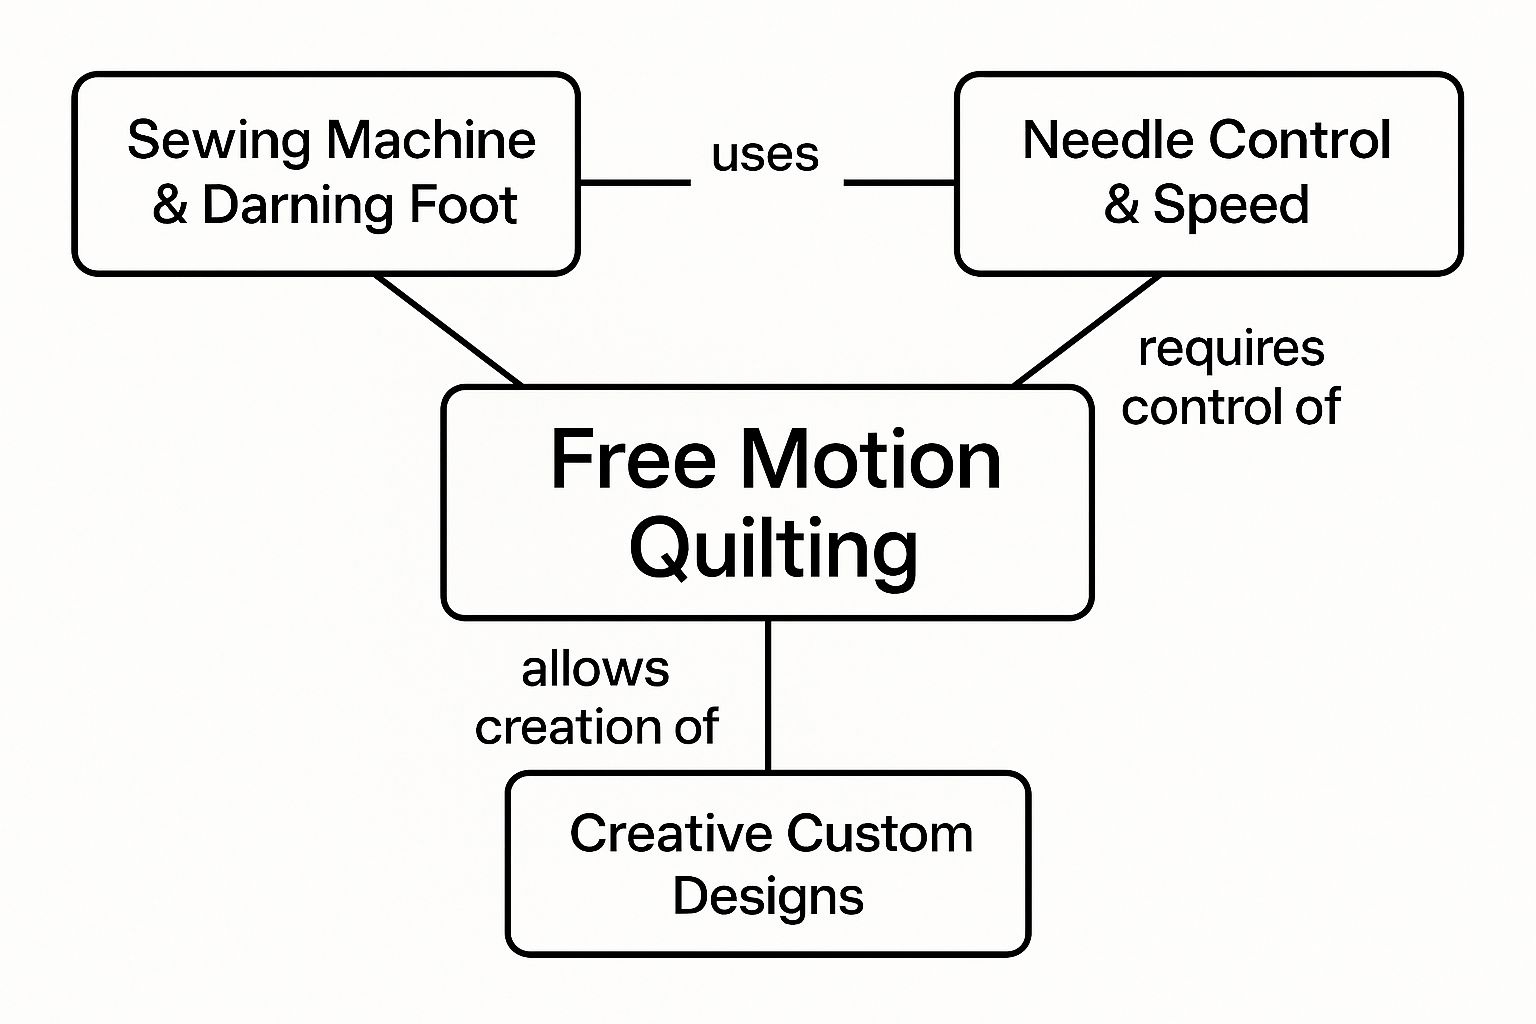
As you can see, the real art lies in coordinating your hand movements with your machine's speed to bring those custom designs to life. Finding that perfect rhythm is what unlocks the true joy of this incredible technique.
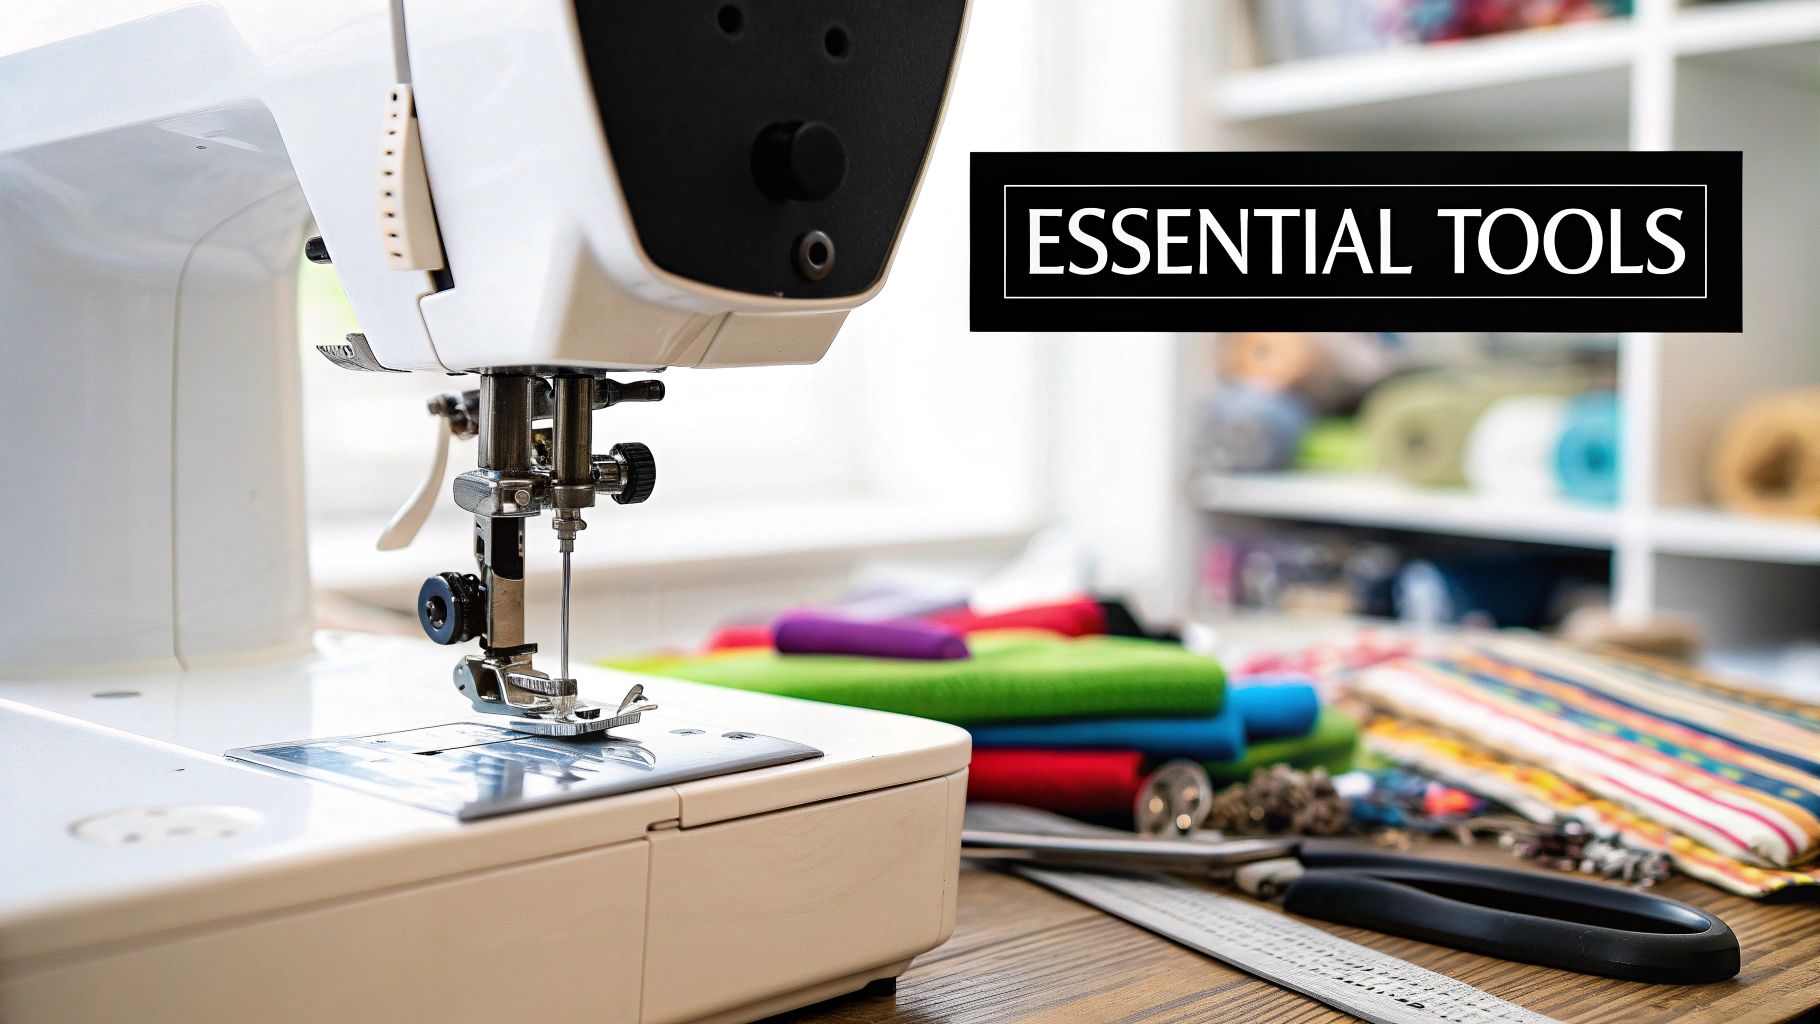
Before you can start drawing with thread, you'll need to gather the right supplies. Think of it like an artist prepping their palette and brushes—having the correct gear makes all the difference, turning potential frustrations into a smooth, creative flow.
The single most important piece of equipment is a darning foot, which you'll often hear called a free motion quilting foot. This little attachment is what makes the magic happen. Unlike a standard presser foot that pins the fabric down, this one is spring-loaded. It "hops" with each stitch, lifting just enough to let you glide your quilt sandwich in any direction. Without it, you're stuck in a straight line.
Once you have the right foot, a few other items will dramatically improve your experience and the final look of your quilt. They might seem small, but trust me, they're essential.
We've come a long way. The very first quilting machines from around 1871 could only manage straight lines. It wasn't until the late 19th century that improvements allowed for the free movement of fabric, paving the way for the art form we love today. You can discover more about the history of quilting machines and their development to see how these tools evolved.
Getting the right equipment isn't about spending a fortune. It’s about understanding how each tool plays a part in supporting your creativity. With these basics in hand, you'll be set up for success and ready to start stitching.
A great quilting session begins long before your needle ever hits the fabric. Honestly, taking the time to set up your sewing machine properly is the single best thing you can do to sidestep common headaches like tangled threads and skipped stitches. Think of it as creating a solid foundation before you start building.
Your first—and most important—job is to disengage the feed dogs. Those are the little metal teeth under the needle that usually grip and pull your fabric forward. By lowering them, you're taking away the machine's control and putting it entirely in your hands, which is the whole point of free motion quilting. Your machine's manual will show you how; it's usually just a simple switch or lever.
Next, you'll need to swap out your standard presser foot for a free motion foot, which you might also hear called a darning foot. This special foot is designed to hop up and down, hovering over the fabric. This lets you glide your quilt sandwich around in any direction without the foot dragging or snagging on it. This step is an absolute must.
With the physical parts in place, it’s time to tweak your machine's settings. The idea here is to create a neutral state where your hand movements have all the control.
Tension. This is probably the biggest source of grief for quilters just starting out. Before you even think about touching your actual project, always do a test run on a small scrap "quilt sandwich." If you see little loops on the back, your top tension is too loose. If you can see the bobbin thread peeking through on the top, it's too tight.
One last thing: give your machine a quick clean, paying special attention to the bobbin area. You’d be surprised how much lint can build up and wreak havoc on your tension. Spending a few minutes on these prep steps means you can focus on your creative flow, not on fighting with your machine.
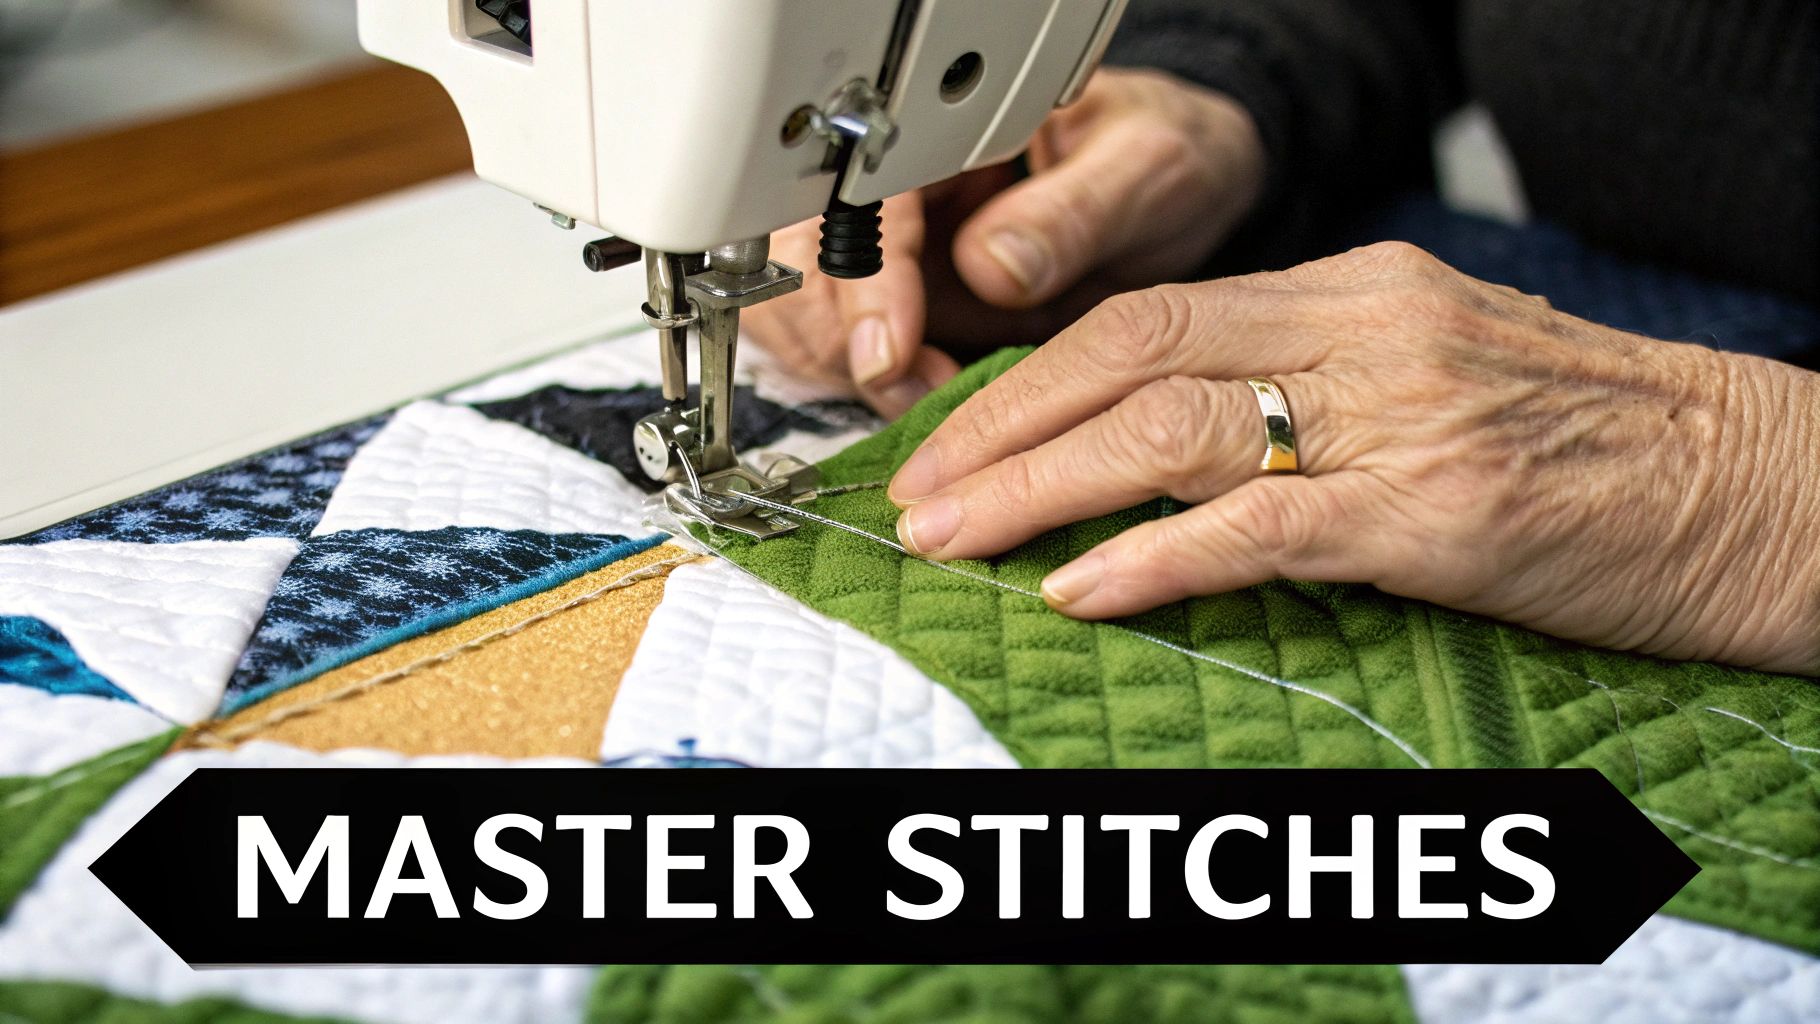
Alright, this is where the real fun begins. Learning to free motion quilt feels a bit like trying to pat your head and rub your stomach at the same time—it’s all about coordination. The biggest hurdle is teaching your hands and your foot to work together as a team.
Think of it this way: your hands are the artist, guiding the fabric and drawing the design. Your foot is the engine, controlling the machine's speed with the pedal. If your hands outrun your foot, you’ll end up with long, gangly stitches. But if your hands move too slowly, the stitches will pile up into tiny knots.
The sweet spot is finding a consistent rhythm where your hand speed and machine speed are perfectly in sync. That’s what creates those beautiful, even stitches we all strive for. This isn't something you can learn from a book; it's all about practice and building that crucial muscle memory.
Before you jump into intricate feathers and complex fills, you have to get comfortable with the basic movements. I always tell beginners to think of these simple patterns as their training wheels. They’re designed to help you find your rhythm and build confidence without the pressure of creating a masterpiece right away.
Start by doodling these fundamental shapes:
Mastering these simple patterns isn't just about repetition. It’s about making your practice time feel productive. Every swirl and stipple you stitch is building the muscle memory you’ll rely on for every future project.
One of the most valuable tools in your quilting journey is the humble practice sandwich. This is just a small, low-stakes version of a real quilt, put together with scraps you don't mind "wasting." Seriously, don't use your good fabric for this!
To make one, just grab a scrap for the top, a small piece of batting for the middle, and another scrap for the backing. Baste them together, and you've got the perfect canvas.
Use these little sandwiches to doodle with your machine, play with the tension settings, and find a comfortable speed. This is your no-pressure playground, where you can master the core skills of free motion quilting before ever laying a needle on a quilt top you’ve poured your heart into.
To really appreciate any technique, it helps to understand where it came from. Free motion quilting wasn’t just a new trick; it was a genuine breakthrough that shifted the entire craft from one of rigid, straight lines to one of limitless artistic expression.
Before this technique hit the mainstream, a quilter’s options were pretty limited. You could either hand-quilt, which offered incredible freedom but took an eternity, or you could use a machine that only stitched in straight lines. Free motion quilting came along and offered the best of both worlds: the speed of a machine with the creative control of drawing by hand.
This innovation was a huge part of the quilting revival that swept through the United States around the 1970s. As more people looked for creative ways to express themselves, free motion quilting let them break free from traditional patterns. It gave a whole new generation of quilters permission to treat their quilt tops less like a grid and more like a canvas.
You really can’t overstate the impact this has had on the quilting community today. It’s become so fundamental to the craft that it’s what you see most often in modern quilting shows.
It's estimated that 70-80% of contemporary quilts showcased in major exhibitions are made using free motion quilting. That single statistic says a lot about its central role in today's quilting culture.
That number really drives home how completely quilters have embraced this method. If you're curious about the bigger picture of how machines changed the game, you can discover more insights about the sewing machine's impact on SuzyQuilts.com.
So, whenever you drop those feed dogs and start moving your fabric, you're doing more than just stitching. You're participating in a living tradition, one that champions creativity and personal freedom. You're part of its story.
Every new quilter has questions. It’s a natural part of learning any new skill, and one as hands-on as free motion quilting is no exception. Let's tackle some of the most common hurdles that pop up, so you can move forward with more confidence and less guesswork.
Think of this as your friendly guide to troubleshooting the basics. By getting ahead of these potential roadblocks right from the start, you’ll be ready to find solutions and keep your creative momentum rolling.
Absolutely not. You can create stunning, intricate quilts on a standard home sewing machine. Please don't let your current machine hold you back from starting this exciting journey.
The single most important feature you need is the ability to lower or cover the feed dogs. As long as your machine can do that and you can attach a darning or free motion foot, you're ready to go.
Sure, high-end machines offer nice perks like more throat space or stitch regulators, but you can master all the fundamental skills without them.
The heart of free motion quilting is your control over the fabric, not the price tag of the machine. Focus on finding the rhythm between your hands and your foot, and you’ll create beautiful work.
Welcome to the club! This is the number one challenge for every single beginner, so you're in good company. Uneven stitches are almost always caused by a mismatch between how fast your hands are moving and how fast your machine is sewing.
If you move the fabric too quickly for the needle speed, you'll get long, stretched-out stitches. On the other hand, if your hands move too slowly, you’ll see tiny, bunched-up stitches that can look like knots.
The solution is simple, but it takes time: practice. Work on finding a steady, comfortable rhythm where your foot on the pedal and your hands guiding the fabric are perfectly in sync. It’s a coordination skill that only builds with experience.
A "quilt sandwich" is just the quilter's term for the three layers of your project, all stacked up and ready for quilting. It consists of your quilt top (the pretty part), the batting in the middle for warmth and dimension, and the backing fabric on the bottom.
Before you can start quilting, these layers have to be temporarily held together, or "basted." This crucial step prevents the layers from shifting around and causing frustrating puckers on the back.
There are a few popular ways to baste your quilt:
Good ergonomics are everything if you want to make your quilting time enjoyable and sustainable. Hunching over your machine is a surefire way to end a fun session with aches and pains.
First, check your setup. Make sure your chair and table are at a height where your arms can rest comfortably at about a 90-degree angle. Sit up straight and try to bring the quilt to you rather than leaning way over it. Many quilters find that a sewing table with an insert, which makes the machine's surface flush with the tabletop, creates a larger, smoother area to glide the quilt across.
Most importantly, take frequent breaks! Get up, stretch your shoulders and neck, and give your hands a rest every 20-30 minutes. Your body will thank you.
At High Country Quilts, we believe that having the right tools and knowledge makes all the difference. Explore our wide selection of quilting fabrics, notions, and BERNINA machines to support your creative journey at our online store.
At High Country Quilts we care deeply about community. With our experiences in retail, we know that a store is not only a place to shop but also a place for the community to gather and share. During this busy...

Hi! We’re Adam and Renee Wheaton, the new owners of High Country Quilts! For more than 40 years, we’ve owned and operated vacuum and sewing businesses. Following in Renee’s father’s footsteps after he retired from All Discount Vacuum and Sewing in Colorado...


Leave a comment