

We Love Our Quilting Community
At High Country Quilts we care deeply about community. With our experiences in retail, we know that a store is not only a place to shop but also a place for the community to gather and share. During this busy...


Every beautiful piece of embroidery starts with one small, yet absolutely crucial, step: threading the embroidery needle. It's a simple-sounding task that can frustrate a total beginner and even test the patience of a seasoned stitcher. But getting this right is the first move in making sure your stitches are smooth and your thread doesn't snag.
From the cozy corner of a local quilt shop to a bustling production house, threading a needle is the universal starting point. Picture yourself sitting down at a machine at a place like High Country Quilts in Colorado Springs, about to bring a gorgeous design to life—it all begins here.
It might seem like a tiny detail, but this skill is the bedrock of a massive industry. The global embroidery market, which runs on precisely threaded needles for both hand and machine work, was valued at a staggering $2,572.16 million in 2021. That number is only going up, highlighting just how much demand there is for embroidered textiles in everything from fashion to home decor. You can dig into these embroidery market trends to see the full picture.
This guide will walk you through the process for both hand and machine embroidery. We'll get into the real-world differences between doing it by hand and letting a machine's auto-threader do the heavy lifting, so you can decide what works best for your project.
To kick things off, here's a quick look at how the two methods stack up.
This table gives you a quick comparison of the key differences between threading a needle the old-fashioned way versus using a modern sewing or embroidery machine's built-in features.
| Aspect | Hand Threading | Machine Threading (with auto-threader) |
|---|---|---|
| Speed | Slower, requires more manual dexterity and focus. | Extremely fast, often completed in seconds with a single lever press. |
| Precision | Dependent on eyesight, steady hands, and thread quality. | Highly precise and consistent, relying on mechanical alignment. |
| Best For | Hand embroidery, quilting, beading, and delicate or specialty threads. | Machine embroidery, high-volume sewing, and standard thread types. |
| Learning Curve | Can be challenging for beginners or those with vision difficulties. | Simple to learn, though troubleshooting minor alignment issues is key. |
As you can see, there’s a time and place for both. What matters most is choosing the right technique for the job at hand to keep your projects moving along smoothly.
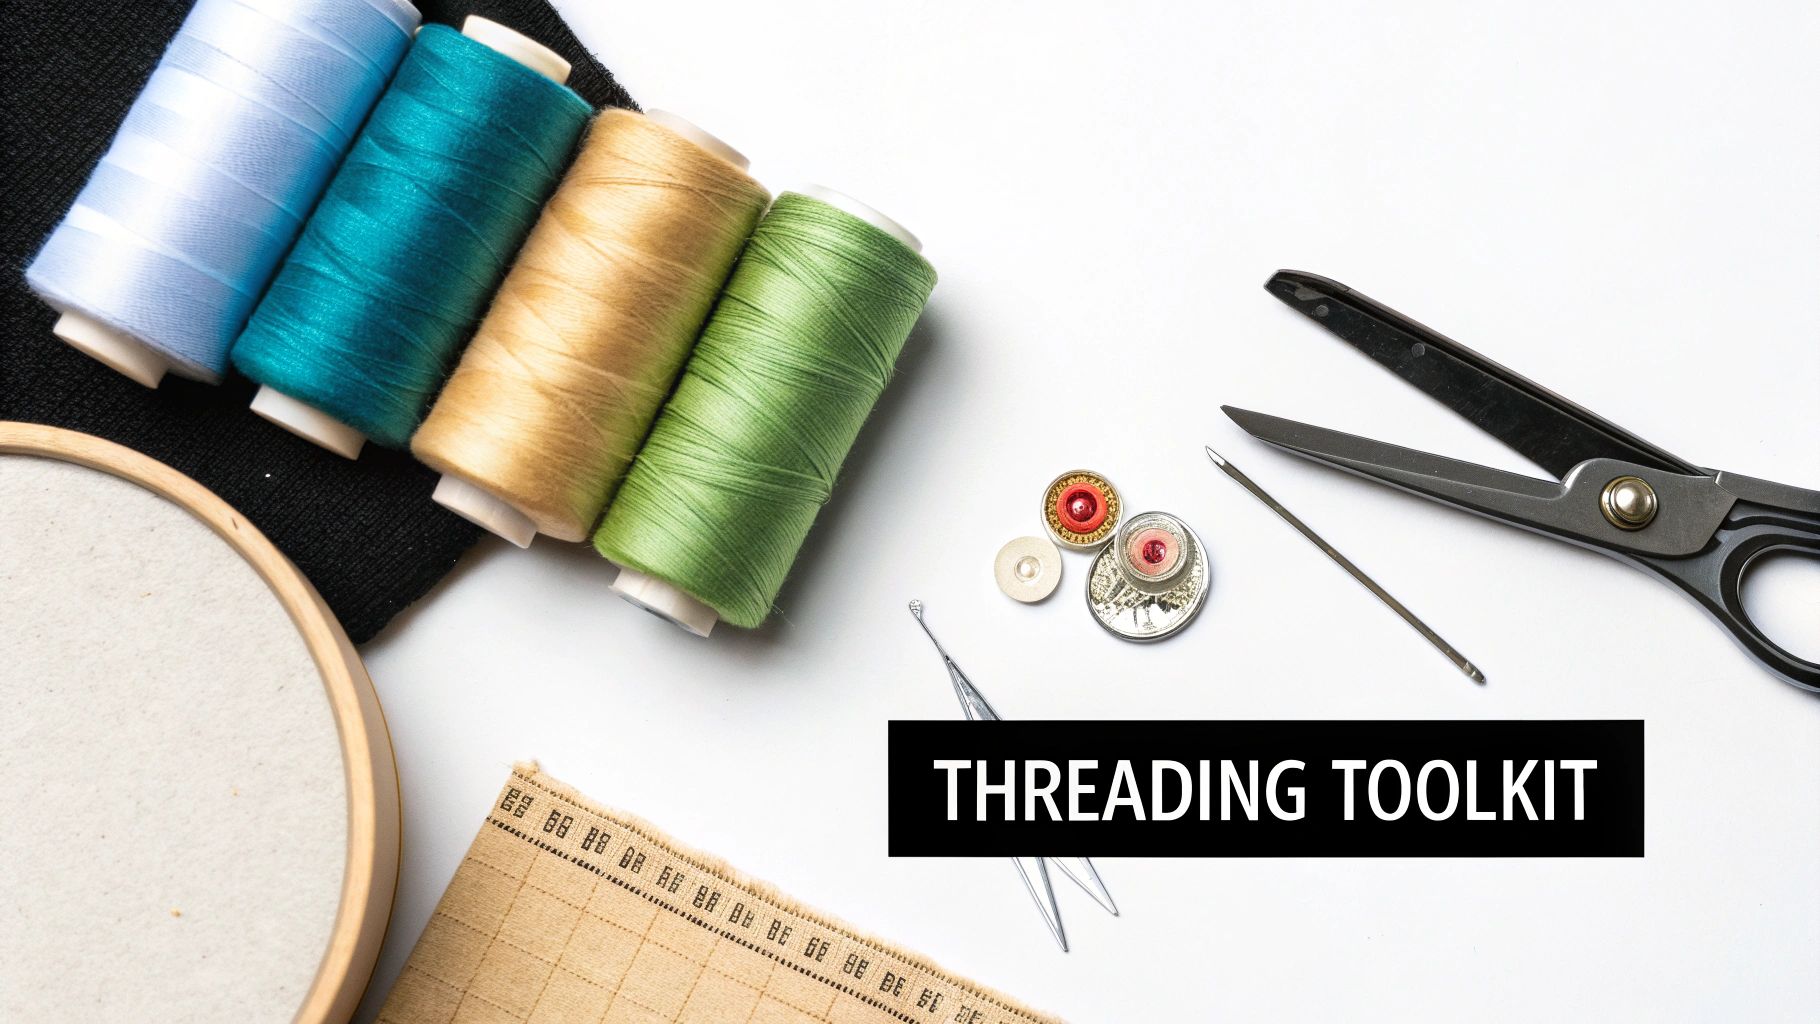
Getting an embroidery project started on the right foot often comes down to one simple, sometimes frustrating, step: threading the needle. But with a little preparation and the right tools, you can turn this potential chore into a seamless part of your creative flow.
Think of it as setting up your stitching sanctuary. Beyond just your needle and floss, a few simple additions to your toolkit can make a massive difference, especially when you're working with tiny needle eyes or fussy threads. This isn't about buying every gadget out there; it's about creating a smart setup that works for you.
For many stitchers, a good old-fashioned needle threader is the real MVP. It's a simple, inexpensive tool that saves so much time and eye strain. These little helpers use a tiny wire loop to easily pull the thread right through the eye of the needle. I honestly can't imagine my embroidery basket without one.
Just as important is good lighting. I've seen more people struggle with threading simply because they can't see what they're doing.
Keeping both hands free is the key to steady, easy threading. That’s why a tabletop lamp or one that clamps to your desk is so much better than trying to juggle a handheld magnifying glass.
The tools are only half the story; your needle and thread choices are just as crucial. You're looking for a perfect partnership where the thread can pass through the needle's eye without a fight. Embroidery needles are designed with a longer eye specifically to reduce wear and tear on the thread as you stitch, so make sure you're using the right kind.
A common mistake is trying to force a thick thread through a needle that's too small. For example, trying to jam a heavy 30wt Sulky cotton through a fine crewel needle is a recipe for frayed, broken thread before you even take a single stitch. Always match your needle size to your thread.
Here's a tip I swear by: always give your thread a clean, sharp cut. Don't just bite it or use dull scissors. Snip the end with a pair of sharp embroidery scissors at a 45-degree angle. This creates a crisp, pointed tip that's much easier to aim and guide through the needle's eye.
When you get to those notoriously tricky threads, like slippery metallics or fluffy wools, a little thread conditioner or beeswax can be your best friend. A quick swipe tames wild fibers, cuts down on static, and helps the thread glide right through the eye and the fabric. Putting together this simple toolkit will make starting every new project an absolute breeze.
There’s something incredibly meditative about hand embroidery, and it all starts with the simple act of threading a needle. It might seem like a tiny first step, but getting it right can make the difference between a relaxing session and a frustrating one. It's not about having hawk-like vision; it's about knowing a few time-tested tricks of the trade.
Most people start with the classic pinch-and-poke method, but its success can feel like a roll of the dice, especially with floss that wants to separate. A much better, more consistent way is what I call the loop method. This little hack is a game-changer for wrangling multiple strands.
Here’s how you do it: just fold about an inch of your embroidery floss right over the needle, creating a really tight loop. Pinch that loop hard between your thumb and forefinger, and then slip the needle out. What you’re left with is a stiff, folded end that’s a breeze to push through the eye of the needle.
Sometimes the thread isn’t the problem at all—it's that tiny, disappearing eye. Against a cluttered background or in less-than-perfect light, it can be nearly impossible to see. This is where a humble piece of white paper becomes your best friend.
Just hold a small scrap of white paper or cardstock behind the needle. Instantly, you create a high-contrast backdrop. The dark sliver of the needle's eye will stand out sharply against the bright white, giving you a clear target. It’s an old-school solution that has never let me down.
Another common headache is a frayed thread end. You can snip it with the sharpest scissors you own, and the fibers still find a way to split apart.
Honestly, the secret is combining these techniques. I’ll make a sharp, angled cut on a conditioned thread and hold it up against a white background. It makes threading almost foolproof and turns what could be a moment of annoyance into a smooth, satisfying part of the stitching process.
Working with standard six-strand cotton floss is one thing, but specialty threads like metallics, silks, and wools bring their own challenges to the table. They demand a bit more care to prevent them from getting damaged before you've even made your first stitch.
Metallic threads are notorious for fraying and snagging. The trick is to use a needle with a larger eye, such as a designated metallic or topstitch needle. This gives that delicate thread a bit more room to breathe. The loop method is especially helpful here for getting a good grip on those slippery strands.
For delicate fibers like silks and wools, which can get fuzzy, it's best to skip moistening the end with your mouth, as it can weaken the fibers. Instead, rely on a very clean, angled cut and a good thread conditioner. I also recommend working with shorter lengths—no more than 18 inches at a time. This reduces the friction and wear on the thread as it’s pulled through the fabric again and again, keeping your stitches looking lustrous and strong.
Threading a modern embroidery machine isn’t the tricky guesswork it used to be. It’s a precise, guided process. Unlike threading by hand, where everything depends on a steady eye and a bit of luck, machine threading is all about following a specific sequence. Your machine’s manual is always the best resource, but thankfully, most models share a similar, logical path from the spool down to the needle.
Think of it like a roadmap built right into the machine's body. You'll usually see numbers and arrows printed on the casing, showing you exactly where the thread needs to go through various channels and levers. Every stop on this path is there for a reason—to manage the thread and create the perfect tension needed for clean, beautiful stitches. Getting this sequence down is absolutely fundamental to making your machine work for you, not against you.
The journey starts at the spool pin, where you’ll pop your cone or spool of embroidery thread. From there, you'll guide the thread through the first thread guide. It's a simple step, but it's what sets your thread on a smooth path for the rest of its trip.
Next up, the thread winds down and around the tension discs. This is, without a doubt, the most critical part of the whole operation. These discs squeeze the thread to create the top tension. A super common mistake is letting the thread slip beside the discs instead of between them. If you do that, you'll get nasty, loose loops on the back of your fabric. You should always feel a slight "click" or a bit of resistance as the thread settles into its proper place.
After the tension assembly, the thread travels up to the take-up lever—that's the metal arm that bounces up and down while you sew. Hooking the thread through this lever is a must. It's what actually pulls the thread from the spool and helps form each stitch. Miss this step, and your machine simply won't sew.
Finally, the thread arrives at the needle, where the real magic happens: the automatic needle threader. This little gadget is a total lifesaver for anyone who's ever squinted at a tiny needle eye. Most of them work by pushing a tiny hook through the needle's eye, grabbing the thread you've positioned, and pulling a loop right through to the other side.
For the auto-threader to work flawlessly, a few things have to be just right:
This infographic breaks down the core actions of threading into three simple movements.
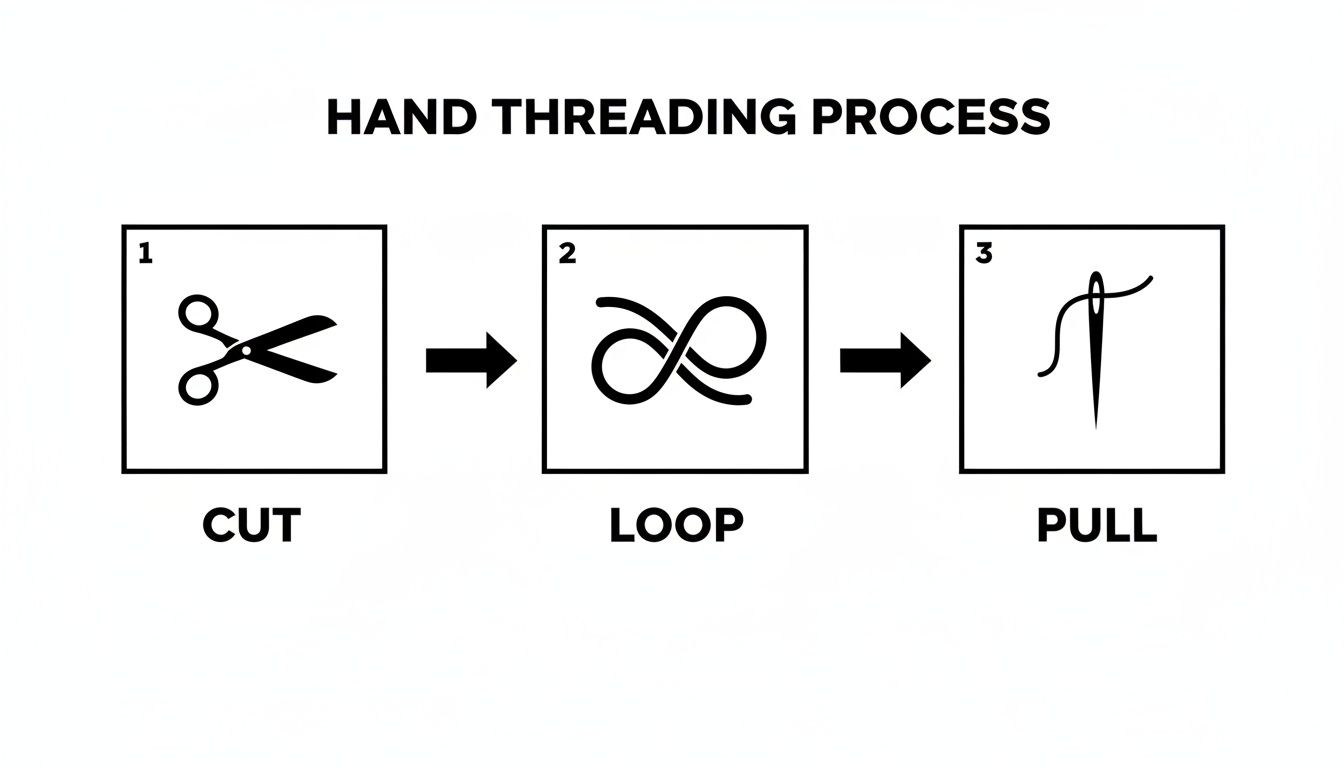
The image really shows that whether you're working by hand or with a machine, the fundamental process is the same: you need a clean cut, a controlled loop, and a precise pull-through.
Mastering your machine's threading path is the first step toward professional-quality embroidery. It's the technical foundation that allows your creative vision to come to life without the frustration of tangled threads or poor tension.
Getting this process down is more than just a convenience; it’s a key skill in a booming industry. The global embroidery machine market is projected to hit $5.90 billion in 2025 and is expected to grow to $7.88 billion by 2034. A big part of that growth is driven by the demand for user-friendly features like automated threading systems. You can read more about the growth of the embroidery machine market to see how these innovations are shaping the craft. Taking the time to really learn the threading sequence for your machine is a skill that will pay off on every single project you do.
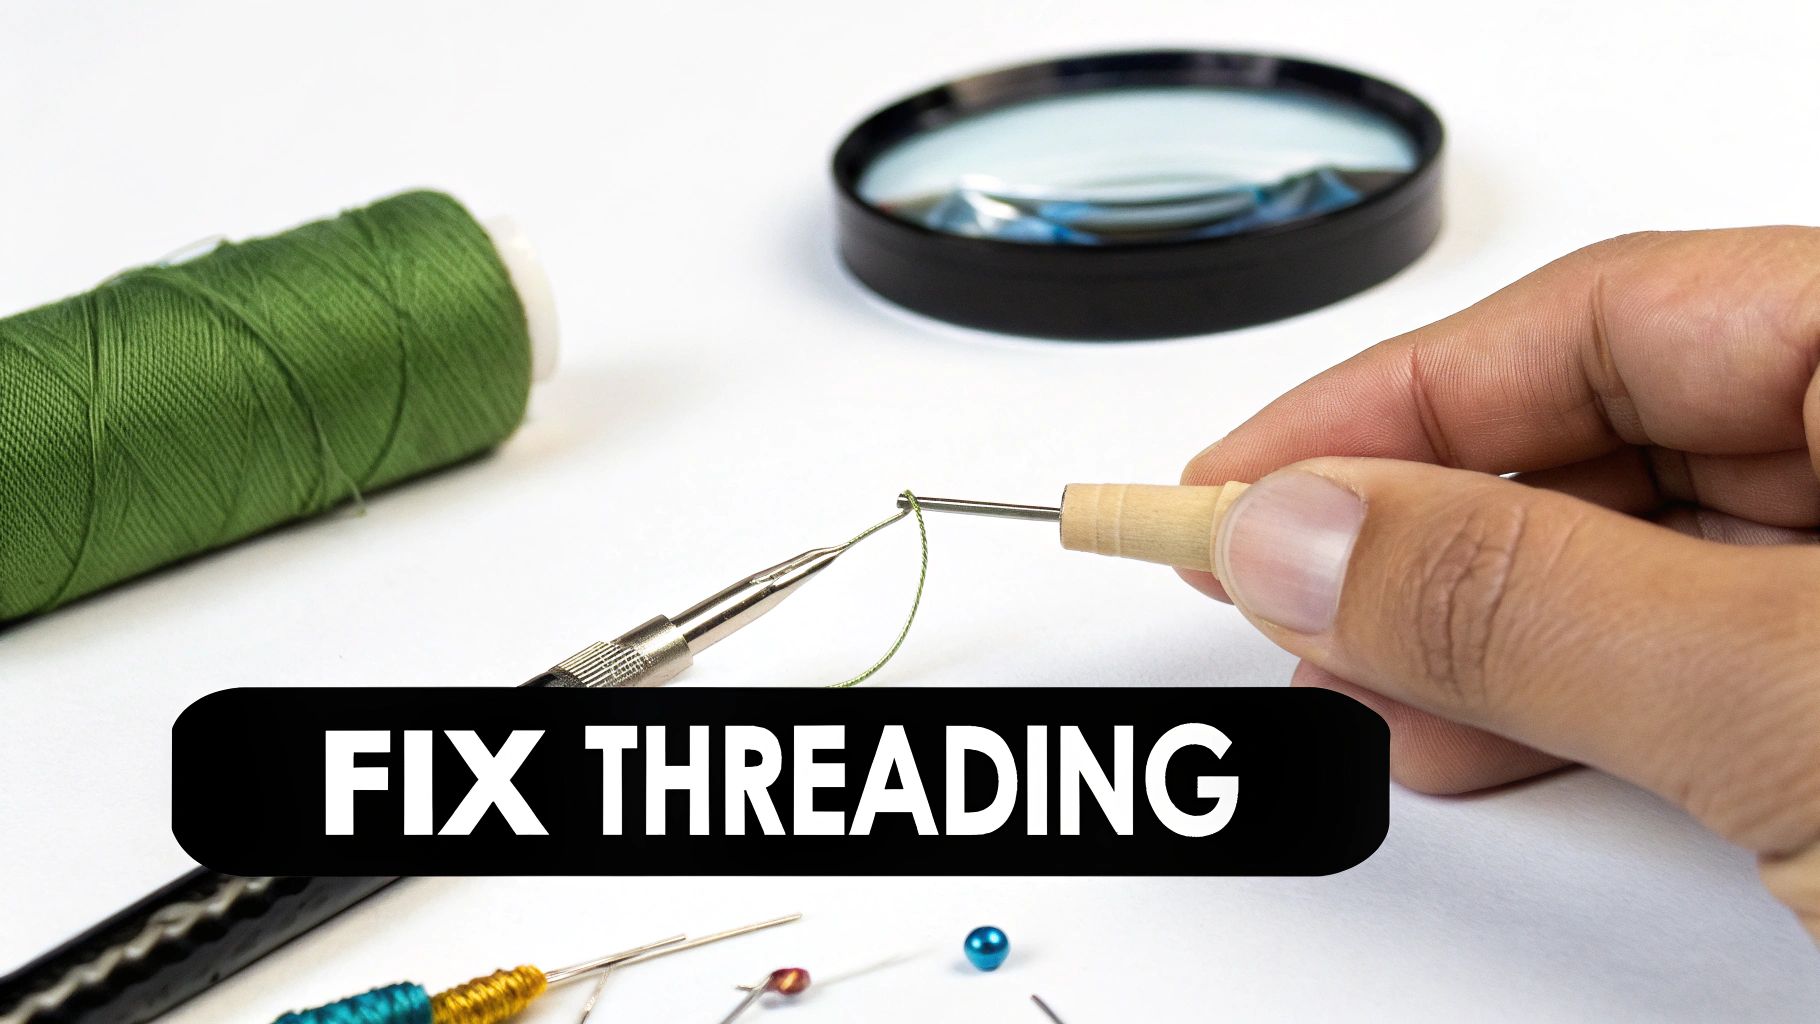
Even the most seasoned stitchers hit a snag now and then when threading a needle. It’s just part of the process. But instead of letting frustration take over, I've learned to see it as a signal—my project is just telling me something needs a quick tweak. The good news is, most of these issues are surprisingly easy to fix.
This is probably the most common complaint I hear. You finally get the thread aimed at the eye, but it just shreds and turns into a fuzzy mess. Before you curse the thread, take a close look at your needle.
A dull needle, or one with a tiny, invisible burr near the tip, is a notorious thread shredder. My personal rule of thumb? Start every significant project with a fresh needle. They’re cheap, and it’s the best insurance policy for your work and your sanity.
Sometimes, it's just a bad match. Trying to force a thick 30wt thread through a delicate 75/11 needle is a recipe for disaster. It creates friction that damages the thread from the get-go. Always make sure your needle’s eye is roomy enough for the thread you’re using.
An automatic needle threader is a beautiful thing... until it isn't. When your machine’s threader suddenly stops working, it can bring your entire flow to a grinding halt. In my experience, the problem is almost always about alignment.
First, check that your needle is at its absolute highest position. Use the handwheel (always turn it toward you!) to raise it as far as it can go. If it's even a fraction of a millimeter off, the threader’s tiny hook will miss the eye entirely.
A slightly bent needle is another common culprit. It can be nearly impossible to see with the naked eye, but it's enough to throw the whole mechanism off. When in doubt, just swap it out for a new one.
Here are a few other things to check:
If your thread looks great one minute and snaps the next, you're likely dealing with a tension issue. If the top tension is cranked too high, it puts too much stress on the thread, causing it to break.
The fix is simple: rethread the entire machine from the beginning. Crucially, make sure the presser foot is up when you do this. Lifting the presser foot opens up the tension discs, allowing the thread to seat properly between them. It’s a small step that makes a huge difference.
Before you ever put fabric under the needle, do a quick "feel test." Run your finger along the entire thread path, from the spool all the way down to the needle. You'll immediately feel any snags or spots where the thread isn't routed correctly. This one habit can save you so much trouble.
We've all been there, ready to give up. In sewing classes, I've seen firsthand how threading issues can be a major roadblock; some studies show around 40% of beginners abandon projects because of it. But getting past this hurdle opens up a massive world of creativity.
The needlecraft patterns market is booming, projected to hit $34,026.8 million in 2025 and an incredible $63,872.9 million by 2035, all driven by a passion for DIY. North America currently holds a 34.09% share of this market, which has surged 70.32% since 2021 as more people discover the joy of creating with their hands. You can check out more of these fascinating needlecraft market insights on futuremarketinsights.com. Mastering this fundamental skill is your ticket to being part of this amazing and growing community.
When you're in the middle of a project and something goes wrong, it's easy to get frustrated. Here's a quick reference table to help you diagnose and fix the most common threading headaches without missing a beat.
| Problem | Potential Cause | Solution |
|---|---|---|
| Thread is fraying or shredding at the eye. | The needle is dull, damaged, or too small for the thread. | Replace the needle with a new one. Ensure the needle size is appropriate for your thread weight. |
| Can't get the thread through the needle's eye. | The thread end is not clean, the lighting is poor, or your hands are unsteady. | Trim the thread end at a sharp angle with good scissors. Use a needle threader, a magnifier, or a task light. |
| Automatic threader isn't working. | The needle isn't at its highest point, is bent, or is inserted incorrectly. | Manually turn the handwheel to raise the needle to its highest position. Replace the needle if it might be bent. |
| Thread keeps breaking right after threading. | The machine's upper tension is too tight, or the machine is threaded incorrectly. | Rethread the entire upper path with the presser foot up to ensure the thread seats in the tension discs correctly. |
| The thread won't stay in the eye after pulling it through. | The tail left after threading is too short. | Pull at least 2-3 inches of thread through the eye to give you enough of a tail to work with. |
Remember, every stitcher faces these issues. The key is to learn how to read the signs and make quick adjustments. With a little practice, troubleshooting will become second nature.
Over the years, I've heard just about every question there is when it comes to the simple—yet often frustrating—task of threading a needle. Let's tackle some of the most common ones I hear from fellow stitchers, whether you're working by hand or with a machine.
Struggling to see that tiny little eye? You are definitely not alone. Forcing your eyes to focus on something so small can be a real headache, but a few simple tools and tricks can make all the difference.
First things first: light is everything. Get yourself a good task lamp, preferably one with a built-in magnifier. It's a total game-changer, I promise. This combo illuminates the needle and makes the eye look massive, taking the guesswork out of the equation.
A good old-fashioned manual needle threader is also a lifesaver. Find one with a bright handle so you don’t lose it, and a wire loop that’s flexible but not flimsy. For hand sewing, you might also look into self-threading needles—they have a tiny slot at the top you just pop the thread into.
Here's my favorite low-tech hack: slide a small piece of white paper behind the needle. The contrast makes the dark eye pop, giving you a much clearer target to aim for. It works surprisingly well!
Oh, the beloved automatic threader. It feels like magic when it works and a mystery when it doesn't. More often than not, the fix is pretty simple.
The number one culprit is usually that the needle isn't in its highest possible position. Before you do anything else, turn the handwheel toward you to raise the needle all the way up until it can't go any higher. This ensures everything is perfectly aligned for the mechanism.
Another common issue is a slightly bent needle. You might not even be able to see the bend, but it’s enough to throw the threader's hook off course. When in doubt, just pop in a fresh needle. Also, double-check that you're using a compatible needle size. Most built-in threaders work best with sizes 75/11 to 90/14. Finally, on many machines, the presser foot must be down for the threader to engage.
Technically, you can, but you probably won't be happy with the results. Machine embroidery thread is a different beast altogether. It's specifically engineered to withstand the high speeds and friction of machine stitching without constantly shredding or snapping.
Most embroidery threads are polyester or rayon, which gives them a beautiful sheen and superior strength that you just don't get from standard all-purpose sewing thread. Using the wrong kind can cause a world of frustration—think constant thread breaks, messy stitches, and a ton of lint buildup inside your machine.
And remember, always pair your thread with the right needle! If you're using a delicate metallic thread, for example, switch to a metallic needle to prevent fraying. For the bobbin, stick to a lightweight bobbin thread (a 60wt is standard) to keep the back of your embroidery from getting too bulky.
This is such an important question, and one that gets overlooked far too often. My go-to rule is to put in a fresh needle after every 8 to 10 hours of actual stitching time.
Think about it: that needle is punching through fabric and stabilizer thousands upon thousands of times. The tip gets dull and can even develop tiny burrs that snag your thread and fabric. A worn-out needle is the leading cause of shredded thread, skipped stitches, and puckered designs.
A new needle is some of the cheapest insurance you can buy for your projects. If you’re working with a tough material like denim or a particularly dense design, you may even want to change it sooner. My personal rule? Every big or important project gets a brand-new needle before the first stitch.
For all your quilting and embroidery needs, from the right needles to the perfect thread, High Country Quilts has you covered. Explore our wide selection of supplies and BERNINA machines online at https://hcquilts.com.
At High Country Quilts we care deeply about community. With our experiences in retail, we know that a store is not only a place to shop but also a place for the community to gather and share. During this busy...

Hi! We’re Adam and Renee Wheaton, the new owners of High Country Quilts! For more than 40 years, we’ve owned and operated vacuum and sewing businesses. Following in Renee’s father’s footsteps after he retired from All Discount Vacuum and Sewing in Colorado...


Leave a comment