

We Love Our Quilting Community
At High Country Quilts we care deeply about community. With our experiences in retail, we know that a store is not only a place to shop but also a place for the community to gather and share. During this busy...


If you want your stitches to look professional, strong, and lay perfectly flat, getting the hang of your sewing machine's tension settings is the most important skill you can learn. It's all about creating a delicate balance between the top and bobbin threads. Don't think of it as some complex mechanical mystery—it’s a skill that, once you've got it, will completely change your sewing game.
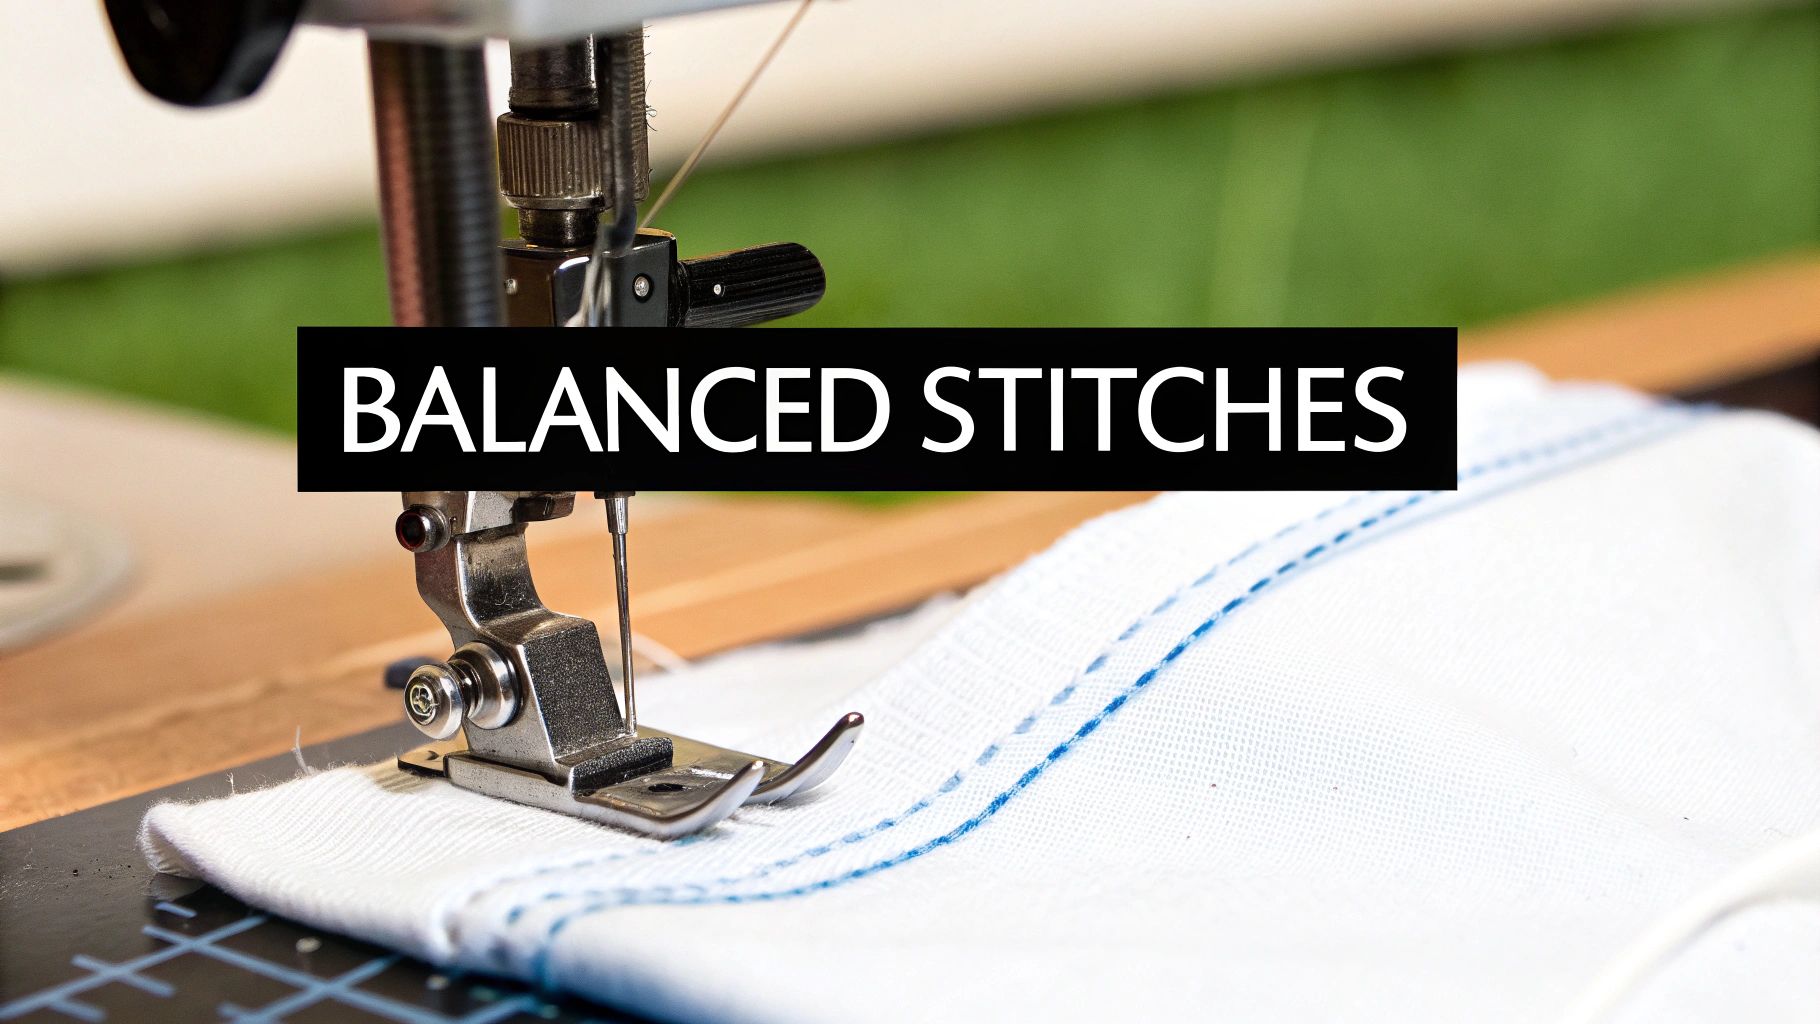
The best way to think about your machine's tension is like a perfectly matched game of tug-of-war. The top thread and the bobbin thread are pulling against each other with the exact same amount of force. When they meet right in the middle of your fabric layers, you get a beautiful, identical stitch on both sides.
But when one thread starts winning that tug-of-war, you end up with the frustrating problems that probably led you here in the first place:
These aren't signs that your machine is broken. It's just out of balance. Learning to make small adjustments to the tension is the fix. Getting it just right is a lot like a snowboarder dialing in your equipment for the perfect ride—it's all about making small, precise tweaks to achieve peak performance.
This challenge of balancing threads has been around for a long time. The need for sewing machine tension adjustment goes all the way back to the 1850s with Elias Howe's original two-thread lockstitch machine. The earliest machines used basic screws or pins to control the thread flow. It wasn't until the mid-20th century that the spring-loaded tension disc assemblies we recognize today became standard, which thankfully turned a frustrating guessing game into a much more precise science.
Key Takeaway: Don't let that tension dial intimidate you. If you start seeing it as a simple balancing act instead of a complicated technical problem, you've already taken the biggest step toward mastering your machine and saying goodbye to bad stitches.
Once you know what balanced, tight, and loose tension looks like, you'll have the confidence to spot and fix any stitch problem that comes your way.
Before you even think about touching that tension dial, take a close look at your stitches. They’re trying to tell you a story about what’s happening inside your machine. A beautifully balanced stitch is what we’re aiming for—it looks the same on both the top and bottom, with the little knot where the threads meet buried perfectly between the fabric layers.
When the tension is off, the signs are usually pretty clear. See those little loops of thread showing on the top of your fabric? That’s the bobbin thread pulling the top thread down too far. It's winning the tug-of-war.
If you flip the fabric over and find loops on the bottom, the opposite is true. Your top thread tension is too tight, and it's yanking the bobbin thread right up through the material. Wavy seams or puckered fabric are another dead giveaway that your tension is cranked up too high.
To get a definitive answer, the two-color thread test is a trick I swear by. It takes all the guesswork out of the equation. Just thread your machine with a dark color on top and a light color in the bobbin.
Now, grab a scrap of the fabric you're actually using for your project and stitch a straight line a few inches long. Let's take a look:
This little diagnostic test is the fastest way to figure out what's really going on.
This infographic breaks down what to look for when your stitches are acting up.
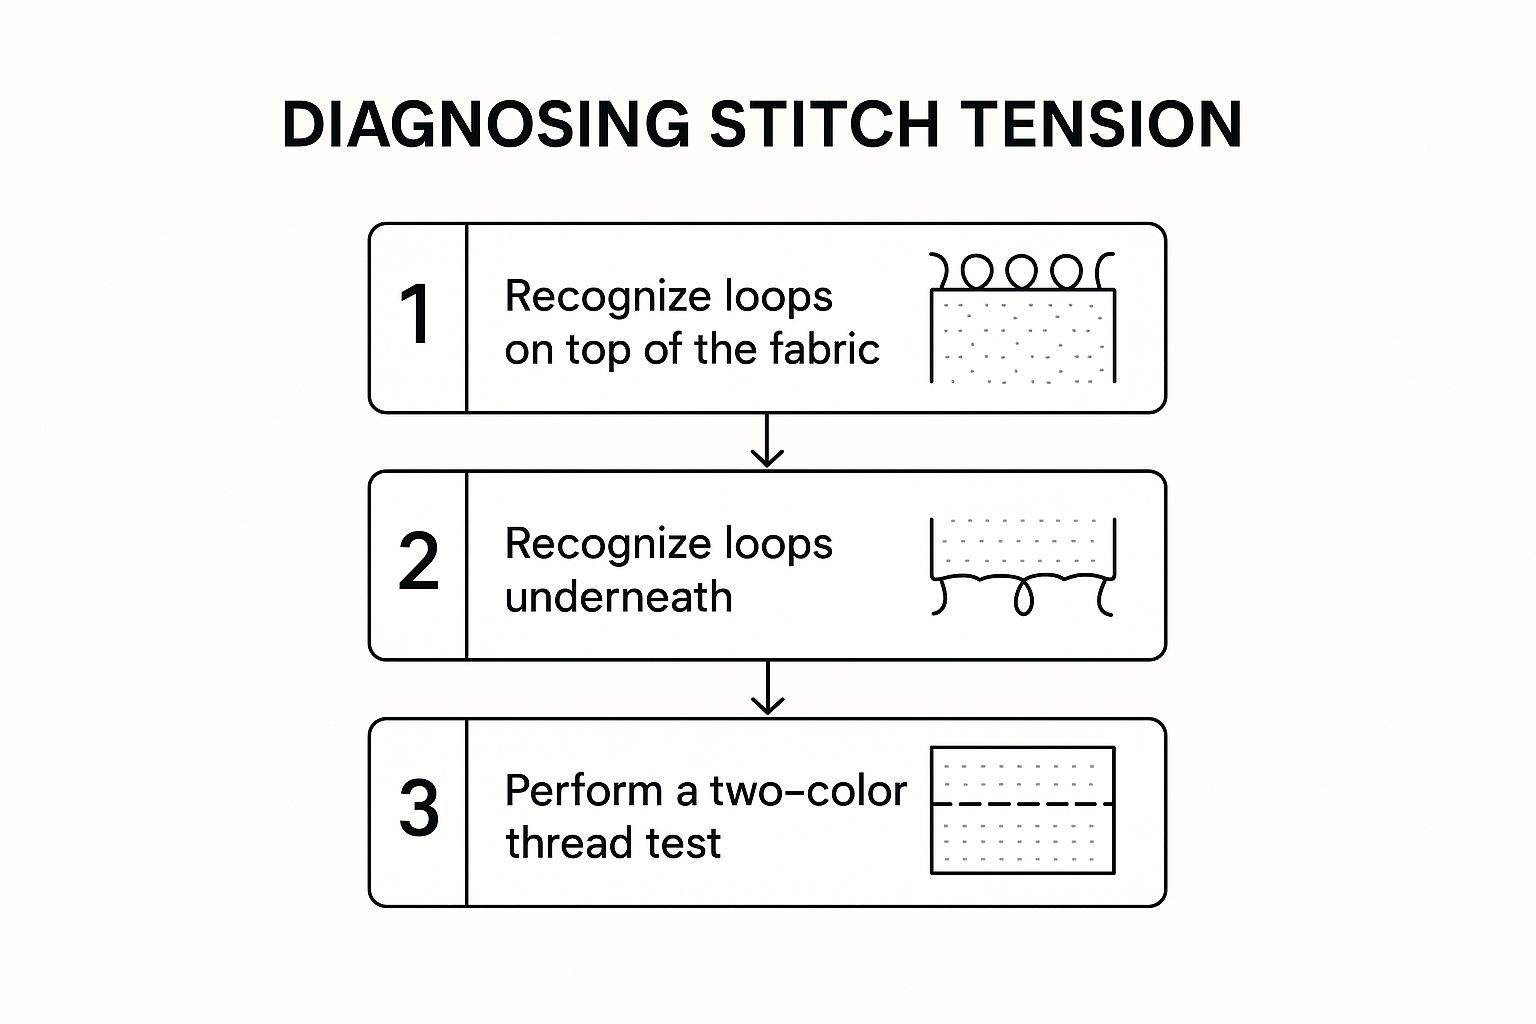
Sometimes a quick visual reference is all you need to pinpoint the problem and get back to sewing.
Pro Tip: Always, always do this test on a scrap of your project fabric. Tension settings that work perfectly on quilting cotton can create a total mess on a delicate silk or a heavy denim. Using the right material for your test is non-negotiable for an accurate fix.
To make things even easier, here's a quick cheat sheet for diagnosing common tension issues at a glance.
Use this table to quickly identify your stitch issue and its likely cause.
| Symptom (What you see on your fabric) | Common Cause | Where the Problem Lies |
|---|---|---|
| Loops of thread on the underside of the fabric | The top thread tension is too tight. | The upper thread is pulling the bobbin thread up. |
| Loops of thread on the top of the fabric | The bobbin thread tension is too tight. | The bobbin thread is pulling the upper thread down. |
| Puckered or wavy seams | Both top and bobbin tension are too tight. | Both threads are pulling too aggressively on the fabric. |
| Loose, messy, or uneven stitches | Tension is too loose overall, or the machine is threaded incorrectly. | The threads aren't being held with enough resistance. |
Keep this guide handy, and you'll be able to solve most tension headaches in just a few minutes.
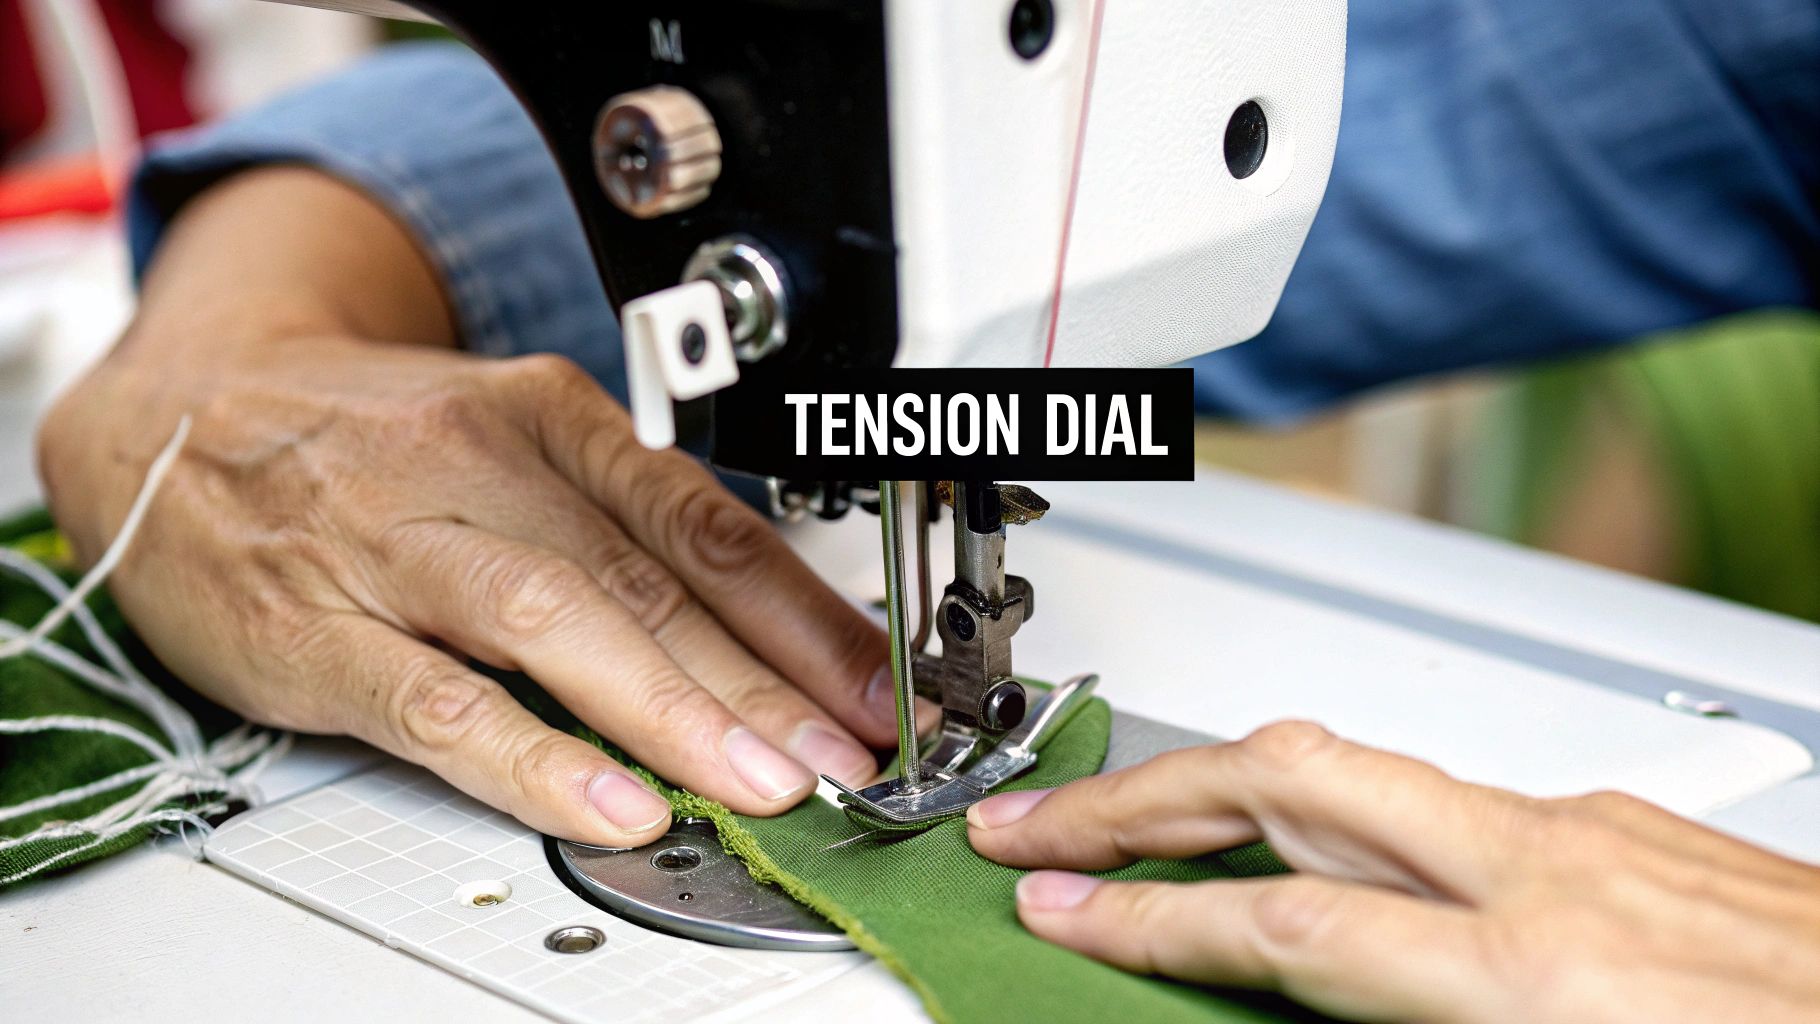
This is where you'll make most of your adjustments. The good news is that the vast majority of stitch problems can be solved right here, without touching the bobbin case. You don’t need to be a sewing machine technician; you just need to be patient and methodical.
Forget about cranking the dial from a 2 all the way to a 7. The real secret is making tiny, incremental changes. Most machines come with a default setting, usually marked right around a 4 or 5. Think of this as your home base. From that starting point, try moving the dial just a half-step at a time.
After every small adjustment, sew another test seam on your two-colored scrap fabric. This simple process does more than just fix the problem in front of you—it helps you build an intuitive understanding of how your machine behaves. It’s less about a technical fix and more like learning to communicate with your machine.
Here’s the simple feedback loop you’ll be using:
This back-and-forth process is the most valuable skill you can develop for better sewing. In fact, it's estimated that around 80% of common sewing issues trace back to tension that's just a little bit off. If you're struggling to see the difference, this guide can help you learn how to tell if your sewing machine tension is correct.
Rarely will one tension setting work for every single project. Different fabrics and threads behave differently, which is precisely why testing on a scrap of your actual project fabric is non-negotiable.
Let's say you switch to a thick topstitching thread. That thread is going to create more friction passing through the tension discs. To compensate, you'll probably need to decrease the upper tension (turn the dial to a lower number) to stop it from yanking the bobbin thread to the top.
On the other end of the spectrum, if you're working with a delicate silk, the fabric has almost no structure to resist the pull of the thread. You might find you need to decrease the tension a bit here, too, just to prevent the seam from puckering.
Key Insight: Don't treat your machine's default tension setting like a hard-and-fast rule. It's just a starting point. The "perfect" number is whatever gives you a beautiful, balanced stitch on the specific combination of fabric and thread you're using right now.
Before we dive in, let me give you a piece of advice I've learned the hard way: leave your bobbin tension alone unless you have a really good reason to change it. Think of it as your last resort, not your first step.
In my experience, 99% of tension issues come from the top thread, not the bottom. Before you even think about grabbing a screwdriver, make sure you’ve re-threaded your entire machine, put in a fresh needle, and given the bobbin area a thorough cleaning. These simple steps solve the problem most of the time.
That said, there are a few special cases where adjusting the bobbin tension is the right move. These situations usually involve using threads that are way outside the norm, throwing off the machine's factory-set balance.
Here are a couple of real-world scenarios where you'll likely need to make an adjustment:
Doing Machine Embroidery: Embroidery setups often pair a thicker, decorative thread on top with a very fine, lightweight thread in the bobbin. To get that beautiful, clean finish on the front of your design, you might need to loosen the bobbin tension just a bit. This helps the top thread pull the bobbin thread slightly to the underside, where it belongs.
Using Specialty Threads: Are you experimenting with elastic thread for shirring or a heavy decorative thread for some fun bobbin work? You'll definitely have to loosen the bobbin tension. Thicker threads need more room to move, and a standard setting will just be too tight, causing puckering and breakage.
Expert Tip: When you do need to adjust the bobbin case, grab a small screwdriver that fits the screw perfectly to avoid stripping it. Turn it in tiny increments—I’m talking no more than a quarter-turn at a time, like winding a tiny watch. Remember: lefty-loosey (less tension), righty-tighty (more tension).
A tried-and-true method for checking the tension is the "drop test." Once the bobbin is in its case, hold it by the thread. It should be tight enough to support its own weight. If you give it a little jiggle, it should drop down an inch or two and stop. If it plummets or doesn't move at all, it's time for a tiny adjustment.
Before you start fiddling with that tension dial, let's take a step back. I can't tell you how many times I've seen sewers (myself included!) waste hours adjusting the tension adjustment sewing machine settings, only to find the real problem was something much simpler. Puckering fabric, ugly loops, and skipped stitches all scream "tension," but they're often symptoms of a different issue entirely.
Running through a quick pre-flight checklist first can save you a ton of frustration. More often than not, one of these basic things is the real culprit behind your stitch woes.
Think of these as the fundamentals. Before you even touch a dial, walk through these four simple checks. I promise it’s worth the two minutes it takes.
Rethread the Entire Machine: Yes, the whole thing. Take both the top thread and the bobbin out and start fresh. The most critical part of this is making sure the presser foot is up when you thread the top. Lifting the foot opens up the tension discs, which is the only way to ensure your thread slips correctly between them. If the foot is down, the thread just slides over the top, and you get zero tension.
Inspect Your Needle: A dull, bent, or nicked needle is the number one cause of stitch problems. A worn-out needle doesn't pierce the fabric cleanly; it snags and punches its way through. This violence pulls on the thread and fabric, creating puckers and loops that look exactly like a tension problem. If you can't remember the last time you changed your needle, it's time for a new one.
I tell every new sewer I teach: start every single project with a fresh needle. It's a cheap habit that will save you from a world of headaches later on.
Clean Out the Bobbin Area: You would be shocked at how much lint and tiny thread bits can accumulate around the bobbin case. All that fluff can jam things up, preventing the bobbin from spinning smoothly and messing with the lower thread tension. A quick sweep with a lint brush can make a massive difference.
Use the Right Needle for the Job: Make sure the needle you have installed matches the fabric you're sewing. Shoving a universal needle through thick denim or using a sharp on a delicate knit is a recipe for disaster. You'll get skipped stitches and poor stitch quality that, again, can easily be mistaken for bad tension. Sometimes, the fix is as simple as swapping to the correct needle type.
Even experienced sewers run into tension troubles now and then. Certain fabrics or stitches just seem to throw everything off. Let's tackle some of the most common questions that pop up when you're trying to get that perfect stitch.
Think of your tension dial as a custom setting, not a one-size-fits-all solution. The perfect tension for a thick, sturdy denim will almost certainly be too tight for a slippery, delicate silk, causing it to pucker up. The fabric's weight, thickness, and even its weave play a huge role in how the top and bottom threads interact.
This is exactly why the single best habit you can build is to always test your stitches on a scrap piece of your project fabric. It's a quick, two-minute check that saves you from a world of frustration and seam-ripping later.
Yes, a little tweak is usually a good idea. Wider stitches, like zig-zags or decorative patterns, have to travel further from side to side. This extra travel pulls more on the top thread, effectively tightening the tension.
If you leave your straight-stitch settings for a wide zig-zag, you might see the fabric "tunnel" or bunch up in the middle of the stitch. It's a classic sign that the top thread is winning the tug-of-war.
Actionable Tip: Before you start a zig-zag, try lowering your upper tension just a bit. Often, a small adjustment, like turning the dial from a 4 down to a 3.5, is all it takes to give the thread enough slack to form a beautiful, flat stitch.
It matters more than you’d think! Grabbing a bobbin that looks "close enough" is one of the most common, and frustrating, causes of tension problems. Even tiny differences in a bobbin's height, shape, or weight can wreak havoc.
If a bobbin isn't the right fit, it might rattle around or jam in the bobbin case, leading to choppy, inconsistent thread feeding from below. This creates a lower tension problem you can never fix with the upper tension dial. The easiest way to avoid this headache? Always use the bobbins made specifically for your machine's model.
At Famcut.com, we love helping sewers find the right gear and guidance to master their craft. Check out our huge selection of sewing supplies and learning resources at https://famcut.com.
At High Country Quilts we care deeply about community. With our experiences in retail, we know that a store is not only a place to shop but also a place for the community to gather and share. During this busy...

Hi! We’re Adam and Renee Wheaton, the new owners of High Country Quilts! For more than 40 years, we’ve owned and operated vacuum and sewing businesses. Following in Renee’s father’s footsteps after he retired from All Discount Vacuum and Sewing in Colorado...


Leave a comment