

We Love Our Quilting Community
At High Country Quilts we care deeply about community. With our experiences in retail, we know that a store is not only a place to shop but also a place for the community to gather and share. During this busy...


Welcome to the vibrant and rewarding world of quilting! If you've ever admired a beautiful handmade quilt and thought, 'I wish I could do that,' you're in the right place. Quilting doesn't have to be an intimidating craft reserved for experts with years of experience. In fact, some of the most stunning and heartfelt quilts are born from the simplest techniques.
This guide is designed to demystify the process and introduce you to a variety of accessible and simple quilting ideas that are perfect for beginners but equally enjoyable for seasoned stitchers looking for a quick, satisfying project. We'll explore seven distinct methods, each with its own unique charm and set of skills. From the timeless appeal of a classic patchwork to the speedy satisfaction of a Jelly Roll Race, you'll find a project that sparks your creativity and fits your style.
We'll break down the steps, offer practical tips, and show you that with a little guidance, you can create a cozy masterpiece. The core of quilting is about combining shapes and colors to make something new, a principle shared across many artistic disciplines. To further kickstart your creative journey with accessible projects, consider these drawing ideas for beginners to warm up your design muscles. Let's thread the needle and begin this creative journey together
The simple patchwork quilt is the quintessential starting point for any new quilter and a beloved classic for seasoned crafters. This method is one of the most straightforward and forgiving simple quilting ideas, relying on a grid of fabric squares or rectangles sewn together. Its beauty lies in its simplicity; by mastering basic cutting and straight-line sewing, you can create a stunning and functional piece. The process involves selecting coordinating fabrics, cutting them into uniform shapes (typically squares), arranging them in a pleasing pattern, and then sewing them into rows, which are then joined to form the quilt top.
This technique is ideal for beginners because it minimizes complex piecing and focuses on fundamental skills. It’s the perfect project to practice maintaining a consistent 1/4-inch seam allowance, which is crucial for all quilting. You can easily create beautiful designs like a two-color checkerboard quilt, a colorful scrap quilt from leftover fabrics, or a charming nine-patch baby quilt. The use of pre-cut fabric squares, such as 5-inch "charm packs," streamlines the process even further by eliminating most of the initial cutting.
This quick reference box summarizes the core components of a simple patchwork project.
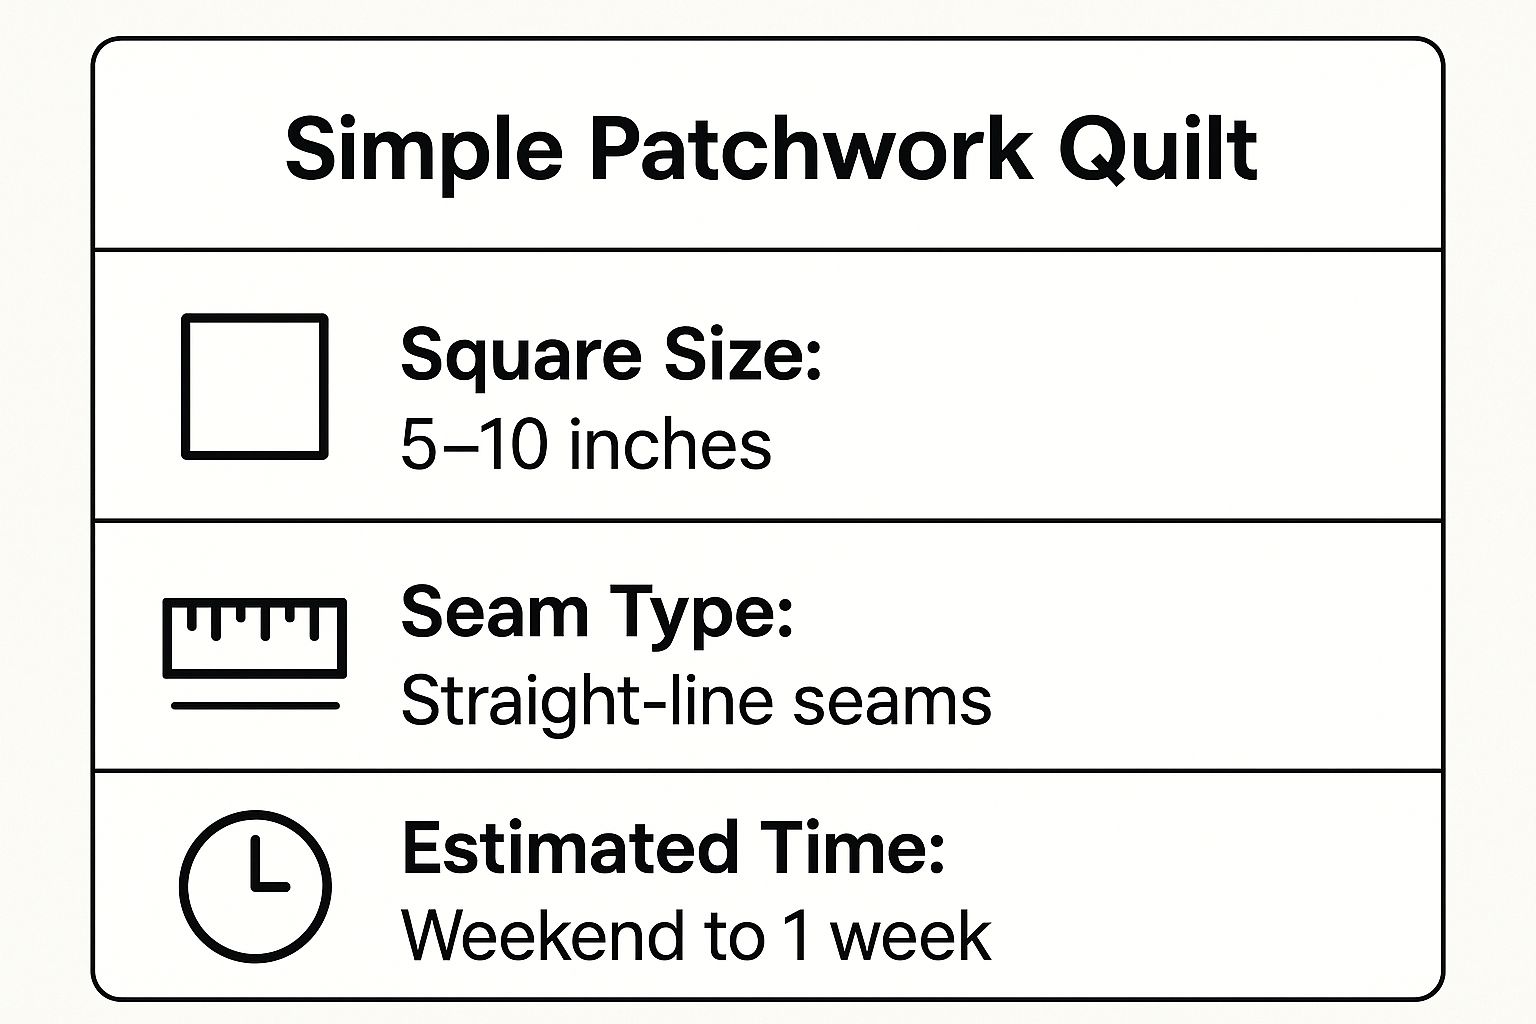
As the infographic highlights, the manageable square sizes and basic seam requirements make this a project you can complete relatively quickly, building your confidence for more complex designs.
To ensure your first patchwork quilt comes together smoothly, keep these tips in mind:
Strip quilting is a dynamic and efficient method that involves sewing long strips of fabric together to form a "strip set," which is then cross-cut and reassembled to create intricate-looking designs with surprising ease. A wildly popular variation of this technique is the "Jelly Roll Race," a method popularized by Jenny Doan of the Missouri Star Quilt Company. This approach uses pre-cut 2.5-inch fabric strips (known as Jelly Rolls) sewn end-to-end to create one continuous, miles-long strip. This super-strip is then folded and sewn repeatedly, allowing a quilter to assemble a full-sized quilt top in as little as an hour.
This method is one of the most rewarding simple quilting ideas because it delivers impressive results with incredible speed, boosting a beginner's confidence. The Jelly Roll Race specifically minimizes precise cutting and intricate piecing, focusing instead on long, straight seams. It's a fantastic way to learn how to handle long pieces of fabric and manage seam allowances consistently. Using pre-cut Jelly Rolls, a creation of Moda Fabrics, also removes the often tedious step of cutting, letting you get straight to the fun of sewing.
You can see just how fast and simple this process is in the original tutorial video.
The video demonstrates the core technique, showing how a random assortment of strips transforms into a beautifully blended quilt top with minimal effort.
To master your first strip quilt and avoid common frustrations, follow these tips:
For those who love a rustic, cozy aesthetic, the rag quilt is one of the most satisfying and forgiving simple quilting ideas. Unlike traditional quilts where seams are hidden, this technique celebrates texture by exposing the seam allowances on the outside of the quilt. The magic happens after sewing; fabric squares are stacked with batting, sewn together with seams facing outward, and then the seam allowances are clipped. When washed and dried, these clipped edges fray beautifully, creating the signature soft, chenille-like texture.

The rag quilt is perfect for beginners because it requires no precise piecing or intricate quilting patterns. In fact, small imperfections are completely hidden by the fluffy, frayed seams. It's a "quilt-as-you-go" method, meaning the quilting is done as you piece the blocks, combining steps and saving time. This technique works wonderfully for projects like flannel baby rag quilts, durable denim quilts from recycled jeans, or warm plaid camping blankets. The end result is a sturdy, well-loved-looking quilt straight from the first wash.
To achieve that perfect fluffy, frayed finish on your rag quilt, follow these key tips:
The Quilt-As-You-Go (QAYG) method is a game-changer for quilters who find managing a large quilt sandwich daunting. This technique breaks down the quilting process into smaller, more manageable sections. Instead of assembling a full quilt top, batting, and backing all at once, you create individual quilted blocks, each with its own layers. These finished blocks are then joined together to form the final quilt, making it one of the most accessible simple quilting ideas for those with limited space or a standard domestic sewing machine.
This method is perfect for beginners because it allows you to practice the entire quilting process-piecing, layering, quilting, and finishing-on a small scale. Since you are only maneuvering a single block under your needle at a time, you can experiment with more intricate quilting designs without wrestling with the bulk of a full-size quilt. It’s also incredibly portable, making it easy to work on projects like a QAYG log cabin quilt or sampler blocks while on the go. This technique is also ideal for creating structured items like tote bags or placemats, as the quilted panels are sturdy and ready to be sewn together.
To ensure your QAYG project is a success, focus on consistency and your joining method:
Whole cloth quilting is a minimalist and elegant approach that flips the focus from piecing to the quilting itself. Instead of sewing together many small fabric pieces, this technique uses a single, solid piece of fabric for the quilt top. The design and texture come entirely from the quilting stitches, making it one of the most unique simple quilting ideas for showcasing beautiful fabric or practicing quilting techniques. The process involves layering your single-piece top with batting and backing and then using the quilting stitches to create patterns like grids, lines, or waves.
This method is perfect for beginners who want to build confidence in the quilting stage without the pressure of precise piecing. It allows you to concentrate purely on machine or hand quilting, turning your stitches into the star of the show. You can create a modern, sophisticated look with minimal effort. Examples include a simple grid-quilted solid color baby quilt, a cozy hand-tied flannel utility quilt, or a striking modern quilt with straight-line channel quilting. The simplicity of the top means you can finish projects quickly while honing your stitching skills.
This quick reference box summarizes the core components of a whole cloth quilting project.
As highlighted, the lack of piecing makes this a very fast project to prepare for quilting, allowing you to get right to the creative part of adding texture and design with thread.
To ensure your whole cloth quilt is a success, focus on the quilting process with these tips:
For quilters who love a bold statement and a quick finish, big block quilts are one of the most satisfying simple quilting ideas. This approach uses large-scale blocks, often 12 inches, 16 inches, or even larger, to construct the quilt top. Because the individual blocks are so substantial, you need far fewer of them to complete a project, which dramatically speeds up the assembly time. The focus shifts from intricate piecing to the impact of color, pattern, and scale.
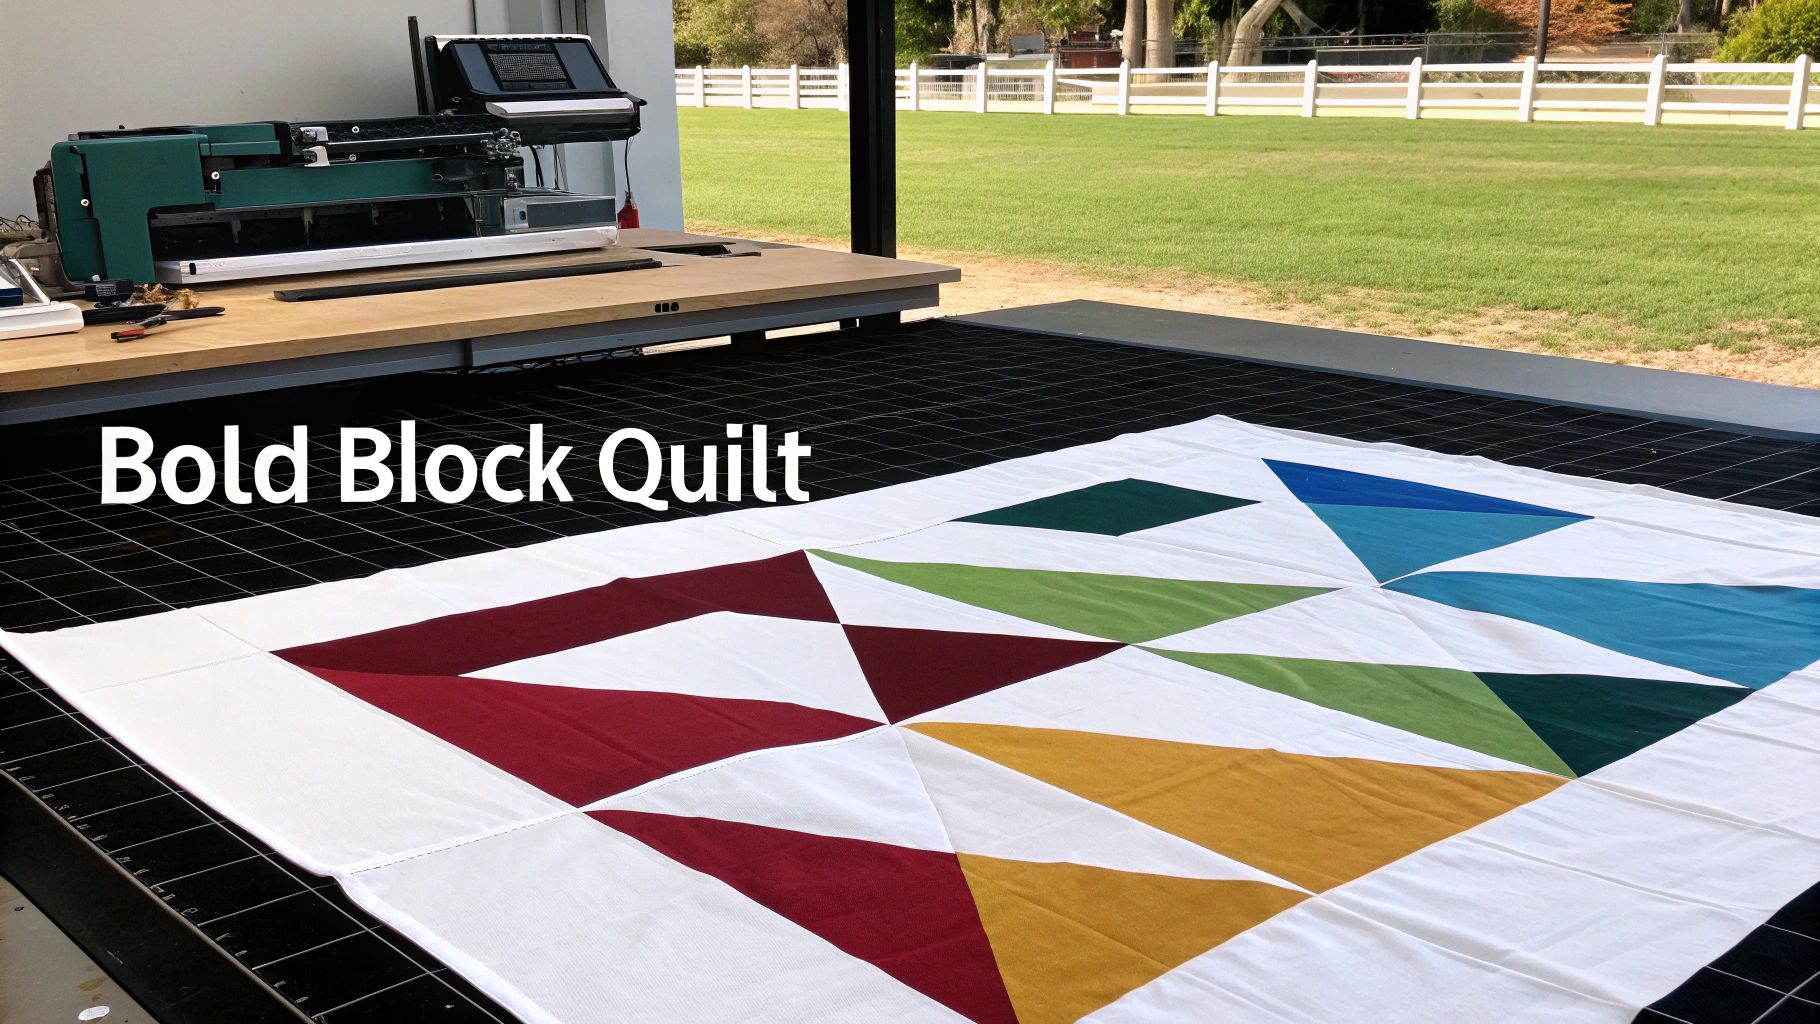
Big block quilts are perfect for beginners who want to complete a larger project, like a lap or bed quilt, without feeling overwhelmed by hundreds of tiny pieces. This method allows you to practice fundamental skills on a larger, more forgiving scale while still achieving a visually impressive result. It's also an excellent way to showcase large-scale, novelty, or "focus" fabrics that would be lost if cut into small pieces. You can create stunning designs like a giant star quilt using 24-inch blocks or a simple four-patch baby quilt made from just four oversized blocks.
This quick reference box summarizes the core components of a big block quilt project.
As the infographic illustrates, the large block sizes make this an ideal choice for fast projects, allowing you to move from cutting to a finished quilt top in a weekend.
To make your big block quilt a showstopper, follow these practical tips:
Tied quilts, also known as utility quilts, offer a wonderfully traditional and straightforward alternative to machine or hand quilting. Instead of intricate stitch patterns, this method secures the three quilt layers (top, batting, and backing) together with simple, evenly-spaced ties. Using yarn, embroidery floss, or heavy-duty thread, you take a stitch through all layers and tie a secure knot on one side. This no-fuss technique is one of the most accessible simple quilting ideas for creating a warm, functional quilt quickly, without needing advanced quilting skills or a specialized sewing machine.
This method is perfect for beginners or anyone needing a finished quilt in a hurry. It bypasses the often time-consuming and challenging steps of machine or hand quilting, making it less intimidating. The focus is on function and speed, which is why it's a popular choice for charity quilts, cozy flannel-backed baby quilts, and durable camping blankets. The resulting quilt has a charming, slightly rustic aesthetic with soft, tufted dimples where the ties are knotted, giving it a distinct and cuddly texture that is difficult to achieve with traditional quilting.
This quick reference box summarizes the core components of a tied quilt project.
As the infographic shows, the simplicity of using knots instead of stitches makes this a fast and beginner-friendly finishing technique, ideal for projects that prioritize warmth and durability.
To ensure your tied quilt is both beautiful and long-lasting, follow these practical tips:
| Quilt Type | Implementation Complexity 🔄 | Resource Requirements ⚡ | Expected Outcomes 📊 | Ideal Use Cases 💡 | Key Advantages ⭐ |
|---|---|---|---|---|---|
| Simple Patchwork Quilt | Low - straight seams, basic skills | Low - basic fabrics, scrap-friendly | Classic grid pattern, customizable look | Beginners, scrap usage, quick projects | Beginner-friendly, forgiving, budget-conscious |
| Strip Quilts (Jelly Roll Race) | Low to Medium - sewing long strips | Medium - pre-cut strips, jelly rolls | Fast construction, modern dynamic patterns | Quick quilts, showcasing fabric collections | Extremely fast, minimal waste, visually striking |
| Rag Quilts | Low - basic sewing, exposed seams | Medium - flannel/cotton/denim fabric | Cozy, textured, warm, rustic appearance | Casual quilts, gifts, warm blankets | No quilting needed, forgiving seams, very warm |
| Quilt-As-You-Go (QAYG) | Medium - quilting blocks individually | Medium to High - extra batting/backing | Portable, detailed quilting on blocks | Small spaces, hand quilting, variety | Manageable sections, portable, versatile quilting |
| Whole Cloth Quilting | Medium to High - quilting skill focus | Medium - large fabric pieces | Minimalist, quilting-focused design | Practicing quilting skills, modern quilts | Showcases fabric & quilting, minimal piecing needed |
| Big Block Quilts | Low - large blocks, simple piecing | Medium - large fabric pieces | Bold, modern, quick to assemble | Beginners, fast projects, large prints | Fast, fewer seams, good for beginners, bold designs |
| Tied Quilts (Utility) | Very Low - simple tying technique | Low - basic materials, yarn/thread | Functional, homespun, lightly secured layers | Utility quilts, quick gifts, charity projects | Fastest method, no special equipment, very beginner-friendly |
You have just explored a curated collection of seven fantastic and accessible quilting projects, each designed to welcome you into the world of this timeless craft. From the classic geometry of a simple patchwork to the rapid assembly of a Jelly Roll race quilt, these ideas are more than just patterns; they are your entry points into a fulfilling creative practice. The journey through these simple quilting ideas demonstrates that you don’t need complex techniques to create something beautiful, warm, and deeply personal.
The true takeaway from these projects is the power of starting small. A big block quilt proves that size can create impact without intricate piecing, while a tied utility quilt reminds us that function and tradition can be just as lovely as elaborate stitching. Each method, whether it's the textural appeal of a rag quilt or the clever efficiency of Quilt-As-You-Go, demystifies the process and places the joy of creation front and center.
The most critical step in any new endeavor is the first one. Don't let the pursuit of perfection paralyze you. Instead, embrace the "done is better than perfect" mindset. Your first quilt is a learning experience, a canvas for practice, and a milestone to be celebrated, flaws and all. The skills you build with these foundational projects will become the bedrock for all your future quilting adventures.
Here are a few actionable steps to keep your momentum going:
Mastering these basic approaches isn't just about making your first quilt; it's about building creative confidence. Each seam you sew and every block you complete reinforces your ability to turn a pile of fabric into a functional work of art. This process fosters patience, hones your attention to detail, and provides a tangible connection to a long and rich history of craftsmanship. The real reward is discovering your own creative voice, one stitch at a time. Your quilting journey is uniquely yours, and it starts with the simple, satisfying act of making that first cut.
Ready to transform these simple quilting ideas from a screen into a beautiful, tangible creation? Visit us at High Country Quilts in Colorado Springs, where our passionate team can help you find the perfect fabrics, tools, and BERNINA sewing machines to bring your vision to life. Let us be a part of your creative journey from the very first stitch by exploring our classes and supplies at High Country Quilts.
At High Country Quilts we care deeply about community. With our experiences in retail, we know that a store is not only a place to shop but also a place for the community to gather and share. During this busy...

Hi! We’re Adam and Renee Wheaton, the new owners of High Country Quilts! For more than 40 years, we’ve owned and operated vacuum and sewing businesses. Following in Renee’s father’s footsteps after he retired from All Discount Vacuum and Sewing in Colorado...


Leave a comment