

We Love Our Quilting Community
At High Country Quilts we care deeply about community. With our experiences in retail, we know that a store is not only a place to shop but also a place for the community to gather and share. During this busy...


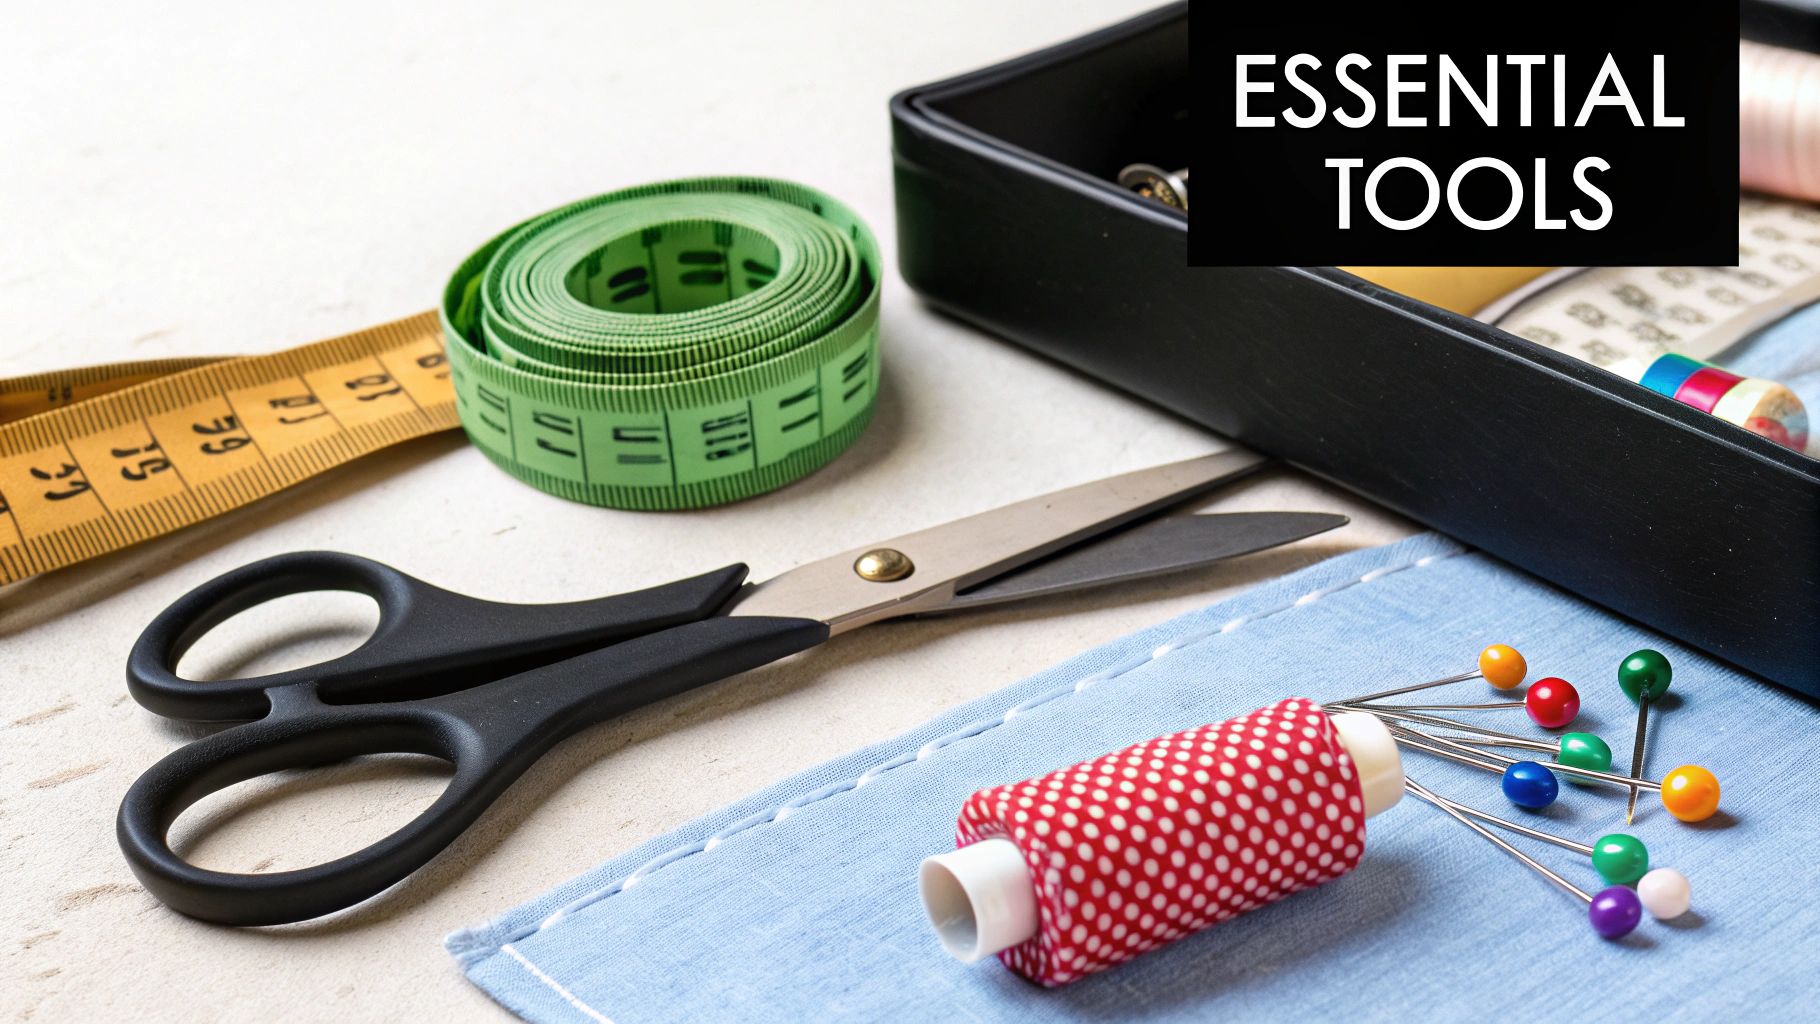
Diving into the world of sewing is exciting, but let's be honest—walking into a craft store for the first time can be completely overwhelming. The sheer number of gadgets, gizmos, and tools is enough to make anyone’s head spin.
But here’s a little secret from someone who's been there: you don't need it all. Not even close. Just like a chef starts with a single, high-quality knife, you can start your sewing journey with just a handful of core tools.
Your main goal right now is to assemble a small, reliable toolkit that will see you through your first few projects without any fuss. We're focusing on the essentials for measuring, cutting, and stitching. That's it. Forget the specialty items for now; we'll get to those later.
Think of any sewing project, whether it's a simple tote bag or your first pajama pants, and you'll find it breaks down into three basic steps. Your starter kit should be built around these actions.
A well-curated sewing kit is your creative partner. Investing in a few quality essentials from the start will prevent frustration and make the learning process much more enjoyable and rewarding.
You're not alone in picking up this craft. The global market for sewing supplies hit around USD 5.24 billion in 2024, which just goes to show how many people are rediscovering the joy of making things with their own hands.
This idea of starting with a core set of tools isn't unique to sewing. It's a smart approach for any new hobby, and it's helpful to see what other essential beginner craft materials are recommended for different creative pursuits.
To make things even easier, here's a quick-glance table of the absolute must-haves for your beginner's kit.
This table breaks down the core tools every beginner needs, categorized by their primary function to simplify your shopping list.
| Tool Category | Essential Tool | Primary Purpose |
|---|---|---|
| Measuring & Marking | Measuring Tape | For taking body measurements and measuring curved lines. |
| Measuring & Marking | Seam Gauge or Ruler | For precise, small measurements like seam allowances and hems. |
| Measuring & Marking | Fabric Marker/Chalk | To transfer pattern markings onto your fabric temporarily. |
| Cutting | Fabric Shears | Dedicated scissors for cutting fabric cleanly and accurately. |
| Cutting | Thread Snips/Small Scissors | For quickly snipping threads at the beginning and end of seams. |
| Cutting | Seam Ripper | Your best friend for fixing mistakes and removing stitches. |
| Joining & Stitching | Pins or Clips | To hold fabric pieces together securely before and during sewing. |
| Joining & Stitching | Hand-Sewing Needles | A variety pack is best for different fabric types and hand-finishing tasks. |
| Joining & Stitching | All-Purpose Thread | Start with basic colors like black, white, and gray. |
Think of this list as your treasure map. With these few items, you'll be more than ready to tackle your first projects with confidence.
A professional-looking project doesn't start at the sewing machine. It actually begins much earlier, on your cutting table. Precision is everything, and how you measure and cut your fabric will make or break your final result.
Think of it like building a house. If the foundation isn't perfectly square, every wall, window, and door that follows will be slightly off. Your cutting and measuring tools are what create that perfect foundation, making sure every piece fits together exactly as it's supposed to.
And you're not alone in needing these tools! It's estimated that roughly 12 billion sewing supply units are used worldwide every year, and a huge chunk of that is for at-home sewing. The right tools are what support this passion, a trend explored in this deep dive into the sewing supplies market.
Let’s start with the single most important cutting tool you’ll own: a dedicated pair of fabric shears. I can't stress this enough—these are not your average kitchen scissors. They're specifically designed with long, sharp blades to slice through fabric in one clean, smooth motion. No more jagged, chewed-up edges.
A few things to remember about fabric shears:
Treat your fabric shears with respect. Keep them clean, dry, and hidden from anyone who might be tempted to use them for a school project, and they'll be your trusted partner for years.
While shears are a must-have, the combination of a rotary cutter and a self-healing mat is a total game-changer, especially for cutting long, straight lines. A rotary cutter is basically a pizza cutter for fabric, but with an incredibly sharp circular blade that rolls right through the material.
Pro Tip: The secret to getting perfectly straight cuts with a rotary cutter is to pair it with a clear acrylic ruler. Press the ruler down firmly on the fabric and run the blade right alongside it. You'll get a flawless edge every single time.
The self-healing mat is the rotary cutter’s best friend. It gives you a safe surface that protects both your table and the blade itself. The "self-healing" magic comes from a special material that lets the blade sink in just enough to cut the fabric, then closes back up, keeping the surface smooth for the next cut.
Of course, you can't cut accurately without measuring accurately first. You really only need two main tools for this job.
While your cutting tools give a project its shape, it’s the humble trio of needles, thread, and pins that actually holds everything together. Think of them as the unsung heroes of your sewing kit. They might be small, but these are the sewing supplies for beginners that determine whether your creation is sturdy and beautiful or falls apart at the seams.
Getting the right combination is a game-changer. Using a heavy-duty needle on a delicate fabric can leave permanent, ugly holes. The wrong thread? It could snap after a single wash. Let’s dive into how to pick the right partners for any fabric you choose.
Trust me, needles are not a one-size-fits-all deal. They come in a surprising variety of types and sizes, each engineered for a specific job. Trying to sew fine silk with a thick needle is like trying to paint a watercolor with a house-painting brush—it’s just going to make a mess and ruin the material.
When you look at a pack of sewing machine needles, you'll see two numbers, like 80/12 or 90/14. The first is the European size and the second is the American size. Just remember this: the higher the number, the thicker the needle.
Here’s a simple cheat sheet to get you started with machine needles:
As for hand sewing, you can't go wrong with a variety pack of "sharps." They’re great all-rounders for quick fixes, buttons, and general hand stitching.
Thread is the literal glue holding your project together, so its quality and type are incredibly important. The global sewing thread market is a testament to its variety, expected to hit USD 4.84 billion by 2034. You can read more about the expanding sewing thread market on PrecedenceResearch.com to see just how many options are out there.
The golden rule for choosing thread is simple: Pick a thread that is slightly stronger and the same weight (or a little thinner) than the fibers of your fabric. This way, if a seam is ever stressed to its breaking point, the fabric will tear before the seam does, making for a much easier repair job.
For anyone starting out, an all-purpose polyester thread is the most versatile and forgiving choice. It has a bit of give, which works well for both wovens and knits, and it’s strong enough for almost anything you can throw at it. Cotton thread is another classic, especially great for 100% cotton fabrics, but it doesn't have the same stretch as polyester.
Before you ever sit down at the machine, you need a way to hold your fabric layers in place. That’s where pins and clips come in. They act as temporary stitches, ensuring everything stays perfectly aligned while you sew.
Glass-head straight pins are a fantastic starting point. Why glass? Because the little balls on the end won’t melt if you accidentally graze them with a hot iron (and you will).
For fabrics that are too delicate for pins (like silk or vinyl) or for holding together thick layers (like quilt binding), fabric clips are a brilliant modern solution. They clamp onto the edges securely without leaving any holes behind. Having both in your toolkit is a smart move.
Buying your first sewing machine feels like a huge step, but it’s easily the most exciting of all the sewing supplies for beginners you'll get. Don't think of it as a scary investment. Instead, look at it as choosing your first creative partner. You don't need a high-end race car with a hundred confusing buttons; you just need a reliable ride that helps you learn the rules of the road.
The whole point is to find a machine that helps you grow, not one that makes you want to quit. A great beginner machine keeps things simple and focuses on what really matters: a handful of essential stitches, easy-to-adjust settings for stitch length and width, and a bobbin system that doesn't make you tear your hair out. Those core features are the bedrock of good sewing and are all you really need to get started on a ton of amazing projects.
Right out of the gate, you'll see two main types of machines: mechanical and computerized. It's not about which one is "better"—it's about which one is a better fit for you as you're starting out. They just offer completely different sewing experiences.
Let's break down the real-world differences to help you decide.
| Feature | Mechanical Machines | Computerized Machines |
|---|---|---|
| Controls | Manual dials and knobs. Very hands-on. | Push-button controls and an LCD screen. |
| Stitch Selection | A solid set of core, essential stitches. | A much larger variety, including many decorative stitches. |
| Ease of Use | Simple, straightforward, and fewer things to learn. | More "helper" features like auto-threading and one-step buttonholes. |
| Maintenance | Easier to service and troubleshoot yourself. Built like a tank. | Can require professional servicing for electronic issues. |
| Cost | Generally more budget-friendly. | Tends to be more expensive due to the technology inside. |
Ultimately, a mechanical machine is a fantastic choice if you want to learn the nuts and bolts of how sewing works. They’re workhorses that force you to understand the process. A computerized machine, on the other hand, can be a huge confidence booster with its helpful automations, letting you focus more on the project itself.
The best advice I can give is this: don't get distracted by a high stitch count. A machine with 10-15 solid, well-formed stitches is infinitely more useful than one with 100 flimsy decorative ones you’ll never touch. Quality over quantity is the name of the game.
When you start looking at different models, it's easy to get lost in all the marketing hype. Tune it out and focus on these practical features. These are the things that will actually make a difference in your day-to-day sewing.
Essential Machine Features:
Just as important as your machine is picking the right fabric to learn on. Some are a dream to work with, while others will fight you every step of the way. This chart gives you a quick visual.
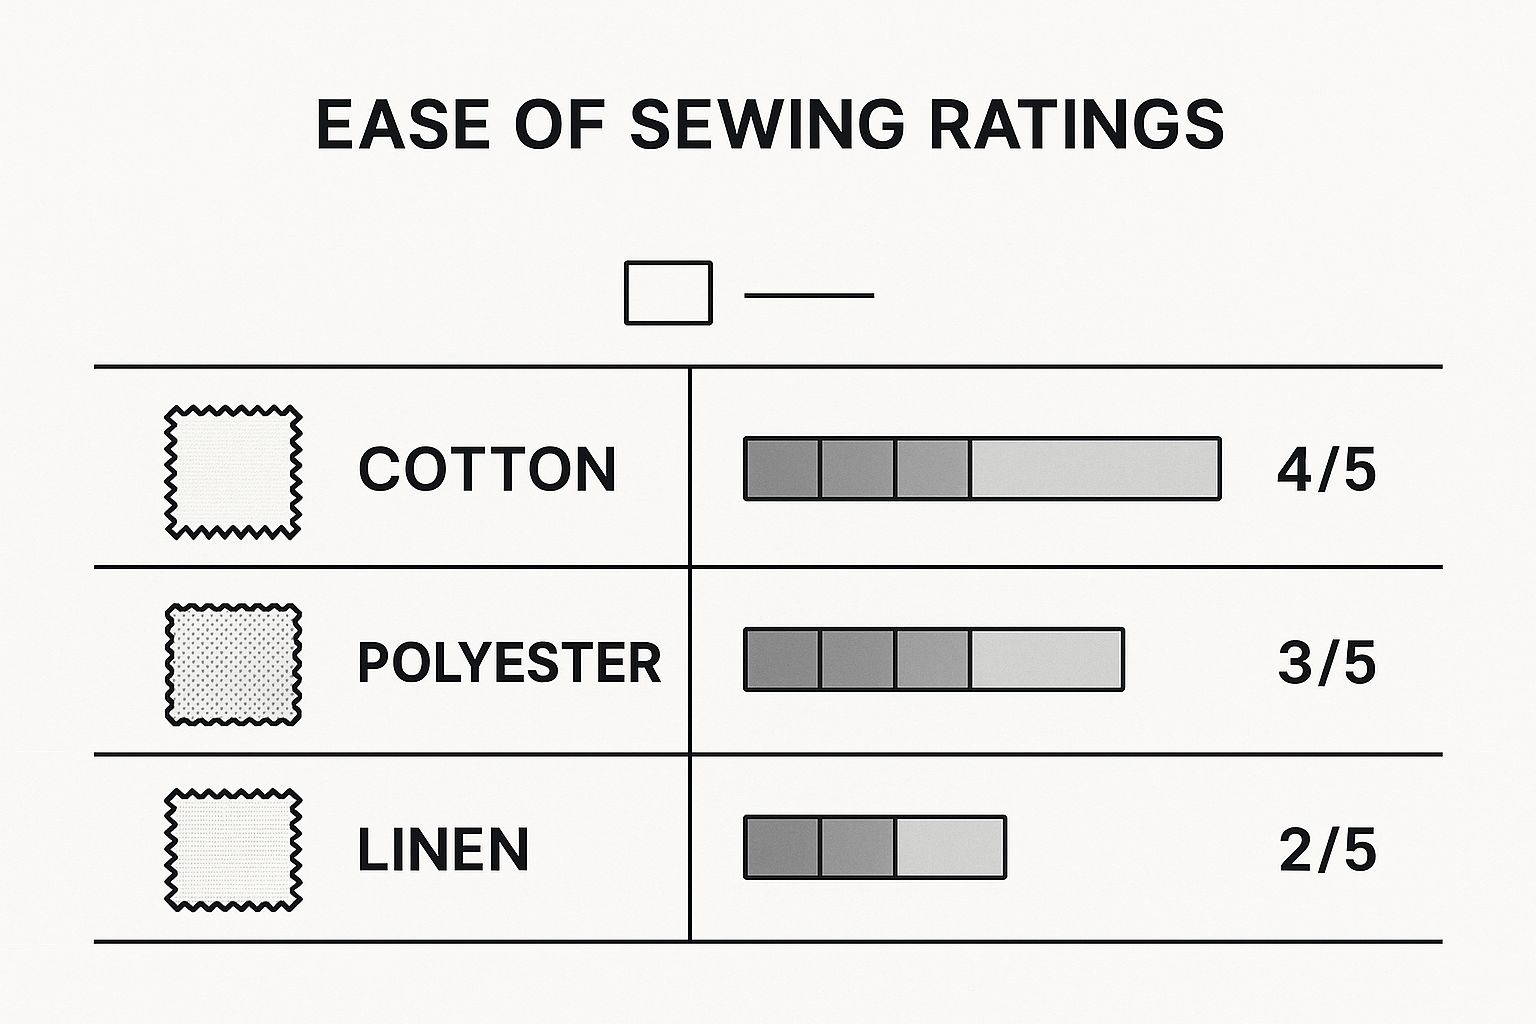
As you can see, cotton is the go-to for beginners because it behaves so well. It stays put and doesn't stretch all over the place. Linen, while beautiful, can be a bit trickier since it loves to wrinkle and fray. Getting a machine that plays nice with these starter fabrics will make your life a whole lot easier.
Once you've gathered the absolute must-haves, there are a few other items that can truly make your sewing life easier. These tools aren't just fancy gadgets; they're the secret weapons that help you work faster, more accurately, and achieve that polished, professional look.
Think of these as the supporting cast that makes the main actors—your fabric, thread, and machine—really shine. You might be tempted to skip them at first, but trust me, you'll soon wonder how you ever managed without them.
You know all those little dots, notches, and lines on your paper pattern? They're crucial for getting things like darts and pockets in the right spot. Just guessing where they go is a recipe for a lopsided disaster, which is where marking tools come in.
A well-pressed seam is the foundation of professional-looking sewing. It's a non-negotiable step that melds the stitches into the fabric, making them lie flat and appear almost invisible. Skipping this step is often what separates beginner work from more advanced results.
Let's be real: mistakes are going to happen. It's not just part of learning; it's part of sewing, period! Having the right tool on hand can turn a potential project-ruining moment into just a minor hiccup.
The Seam Ripper: Your Best Friend
No tool is more loved (and sometimes hated) than the seam ripper. This small, fork-tipped wonder is designed to slide under a single stitch and snip it cleanly without tearing your fabric. It's the "undo" button for your sewing machine, letting you take out a wonky seam and try again. Every sewist has one, and they use it often.
An Iron and Ironing Board
I'd argue that an iron is just as important as your sewing machine. You'll use it constantly—to get wrinkles out of fabric before you cut, to press seams open as you go, and to give your finished project a crisp, store-bought finish.
This process is called pressing, and it’s a little different from just ironing your clothes. You want to lift and press the iron down in sections rather than sliding it back and forth, which can stretch your fabric out of shape. It's a simple technique that makes a world of difference.
When you're just starting out, stepping into a fabric store can feel a little overwhelming. All those gadgets, fabrics, and gizmos! It’s totally normal to have questions swirling around your head.
Think of this section as a chat with an experienced sewing friend. I'm here to clear up some of the most common beginner questions so you can build your first toolkit with total confidence and get right to the fun part—creating!
In a word, yes. Trust me on this one. Investing in a good pair of dedicated fabric shears is one of the best things you can do for your sewing sanity right from the get-go. I know the price can seem a bit steep compared to the scissors in your kitchen drawer, but their value is obvious the moment you make that first buttery-smooth cut.
Household scissors are made for everything and nothing in particular. Fabric shears, on the other hand, have incredibly sharp, precisely angled blades designed for one job only: slicing cleanly through textiles. This unique design stops the fabric from bunching up, snagging, or shifting, giving you a perfect edge every single time.
A clean, accurate cut is the foundation of any successful sewing project. It’s what ensures all your pattern pieces fit together properly. Keeping your shears sharp and dedicated to fabric saves a world of frustration later on.
Just remember the cardinal rule of sewing: your fabric shears are for fabric and fabric alone. The second they touch paper, you’ll dull those precious blades. Keep them sacred!
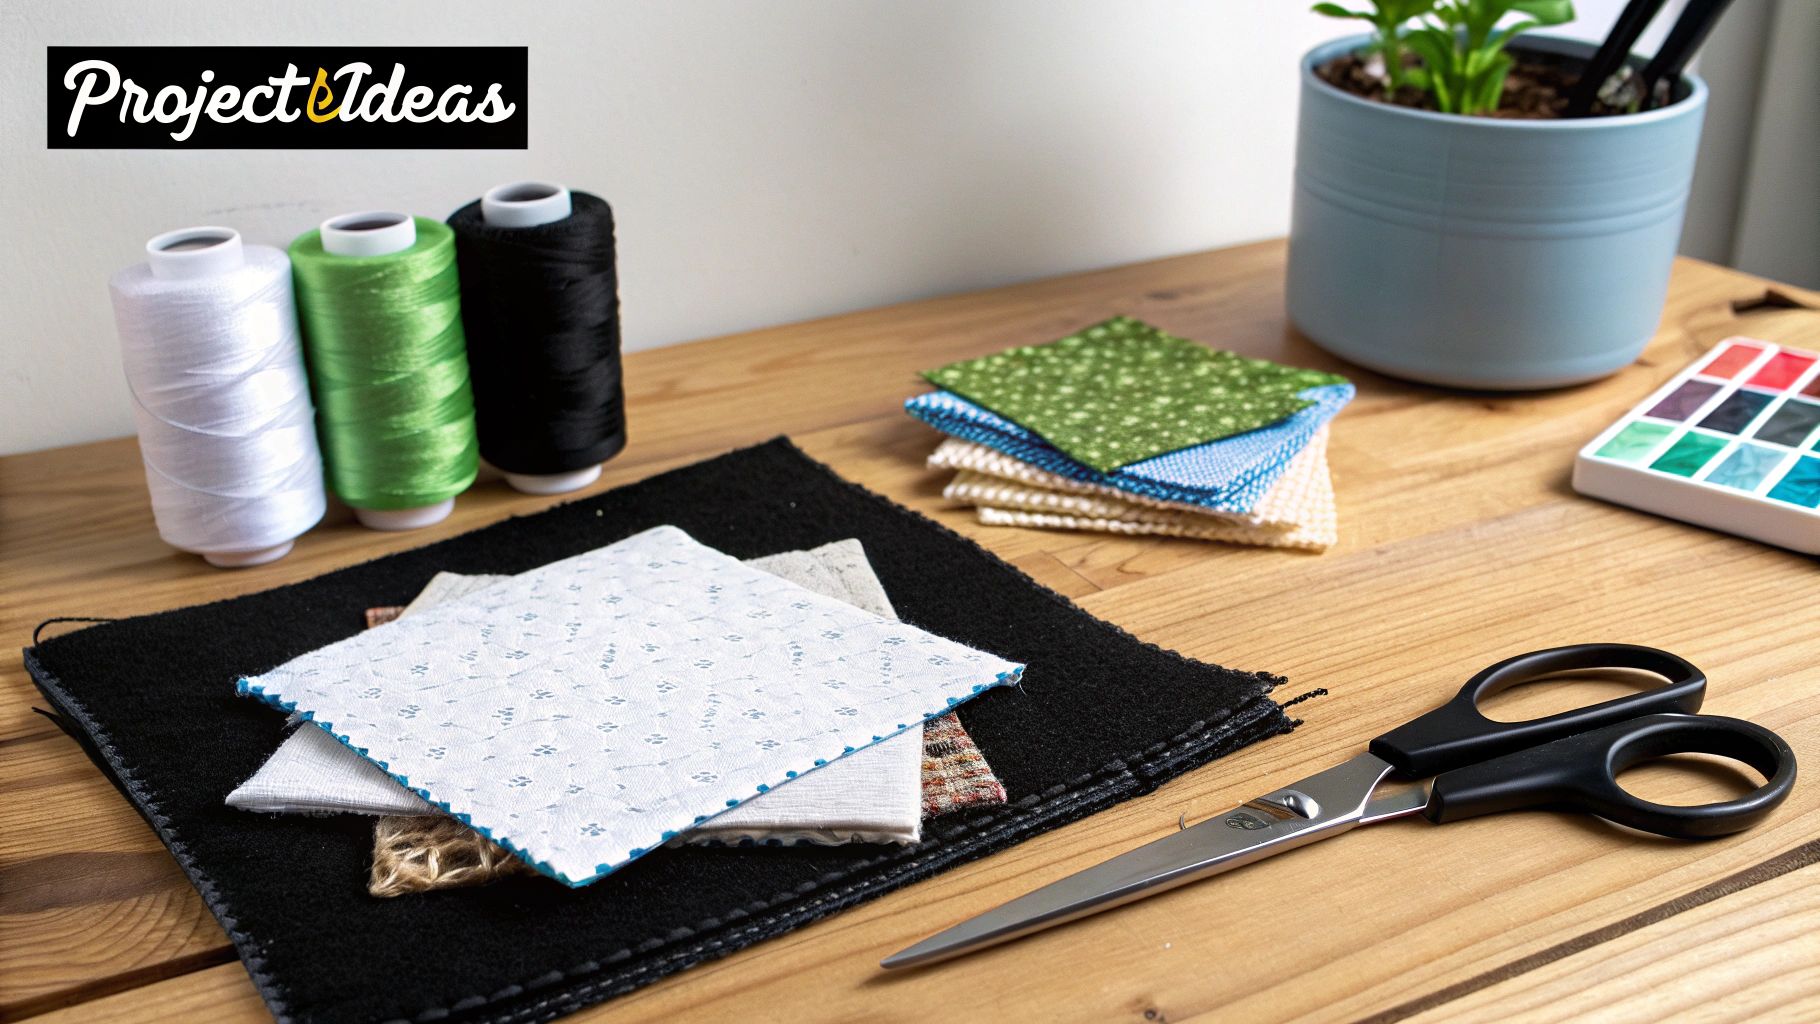
Picking the right fabric for your first project can make the difference between a joyful experience and a frustrating one. The best advice I can give is to start with a stable, medium-weight woven fabric. You want something that behaves itself and doesn't try to wiggle away from you.
Here are a few fantastic, beginner-friendly options:
These fabrics are wonderfully forgiving. They hold their shape, press into a nice crisp seam, and feed through the sewing machine without any drama. Save the slinky silks and stretchy knits for when you've got a project or two under your belt.
Get a seam ripper. No question. This little tool is your official "undo" button. It’s designed with a super-fine tip that slides right under a stitch and cuts the thread without touching the surrounding fabric. It offers a level of precision that a pair of scissors just can't compete with.
Trying to unpick a seam with scissors is a gamble every time. It’s so easy for the tip to slip and snip a hole right through your project. A seam ripper, however, is built for the job, letting you safely and cleanly remove mistakes. Every sewer, from beginner to expert, has one within arm's reach.
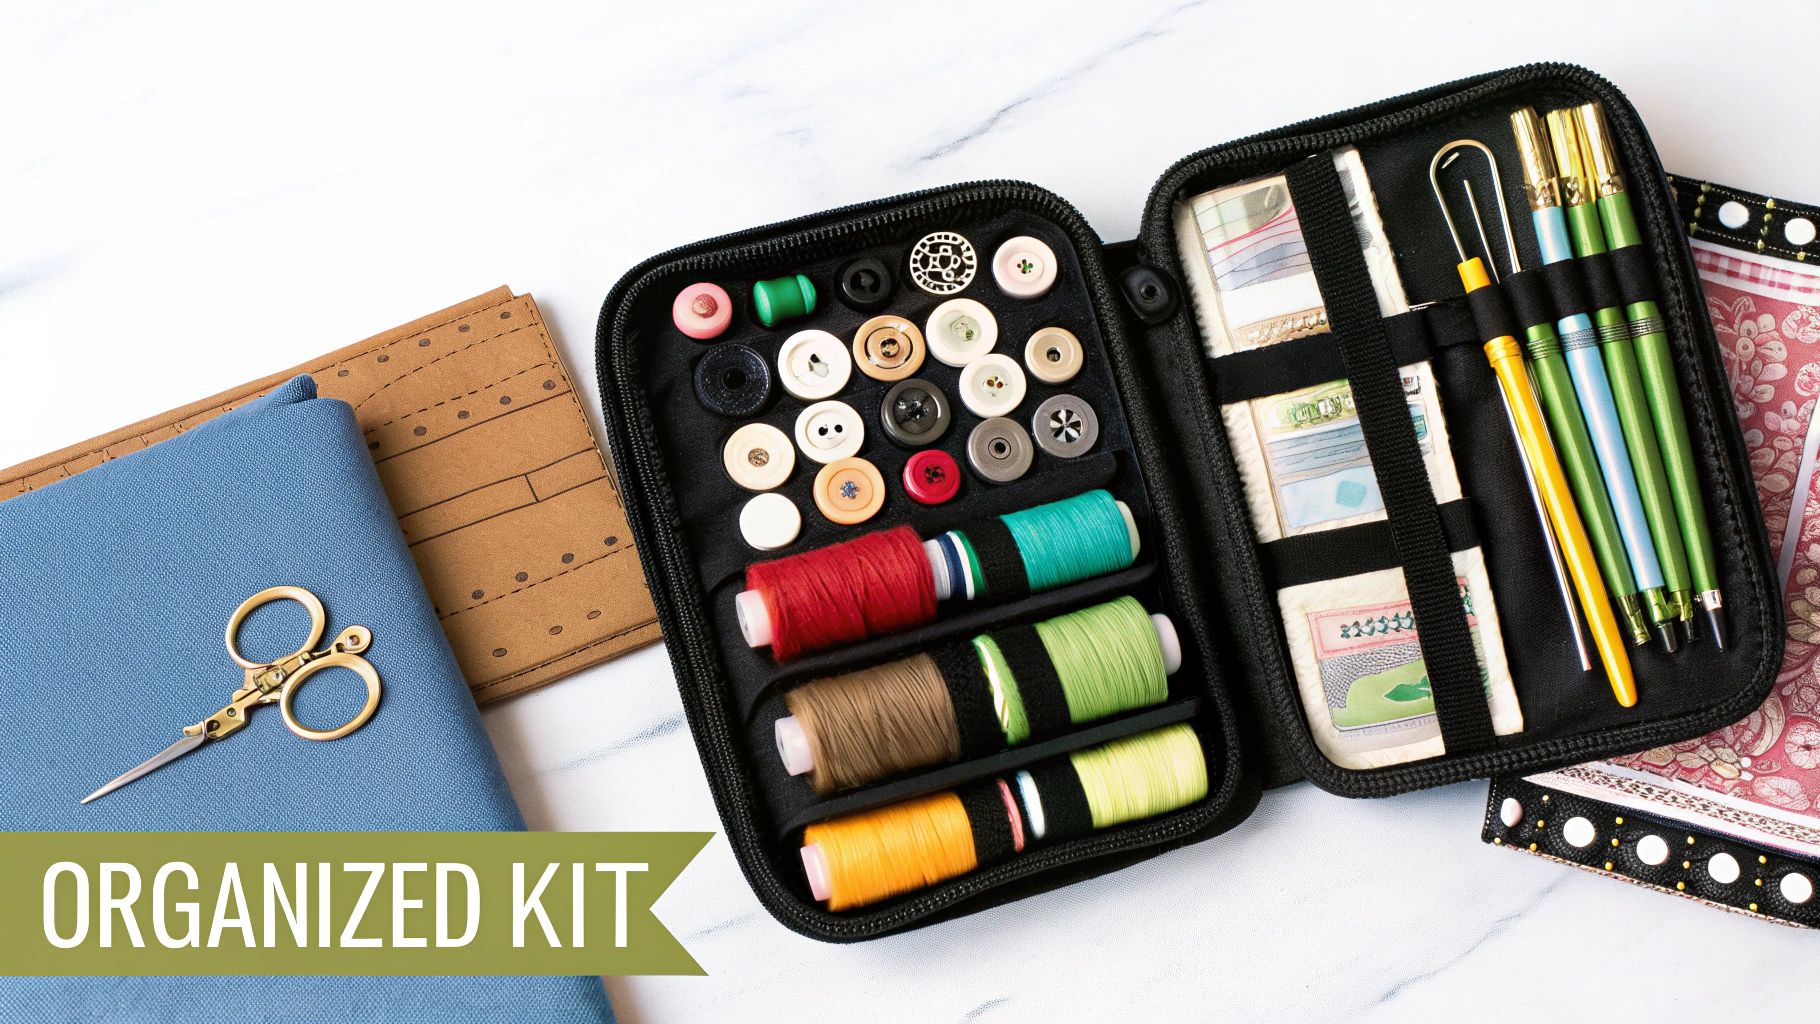
I know those all-in-one beginner sewing kits look tempting, but I almost always recommend building your own collection by buying tools individually. It might take a little more time, but you'll end up with a much higher-quality set that will last for years.
Many of those pre-made kits cut corners on quality to hit a low price point. That often means you're getting flimsy scissors that won't cut well or a thimble that doesn't fit right. When you hand-pick each of the sewing supplies for beginners yourself, you control the quality and can choose the best tool your budget allows. You’ll be starting your journey with reliable gear that won’t let you down.
At Famcut.com, we're passionate about helping you succeed, whether you're making your first pillowcase or your tenth quilt. You’ll find high-quality fabrics, reliable tools, and the expert advice you need to bring your ideas to life. Come explore our collection and join a whole community of creators at https://famcut.com.
At High Country Quilts we care deeply about community. With our experiences in retail, we know that a store is not only a place to shop but also a place for the community to gather and share. During this busy...

Hi! We’re Adam and Renee Wheaton, the new owners of High Country Quilts! For more than 40 years, we’ve owned and operated vacuum and sewing businesses. Following in Renee’s father’s footsteps after he retired from All Discount Vacuum and Sewing in Colorado...


Leave a comment