


We Love Our Quilting Community
At High Country Quilts we care deeply about community. With our experiences in retail, we know that a store is not only a place to shop but also a place for the community to gather and share. During this busy...


You're sitting on the floor beside your sewing machine, trying to make a large cone of thread behave on a spool pin that was designed for a small household spool. The cone leans, the thread catches, and your machine begins producing loose loops underneath the fabric. You may be tempted to adjust the tension dial immediately, but the problem can be higher up, where the thread starts its journey.
A sewing machine thread stand gives large cones and awkward spools a controlled place to sit before the thread enters the machine. The right stand can make the feed path steadier, but only when its orientation matches the way the thread was wound. That detail matters more than brand compatibility alone.
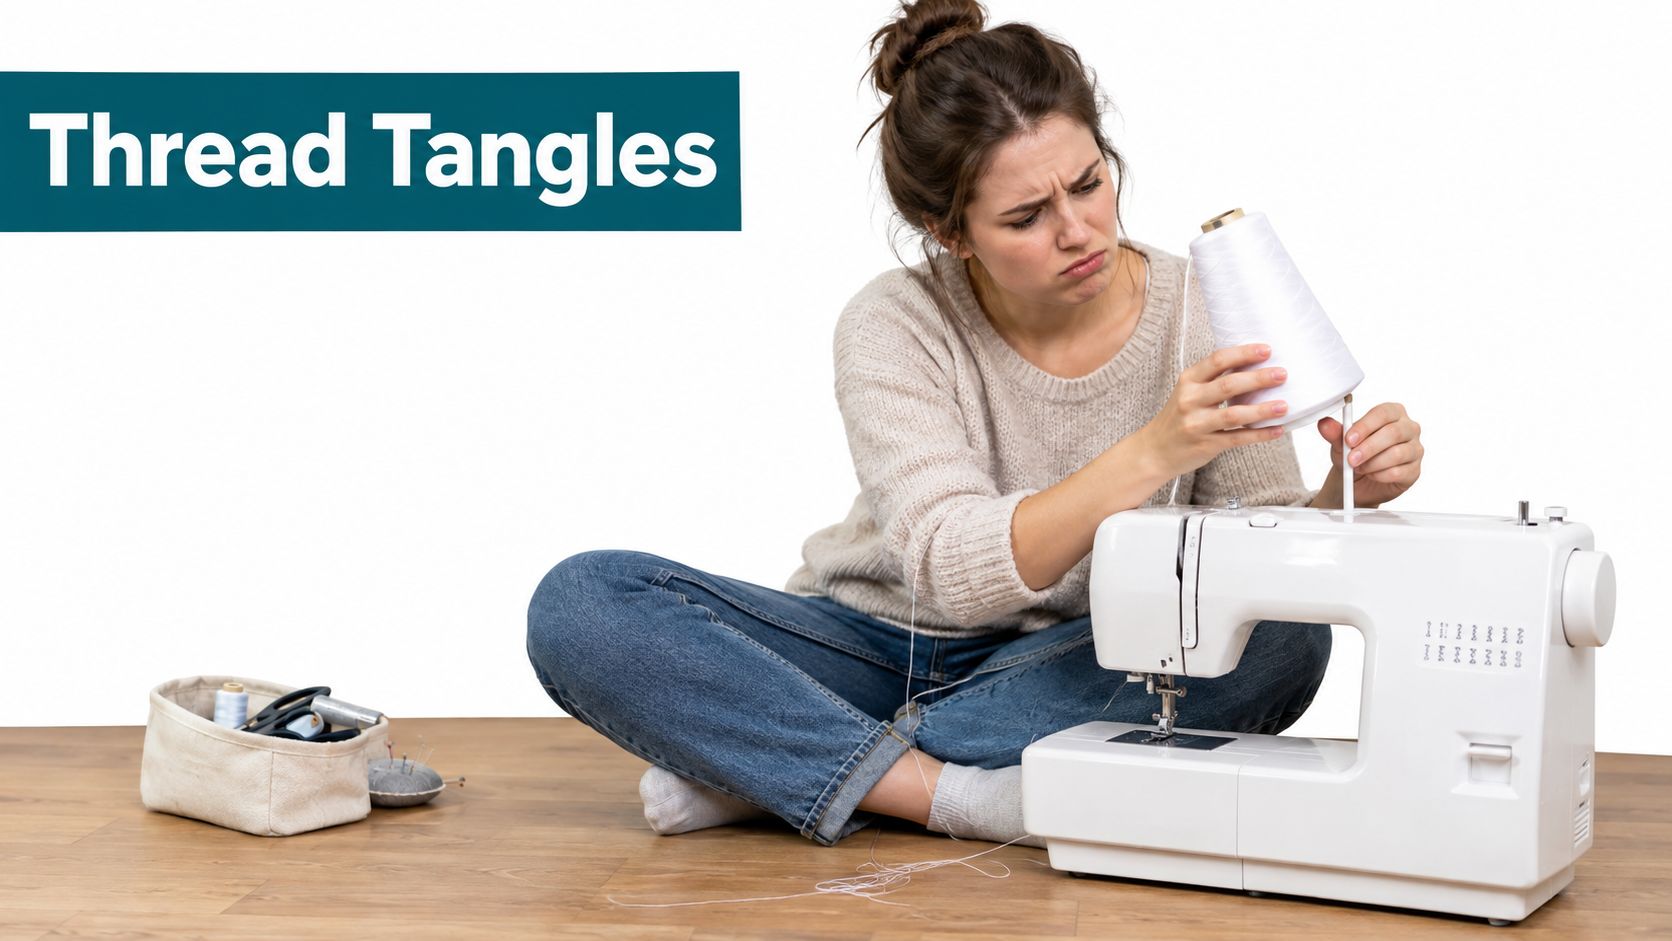
A large cone often won't sit securely on a standard spool pin. If you improvise with a cup, a jar, or a loose holder, the cone may shift as the machine pulls thread. That movement changes the resistance in the upper thread path, and the needle receives thread less predictably.
The results can look like several unrelated machine problems:
Those symptoms don't mean you're a poor sewist. They often mean the thread is being asked to travel from an unsuitable position.
A working setup keeps the cone stable, routes the thread through the stand's guide, and sends it toward the machine's original thread guide at a controlled angle. The tension discs can then do their job without compensating for a spool that is wobbling, dragging, or unwinding too quickly.
For BERNINA sewing machines, embroidery machines, and longarms, think of the stand as the first link in a chain. The chain continues through the upper guide, tension assembly, take-up lever, needle guide, and needle eye. A small problem at the spool can become a much larger stitch problem by the time the thread reaches the fabric.
Practical rule: Check the spool and stand before changing machine tension. Mechanical drag upstream can imitate a tension setting problem.
A thread stand is especially useful when the thread supply is a large cone that doesn't fit the machine's pin. It lifts the supply and gives the thread a defined route into the machine, rather than relying on an improvised holder. Once the cone is stable, you can test the machine with a short sample and make adjustments based on stitches instead of guesswork.
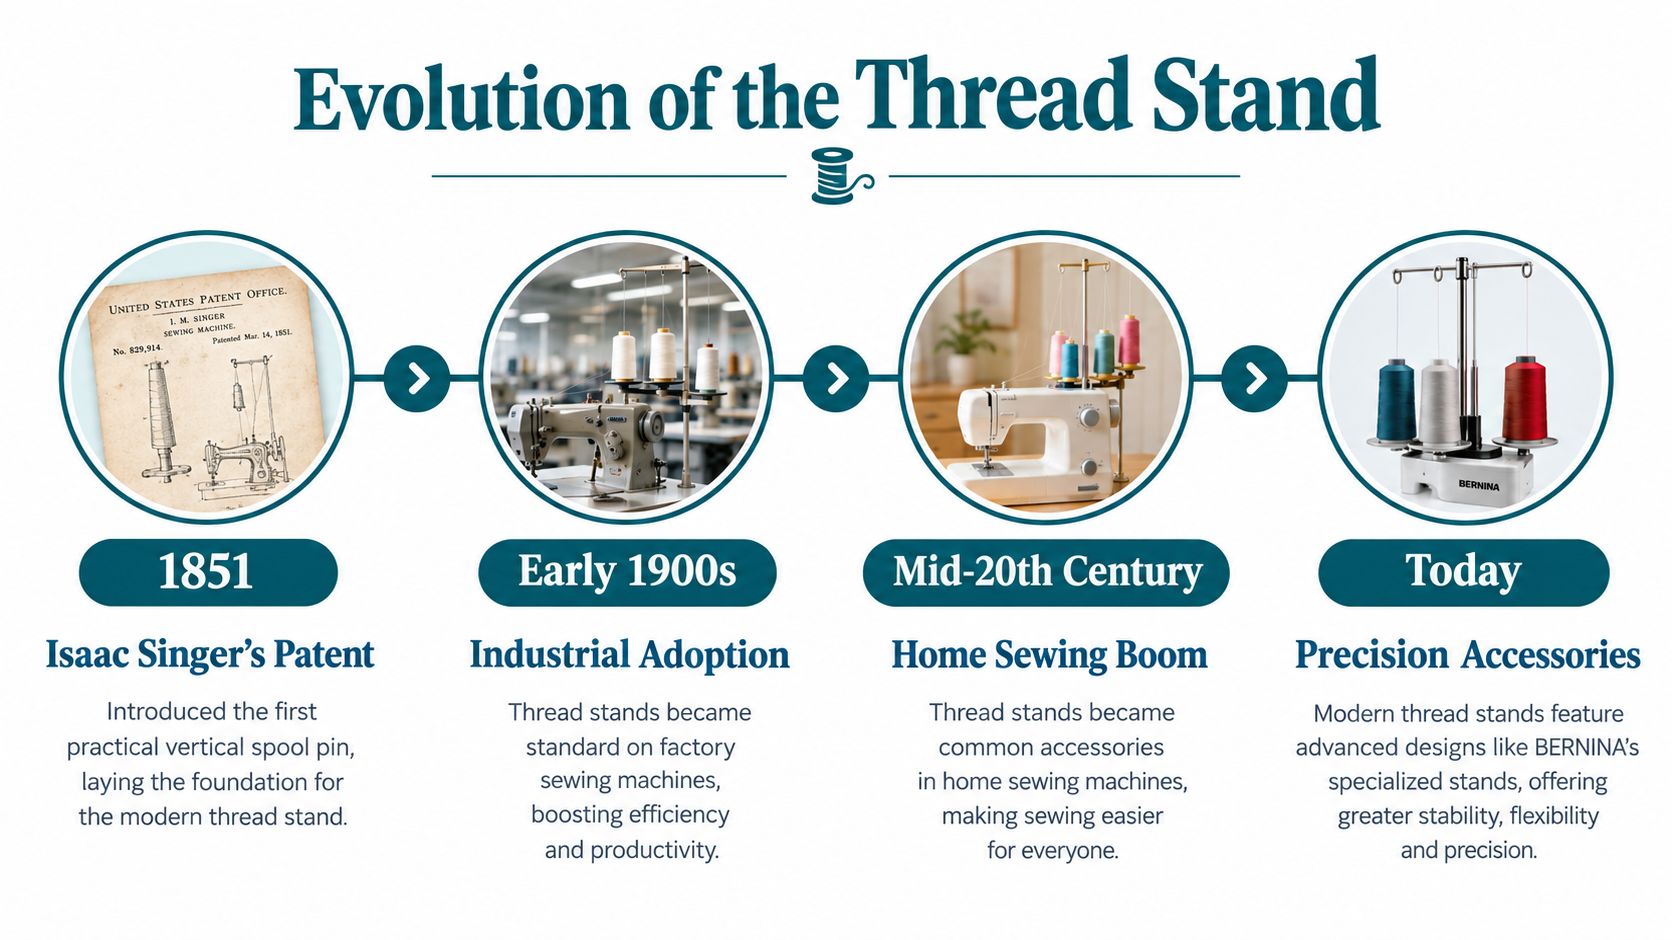
Thread support hardware developed alongside the sewing machine itself. In Isaac Singer's 1851 patent model, an adjustable arm held the thread spool, while the Smithsonian notes that the machine's packing crate also served as its stand. That early arrangement shows a practical idea that still governs modern accessories, the thread supply needs to be raised, supported, and directed as part of the machine system. The Smithsonian's record of Singer's patent model also documents the wider development of machine sewing, including the common use of cotton, silk, and linen threads and the later industry role of six-cord cotton thread.
By the late nineteenth century, manufacturers were refining the structures around sewing machines, not just the internal mechanism. U.S. Patent No. 262,500, titled “Sewing-machine stand,” was granted on August 8, 1882, and another sewing-machine stand patent followed on January 6, 1885. These records show that machine mounting and support were active areas of design more than 140 years ago. The 1882 United States patent record is a useful reminder that thread delivery has always depended on physical positioning.
Later patent records describe thread stands integrated into portable and multi-needle systems. A 1960 portable-machine patent describes a thread stand secured to the frame and extending over the hood, while a 2012 embroidery patent places multiple bobbins on a thread stand to supply needle thread. Together, those developments show how a simple support evolved into specialized thread-management hardware.
Modern stands may look like optional accessories, but their purpose is not new. They solve the same basic problem Singer's early support arm addressed, keeping the thread supply stable and feeding smoothly. The difference today is that makers can choose an orientation, capacity, and mounting style suited to domestic sewing, overlocking, embroidery, or quilting.
The two main stand designs look simple, but they control thread in different ways. An upright stand keeps the cone standing vertically, while a horizontal stand supports the spool on its side. The correct choice depends first on the thread construction, then on the machine and available table space.
| Feature | Upright Thread Stand | Horizontal Thread Stand |
|---|---|---|
| Spool position | Cone stands point-up | Spool or cone rests on its side |
| Table footprint | Usually compact | Requires more room beside the machine |
| Typical use | Many cross-wound cones and general thread supplies | Parallel-wound thread and side-feed spool arrangements |
| Support needs | Stable base and suitable pin | Foam pad, spool support, and controlled side feed |
| Feed concern | Prevent the cone from wobbling or dancing | Prevent the spool from wrapping or sliding |
| Machine connection | Thread rises toward the guide | Thread travels from the side and then upward |
An upright stand is convenient when space is tight. It keeps the cone elevated and sends the thread toward the machine's guide without requiring a long side platform. A vertical arrangement can work well for thread types where the take-off direction is less critical, but the base must be stable. BERNINA notes that a vertical stand can allow a spool to “dance” when the table is unstable, creating tension irregularities. BERNINA's explanation of upper-thread orientation is especially helpful when a beginner is unsure whether the thread should unwind from the top or rotate with the spool.
A horizontal stand places the supply on its side and gives the thread a different take-off path. BERNINA's guidance favors a horizontal stand for parallel-wound thread, while vertical stands are acceptable for other constructions because the direction of take-off is less critical. Superior Threads' explanation of cones and spools also distinguishes thread behavior by winding style rather than by machine brand.
Choose by thread construction first. If your stitches become irregular, changing orientation may be more useful than changing the machine's tension dial.
A practical rule of thumb is simple: begin with cross-wound thread on a vertical stand and parallel-wound thread on a horizontal stand, then reconsider only when the thread shows clear feed or tension problems. Don't treat that rule as a substitute for testing. The spool, guide height, machine path, and table stability all affect the final result.
The thread's winding pattern determines how it wants to leave the spool. Look closely at the cone. Cross-wound thread has diagonal layers that form a crisscross pattern. Parallel-wound thread has layers arranged more like neat bands across the spool.
That construction changes whether the thread should pull away from the top or unwind as the spool rotates. A vertical holder can be suitable for a cross-wound cone when the thread releases smoothly from above. A horizontal holder is often preferred for parallel-wound thread because it supports the spool's intended take-off direction.
| Thread Type | Wind Pattern | Recommended Stand | Feed Direction | Example Brands |
|---|---|---|---|---|
| Cross-wound cone | Diagonal crisscross layers | Often vertical, if the cone feeds cleanly | Pull from the top | Aurifil and many general-purpose cones |
| Parallel-wound spool | Side-by-side bands | Horizontal | Pull from the side | White Cone, King Tut, and Mako 40 wt |
| Serger cone | Varies by construction | Match the winding pattern | Follow the stand and machine guide | Many serger thread lines |
| Embroidery cone | Varies by construction | Test orientation rather than relying on the label | Use the smoothest path | Aurifil 28 wt and other embroidery supplies |
The table gives you a starting point, not an excuse to ignore the spool in front of you. Some thread lines and sizes behave differently, so watch the thread as it leaves the cone. If it drops under its own weight, catches around the post, or pulls the spool sideways, the arrangement needs attention.
A cross-wound cone may appear to work on a vertical pin while the machine is idle. Once sewing begins, the cone can wobble or rotate unpredictably. BERNINA warns that this movement can create tension irregularities, especially when the table itself isn't stable. The problem can be subtle, with one section of stitching looking correct and the next section showing looseness.
A parallel-wound spool can behave differently. On a vertical stand, the thread may fall downward, wrap around the stand, and break. A horizontal stand lets the spool deliver thread in the direction its construction expects.
Add a foam pad under a cone on a horizontal mount. The pad dampens vibration and helps prevent the supply from unwinding too quickly. If the spool still moves excessively, stop sewing and correct the support rather than trying to compensate with upper tension.
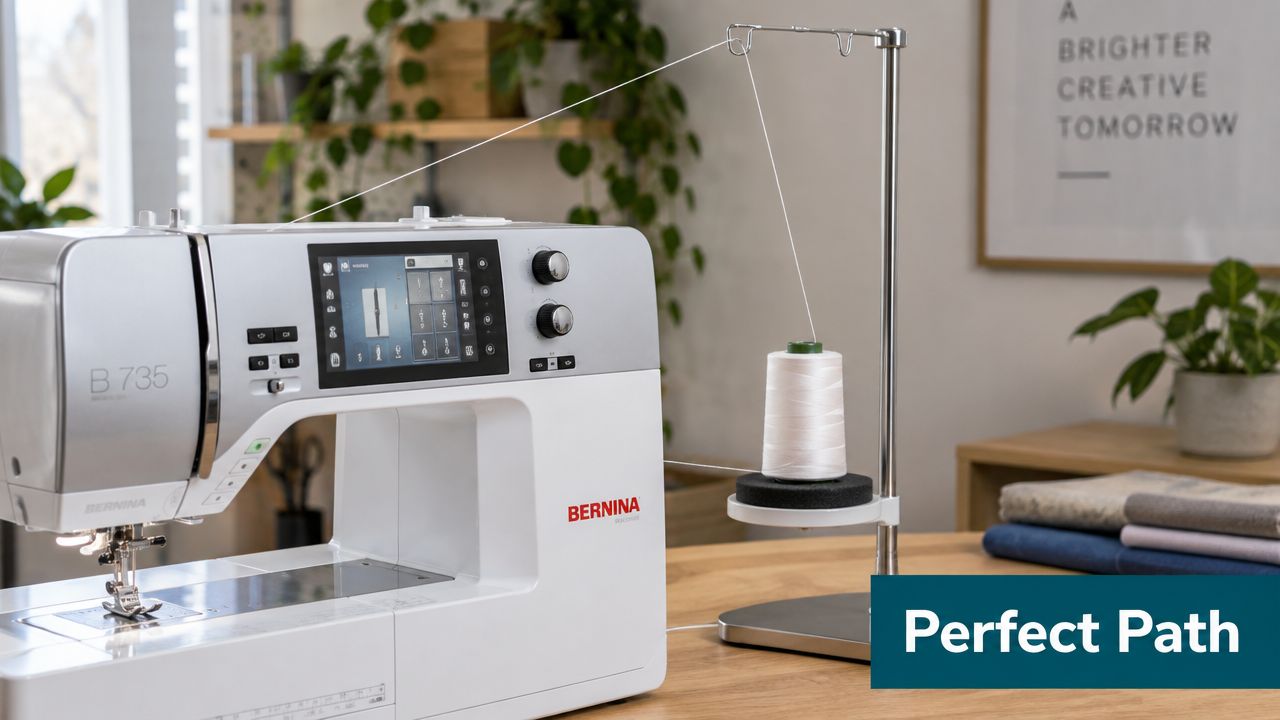
Start by placing the stand near the end of the machine, usually to the right or slightly behind it. The thread should rise toward the first machine guide, not approach from below. A stable, raised path gives the thread a better chance of entering the machine's original guide without rubbing against the stand or case.
Don't pull thread through the cone's center hole unless your stand is designed for that route. Most setups take thread from the outside of the cone or spool, then use the stand's upper guide to establish the correct path.
The final path should be as straight as your machine allows. Avoid sharp bends, especially with polyester or nylon, because abrupt changes in direction can add drag and make the thread rub against hardware.
If you're sewing a bag or another project that needs a reliable thread path, keep the stand adjustment in mind before starting your main seams. A crossbody tote pattern with printable files can be a useful practice project because it gives you straight seams and construction steps where feed consistency is easy to observe.
Now check the upper thread with the presser foot raised, then lower the foot before sewing. The thread should sit correctly in the tension assembly, and the cone should remain still while the thread moves through the guides.
After threading, sew a short sample on scrap fabric. Watch the cone rather than focusing only on the needle. If the cone spins in bursts, the stand is wobbling, or the thread touches the post, correct that physical issue first.
A single stand doesn't automatically suit every machine. The thread path for a basic sewing machine differs from the demands of an overlocker, embroidery machine, or longarm system. Machine speed, cone count, sensor placement, and physical movement all change the requirements.
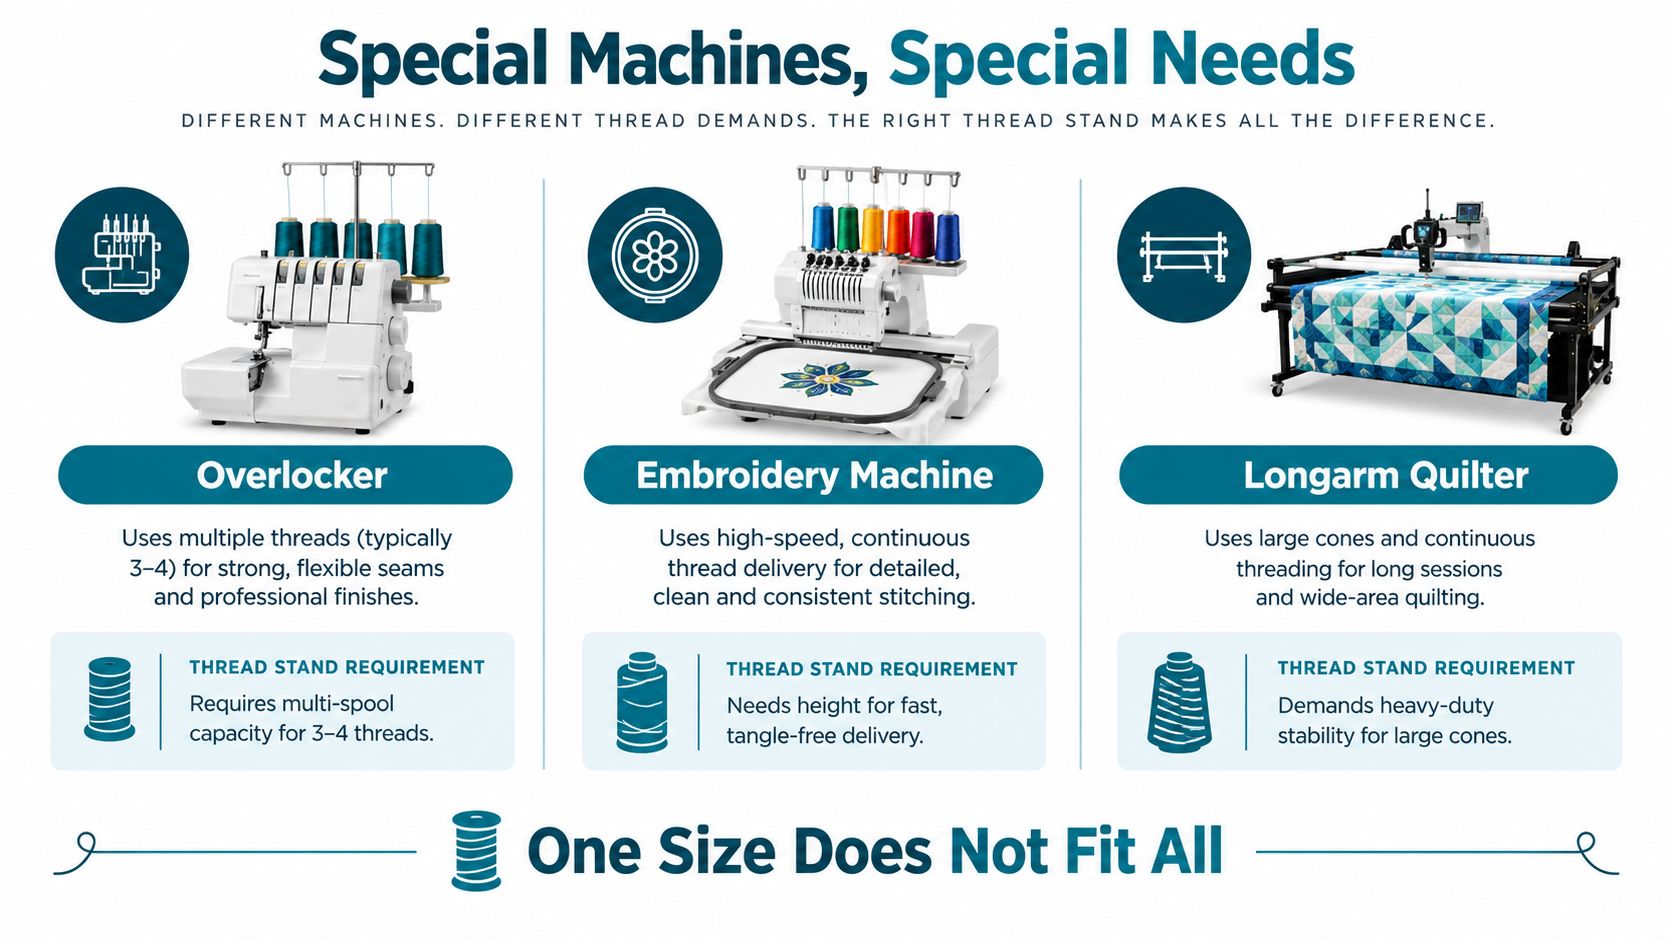
An overlocker commonly needs several cones feeding at once. A single-spool holder leaves the other supplies on improvised supports, creating different feed heights and opportunities for the threads to cross. A multi-position stand keeps each cone separate and gives you a more organized route toward the loopers and needles.
The BERNINA L 850 and similar overlockers need a stand selected for the machine's available space and cone arrangement. Don't assume that a stand designed for one cone will remain stable when several thread paths pull against it.
Embroidery machines place repeated demands on the upper thread path. A stand must hold the cone securely and leave enough clearance for the thread to travel without catching on the machine housing or triggering an upper-thread break sensor.
Patent records show how thread stands became integrated into multi-needle and portable systems. A 1960 patent describes a stand secured to a portable-machine frame, while a 2012 embroidery patent uses a stand to supply multiple needle threads. Those designs reflect a practical point, embroidery thread management is part of machine operation, not just storage.
A longarm machine moves across a frame, so a light or unstable stand can tip as the carriage travels. Longarm users need a heavy base or a stand that mounts securely to the frame. Large quilting cones also require enough clearance to unwind without rubbing against nearby hardware.
One size does not fit all. Select the stand for the machine's movement and thread count, not only for the cone diameter.
BERNINA accessories such as the Multi-Spool Holder and embroidery-specific spool-pin extensions address specialized machine layouts. Before buying, confirm the stand's mounting method, guide height, cone capacity, and clearance around the machine. Compatibility is a mechanical question, not just a matter of whether the brand name matches.
Thread-stand problems usually leave clues. Don't change several settings at once. Stop, identify where the thread first loses control, and correct that point before testing again.
If thread gathers around the take-up lever, the cone may be releasing thread too quickly. Check whether the cone is spinning freely and whether the thread is bypassing the stand's guide. Re-seat the foam pad, confirm that the cone is centered, and use a thread net when the thread surface is especially slippery.
A thread net can add gentle control, but it shouldn't force the thread through a tight or crooked path. The thread still needs to move smoothly when you pull it by hand.
Wrapping often begins when the cone sits off-axis or the thread leaves the spool at the wrong angle. Center the cone on the spindle and check whether the pin or cup matches the cone's core. For a horizontal setup, BERNINA advises leaving no gap between the foam pad, spool, and spool disc, because a gap can allow the thread to wrap around the stand. The Brother spool-stand instructions also address thin spools, including the use of spool felt and a cap to secure the supply.
If one serger thread feels tighter than another, compare the cone heights and paths. Threads that enter the guides from noticeably different positions can experience different drag. A multi-spool holder or carefully staggered supports may bring the paths into better alignment.
Test the setup with a short sample:
Don't adjust the machine's tension until the stand feeds consistently. A tension dial can't correct a cone that is stopping and starting.
Choose the stand around your main sewing task. A quilter working with cone thread on a BERNINA 7 Series may prefer a single horizontal stand. An overlocker user may need a four-spool upright tower, while an embroidery sewist may need a stand that leaves clear space around the hoop and machine body.
Materials affect stability. Powder-coated steel generally provides a sturdier feel than lightweight aluminum, especially when a large cone is mounted high above the table. The stand doesn't need to be elaborate, but it must stay still while the machine pulls thread.
Maintenance takes little time. Dust the spool pins monthly, replace foam pads when they become compressed, and tighten set screws each season so vibration doesn't loosen the column. If the thread begins catching after months of smooth sewing, inspect the guide for lint, burrs, or a rough edge before changing tension.
High Country Quilts carries a Telescoping Metal Thread Stand and a Superior Thread Holder for cones and spools, giving sewists options for different thread supplies and machine layouts. You can also browse High Country Quilts' BERNINA accessories or ask about hands-on sewing classes in Colorado Springs, where stand placement and threading can be checked at the machine.
Visit High Country Quilts to explore thread stands, cone holders, and BERNINA accessories suited to your machine. If you're in Colorado Springs, join a sewing class for practical guidance on thread orientation, tension testing, and setting up your stand with confidence.
At High Country Quilts we care deeply about community. With our experiences in retail, we know that a store is not only a place to shop but also a place for the community to gather and share. During this busy...

Hi! We’re Adam and Renee Wheaton, the new owners of High Country Quilts! For more than 40 years, we’ve owned and operated vacuum and sewing businesses. Following in Renee’s father’s footsteps after he retired from All Discount Vacuum and Sewing in Colorado...


Leave a comment