

We Love Our Quilting Community
At High Country Quilts we care deeply about community. With our experiences in retail, we know that a store is not only a place to shop but also a place for the community to gather and share. During this busy...


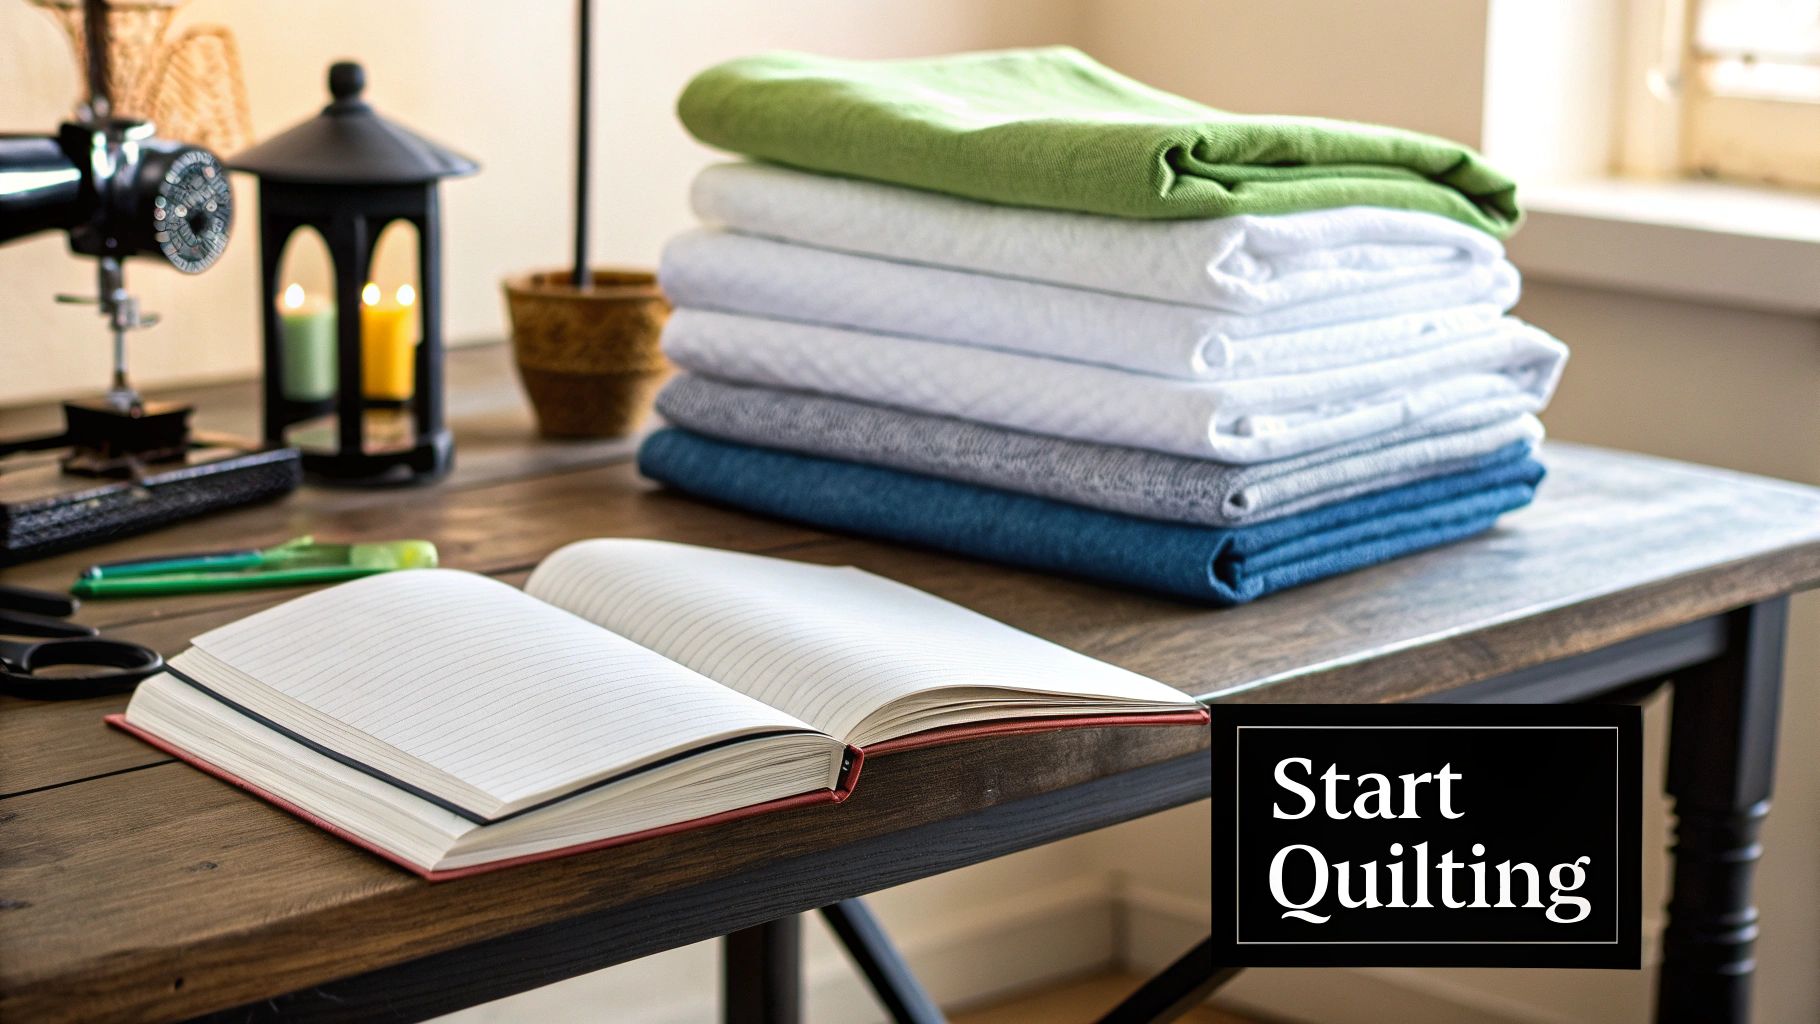
Welcome to the wonderful, creative world of quilting! It's a place where simple pieces of fabric are transformed into treasured heirlooms and beautiful works of art. At its heart, quilting is like telling a story with cloth. You create a cozy ‘fabric sandwich’ with a decorative top, a warm middle layer, and a solid backing, all held together with stitches.
Once you get a feel for a few basic quilting techniques for beginners, you'll be well on your way to creating stunning projects with confidence.
Jumping into a new hobby can sometimes feel like trying to learn a foreign language, but quilting is far more welcoming than it looks. It’s a craft built on simple, repeatable steps that, when combined, create something truly special. It’s less about achieving flawless perfection right away and more about finding joy in the creative process itself.
You're also joining a vibrant and growing community. The quilting industry is booming, with projections showing it will reach $4.5 billion by 2025. What's even more exciting is that about 18% of quilters are brand new to the craft, which means you're in great company! You can see more details in the Craft Industry Alliance's latest survey results.
One of the biggest hang-ups for new quilters is the tool list. It's easy to get overwhelmed and feel like you need to buy every gadget on the shelf. You don't. All you truly need to get started are a few key items:
Our goal is to get you quilting without the stress. Here at Famcut, we not only carry these essential supplies but also offer expert guidance and classes for anyone in the Atlanta area. Think of us as your creative partner, here to help you build skills and confidence with every stitch.
As you start dreaming up projects, remember that quilting goes beyond blankets. You can create stunning decorative wall hangings fabric to personalize your home. Your first project is just the first step on a rewarding and fulfilling adventure.
Before you even think about threading a needle, the fate of your quilt is sealed right there on the cutting mat. This is where precision becomes your best friend. Get this part right, and everything that follows will be so much easier. Think of it like cooking: if your ingredients are prepped perfectly, the final dish is bound to be a success.
Your first big decision is the fabric. The aisles are full of beautiful options, but for anyone starting out, 100% cotton is the undisputed champion. It behaves beautifully—it doesn’t stretch much, it presses into crisp seams, and it’s a dream to sew with. It's no wonder that it's the go-to choice for 64% of quilters.
Here’s a tip that 90% of quilting professionals swear by: pre-wash your fabric. I know, it feels like an extra step when you’re excited to start, but it prevents your beautiful finished quilt from shrinking or having colors bleed in the wash. Trust me, it’s worth it to protect your hard work. Quality fabric is a real investment, with the market expected to reach $5.7 billion by 2032. If you're curious, you can discover more about quilting fabric trends and see just how big this craft is.
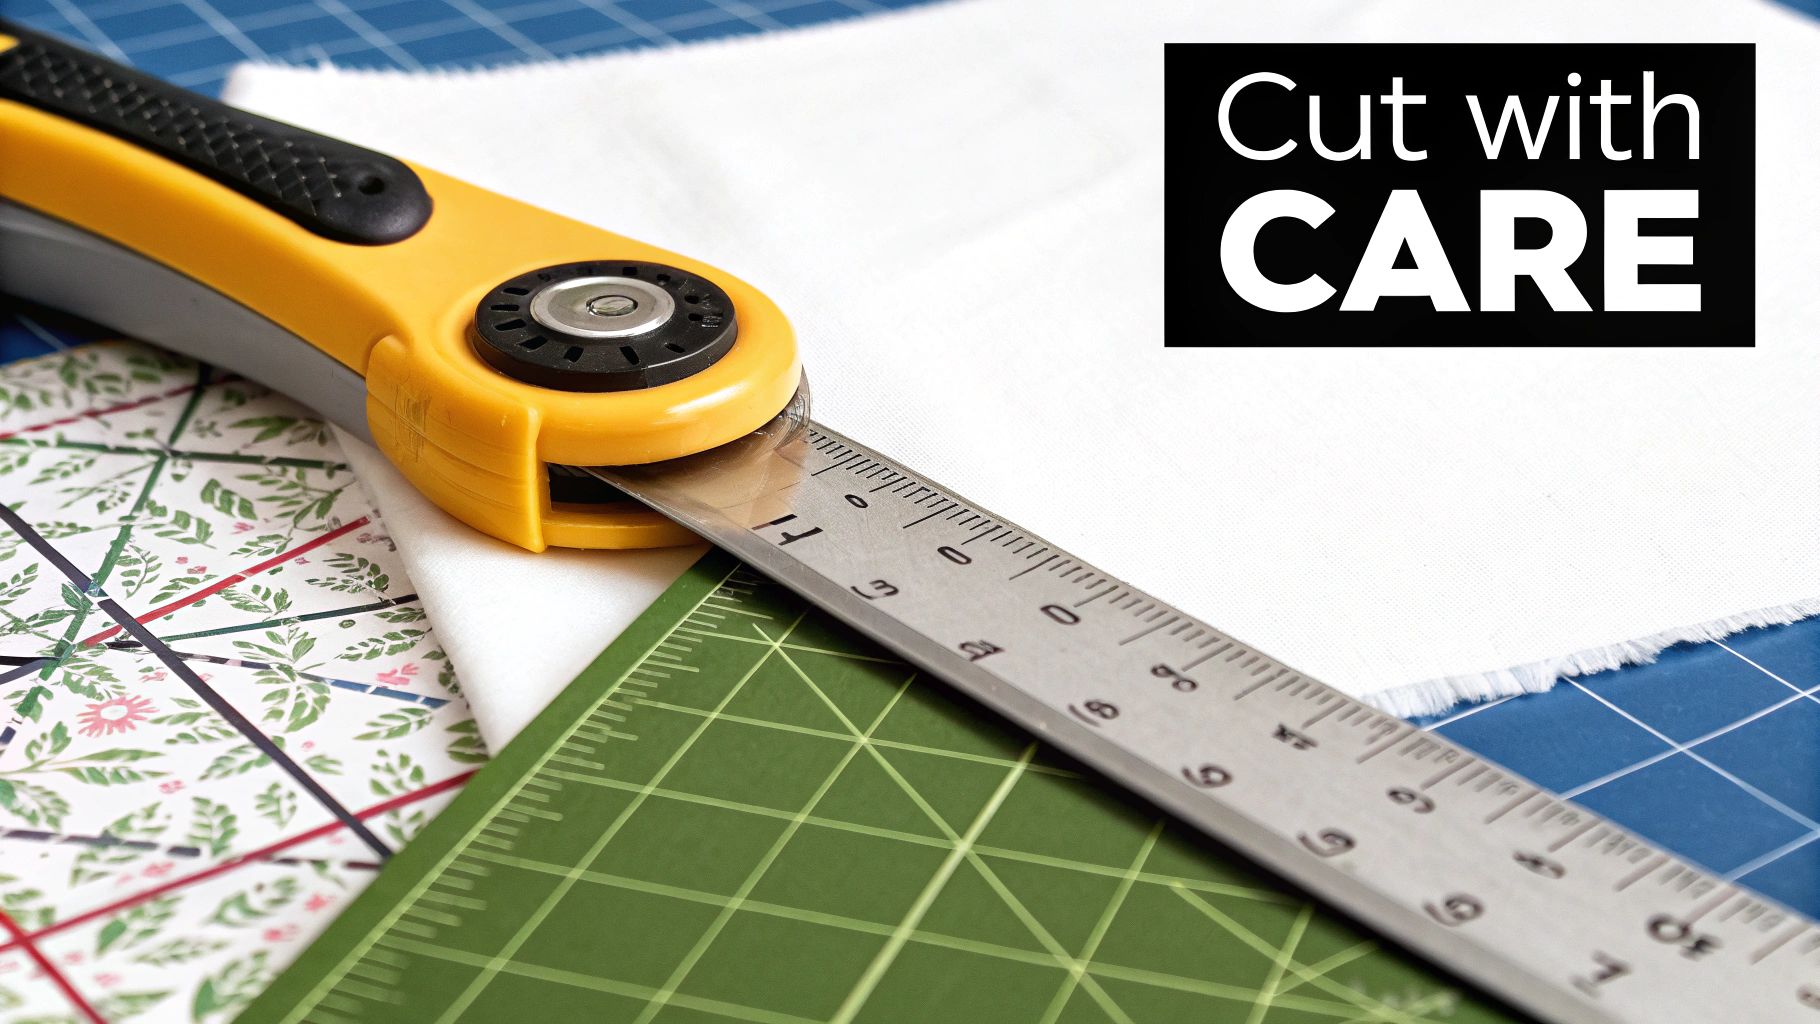
Once your fabric is washed and pressed, it’s time to cut. And for that, you can put the scissors away. The secret to perfectly matched quilt blocks is a trio of tools that work together to give you clean, straight lines every time.
The old saying "Measure twice, cut once" is basically the quilter's creed. A few extra seconds spent checking your ruler's alignment will save you a world of frustration later when you're trying to make wonky pieces fit together.
Ready to try it? Lay your ironed fabric flat on your cutting mat. Place your acrylic ruler where you want to cut, using the lines on the mat to make sure everything is straight. Press down firmly with your non-dominant hand—you don’t want that ruler to budge!
Now, take the rotary cutter in your other hand, hold it straight up and down, and press the blade against the ruler's edge. In one smooth, confident motion, push the cutter away from your body. That’s it! This simple technique is the foundation of quilting, and mastering it early on makes the whole process more enjoyable.
This is where the magic really starts to happen. All those carefully cut fabric pieces are about to transform into the beautiful quilt top you’ve been imagining. The craft of joining these pieces is called piecing, and it's the heart and soul of quilting.
Think of it like building with LEGOs. Every piece needs to connect just right for the final structure to be strong and look correct. Mastering a few core piecing skills is easily one of the most important quilting techniques for beginners because it sets the foundation for everything that comes next.
If there's one golden rule in quilting, it’s this: always use a perfect quarter-inch seam allowance. This isn’t just a friendly suggestion—it’s the universal standard that ensures every piece in a quilt pattern lines up exactly as intended.
Why is it so crucial? Every quilt pattern ever written is mathematically designed around this specific measurement. If your seam is off by just 1/16 of an inch, it creates a frustrating domino effect. Your points won't match, your blocks will be the wrong size, and the whole design can get thrown off.
The easiest way to nail this is with a special quarter-inch presser foot for your sewing machine. It has a little metal guide that your fabric edge hugs as you sew, taking all the guesswork out of the equation. It's a small investment that pays off with huge accuracy gains.
Once you’re feeling confident with that perfect seam, let me introduce you to a technique that will save you a massive amount of time and thread. It's called chain piecing, and honestly, it’s a total game-changer for quilters.
Instead of sewing two pieces, stopping, cutting the thread, and starting over with the next pair, you just feed them through your machine one after another without a break. You'll end up with a long, connected "chain" of fabric pairs that you snip apart at the very end.
This simple shift in workflow makes the piecing process fly by. You'll be genuinely surprised at how quickly you can assemble a stack of blocks.
Chain piecing is like setting up an assembly line for your quilt. By batching the same repetitive task, you get into a rhythm, minimize interruptions, and turn a slow-and-steady job into something fast and incredibly productive.
Ready to put these new skills to the test? Starting with a beginner-friendly block is the key to building confidence. Two of the most classic and approachable blocks are the Nine-Patch and the Four-Patch.
To help you decide where to begin, here's a quick comparison of these two foundational quilt blocks.
| Quilt Block | Key Technique | Difficulty Level | Best For |
|---|---|---|---|
| Nine-Patch | Sewing squares into rows, nesting seams | Beginner | Learning how to align multiple seams and create a slightly more complex design. |
| Four-Patch | Sewing two pairs of squares, then joining them | Easiest | Mastering the quarter-inch seam and getting a quick, satisfying win. |
Both are fantastic starting points, but the Nine-Patch gives you a little more practice with the skills you'll use in almost every future project.
The Nine-Patch block is the quintessential first project for a reason. It’s made from just nine simple squares arranged in a three-by-three grid, so it only involves straight seams and basic piecing. It’s the perfect canvas for practicing everything you've just learned.
Here’s how to make one:
Alright, your pieced top looks fantastic! But it's not a quilt just yet. To get that cozy, huggable feeling and the beautiful texture we all love, you need to bring its three layers together. We quilters call this creating the quilt sandwich, and it's a make-or-break step before you start the actual quilting stitches.
Think of it just like it sounds. Your quilt top is the pretty piece of bread on top, your backing fabric is the sturdy slice on the bottom, and the batting is the fluffy, wonderful filling that goes in between. Getting these three layers perfectly smooth and held together is one of the most important quilting techniques for beginners to get right. It's your best defense against dreaded puckers and wrinkles later on.
The batting is really the soul of your quilt. It's the part that adds warmth and determines how the quilt will hang and feel—what we call its "drape." There are a ton of options out there, but when you're just starting, it's best to stick with one of these tried-and-true types:
Once you've picked your batting, it's time to baste. Basting is simply the process of temporarily holding your quilt sandwich together so nothing shifts around while you're quilting. A flat, smooth baste is the secret weapon behind a quilt that looks professionally finished. For beginners, a couple of methods work exceptionally well.
Basting is your insurance policy against frustration. Taking the time to properly secure your quilt sandwich ensures that your layers won't shift, bunch, or pucker during the quilting process, saving you from having to rip out stitches later.
First things first, find a large, clean patch of floor space to work on. Using painter's tape, tape your backing fabric down so it's taut, but not stretched out of shape. Make sure the wrong side is facing up. Next, smooth your batting over the backing, and finish by laying your quilt top, right side up, on the very top. Now, you're ready to lock it all in place.
You've basted your three layers together, and now comes the magic. This is where you add the quilting stitches—the thread that breathes life into the fabric, turning that simple "quilt sandwich" into a textured, durable, and beautiful quilt.
This step can feel like a big one, but it’s honestly one of the most satisfying parts of the whole process. You don't need to stitch an intricate, award-winning pattern to make something incredible. Often, the most gorgeous quilts rely on simple, elegant straight lines that let your fabric choices and patchwork shine.
For your first few quilts, straight-line quilting is your best friend. It’s a clean, modern look that’s completely doable on a regular sewing machine. The secret weapon for getting it right is a little attachment called a walking foot.
A walking foot is a special presser foot with its own set of feed dogs on the bottom. It works in sync with the feed dogs on your machine, gripping and pulling the top layer of your quilt at the exact same speed as the bottom layer. This prevents the layers from shifting around, which is the number one cause of frustrating puckers and wrinkles.
Think of a walking foot as the 4-wheel drive for your sewing machine. It expertly grips the bumpy, thick terrain of a quilt sandwich, keeping everything moving together smoothly so nothing slips or gets bunched up.
With your walking foot attached, you're ready to start. A crucial tip: always begin quilting in the middle of your project and work your way out toward the edges. This helps push any extra fabric or wrinkles out instead of trapping them in the center.
Here are two classic methods to start with:
While it's not a quilting stitch in the traditional sense, applique is a fantastic way to add a dose of personality. It's like painting with fabric. You simply cut out decorative shapes—hearts, stars, flowers, you name it—and sew them onto your quilt top for a layered, artistic effect.
Applique is your chance to make a quilt uniquely yours, whether you’re adding a simple monogram or creating a whole scene. As you get more comfortable with detailed stitching, you might find that looking into professional techniques for sewing on clothing tags can offer surprisingly useful tips for precision. Whether you stitch your applique shapes through all three layers or just onto the top, it’s a surefire way to turn your project into a one-of-a-kind treasure.
You've made it! This is the final, triumphant step in your quilting adventure. Binding is the fabric frame that neatly encases the raw edges of your quilt, giving it a durable, polished finish that makes all your hard work shine. Think of it as putting the perfect frame on a beautiful piece of art—it’s that last touch that pulls everything together.
Adding the binding is such a satisfying process. It’s the moment you know your quilt is almost ready to be used and loved. This is one of the most essential quilting techniques for beginners to master because it transforms your project from a work-in-progress into a finished treasure.
First things first, you need to create one continuous strip of fabric. You'll start by cutting several fabric strips, usually 2.5 inches wide. Then, you'll sew them together end-to-end to make a single piece long enough to go all the way around your quilt.
Once you have your long strip, you'll press it in half lengthwise. This creates your double-fold binding, which is both sturdy and professional-looking.
With your binding prepped, you'll attach it to the front of your quilt by machine. Start somewhere in the middle of one side, aligning the raw edges of the binding with the raw edge of your quilt. Stitch it down with a quarter-inch seam, stopping just before you get to the first corner.
The real secret to a polished, professional-looking quilt? Those sharp, mitered corners. It might look a little tricky, but it’s really just a simple folding technique that creates a perfect 45-degree angle. It's what gives your quilt that crisp, high-quality finish.
As you approach a corner, stop sewing a quarter-inch from the edge. Lift your presser foot and fold the binding strip up and away from the quilt, which creates a diagonal crease. Then, fold it straight back down along the next side of the quilt, making sure the raw edges line up again.
Now you can keep sewing, starting right from the edge of this new side. That simple fold-and-pivot is all it takes to create a perfect miter. Once you've stitched the binding to all four sides, you can wrap it around to the back of the quilt, and you'll see those mitered corners just fall into place like magic.
While binding is the final step, it's the quilting stitches themselves that add texture and life to the quilt top beforehand.
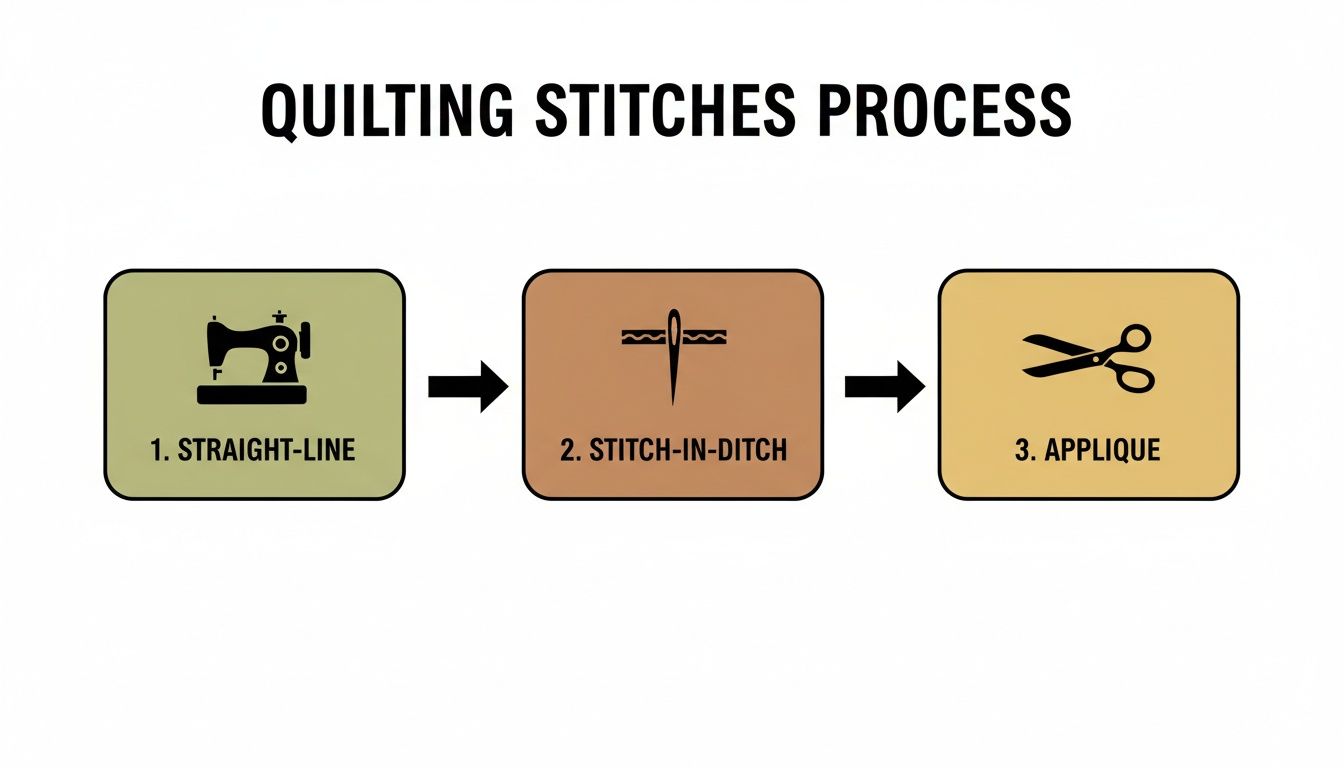
This visual shows how fundamental stitches like straight-line quilting build the foundation for more decorative work, all leading up to those finishing touches like binding.
To finish, you'll secure the binding on the back. You can do this with a neat hand stitch for an invisible, traditional look, or use your machine for a faster, more durable finish. As you take those final stitches, remember that foundational skills like binding are timeless, connecting generations of quilters in a craft market expected to hit $1.15 billion by 2030. You can read the full research about the quilt market here.
Jumping into a new craft always brings up a few questions, and quilting is definitely no exception. Getting those questions answered early on is the best way to sidestep frustration and keep your creative momentum going. Let's tackle some of the most common things we hear from people just starting their quilting journey.
Hands down, the most common pitfall for new quilters is a lack of precision in cutting and sewing. It might not seem like a big deal, but when a cut is off by just 1/16th of an inch, it can throw an entire quilt block out of whack, making it a nightmare for your pieces to line up later.
The best way to combat this is to treat your rotary cutter, ruler, and self-healing mat as your essential toolkit for every single cut. Then, when you sit down to sew, using a dedicated quarter-inch presser foot is the secret weapon for getting those seam allowances perfectly consistent every time.
Think of accuracy as the foundation of your quilt. If the foundation is solid and precise, everything you build on top of it will fit together beautifully. It's the key to avoiding a lot of headaches later!
For your very first project, you can't go wrong with a simple patchwork design made from pre-cut squares. A classic Nine-Patch or a simple checkerboard pattern is perfect. These designs rely on straight cuts and straight seams, which lets you focus on nailing those core quilting skills without getting tangled up in complex shapes.
At High Country Quilts we care deeply about community. With our experiences in retail, we know that a store is not only a place to shop but also a place for the community to gather and share. During this busy...

Hi! We’re Adam and Renee Wheaton, the new owners of High Country Quilts! For more than 40 years, we’ve owned and operated vacuum and sewing businesses. Following in Renee’s father’s footsteps after he retired from All Discount Vacuum and Sewing in Colorado...


Leave a comment