

We Love Our Quilting Community
At High Country Quilts we care deeply about community. With our experiences in retail, we know that a store is not only a place to shop but also a place for the community to gather and share. During this busy...


If you’ve ever felt that familiar ache in your back and shoulders after a long hand-quilting session, you're not alone. We often get so lost in our beautiful stitches that we forget about our posture, only to pay for it later. This is where a quilting hoop with a stand completely changes the game.
This simple but brilliant tool holds your quilt taut and at the perfect height, so you can work comfortably for hours. It frees up both of your hands, allowing you to focus purely on the rhythm of your stitching, not on juggling a hoop.
Let's be real—hunching over a quilt draped across your lap is a recipe for a sore neck and cramped hands. It’s a common complaint that can unfortunately steal some of the joy from our craft. A quilting hoop with a stand is the direct, practical solution to this problem.
Imagine settling into your favorite comfy chair, your work held perfectly in front of you. Your back is straight, your shoulders are relaxed, and both hands are free to guide the needle and thread. The stand literally elevates your work, letting you achieve those tiny, even stitches without the physical strain.
Before you dismiss it as just another gadget, think of it as a long-term investment in your craft and your well-being. The difference it makes is immediate.
Let's break down the key benefits.
| Benefit | Impact on Your Quilting |
|---|---|
| Effortless Tension | The stand holds the hoop securely, keeping your fabric drum-tight for perfectly uniform stitches. No more constant readjusting. |
| Ergonomic Posture | It brings the quilt up to your level, so you can sit upright and say goodbye to neck, shoulder, and back pain. |
| Two-Handed Freedom | With one hand above and one below the quilt, your stitching becomes faster, more fluid, and far more accurate. |
| Longer Quilting Sessions | When you’re comfortable, you can quilt for longer periods without fatigue, making more progress on your projects. |
It’s no surprise that quilters are catching on. The market for embroidery and quilting hoops hit about USD 1.2 billion in 2023 and is expected to double by 2032. This isn’t just a passing trend; it's a reflection of how essential these tools have become within the booming $4.5 billion North American quilting industry. You can read more about these market trends to see how quilters everywhere are prioritizing comfort and quality.
Ultimately, a good stand makes hand quilting a more sustainable and enjoyable hobby for the long haul. It's a tool that protects your body while helping you perfect your art—and for any serious quilter, that's a winning combination.
Finding the right quilting hoop and stand combo is a bit like finding the perfect chair—it has to fit you, your projects, and the way you like to work. The whole point is to make quilting more comfortable so you can focus on your stitches, not an aching back. With so many choices out there, it's easy to get overwhelmed, but let's break it down into a few key decisions.
Think of it like this: if you were going to start a website, you’d probably look for a guide on the best software for blogging to compare features and find the right fit. We're going to do the same thing here, just for quilting. The goal is to find a setup that you'll love using for years.
This little flowchart pretty much sums up the main reason most quilters start looking for a stand in the first place.
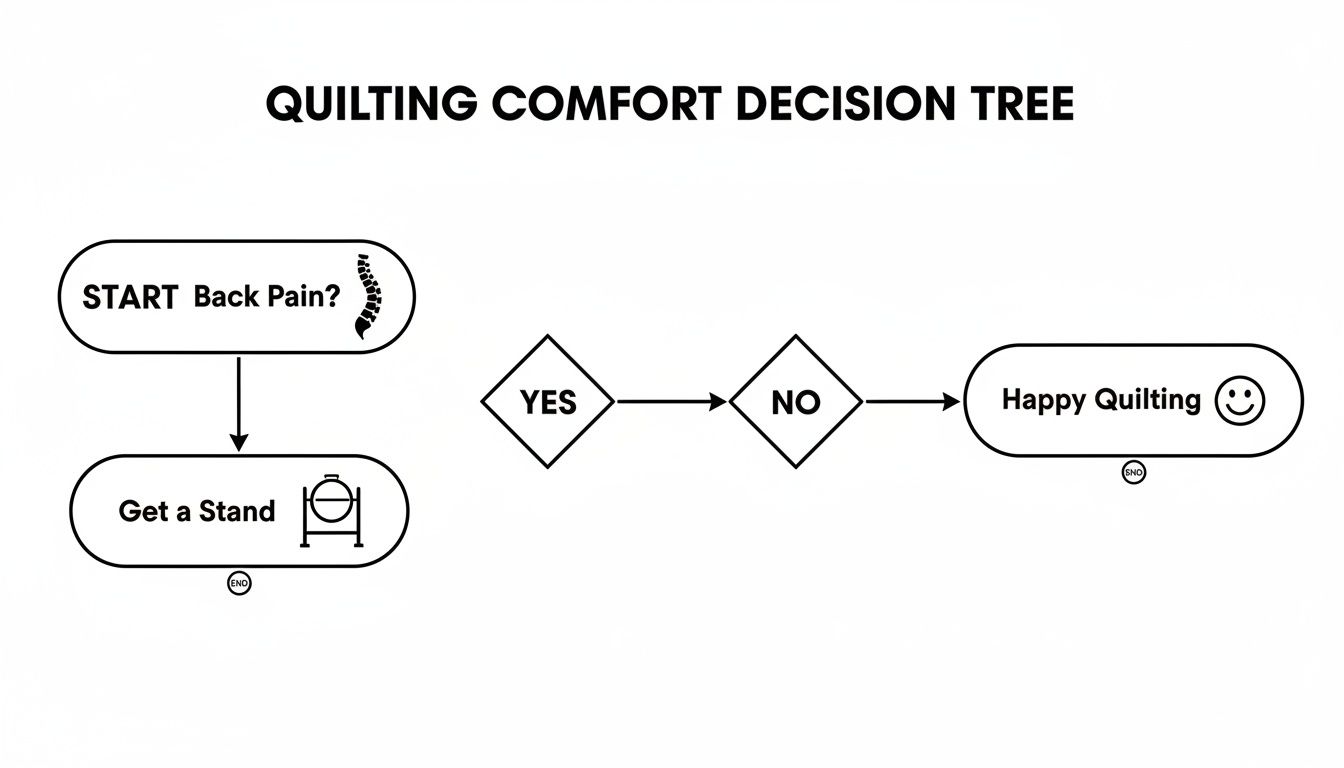
Ultimately, it all comes down to ergonomics. A good stand takes the weight of the quilt off your lap and holds your work at the perfect angle, saving you from the neck and shoulder strain that can cut a quilting session short.
First things first: what size projects do you usually work on? The hoop's diameter should match the scale of your quilts. Hoops typically range from 12 to 24 inches.
A smaller hoop is like a fine-tipped pen for detailed work, while a larger hoop is more like a paint roller, letting you cover a lot of ground quickly. If you’re just starting out, a 14-inch or 16-inch hoop is a great, versatile size that can handle a bit of everything.
Next up is the material of the hoop itself. The two main players are wood and plastic (PVC), and they both have their fans.
Wooden hoops are the classic choice, and for good reason. They're often made from beautiful beechwood, have a nice solid feel, and the natural texture of the wood can help grip the fabric. They just feel traditional.
Plastic hoops are the modern, lightweight alternative. They're durable, a breeze to clean, and usually a bit easier on the wallet. The choice really boils down to what you prefer—the timeless feel of wood or the practical, no-fuss nature of plastic.
How the hoop holds your quilt taut is a make-or-break feature. You need firm, even tension to get those perfect stitches, and there are two main ways hoops achieve this.
For serious hand quilting, a screw-tight mechanism is the way to go. It gives you that no-slip grip you need to create beautiful, even stitches without constantly fidgeting with your setup.
Finally, you’ll need to think about the stand itself—whether you want a lap stand, a floor stand, or one that clamps onto a table. We’ll dig into the pros and cons of each type next, but thinking about where you do most of your quilting will point you in the right direction.
When you’re setting up your hand-quilting station, one of the first big decisions you'll face is whether to go with a lap stand or a floor stand. This choice really shapes your whole experience. Think of it like deciding between a portable artist's easel and a big, sturdy studio drafting table. Both are great tools, but they’re built for different kinds of work and different spaces.
A lap stand is your go-anywhere quilting companion. It's designed to rest on your lap or straddle your legs while you're settled into a comfy chair. Their compact size is a huge plus for anyone short on space or for quilters who like to move around the house or even take their projects on the road.
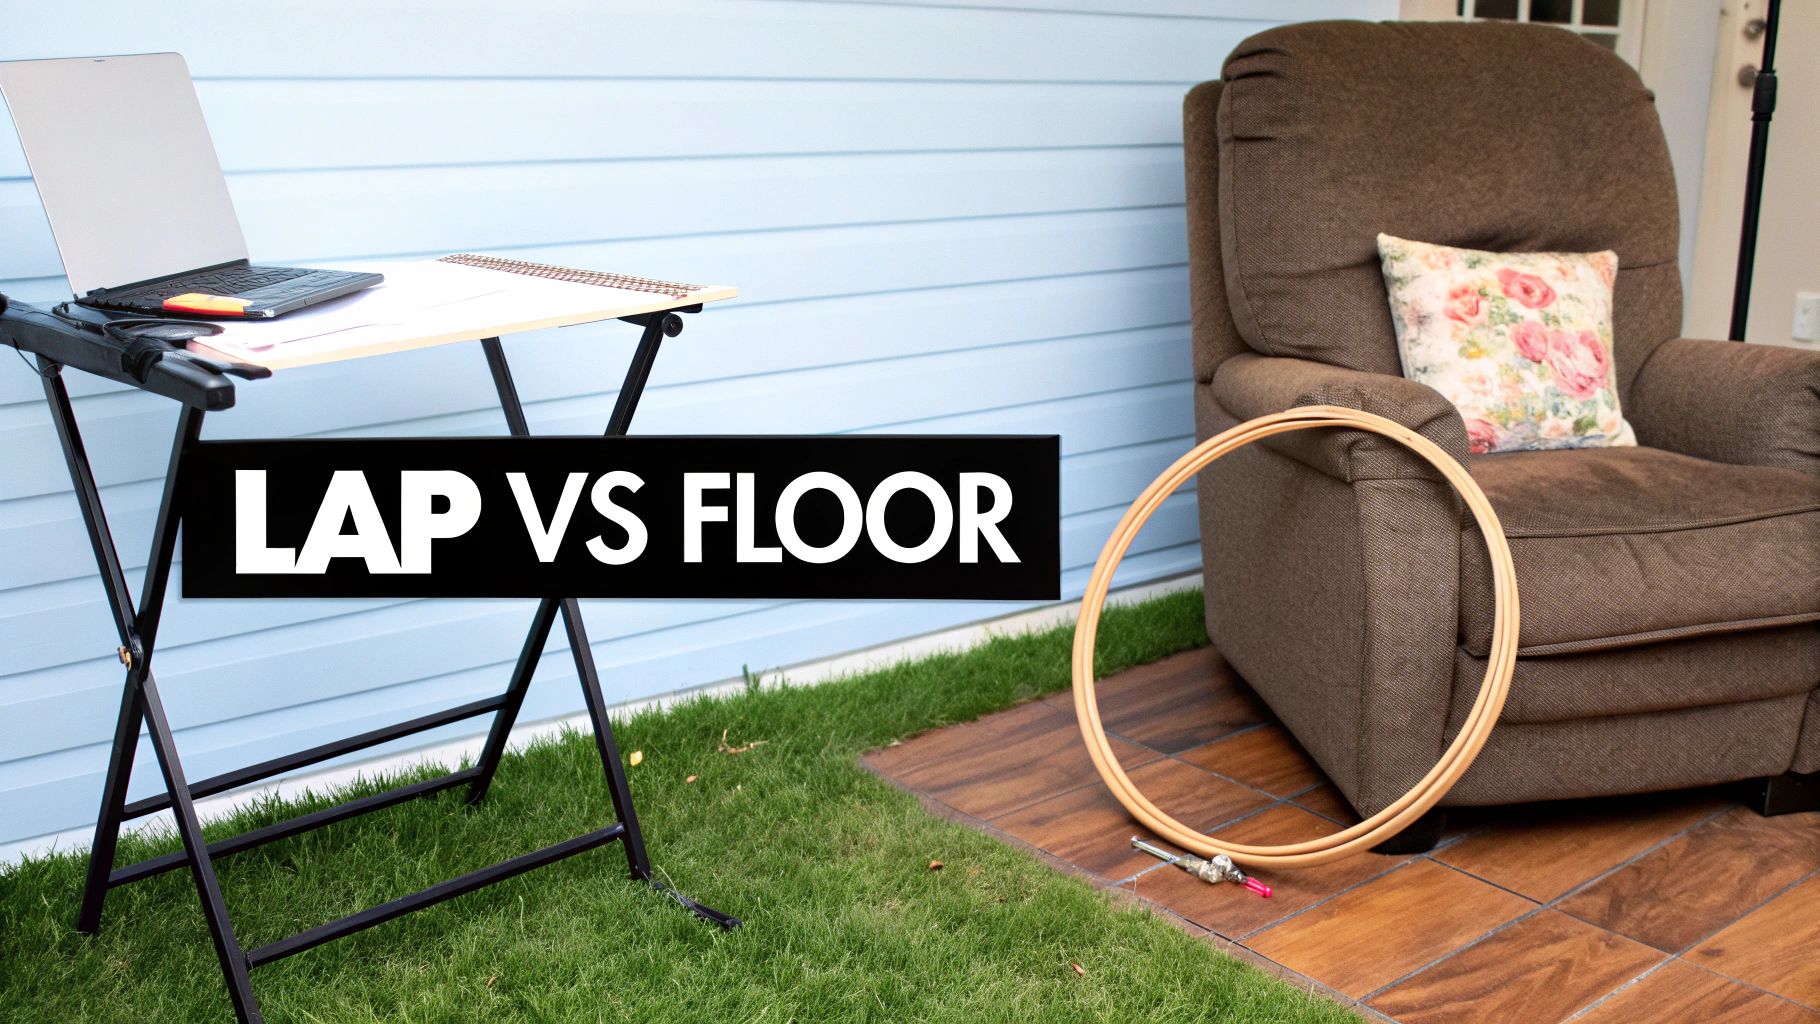
On the other hand, a floor stand is the quilting world's workhorse. It’s a solid, freestanding piece of furniture that offers incredible stability. This makes it the undisputed champion for large, heavy quilts that would feel unwieldy on a smaller setup. A good floor stand becomes the heart of your creative corner, always ready for those serious, long-haul projects.
The biggest draw for a lap stand is, without a doubt, its portability. They’re usually lightweight and often fold down, making them a breeze to tuck away or take with you. If you’re part of a quilting bee, love attending workshops, or just want to quilt while binge-watching your favorite show with the family, a lap stand is your best friend.
That said, their smaller size means they really shine with small- to medium-sized quilts. Think wall hangings, baby quilts, or individual blocks. You can tackle a bigger quilt on one, but you’ll find yourself wrestling with all the extra fabric, which can get old pretty fast.
If rock-solid stability is what you’re after, nothing compares to a floor stand. Their heavy-duty construction and wide base mean your work isn't going anywhere, no matter how much you pull and stitch. This is a game-changer when you're working on a queen- or king-sized quilt where the sheer weight of the fabric can make a smaller stand wobble.
Floor stands also win when it comes to ergonomics. Most models give you tons of options to adjust the height, angle, and rotation of your hoop. Getting that position just right is key to quilting for hours without aches and pains. With the quilting market now valued at $4.5 billion, it's clear that the millions of us who love this craft are serious about our setups. Many quilters, especially retirees, prioritize comfort, and you can discover more insights about quilting trends to see just how important this is.
Key Takeaway: The question isn't "which stand is better?" but "which stand is better for me?" Take a good look at where you do most of your quilting, the typical size of your projects, and whether you need to be able to pack it all up.
Lots of quilters I know actually use both. They might have a floor stand set up for the "main event" at home but keep a lap stand handy for smaller projects or for taking to a friend's house. This lets them switch seamlessly between tasks, maybe machine piecing on their BERNINA and then moving to the stand for that beautiful hand-quilted finish.
To help you sort it out, here’s a quick side-by-side look at the two options.
Here’s a breakdown to help you visualize which type of stand might fit best into your quilting life. I've also added frames to the mix, as they are another popular option for holding your work.
| Stand Type | Best For | Portability | Stability | Adjustability |
|---|---|---|---|---|
| Lap Stand | Small to medium projects, quilting in various locations, limited space. | High | Moderate | Good |
| Floor Stand | Large or heavy quilts, dedicated quilting spaces, maximum ergonomics. | Low | High | Excellent |
| Frame | Very large projects (e.g., bed quilts), keeping the entire quilt taut. | Very Low | Excellent | Limited |
Ultimately, the right choice will depend on your personal workflow, the kinds of quilts you love to make, and the space you have available.
There's nothing quite like the excitement of unboxing a new quilting hoop and stand. Getting it set up right from the get-go is the key to a stable, comfortable experience, letting you focus on your stitches instead of a wobbly frame. Let's walk through it together, from putting the stand together to getting that perfect fabric tension.
Think of it like building a solid foundation for a house—every connection needs to be secure. The little bit of time you spend on setup now will pay off with countless hours of smooth, easy quilting down the road.
Most stands come with a decent set of instructions, but they all follow the same basic idea. Follow these steps, and you'll have a rock-solid base for your next project.
With your stand ready to go, the next step is mastering the art of mounting your quilt.
The whole point of a quilting hoop with stand is to hold your quilt sandwich perfectly taut. This "drum-tight" tension is the secret ingredient for those beautiful, even stitches, and it prevents any frustrating puckers or fabric distortion. It’s a feel you develop over time, a mix of a gentle but firm touch.
Start by loosening the screw on the outer hoop just enough so you can separate it from the inner ring. Drape your quilt sandwich (top, batting, and backing) over the inner ring, making sure the section you plan to quilt is right in the center.
Now, gently press the outer hoop down over the inner one, sandwiching the fabric in between. Before you tighten anything, run your hands from the center of the hoop outwards, smoothing out any last-minute wrinkles.
Pro Tip: To avoid leaving marks or "hoop burn" on your fabric, try wrapping the inner ring with strips of cotton fabric or twill tape. This little trick creates a soft buffer between the hoop and your quilt top, which is a real lifesaver on projects you'll be working on for a while.
Finally, start tightening the screw, all while gently pulling and smoothing the fabric taut. What you're aiming for is a firm, even surface that has a little bounce to it when you tap it, just like a small drum. Getting that tension just right is what lets your needle glide through the layers effortlessly. It takes a little practice, but you'll get the hang of it in no time.
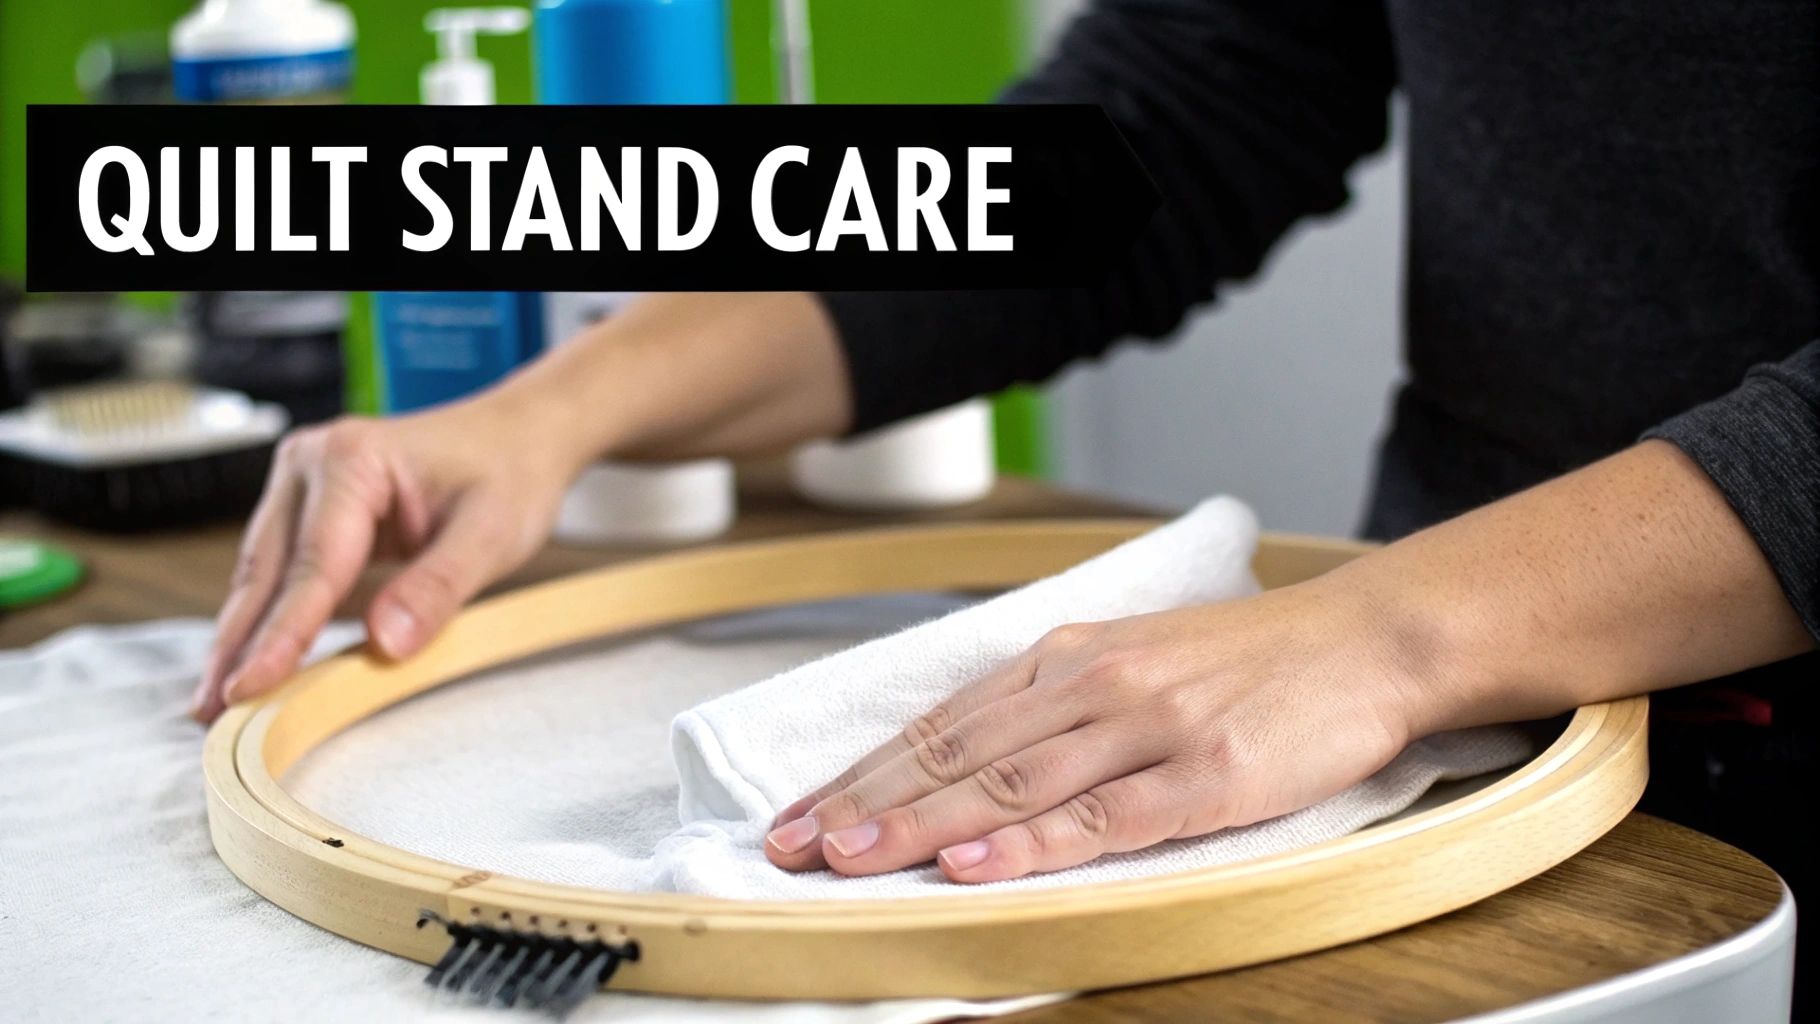
Think of a good quilting hoop and stand as a trusted partner in your craft. With just a little bit of routine care, it will see you through countless projects for years, maybe even a lifetime. Keeping it in top shape isn't a chore; it’s just a few simple habits that protect your investment and make sure it’s always ready when inspiration strikes.
Your hoop is going to collect the usual suspects: lint, dust, and the natural oils from your hands. For both plastic and wooden hoops, a quick wipe-down with a clean, dry microfiber cloth after you finish a project is usually all it takes. This tiny step prevents any grime from building up and potentially getting on your pristine quilt tops.
Wooden hoops, with their classic feel, just need a tiny bit more love to stay at their best. Wood can dry out over the years, which might lead to small cracks or a rougher finish that snags fabric. Nobody wants that.
To keep the wood happy, treat it to a little conditioning once or twice a year. Just put a small amount of a good wood conditioner or even a beeswax polish on a soft cloth and rub it into the hoop. Let it soak in for 15-20 minutes, then take a clean cloth and buff off any extra. It’s like a spa day for your hoop, keeping the wood nourished, strong, and silky smooth.
This conditioning process isn't just about looks. It actually helps the wood maintain its natural grip on the fabric, which is key to getting that perfect, drum-tight tension we all strive for.
Nothing kills your quilting rhythm faster than a wobbly stand. The good news is, it’s easy to prevent. A quick check-in on the joints and connections will keep everything steady.
Alright, you've soaked up all the details about quilting hoops and stands—you know the benefits, you've seen the different types, and you understand what it takes to get that perfect tension. Now for the fun part: putting all that knowledge to work and finding the setup that’s just right for you.
Choosing the right quilting hoop and stand is a really personal decision. It's all about what feels comfortable for your body, fits into your creative space, and matches the way you like to quilt.
It’s one thing to read about a stand's stability, but it’s a completely different experience to feel the solid, grounded construction of a floor stand or the easy convenience of a lap model. Getting your hands on them is truly the best way to know what you'll love.
If you're anywhere near Colorado Springs, we'd love for you to stop by our shop, High Country Quilts. This is the perfect opportunity to take your research from the screen to the real world. Come on in and try out a few different models for yourself.
Think of a quilting hoop with a stand as more than just a new piece of gear. It’s an investment in your comfort, your creativity, and your ability to enjoy this craft for many years to come.
When you find the right setup, you'll spend less time dealing with aches and pains and more time lost in the creative flow. It’s about making your quilting time more enjoyable, connecting with your craft, and being part of a community that shares your passion.
It's totally normal to have a few questions before you dive in and invest in a new piece of quilting gear. Let's walk through some of the most common things quilters ask about hoops and stands so you can feel great about your choice.
That's a great question, but these hoops are really made for one thing: the beautiful, detailed work of hand quilting. Think of it as your third hand, holding the quilt sandwich perfectly taut and still so you can focus on making those tiny, even stitches.
Machine quilting is a whole different ballgame. For that, you need your quilt to glide smoothly under the needle. While there are huge, specialized frames for machine quilting, a classic hoop and stand is your best friend for the quiet, meditative process of stitching by hand.
Ah, the dreaded "hoop burn." No one wants to see an impression left on their beautiful fabric, and thankfully, it's easy to avoid. The secret is to give your hoop a little cushion.
The best trick in the book is to wrap the inner ring of your hoop. Just take some thin strips of scrap cotton fabric or some cotton twill tape and wind it snugly around the ring. This creates a soft barrier that protects your quilt top. And as a general rule, it's always smart to take your quilt out of the hoop when you’re done for the day. This lets the fabric breathe and the fibers relax.
For anyone just starting out, a 14-inch or 16-inch hoop is a fantastic all-rounder. It gives you a nice, big workspace for projects like table runners or lap quilts, but it isn't so cumbersome that it's hard to handle. It's a perfect first choice.
This is one of those "it depends" situations. One isn't really better than the other; it all comes down to how and where you like to quilt. Your personal quilting style is the key here.
Think about your space and your habits. That will tell you which one is the right fit for you.
Ready to feel the difference a quality quilting hoop and stand can make? Come on down to High Country Quilts to try out a few models in person. We'd love to help you find the perfect one for your next project. You can also explore our selection online and get expert advice from our team.
At High Country Quilts we care deeply about community. With our experiences in retail, we know that a store is not only a place to shop but also a place for the community to gather and share. During this busy...

Hi! We’re Adam and Renee Wheaton, the new owners of High Country Quilts! For more than 40 years, we’ve owned and operated vacuum and sewing businesses. Following in Renee’s father’s footsteps after he retired from All Discount Vacuum and Sewing in Colorado...


Leave a comment