


We Love Our Quilting Community
At High Country Quilts we care deeply about community. With our experiences in retail, we know that a store is not only a place to shop but also a place for the community to gather and share. During this busy...


The Courthouse Steps quilt pattern is one of those timeless, wonderfully symmetrical takes on the classic Log Cabin block. If you love a structured design, you'll feel right at home with this one. The whole pattern builds out from a central square, with pairs of rectangular "logs" added to opposite sides—think of it like building steps, which is exactly where it gets its name.
This straightforward construction makes it a fantastic project for quilters of all skill levels. Seriously, anyone can do this.
A Courthouse Steps quilt is more than just a pretty design; it’s a little piece of American history stitched into fabric. It tells a story of community, structure, and the simple elegance you find in perfect symmetry. Unlike the more free-form Log Cabin block, where logs are added in a spiral, this design is all about order and balance. That deliberate placement creates a powerful graphic impact with surprisingly little effort.
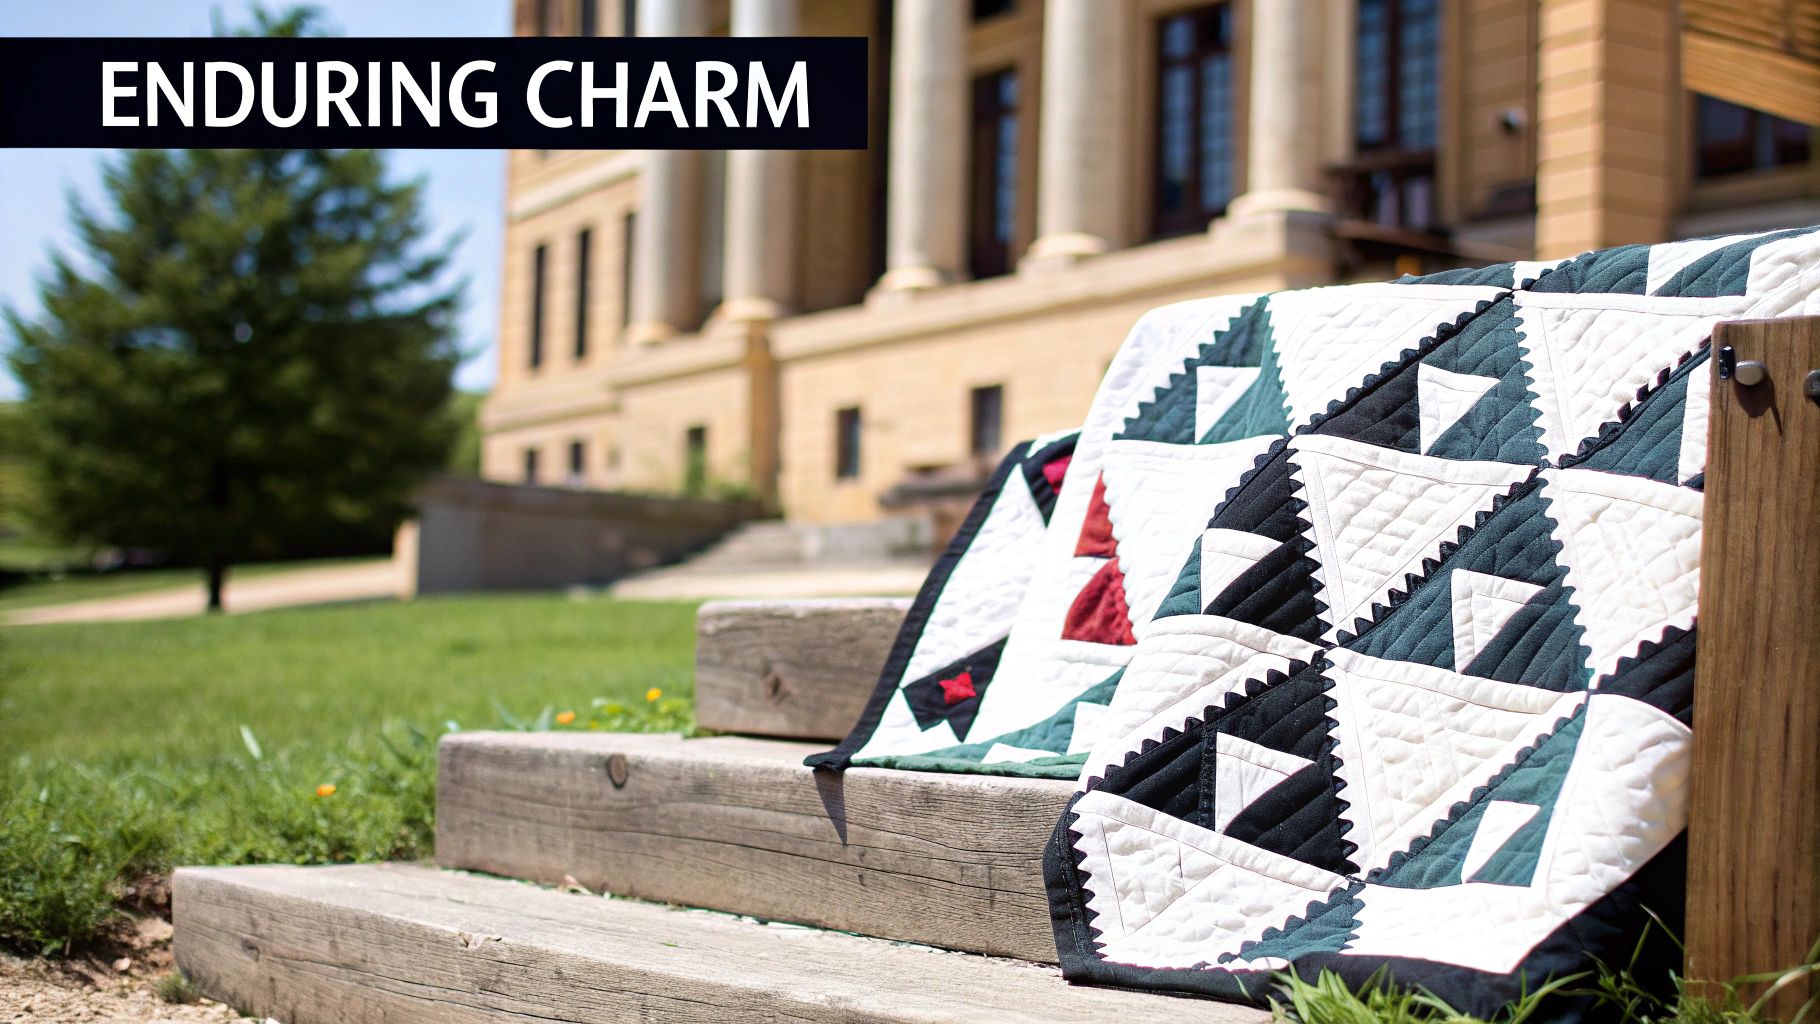
The name itself gives you a big clue about its history. The pattern really came into its own in the mid-19th century when courthouses were the hubs of civic life, symbolizing justice and community. Quilters began mimicking those straight, even steps leading up to these impressive buildings by sewing symmetrical strips around a center square.
This design really took off during the Civil War era as Log Cabin variations became incredibly popular. It was common to see a red center, which was often said to represent the hearth of the home or, in a more patriotic sense, Abraham Lincoln's humble beginnings. You can find some great historical deep-dives over at Suzy Quilts.
So, what is it about this particular design that quilters still love so much, generations later? It all comes down to a perfect blend of simplicity and visual punch.
The real beauty of the Courthouse Steps quilt is how it lets you create something that looks complex from a very simple, methodical process. It’s a fantastic confidence-builder for new quilters and a wonderfully satisfying project for those of us with more experience.
I want this guide to feel like you and I are in a quilting class together, right in your sewing room. We’re going to walk through every single stage, from picking fabrics that make your design pop to piecing your blocks with accuracy. My goal here is to take all the guesswork out of it and empower you to create a beautiful quilt you can be proud of.
You’ll learn all the tips and techniques you need to bring that historic charm into your own creative work. Let’s get ready to make something wonderful.
Every truly great quilt starts with a bit of daydreaming and planning. Before you even think about firing up your sewing machine, taking some time to play with color and figure out your fabric needs is the secret to a Courthouse Steps quilt you'll absolutely love. A little prep work now makes the entire process feel less like a chore and more like creative play.
The magic of the Courthouse Steps quilt pattern is all in its bold, graphic lines. Those lines come from the sharp contrast between your light and dark fabrics, which makes choosing your palette one of the most important—and fun!—parts of the project. Your goal is to create a really clear difference between your "light" and "dark" fabric piles so those "steps" can truly stand out.
When it comes to sourcing fabric, you’ve got some great options. Each path leads to a quilt with its own unique personality, so think about the style you're going for.
Pro Tip: When you're auditioning fabrics, lay them out side-by-side and snap a quick black-and-white photo with your phone. This little trick strips away the color and instantly tells you if there’s enough value contrast. If your fabrics all blend into a sea of gray in the photo, they’re going to look muddy in your finished quilt.
Okay, you've decided on your approach. Now, let's talk numbers. The amount of fabric you'll need boils down to three key things: the size of your block, how many blocks you're making, and the final dimensions of your quilt. And remember, all quilting math is built on the foundation of a consistent and accurate quarter-inch seam allowance.
For example, a nice throw quilt finishing at 60" x 60" could be made with a 5x5 grid of 12-inch finished blocks. A queen-sized quilt might need a 6x7 grid plus borders to fit the bed properly. I always recommend buying a little extra fabric—at least 1/4 to 1/2 a yard more than you think you need. It’s cheap insurance against a cutting mistake or a bit of fabric shrinkage in the wash!
To get you started, I've put together a cutting chart for three of the most common block sizes. This table gives you the exact dimensions for each piece, and don't worry—the standard 1/4" seam allowance is already included. For every block you make, you'll need to cut one center square and two of each corresponding log piece.
| Piece | 10.5" Unfinished Block (10" Finished) | 12.5" Unfinished Block (12" Finished) | 14.5" Unfinished Block (14" Finished) |
|---|---|---|---|
| Center Square | 2.5" x 2.5" | 2.5" x 2.5" | 2.5" x 2.5" |
| Log 1 (Dark) | 2.5" x 2.5" | 2.5" x 2.5" | 2.5" x 2.5" |
| Log 2 (Light) | 2.5" x 6.5" | 2.5" x 6.5" | 2.5" x 6.5" |
| Log 3 (Dark) | 2.5" x 6.5" | 2.5" x 6.5" | 2.5" x 6.5" |
| Log 4 (Light) | 2.5" x 10.5" | 2.5" x 10.5" | 2.5" x 10.5" |
| Log 5 (Dark) | N/A | 2.5" x 10.5" | 2.5" x 10.5" |
| Log 6 (Light) | N/A | N/A | 2.5" x 14.5" |
Think of this chart as your roadmap. Remember, accurate cutting is the first step toward accurate piecing, so take your time with it. A sharp rotary cutter and a good ruler are your best friends here. Once your fabrics are chosen and your pieces are all cut, you’re ready for the really fun part: sewing it all together
With all your fabric beautifully planned and cut, it's time for the magic to happen. This is my favorite part—where the rhythmic, satisfying work of sewing brings those pieces to life. We're going to build these blocks from the inside out, making sure every "step" lines up just right. My goal here is to make this process feel second nature, helping you create sharp, square blocks that fit together like a dream.
The real beauty of the Courthouse Steps block lies in its symmetry. Unlike a classic Log Cabin where you add strips in a spiral, here we're adding them in parallel pairs. You’ll sew a strip to the top and one to the bottom, press, and then add strips to the left and right. This simple method is what gives the block its signature balanced, graphic punch.
This methodical process all hinges on what came before it. Good piecing is built on a foundation of careful planning.
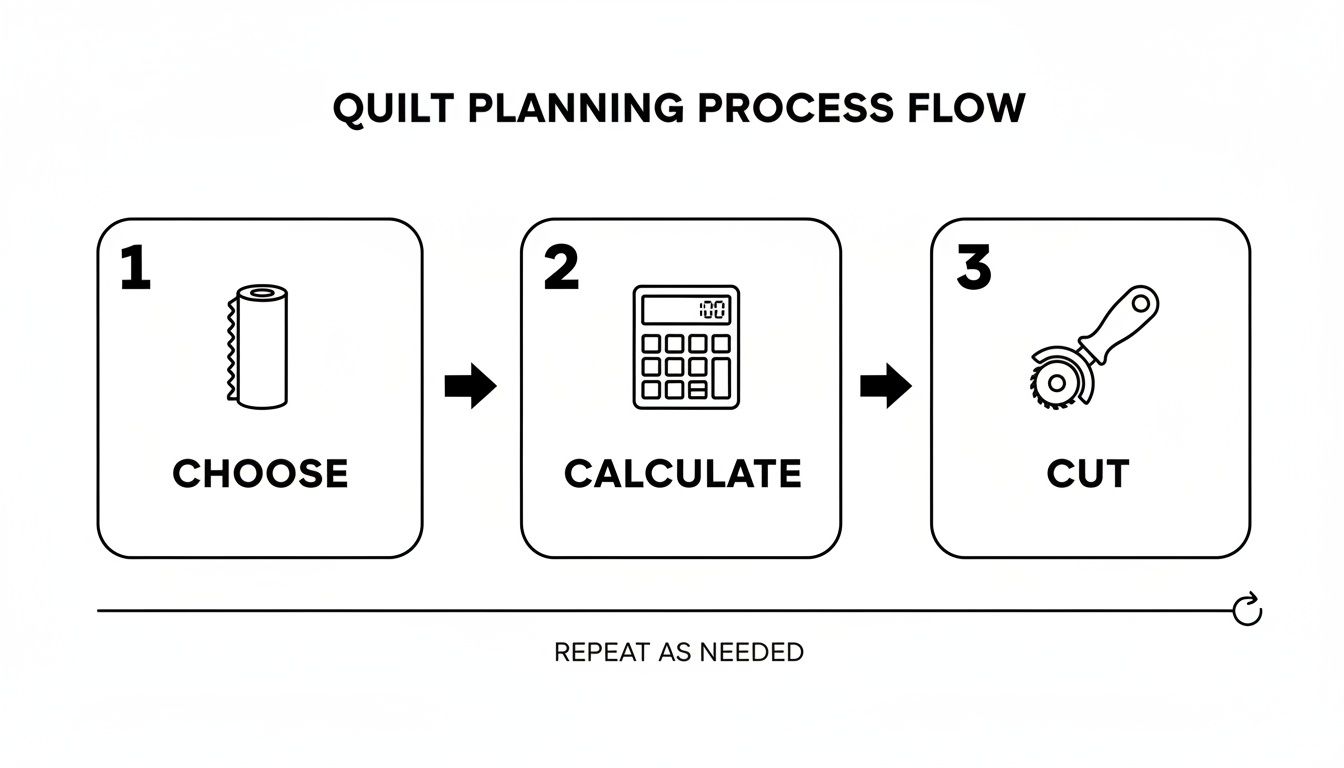
As you can see, successful sewing is a direct result of taking your time to choose, measure, and cut with care.
Before you even think about sewing that first seam, let's take a minute to get your space ready. A little prep work here makes a massive difference in your accuracy and, honestly, your enjoyment of the process.
The Courthouse Steps block is widely considered one of the easiest Log Cabin variations, making it a fantastic project for beginners. The symmetrical construction—starting with a center square and adding paired logs—is built for speed. In fact, many quilters find they can piece these up to 40% faster than traditional Log Cabins since there are no tricky diagonal seams. You can learn more about this popular block and its history over at Simple Simon & Co.
Alright, let's start sewing. Grab one of your center squares and the two matching strips for your first round (Log 1 from the cutting chart).
Your first move is to place one Log 1 strip right-sides-together with the top edge of your center square. Pin it if that makes you more comfortable, then sew along the edge with your precise 1/4-inch seam.
Next, do the exact same thing with the second Log 1 strip, but this time on the bottom edge of the center square. Sew that seam.
You should now have a little three-piece unit. Don't sew anything else just yet! It’s time to head to the ironing board for a crucial step.
I can't overstate this: how you press your seams dramatically affects how flat and professional your finished quilt looks. The goal is to avoid creating bulky intersections and to make sure your block lies perfectly flat.
For the two seams you just made, first "set" the seam by pressing it flat as it was sewn. Then, gently open the pieces and press both seam allowances toward the outer strips—away from the center square. This little trick keeps the middle of your block from getting too thick. Try to use a gentle up-and-down motion with your iron rather than dragging it, which can easily stretch and distort your fabric.
With those first seams neatly pressed, you're ready to add the next pair of logs to the sides.
Grab your three-piece unit and the two matching strips from your second round (Log 2). These will go on the long, raw-edge sides.
Now, back to the iron. Press these two new seams outward, toward the logs you just added. Consistently pressing your seams away from the center is key to keeping your block flat as it gets bigger.
And just like that, you've completed one full "round" of your Courthouse Steps block!
If you're making a whole quilt's worth of blocks (and I hope you are!), chain piecing will be your best friend. This technique is a game-changer for saving time and thread.
Instead of sewing a single seam, cutting the thread, and picking up the next piece, you just feed them through your machine one after another without stopping. It creates a long "chain" of connected pieces.
For example, you’d sew the first top log to all of your center squares, creating a long string of them. Then you’d snip them apart at your cutting mat and do the same thing for the bottom logs. It turns the whole process into an efficient assembly line and really helps you get into a nice, steady rhythm.
Alright, you've pieced your blocks, and they look fantastic. Now comes the part where the real magic happens. This is where you shift from a precise sewer to a visual artist, arranging all those squares into a quilt top that sings. The Courthouse Steps block is a total workhorse; its simple structure is a springboard for so many incredible designs, and a simple turn of a block can change everything.
Before you even think about sewing your blocks into rows, lay them all out. Use a design wall if you have one, but a clean patch of floor works just as well. This is your playground. Move things around, step back, and squint. I always snap photos with my phone as I go—it’s amazing how a picture can give you a fresh perspective when you’ve been staring at the same layout for an hour. Don't rush this; it’s one of the most rewarding parts of making a quilt pattern courthouse steps design.
The beauty of a block-based quilt lies in the secondary patterns that pop up when all the blocks come together. By just rotating your Courthouse Steps blocks, you can create these mesmerizing new designs that flow across the whole quilt. These layouts have stood the test of time for a reason—they're graphic, engaging, and surprisingly simple to map out.
Here are a few classic arrangements I always come back to:
While the classics are classics for a reason, don't feel like you have to stick to the rulebook. The Courthouse Steps block is a fantastic canvas for playing with modern quilting ideas and pouring your own style into your work. This is your chance to get creative and make something that is 100% you.
A perfect example of a modern take is the free Courthouse Steps Zine from Taylor at Toad & Sew. One layout requires you to plan your color placement block-by-block, which creates this stunning "echoing square" effect. It feels so fresh and is a brilliant illustration of how this simple block can be completely reinvented.
Why not try a few of these modern ideas?
Ultimately, the best layout is the one you fall in love with. So play with your blocks, try out different arrangements, and trust your gut. The perfect design is simply the one that makes you smile every time you see it.
That beautifully pieced top is a huge accomplishment, but it's not quite a quilt just yet. The next steps are where the real magic happens, transforming your patchwork into a durable, cozy, and treasured heirloom. Finishing—the quilting and binding—is what adds texture, dimension, and that final professional polish.
Think of this stage as making a "quilt sandwich." You'll have three distinct layers: your finished quilt top on the front, a soft layer of batting in the middle, and a single piece of backing fabric. The absolute key to avoiding puckers and tucks later on is making sure all three layers are smooth and securely basted together before you start quilting.
The batting and backing you pick will have a huge impact on the final look, feel, and warmth of your quilt. The backing is also one last chance to inject a little extra personality into your project.
Batting: For a quilt with crisp, beautiful stitch definition, you can't go wrong with 100% cotton batting. It's a classic for a reason. If you're after a bit more puffiness (what we call "loft") and a lighter overall weight, an 80/20 cotton-poly blend is a fantastic and very popular alternative.
Backing Fabric: This is important: your backing fabric needs to be at least 4-5 inches larger than your quilt top on all four sides. This extra fabric gives you something to hold onto while quilting and allows for any shifting that might happen. You can find a single wide-back fabric that's big enough, or simply piece together standard-width yardage to get the size you need.
Quilting doesn't just hold the layers together; it's a major design element that can either complement or contrast with your piecing. Interestingly, not all historical quilts were heavily quilted. A stunning 1894 silk Courthouse Steps quilt, for example, was made with luxurious fabrics but no batting at all! It was more of a decorative coverlet, which helped preserve its pristine condition for over a century. You can see this beautiful heirloom and read its story at the Marathon County Historical Society.
The strong, geometric lines of the quilt pattern courthouse steps look amazing with several different quilting styles. What you choose really just depends on the final vibe you're going for.
One of the most popular and effective choices is straight-line quilting. By stitching lines that echo the seams, you create a grid that reinforces the architectural feel of the blocks. It's a clean, modern approach that's very achievable on a home sewing machine with a walking foot.
If you'd rather soften the quilt's sharp angles, a gentle, meandering stitch—often called a "stipple"—creates a lovely textural contrast. This free-motion design adds a wonderful crinkly texture and movement without competing with your pieced design.
The binding is the final frame for your masterpiece. A well-made binding doesn't just protect the raw edges of your quilt; it gives it that crisp, finished look that says "I'm done!"
Most of us quilters prefer to use 2.5-inch wide strips cut on the cross-grain of the fabric. You'll sew these strips together end-to-end to create one long, continuous strip that can go all the way around the perimeter of your quilt.
Attaching it is usually a two-step process. First, you sew the raw edge of your binding strip to the front of your quilt, taking care to create neat, mitered corners. Then, you simply wrap the folded edge of the binding around to the back of the quilt and stitch it down. You can do this quickly by machine or with a nearly invisible hand stitch for that perfect heirloom touch.
Once that final binding stitch is in place, your quilt is officially complete
Even the most straightforward quilt patterns can leave you scratching your head over a few details. That's perfectly normal! In fact, it's those little questions that often lead to the best results.
Think of this as pulling up a chair next to a seasoned quilter. I'm here to share some answers to the most common questions I hear about making Courthouse Steps quilts, so you can get back to the fun part—sewing!
This is a great question, and the answer is all about symmetry. A classic Log Cabin block is built asymmetrically. You add strips one by one, spiraling around the center square. This usually involves light fabrics on two adjacent sides and dark fabrics on the other two, creating that iconic light-and-shadow effect.
The Courthouse Steps block, on the other hand, is built in parallel pairs. You add a strip to the top and bottom of the center, press, and then add strips to the left and right sides. This creates a balanced, structured design that looks just like its namesake. One is a spiral; the other is a set of stairs.
Absolutely! Using precuts is a brilliant way to save time and get straight to sewing. Jelly rolls, with their bundles of 2.5-inch strips, are practically made for the quilt pattern courthouse steps. Since all the "logs" in this pattern are the same width, a jelly roll takes care of the most time-consuming cutting for you.
You'll still need to cut those long strips down to the specific lengths for each round of "steps" (just follow our cutting chart). Don't forget you'll also need some yardage for your center squares. It’s always fun to pick a fabric for the centers that coordinates beautifully with the prints in your jelly roll.
When it comes to pressing, consistency is everything. There are two popular methods, and both give you a fantastic result. The key is to pick one and stick with it for the whole quilt.
Whichever way you go, the end goal is the same: a flat, square block. A consistent pressing habit is truly one of the secrets to a professional-looking quilt top that goes together like a dream.
Oh, the dreaded wonky block! It happens to all of us, but it’s usually easy to prevent. Your best defense starts with accurate cutting and a religious devotion to a scant 1/4" seam allowance.
When you're at the ironing board, resist the urge to drag the iron across the fabric. That's a surefire way to stretch your pieces out of shape. Instead, lift and press in an up-and-down motion. Here’s a pro tip: for perfect results, get in the habit of measuring and trimming your block with a square ruler after adding each pair of logs. It keeps things perfectly square from start to finish.
Feeling ready to tackle your own Courthouse Steps project? At High Country Quilts, we've got everything you need, from gorgeous fabrics and precuts to friendly advice and fun classes. Come find everything for your next quilt at https://hcquilts.com.
At High Country Quilts we care deeply about community. With our experiences in retail, we know that a store is not only a place to shop but also a place for the community to gather and share. During this busy...

Hi! We’re Adam and Renee Wheaton, the new owners of High Country Quilts! For more than 40 years, we’ve owned and operated vacuum and sewing businesses. Following in Renee’s father’s footsteps after he retired from All Discount Vacuum and Sewing in Colorado...


Leave a comment