

We Love Our Quilting Community
At High Country Quilts we care deeply about community. With our experiences in retail, we know that a store is not only a place to shop but also a place for the community to gather and share. During this busy...


Picking the right size batting is actually pretty straightforward. Here's the golden rule every quilter lives by: your batting needs to be at least 3-4 inches larger than your quilt top on all four sides.
This extra material, which we call "overage," isn't waste—it's your safety net. It gives you the room you need during the quilting and finishing process, preventing headaches like your fabric shifting or finding you've come up short after all that quilting.
Let's cut to the chase. The most important thing to remember is that your batting must be bigger than your quilt top. Think of it as an insurance policy for your project. That extra bit of fluff around the edges is what allows for a smooth quilting experience and a perfectly squared-up final quilt.
You'll notice that batting manufacturers don't just pick sizes out of thin air. They're typically aligned with standard bedding dimensions. This is great for us because it means there are ready-made cuts for crib, twin, queen, and king-sized projects, which helps cut down on waste.
Because the available sizes are designed to match standard bed measurements, finding what you need is usually pretty simple. Of course, you can always buy a larger piece and trim it down, but starting with a size that's already close saves you time, money, and material.
For those of us who quilt constantly, buying in bulk makes a lot of sense. Grabbing something like a https://www.famcut.com/products/hobbs-80-20-heirloom-batting-roll-30-yards can be a real game-changer, ensuring you always have high-quality batting on hand.
This infographic gives you a great visual for how standard batting sizes stack up against common quilt top dimensions.
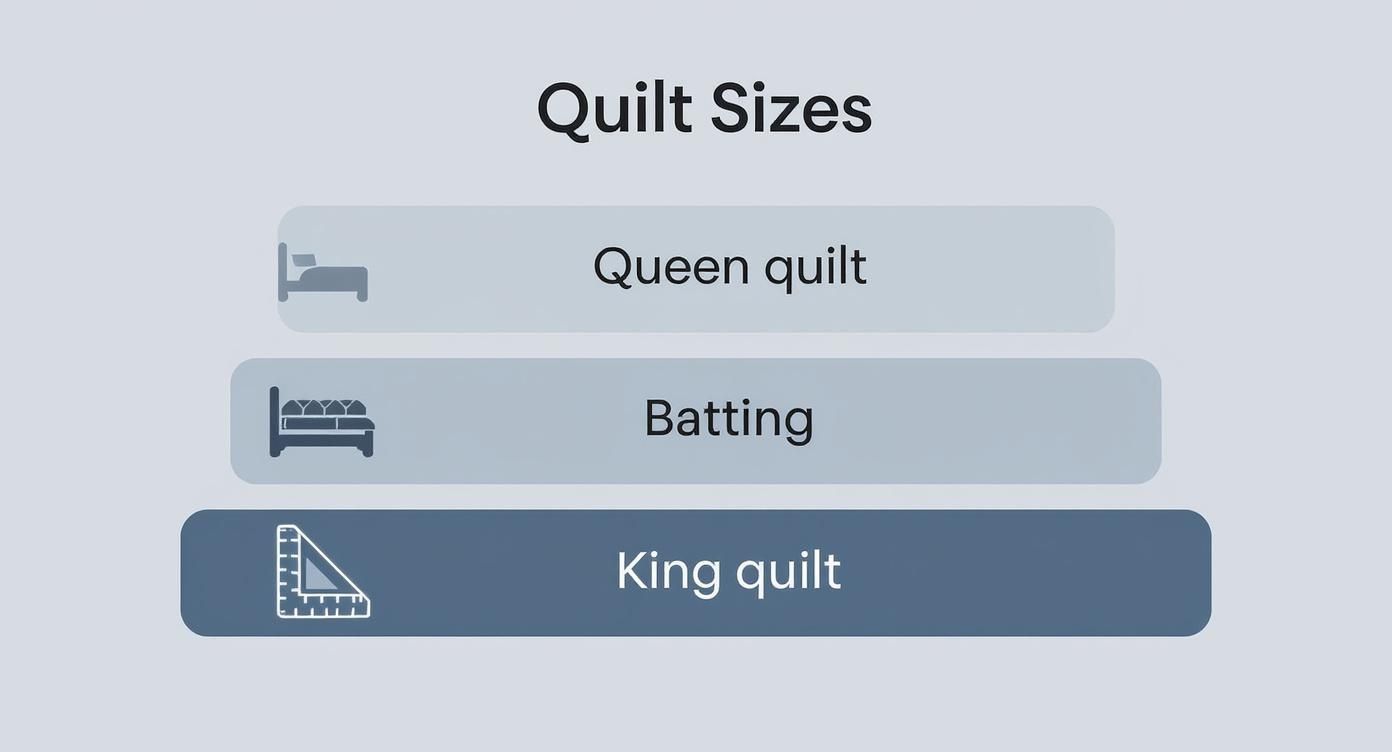
As you can see, that necessary "overage" is built right into the recommendations, giving you plenty of room to work.
Key Takeaway: Always buy batting that is larger than your quilt top. The extra margin is not waste—it's your insurance policy for a perfectly finished quilt, allowing room for shrinkage, squaring up, and securing the quilt for quilting.
If you want to see how these quilt sizes fit into the bigger picture of your bedroom decor, the ultimate bedding size chart and guide is a fantastic resource for coordinating all your linens.
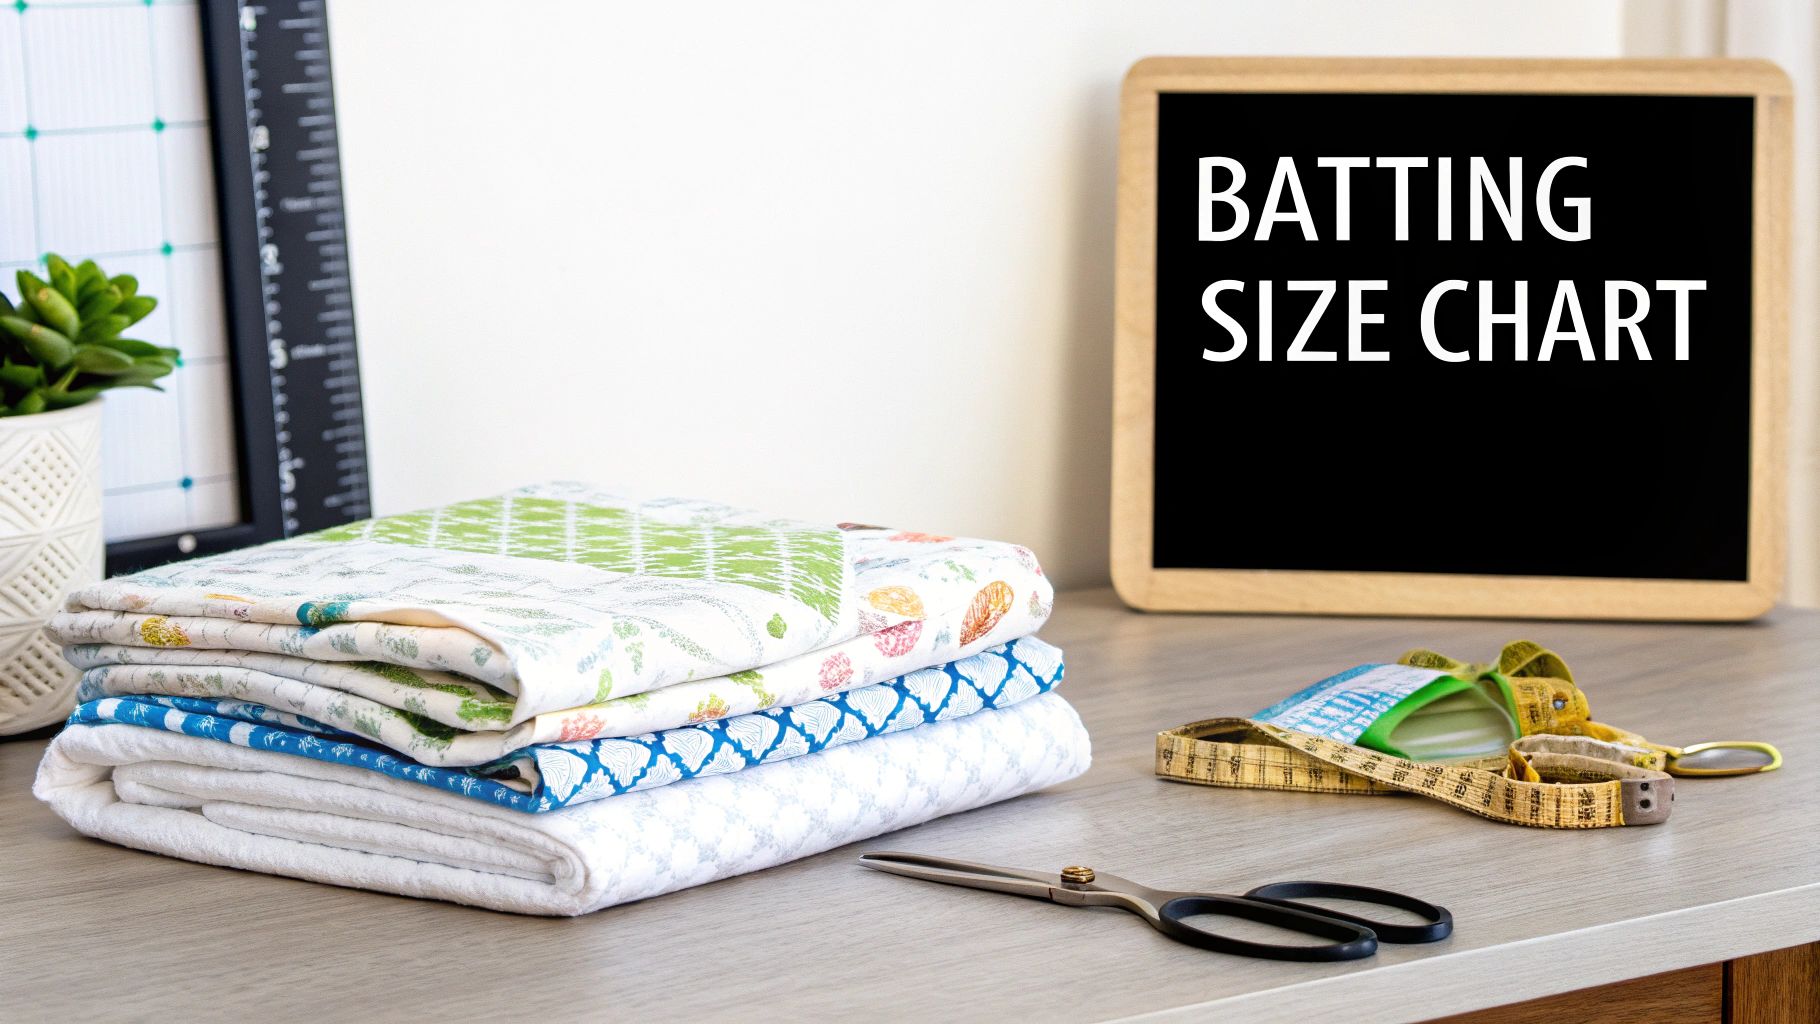
To make things even easier, here is a quick-reference chart. It matches common quilt sizes with their typical dimensions and the corresponding batting size you’ll want to look for.
| Quilt Size | Approximate Quilt Top Dimensions (Inches) | Recommended Batting Size (Inches) |
|---|---|---|
| Crib | 36" x 52" | 45" x 60" |
| Twin | 70" x 90" | 72" x 90" |
| Full / Double | 85" x 108" | 90" x 96" |
| Queen | 90" x 108" | 90" x 108" |
| King | 120" x 120" | 120" x 120" |
Keep this chart handy when you're shopping. It's a simple way to double-check that you're buying the right size batting to set your next quilting project up for success from the very start.
Think of your quilt batting as the unsung hero of your project. It's the cozy, hidden layer that gives a quilt its warmth and dimension. But if that layer is too small, it's like building a house on a shaky foundation—no matter how beautiful your pieced top is, the whole thing can fall apart.
Choosing the right batting size is one of those crucial behind-the-scenes steps that can make or break your final quilt. It's about so much more than just covering the area of your quilt top; it's about giving yourself the room you need to create a beautiful, durable, and perfectly finished piece.
Anyone who has tried to "make it work" with a piece of batting that was just a smidge too small knows the frustration that follows. As you quilt, the layers naturally shift and pull. Without enough extra batting around the edges, you're setting yourself up for a headache.
Here are just a few of the common problems you can run into:
A correctly sized batting is your project's safety net. That extra material, or "overage," gives you a buffer to absorb all the shifting and pulling, keeping your quilt flat, square, and stable from the first stitch to the last.
Beyond just avoiding problems, getting the size right is key to achieving that professional, polished look. Proper quilt batting sizes mean your quilt will have a consistent loft and plushness from the very center all the way out to the binding.
This stable foundation also helps your quilting stitches pop. It gives the needle something to work with, allowing your beautiful designs to stand out with clear definition.
The right batting is especially critical for projects that see a lot of wear and tear. For items like quilted play mats, the batting needs to be perfectly sized to provide plenty of cushion while holding up to constant use and washing.
In the end, choosing the right batting size isn't just about a measurement on a ruler. It’s an essential step that invests in the beauty, longevity, and overall success of your finished quilt.
When you walk into a quilt shop or browse online for batting, you’ll quickly see there are two main ways to buy it: in a pre-cut package or off a giant roll, sold by the yard. It's not just a matter of preference; each one has its own set of pros and cons. Figuring out which is right for you can save you time, money, and a bit of a headache.
Think of it this way: pre-cut batting is like buying a pre-made pie crust. It’s ready to go, perfectly sized for a standard pie, and takes all the guesswork out of the equation. It's the go-to for convenience.
Pre-cut batting comes neatly folded in packages labeled with familiar bed sizes—Crib, Twin, Queen, and King. This makes shopping a breeze, especially if you're just starting out. Making a queen-sized quilt? Just grab the package that says "Queen," and you're all set.
Of course, you still need to check the actual dimensions on the label. A "Queen" package, for instance, might measure 90" x 108". This gives you just the right amount of extra batting to hang over the edges of your quilt top, which is crucial for the quilting process.
Here’s why so many quilters love pre-cut packages:
For any project that fits standard dimensions, a pre-cut package is almost always the most sensible choice. For example, a deluxe cotton-poly blend batting in a twin size is a reliable, no-fuss option that gives you exactly what you need with zero waste.
Buying batting by the yard, on the other hand, is more like visiting the bulk bins at the grocery store. You get to decide exactly how much you need, which is a lifesaver for custom-sized quilts or those extra-large projects where a pre-cut package just won’t do.
This batting comes on a long roll in various widths—common sizes are 45", 90", and sometimes a super-wide 120".
Buying by the yard gives you total control. Need a piece that's exactly 95 inches long for a weirdly-shaped lap quilt? No problem. Working on an oversized king that needs 130 inches? You've got it. This approach ensures you get maximum value with minimal waste.
This method really shines for:
To make the decision a little easier, here's a quick comparison of the two options.
| Feature | Pre-Cut Packaged Batting | Batting by the Yard (On a Roll) |
|---|---|---|
| Best For | Standard-sized quilts (Crib, Twin, Queen, King) and beginners. | Custom-sized quilts, large projects, and frequent quilters. |
| Convenience | High. Just grab the size you need and go. | Lower. Requires measuring and cutting at the store and at home. |
| Cost | Can be slightly more expensive per square inch. | Often more economical, especially when buying in larger quantities. |
| Waste | Minimal, as long as your quilt fits the standard size. | Can result in awkward leftover scraps if not planned carefully. |
| Storage | Easy to store in its compact packaging. | Can be bulky and difficult to store neatly. |
In the end, there's no single "best" choice—it all comes down to the project in front of you. Pre-cut packages are a fantastic, hassle-free solution for standard quilts, while buying by the yard gives you the creative freedom and value you need for custom work or if you're quilting up a storm.
So, you’ve moved past the pre-cut packages and are ready to tackle custom projects. That’s fantastic! But it also means you can't afford to guess when it comes to your batting. Luckily, there's a simple, foolproof formula to get the perfect size every single time, taking all the stress out of the equation.
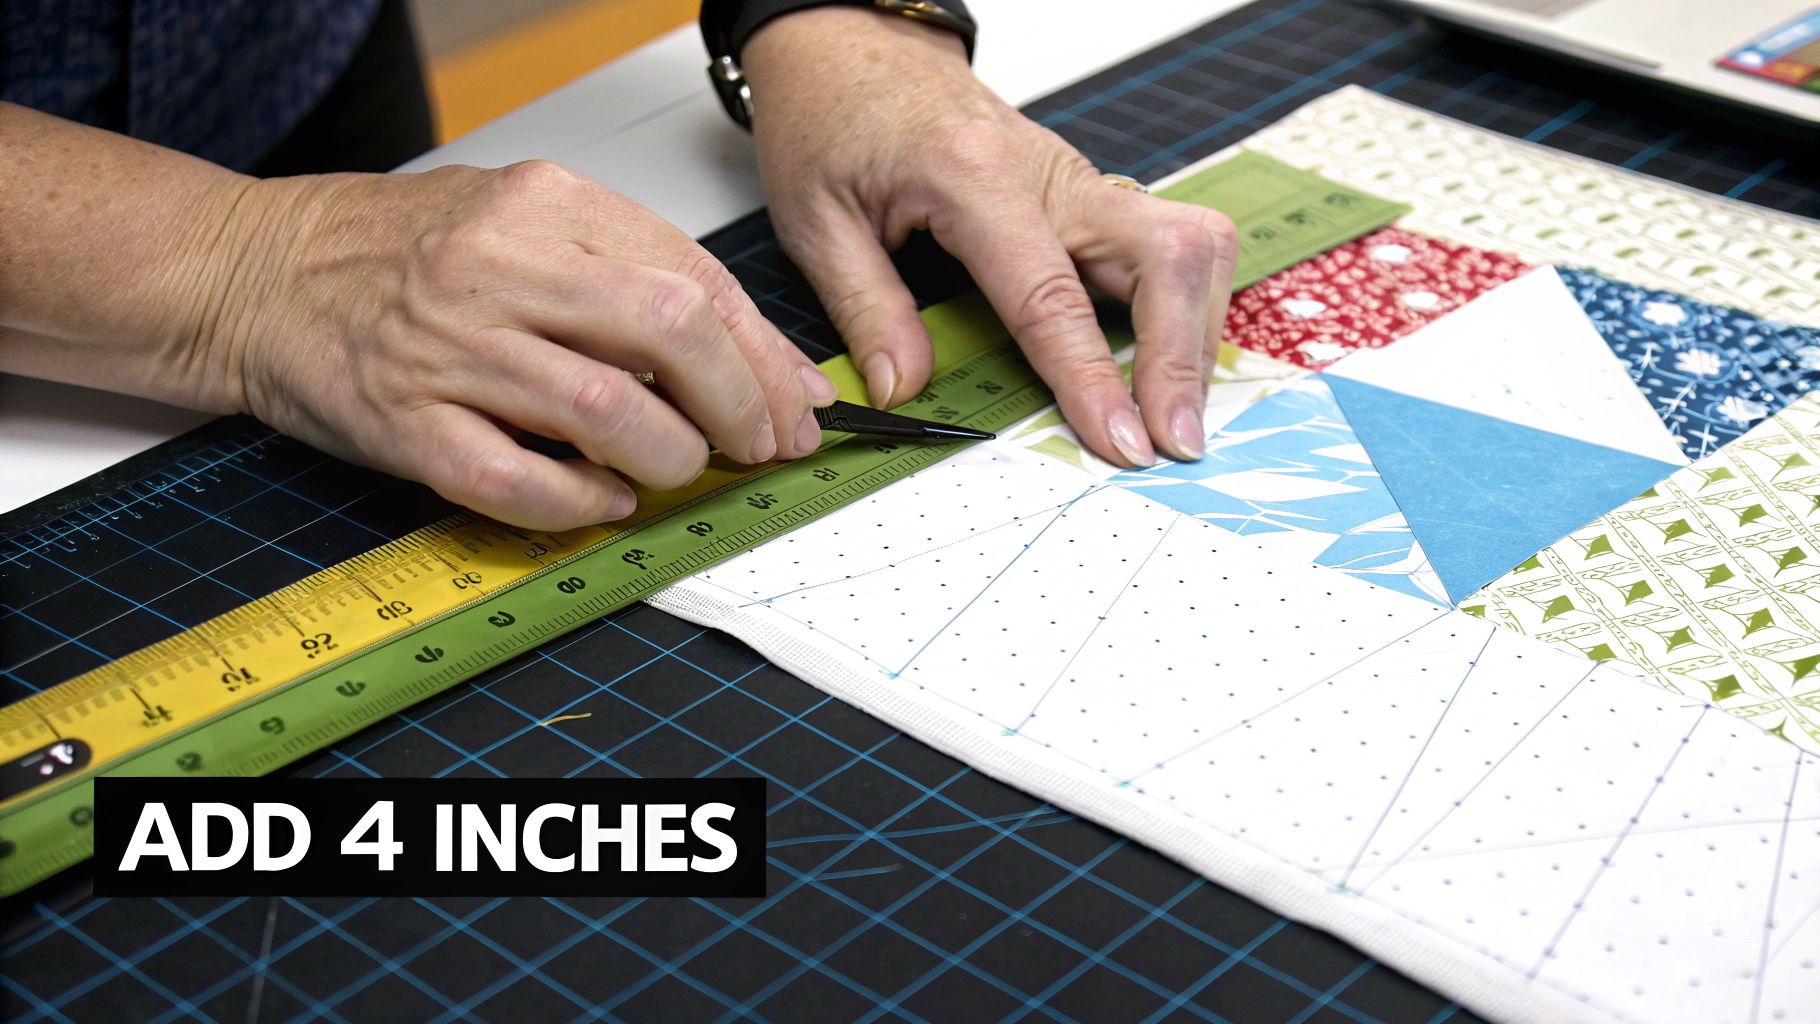
It all starts with one number: the final measurement of your pieced quilt top. Once you have that, you just need to add a little bit of a safety margin, what quilters call overage. Trust me, this isn't an optional step—it's absolutely essential for a smooth finish.
How much extra do you really need? The go-to rule in the quilting world is to add a minimum of four inches to each side of your quilt top. This means your batting should be at least eight inches wider and eight inches longer than your quilt top itself.
Let's break it down with a quick example.
Following this one calculation is the key to never, ever coming up short on your batting again.
That extra four-inch buffer around the edges might feel a bit generous, but it's your best friend during the quilting process. Think of it as your workspace—without it, every step becomes a lot more challenging and risky.
This extra material is crucial for a few big reasons:
Pro Tip: Always double-check the specific overage your longarm quilter prefers. While four inches per side is the standard, some may ask for five or even six inches depending on their setup. It's always better to ask!
The global quilt batting market, valued at around USD 1.8 billion, is built around making sure quilters have what they need. Manufacturers produce batting on rolls in standard widths from 45 all the way up to 120 inches, covering everything from wall hangings to massive bed quilts. You can find more fascinating stats on the batting market and its sizing standards over on Verified Market Reports.
Ultimately, knowing how to calculate your overage takes all the guesswork out of choosing your quilt batting sizes. If you want to get even more specific, check out this handy Hobbs Batting specifications chart. It’s a great resource that breaks down the exact measurements for their entire product line, making it easy to plan your next purchase. Once you adopt this method, you can buy or cut your batting with total confidence, knowing it's the perfect fit for your masterpiece.
Ever look at an antique quilt and feel like its proportions are just a little… different? The secret isn’t just in the fabric or the pattern; it's often hidden in the batting. The story of how quilt batting sizes evolved is a fascinating peek into how textile technology has directly shaped the art of quilting for generations.
Go back a hundred years, and quilters were working with some serious limitations. Batting was only available in narrow widths, constrained by the size of the looms that produced it. If you wanted to make anything bigger than a lap quilt, you had no choice but to piece multiple sections of batting together. It was a time-consuming extra step, and it created seams right in the middle layer of the quilt.
The game completely changed as textile machinery improved. Throughout the 20th century, looms grew larger and more efficient, transforming what was possible. Batting that was once stuck at widths around 36 to 45 inches suddenly became available in much wider formats, giving quilters a new world of creative freedom.
This shift brought us the wide-format rolls we see in quilt shops today, freeing quilters from the headache of piecing their batting.
The introduction of 90-inch, 108-inch, and even 120-inch wide batting rolls was a genuine game-changer. Suddenly, creating a seamless, perfectly smooth foundation for a king-sized quilt went from being a major chore to something anyone could do.
This wasn't just about saving time; it fundamentally changed how people approach quilting. Having access to wide batting has had a huge impact on modern quilt design.
These advancements made the quilting process so much simpler, paving the way for new artistic styles and making the craft more accessible and enjoyable for everyone.
Every quilter knows the feeling. You finish a beautiful quilt top, trim your batting, and are left with a pile of awkward, fluffy strips. That pile of scraps seems to grow on its own, doesn't it? It’s tempting to just stuff them in a bag for "someday," but before you know it, they've taken over a corner of your sewing room.
Let’s be honest, piecing those scraps together for a big quilt is a bit of a gamble. Even if you meticulously zig-zag them, you risk creating subtle lumps or weak spots under your quilt top. It’s just not worth compromising the smooth finish of a large project you've poured your heart into. For big quilts, a fresh, continuous piece of batting is always your best bet.
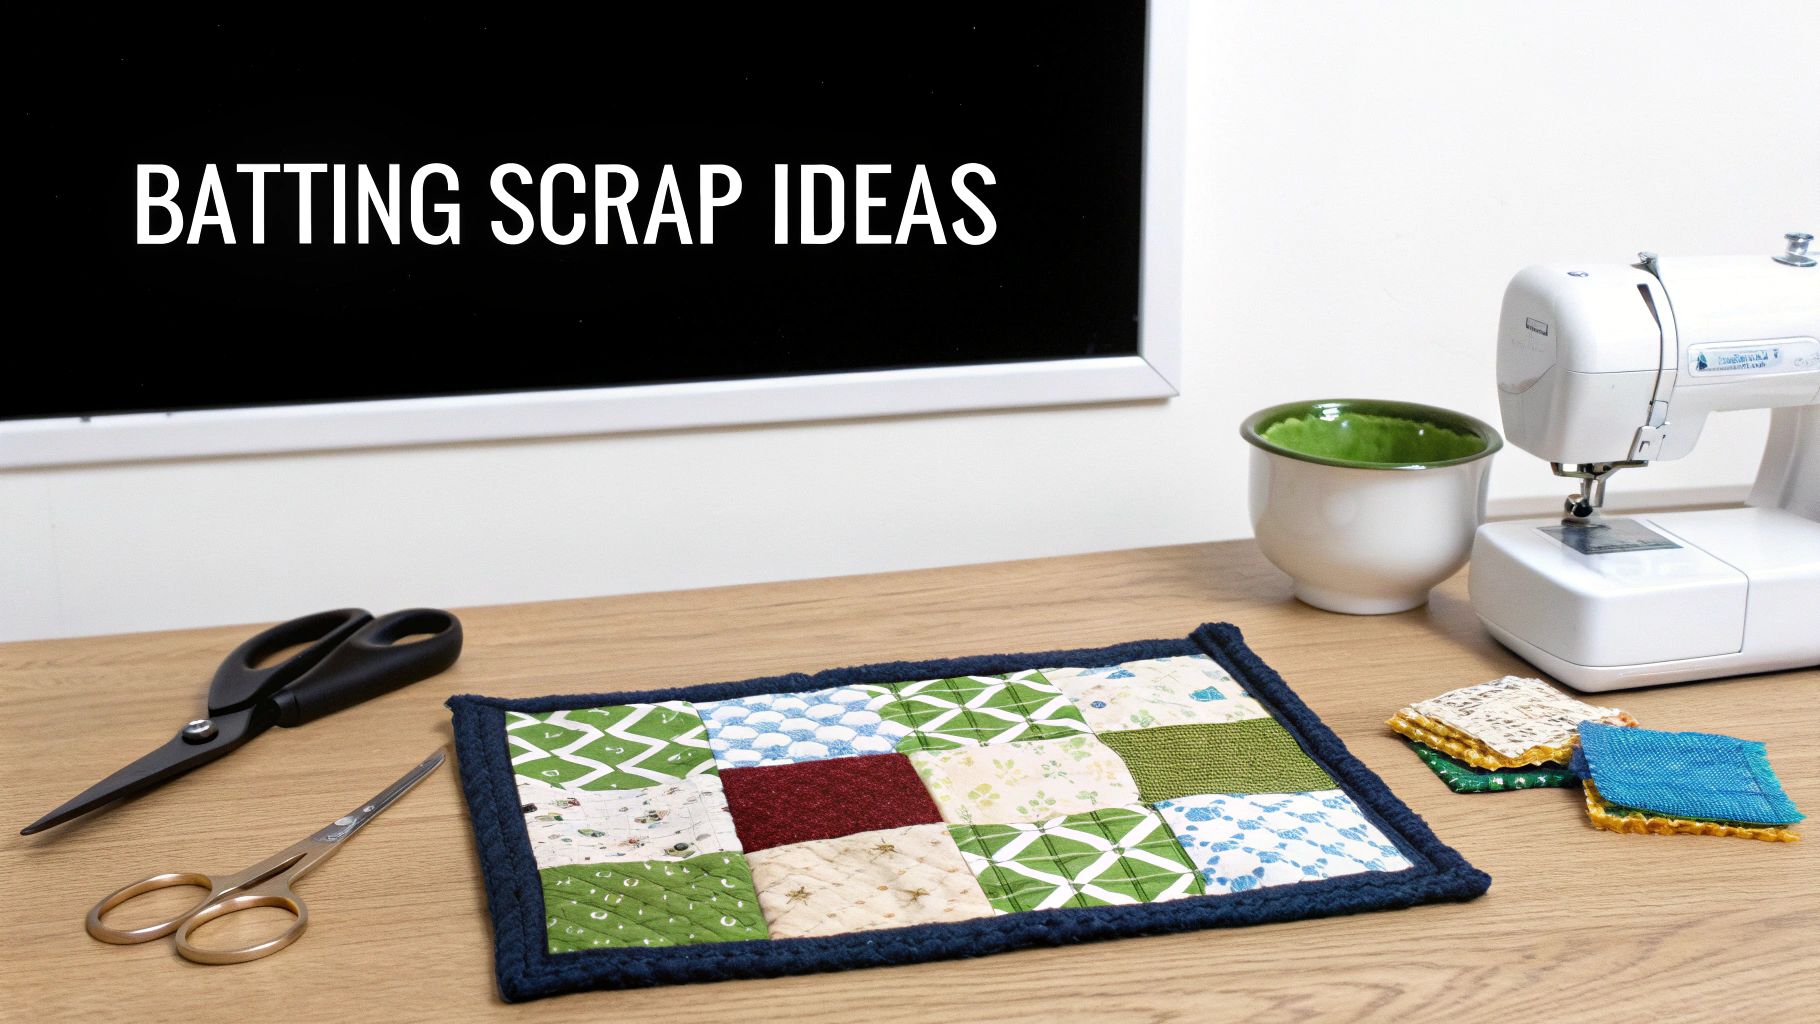
But that doesn't mean those leftovers are useless! The real secret to using scraps is to think small. These pieces are absolutely perfect for projects where their size is an asset, not a limitation.
Think about all the little things that could use a bit of soft, cushy structure. Your scrap pile is a treasure trove for quick, satisfying projects that are perfect for gifts or for adding a handmade touch to your own home.
Here are a few of my favorite ways to put them to good use:
If you’re curious about how different batting types behave, playing with scraps is a great way to learn. Trying out a Hobbs batting sample pack on a mini-project can give you a feel for various fibers and inspire even more ideas for the scraps you've already got.
A Sustainable Approach: Using every last bit of your batting isn’t just about saving money. It’s about respecting the materials and reducing waste. When you find a home for every scrap, you’re making your craft a little more sustainable, and that feels good.
For these smaller projects, joining scraps is easy. Just butt the edges up against each other and use a wide zigzag stitch to connect them. Another fantastic tool is fusible batting tape—it lets you iron the pieces together for a quick, flat, and totally seamless bond. Suddenly, no piece is too small to be useful.
Once you’ve got the basics down, you’ll find that certain situations pop up with specific questions about quilt batting sizes. This is especially true when you’re tackling a new type of project or using a different quilting method. Let's clear up some of the most common hurdles quilters run into.
When you're sending a quilt to a longarmer, generosity is key. The golden rule is to make your batting and backing fabric at least four inches larger than your quilt top on all four sides. That might sound like a lot, but this extra fabric isn't for the quilt itself—it's for the machine.
Your longarmer needs that overage to clamp the quilt sandwich onto the rollers of their frame. It's what allows them to get perfect tension across the entire quilt. So, if your quilt top measures 80" x 90", your batting needs to be at least 88" x 98". It's always smart to double-check with your specific longarmer, too; some prefer even more wiggle room depending on their setup.
Why the extra? That four-inch margin on each side is non-negotiable for longarm quilting. It's the physical space needed to mount your project correctly and prevent any puckering or pulling while it's being stitched.
Of course! It's actually a pretty common and smart practice. Buying a larger package of batting and cutting it down for a smaller project gives you a ton of flexibility and peace of mind.
The only real downside is cost—sometimes a pre-cut size closer to your project’s dimensions is a bit cheaper. But don't think of the leftover piece as waste! I always save my larger scraps. They're perfect for all sorts of smaller projects, so nothing gets thrown out.
You can use the leftovers for:
This way, you’re never caught short on batting, and you have a stash ready for your next flash of inspiration.
Not really. The type of fiber—whether you choose cotton, polyester, wool, or bamboo—doesn't change the basic math. You still need that standard three to four inches of extra batting on every side to handle any shifting while you quilt and for trimming later.
What the material does affect is the finished look, especially when it comes to shrinkage. For instance, 100% cotton batting is known to shrink up to 3-5% after its first wash. This shrinkage is what creates that wonderful, crinkly, vintage look that so many of us love.
If you're not a fan of that puckered texture, you can pre-wash your batting to get most of the shrinking out of the way. Just remember to account for that small size change when planning, though it won't change how much extra you need to buy for the quilting process itself.
Here at Famcut.com, we know that the right materials are the foundation of any great quilt. Take a look at our wide selection of high-quality batting and sewing supplies to get your next project started on the right foot. You can find everything you need at https://famcut.com.
At High Country Quilts we care deeply about community. With our experiences in retail, we know that a store is not only a place to shop but also a place for the community to gather and share. During this busy...

Hi! We’re Adam and Renee Wheaton, the new owners of High Country Quilts! For more than 40 years, we’ve owned and operated vacuum and sewing businesses. Following in Renee’s father’s footsteps after he retired from All Discount Vacuum and Sewing in Colorado...


Leave a comment