

We Love Our Quilting Community
At High Country Quilts we care deeply about community. With our experiences in retail, we know that a store is not only a place to shop but also a place for the community to gather and share. During this busy...


A handmade quilted advent calendar is so much more than just a decoration. It’s a future family heirloom, stitched with love and ready to be filled with memories. This isn't just any countdown; the joy comes from the beautiful craftsmanship as much as the daily treats tucked inside.
Picture a holiday countdown that becomes the centerpiece of your festive decor, year after year. That's what you get when you create a quilt advent calendar. It’s a deeply rewarding project that blends the practical skill of sewing with the heartfelt spirit of the season. You're not just making a thing; you're building something beautiful and functional that your family will pull out with excitement every December.
This guide goes beyond the basic steps. We'll get into the practical insights you'll need to really bring your vision to life, from choosing fabrics that tell a story to constructing pockets sturdy enough for years of eager little hands. Whether you're a seasoned quilter or just getting started, you'll find clear, actionable advice to help you create a stunning piece of holiday art.
The desire to create personal, meaningful items like this is something shared by a huge community of crafters. Quilting, in particular, is sustained by an incredibly dedicated base of creators.
A recent survey on quilting trends found that the US and Canada are home to approximately 9 to 11 million active quilters. That's a passionate community that has remained strong and stable for the last decade, ensuring there's always an amazing supply of fabrics, tools, and inspiration for projects just like this one.
Once you’ve tackled this festive project, you might just find yourself looking for the next creative challenge. If you're hunting for other unique handcrafted gift ideas to try, there are endless sources of inspiration out there.
But for now, let's start by gathering the materials for your advent calendar.
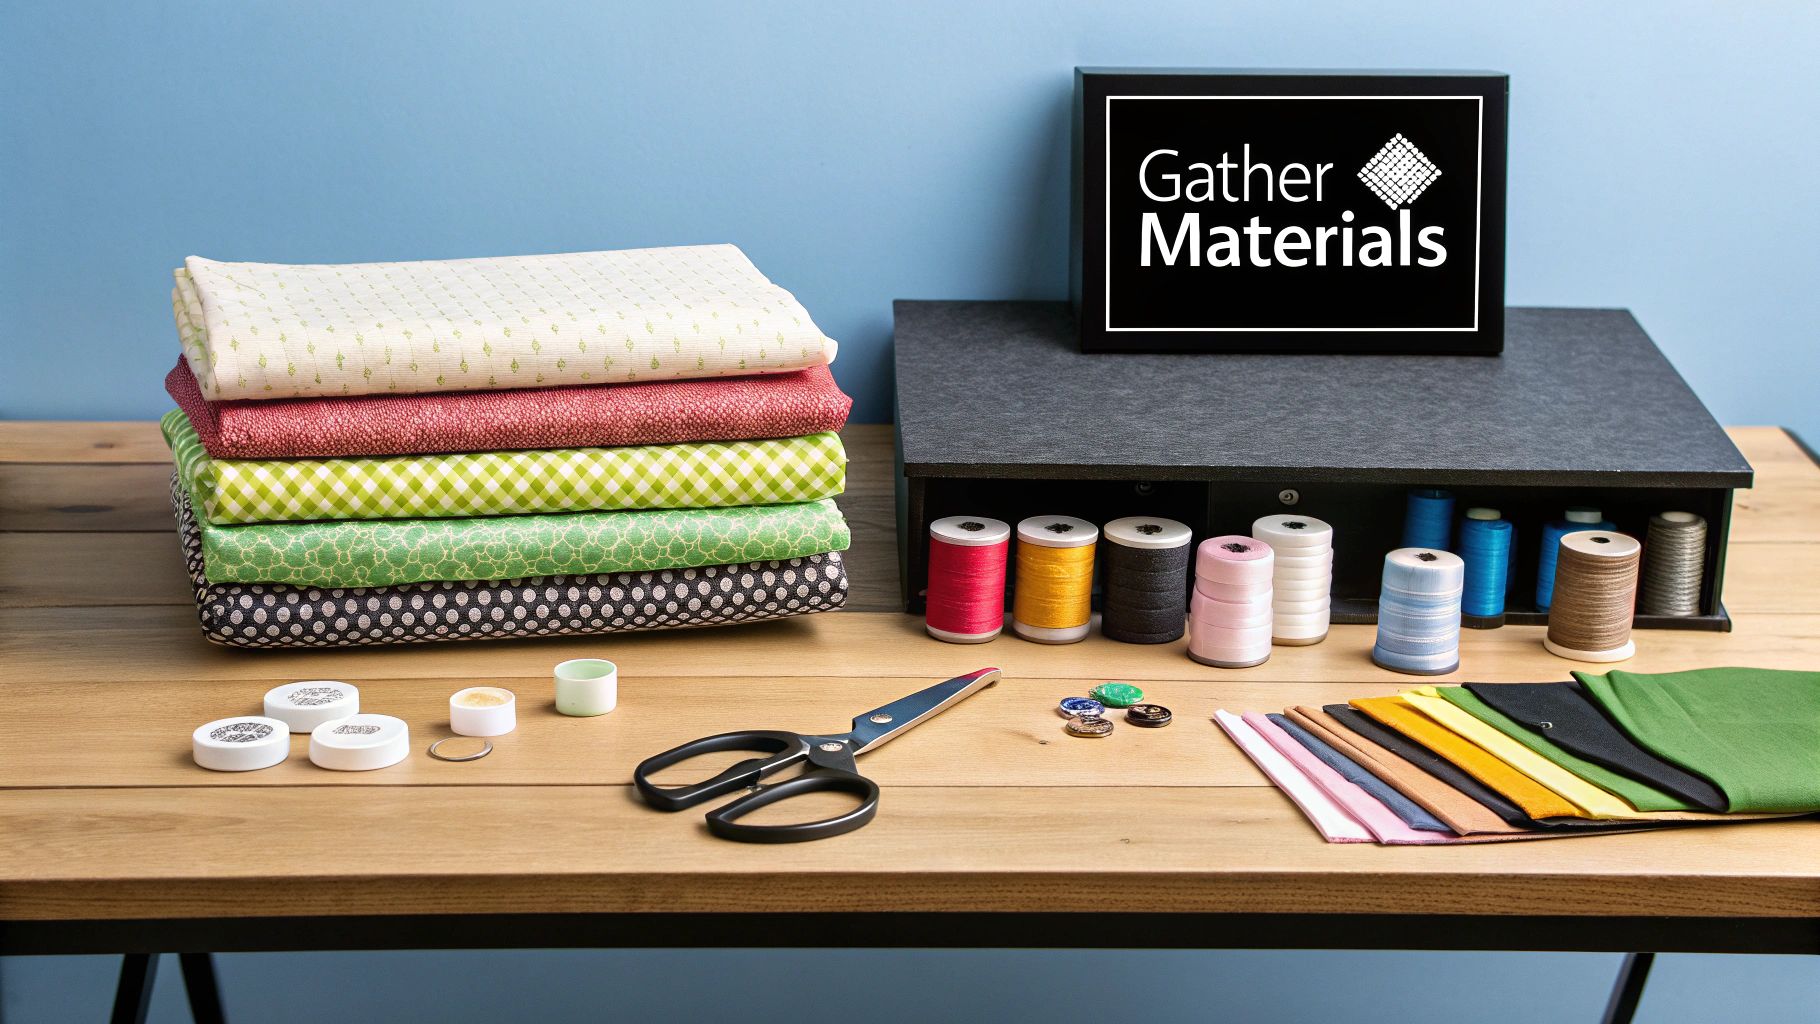
Let's be honest, the best part of starting any quilting project is picking out the fabric. The materials you choose will give your advent calendar its personality, and the right combination is what turns a simple craft into a cherished family heirloom.
When you're standing in the fabric store, head straight for the quilting cotton. There's a reason it's the gold standard for projects like this. It’s stable, it presses like a dream, and it gives you those nice, crisp pockets that won't sag over time. Plus, the tight weave means it's a breeze to sew with minimal fraying.
Of course, you don't have to stick strictly to cotton. If you're going for a cozier, more rustic feel, flannel is a wonderful choice for the background or backing. Just a word of caution: always pre-wash flannel, as it's notorious for shrinking. A linen-cotton blend can also look absolutely stunning and timeless, but be prepared to spend a little more time at the ironing board to keep it looking sharp.
The key to a beautiful calendar that doesn't look like a chaotic mess is balance. It's all about creating contrast so your little pockets can really shine.
My go-to trick is to use a neutral, solid background and then let the pockets do all the talking. I'll often grab a "fat quarter" bundle from a holiday fabric line. This gives me a curated set of 24 perfectly coordinated prints without any of the guesswork.
Once you've got your fabric picked out, you'll need a few other key supplies to make sure everything comes together smoothly. The right batting is what will give your advent calendar that lovely quilted weight and drape. I recommend a low-loft cotton or a cotton-poly blend. It adds just enough substance without being too puffy, ensuring the calendar hangs flat against the wall.
I can't stress this enough: don't skimp on your thread. A good quality, all-purpose polyester or cotton thread is non-negotiable. It ensures your seams and pockets will hold up to years of little hands reaching inside for treats. Using old, brittle thread is just not worth the frustration of popped seams down the road.
To help take the guesswork out of your shopping trip, I've put together a simple chart to help you estimate how much fabric you'll need. These are just estimates, of course—it’s always smart to buy a little extra, just in case!
This table provides estimates for the fabric needed to create your quilted advent calendar, based on a few common finished sizes.
| Finished Calendar Size (W x H) | Background Fabric (Yards) | Pocket Fabric (Yards) | Backing & Binding Fabric (Yards) | Batting (W x H) |
|---|---|---|---|---|
| 24" x 36" | 1.25 | 1.0 | 1.5 | 28" x 40" |
| 28" x 42" | 1.5 | 1.25 | 2.0 | 32" x 46" |
| 36" x 48" | 2.0 | 1.5 | 2.5 | 40" x 52" |
Remember to account for pre-washing and shrinkage, especially if you're using flannel. Having these numbers handy will make your trip to the fabric shop a lot more efficient.
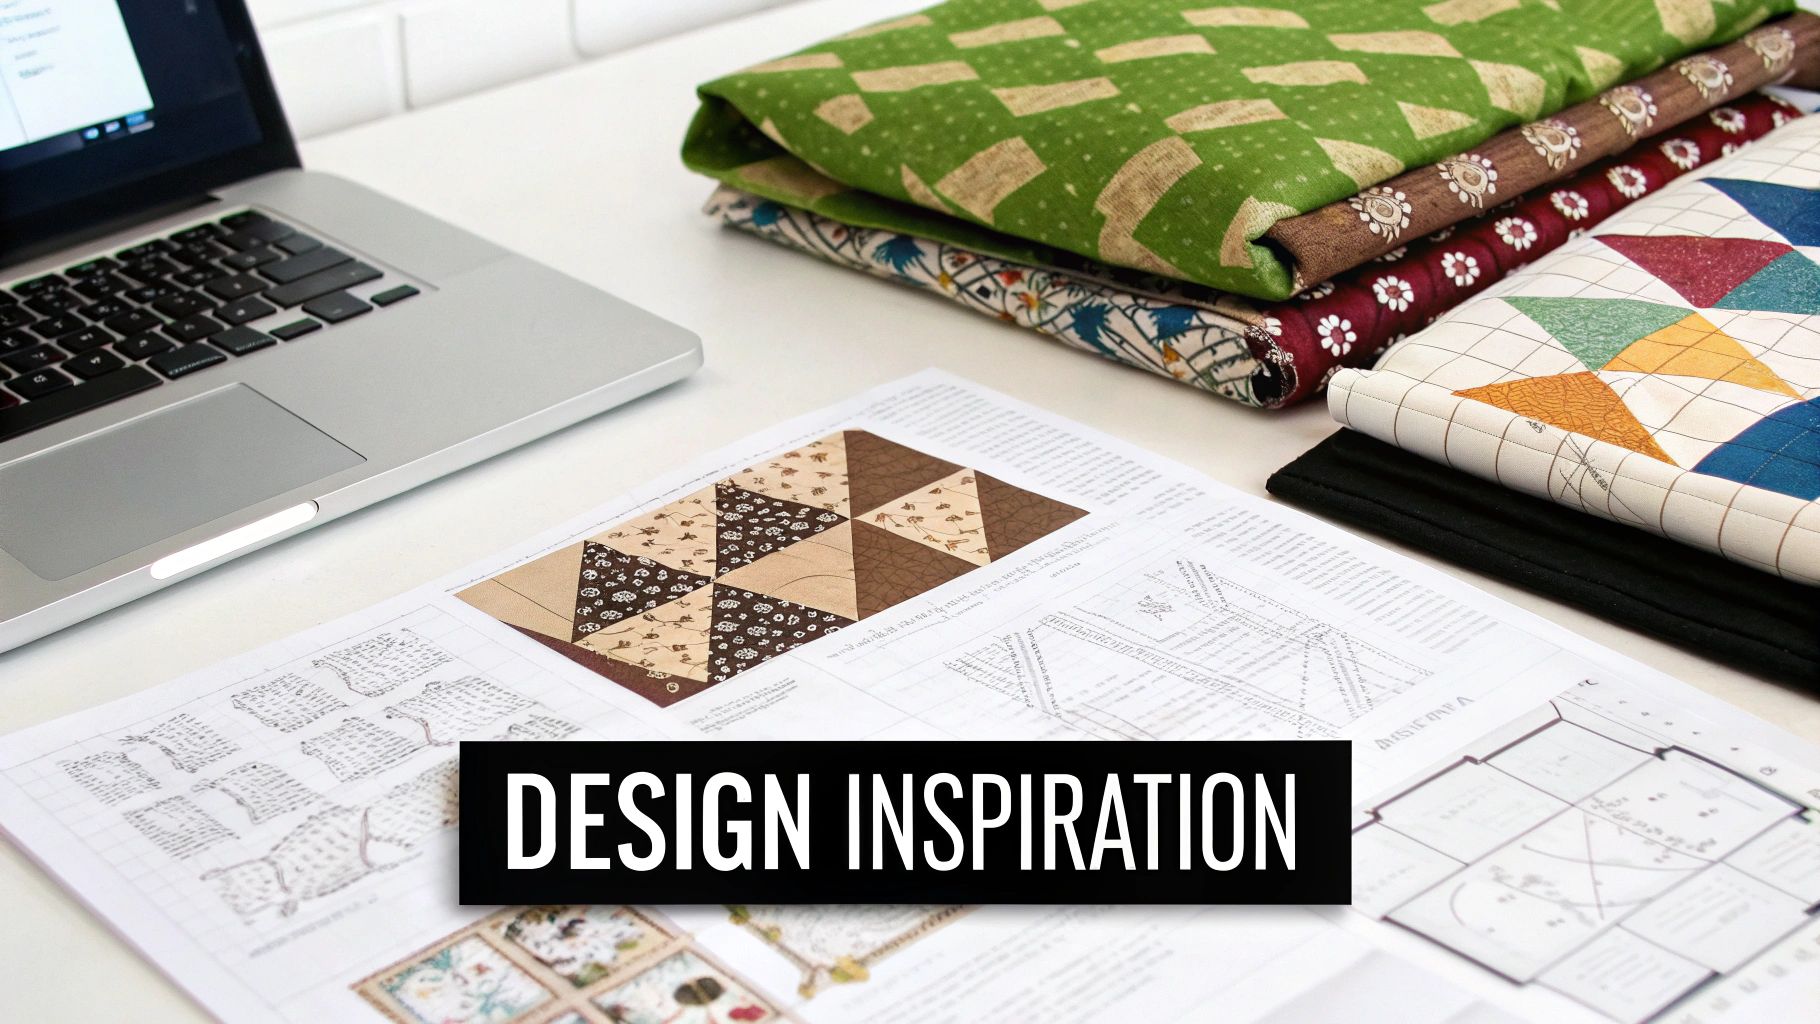
Every beautiful quilt starts with precise cuts. Honestly, this is where the magic begins—it's the foundation that sets you up for a smooth and enjoyable sewing experience. Taking a little extra time here pays off tenfold down the line.
Before you even touch your rotary cutter, let’s talk prep. Pre-washing and pressing your fabric is a step I never, ever skip. It might feel like a tedious chore, but it prevents the absolute heartache of a shrunken or warped calendar after its first wash. Once everything is washed and dried, give it all a good press with a hot, steamy iron until every last wrinkle is gone.
With your fabric perfectly pressed and smooth, you're ready to start cutting. Accuracy is the name of the game here. It's what ensures your pockets line up perfectly and your quilt top lies beautifully flat. For those perfectly straight, clean edges, nothing beats a sharp rotary blade, a clear acrylic ruler, and a self-healing mat.
I always start by making sure the grain of my fabric is aligned with the lines on my cutting mat. This little step keeps your pieces from stretching out of shape as you sew. My go-to method is to trim one clean, straight edge first. Then, I rotate the fabric (or the mat) to make the next cut, creating a perfect 90-degree corner to measure everything from.
A quick tip from my sewing room: A simple labeling system will be your best friend. I use a stack of sticky notes or small labeled pins to mark my piles for "Pockets," "Background," and "Binding." This small habit saves me from so much confusion later on.
It’s no surprise that handmade projects like this are so popular. The global quilt market was valued at around USD 5.32 billion and is expected to hit nearly USD 7.8 billion by 2031. This boom is all about our renewed love for personalized, functional art in our homes. You can find more details about the quilting market's expansion in recent reports.
This isn't just about slicing fabric; it's about building a project that shows care in every stitch. Below is a pretty standard cutting list to get you started. Always double-check your specific pattern, of course, but these are the universal components for most advent calendar designs.
Trust me, if you take your time with these initial cuts, the rest of your quilt advent calendar will come together like a dream.
https://www.youtube.com/embed/eM6pQhOmCQg
Okay, your fabric is cut and everything is organized—now for the fun part! This is where all those little pieces of fabric start to look like a real advent calendar, ready to be filled with holiday treats and memories. We'll kick things off by making the pockets, which are really the heart and soul of this project.
Each pocket starts as a simple fabric rectangle. The first thing you'll want to do is create a nice, clean hem at the top. Just fold the top edge down by 1/4 inch and give it a good press with your iron. Then, fold it down again, this time by 1/2 inch, to hide that raw edge completely. A quick topstitch right along that fold will lock it in place and give you a crisp finish that will hold up for years.
With the hem done, fold the pocket piece in half, making sure the right sides of the fabric are facing each other. Sew down both sides using a 1/4-inch seam allowance. Now, turn the pocket right-side out. I like to use a point turner or even just a simple chopstick to gently poke out the corners so they're sharp and square. One last press with the iron, and you've got a perfect little pocket just waiting for its number.
This is where you can really let your personality shine! You've got 24 pockets to number, and there are so many great ways to do it.
A few of my favorite methods are:
Think about the overall style you're going for. Hand embroidery feels very traditional and heirloom-quality, while stenciling gives off a clean, contemporary feel.
Arranging 24 pockets on your background panel can sometimes feel like solving a puzzle. You want everything to look balanced and intentional, not cramped or lopsided. My favorite trick for this is to spread the background fabric out flat on a big table or even a clean spot on the floor.
I always start by placing a pocket in each of the four corners to anchor the whole layout. From there, I fill in the outer edges before I start working my way toward the center. This helps me keep the spacing pretty even without having to pull out a ruler every two seconds. Don't forget to stand back every now and then to look at it from a distance—you'll spot any imbalances right away.
The journey from a stack of fabric squares to a finished quilt top is such a satisfying one.
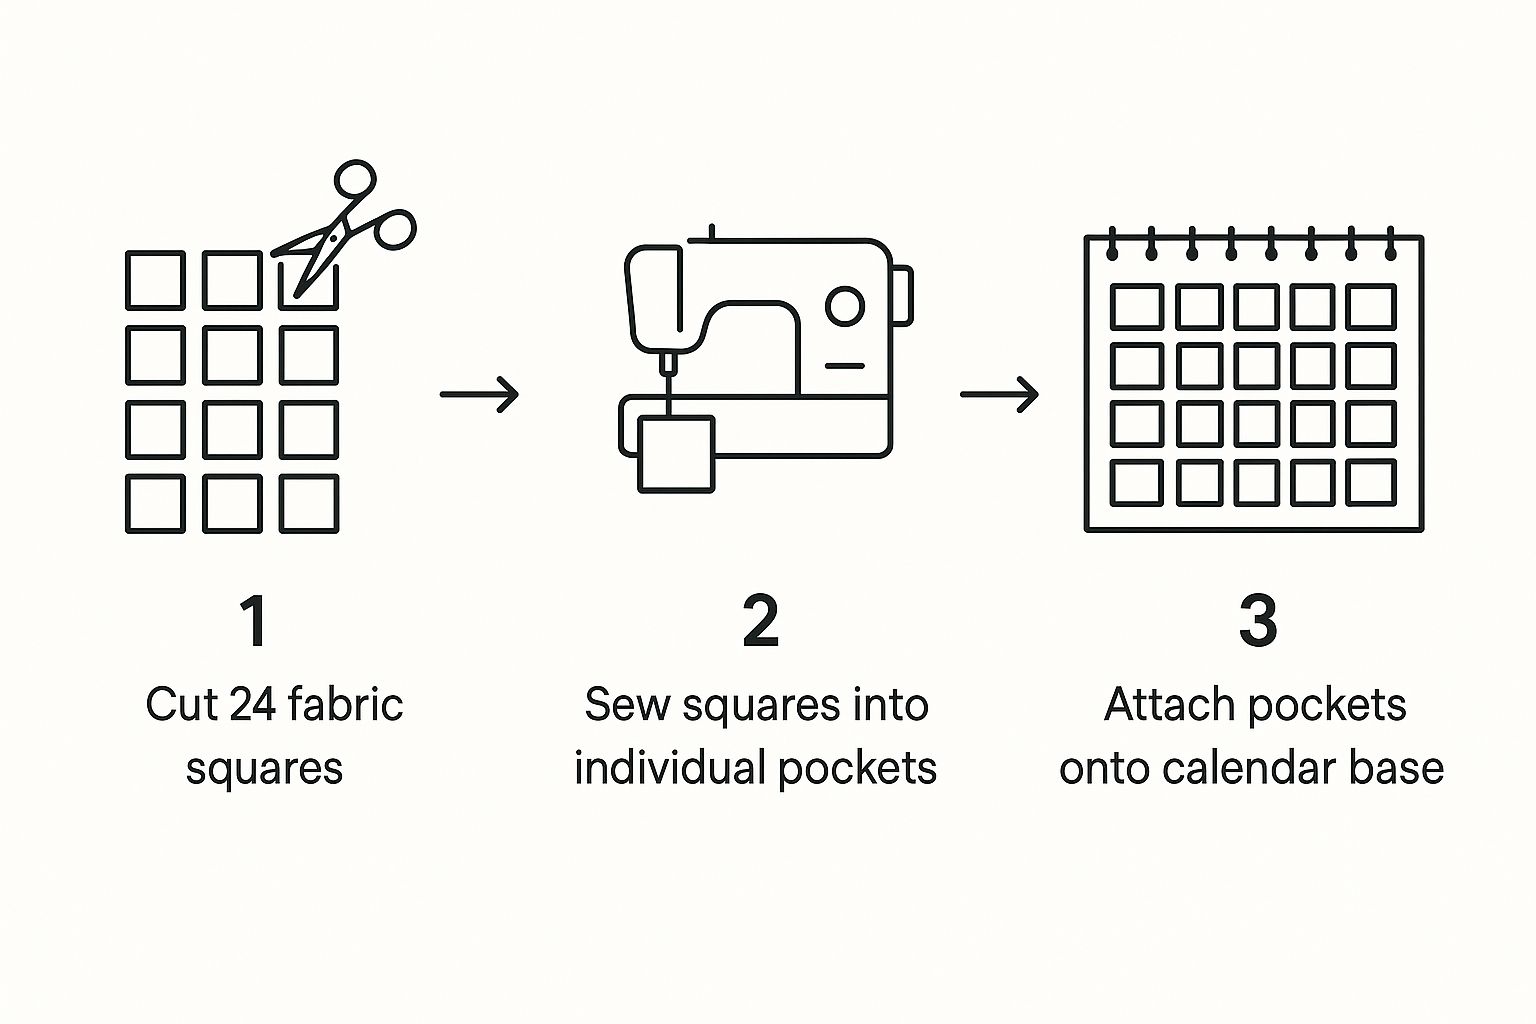
This simple visual breaks down how we build the calendar step-by-step, starting with the individual pieces and bringing them all together into the final front panel.
Once you’re happy with how everything looks, pin each pocket in place or use a bit of temporary fabric glue. To attach them, just stitch along the two sides and the bottom of each pocket. A little pro-tip: always backstitch at the beginning and end of each seam, especially at the top corners. That’s where they’ll get the most wear and tear, so a little reinforcement goes a long way.
While we're using time-honored quilting techniques here, it's interesting to see how technology is influencing the craft. Advances in tech have improved everything from manufacturing speed to design customization in the broader quilt market. If you're curious, you can find more insights on how tech is shaping the quilt market on precisionbusinessinsights.com.
With all 24 pockets sewn on, your quilt top is officially done! It's amazing to see the calendar's personality finally come to life.
With all the pockets attached, your project is starting to look like an advent calendar! Now it's time for the magic part—transforming that flat panel into a real quilt. These final steps are what give your calendar its cozy texture, structure, and that polished, professional look we're all aiming for.
First up, we need to build what quilters call a "quilt sandwich." It's just what it sounds like: three delicious layers stacked together. Find a large, flat surface (your floor works great!) and lay down your backing fabric, wrong side facing up. Smooth it out until it’s perfectly flat. Next, center your batting on top of the backing, and finish by placing your completed quilt top right side up over the batting.
To keep those layers from slipping and bunching up while you quilt, you have to baste them together. This is a crucial step for a smooth, pucker-free finish. You've got a few solid options, and which one you choose really comes down to personal preference.
Whichever route you take, the goal is to make your three layers behave like a single piece of fabric. This makes the next step so much easier.
You don't need to be a free-motion quilting wizard to add gorgeous dimension to your calendar. One of the easiest and most effective techniques is called stitching in the ditch. This just means you'll be sewing directly in the seam lines—the "ditches"—between your pocket rows and columns.
A walking foot for your sewing machine is a game-changer here. It grabs all three layers and pulls them through at the same rate, which is the key to preventing bunching. This simple grid of stitches not only locks your layers together but also makes each little pocket pop with a lovely quilted texture.
It's amazing how online resources have changed crafting. Quilters can now find endless inspiration and patterns, and reading reviews before buying has really helped the craft market grow. You can actually see some of this data on the growth of the quilt market on dataintelo.com.
The binding is like the frame on a picture—it’s the final touch that defines the edges and pulls the entire piece together. A well-executed binding is the hallmark of a high-quality quilt.
Okay, we're on the home stretch! The final step is to bind the raw edges. Take your 2.5-inch fabric strips and sew them together end-to-end to create one long, continuous strip. Press that strip in half lengthwise with the wrong sides together, and you're ready to go.
Start somewhere in the middle of one side. Line up the raw edges of your binding with the raw edge of your quilt top and stitch them together using a 1/4-inch seam allowance. When you get to a corner, stop sewing 1/4 inch from the edge, backstitch, and take the quilt out from under the needle. Fold the binding strip straight up to create a 45-degree angle, then fold it back down along the next side of the quilt. This little maneuver is what creates the fabric for a perfect mitered corner.
Once you’ve sewn the binding all the way around the front, flip it over to the back. You can either secure it with a neat, almost invisible hand stitch or carefully stitch it down by machine.
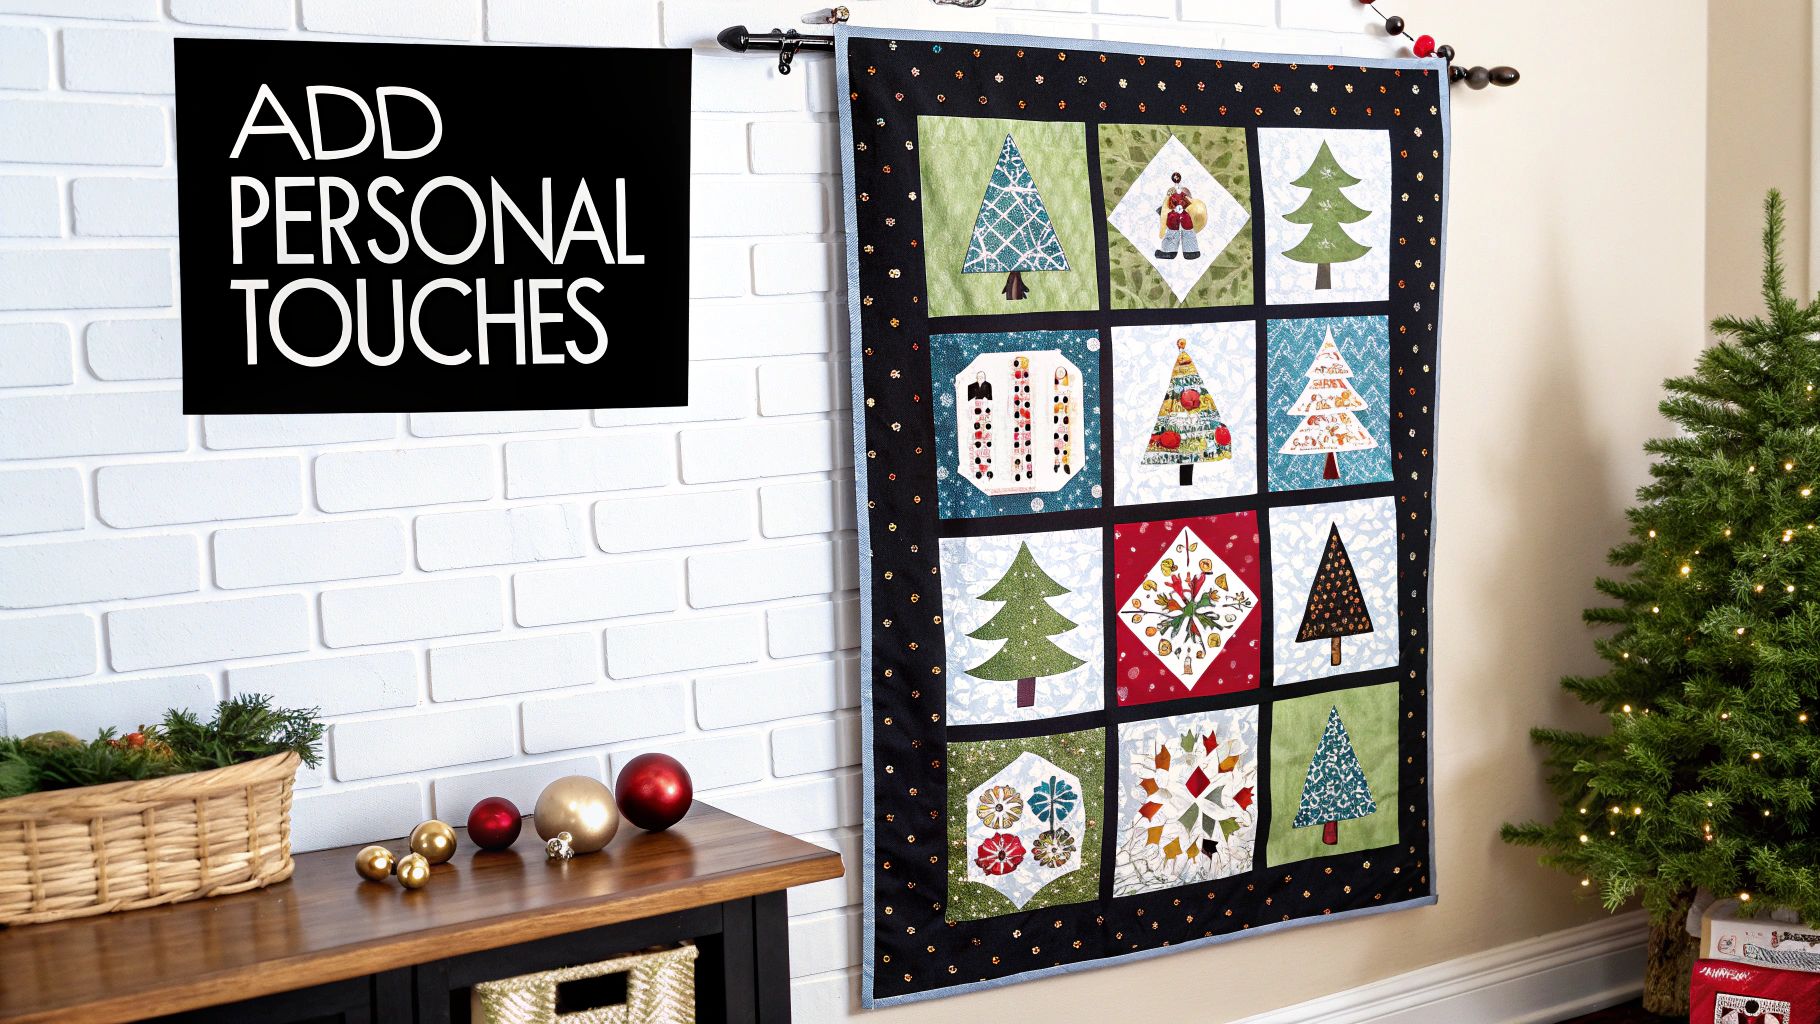
To make displaying your calendar a breeze, I highly recommend adding a hanging sleeve. Just take a 4-inch wide tube of fabric and sew it across the top of the back panel, leaving the ends open. This lets you slide a simple dowel right through for a straight, even hang. With that, your beautiful quilt advent calendar is ready to become a cherished holiday tradition for years to come.
Even a project you've done a dozen times can throw you a curveball. When you’re putting together something with as many little details as a quilt advent calendar, it’s almost a guarantee you'll have a few head-scratchers along the way. Let's walk through some of the most common questions I hear from fellow quilters.
Your fabric choice really sets the tone for the entire project. Hands down, quilting cotton is the go-to for a reason. It’s a dream to work with—stable, easy to sew, and it gives the pockets a nice, crisp structure that holds up well.
If you're aiming for a cozier, more rustic feel, flannel can be a wonderful choice for the background or backing. Just be sure to pre-wash it! Flannel is notorious for shrinking. A linen-cotton blend offers a beautiful, heirloom texture, but be prepared for it to wrinkle a bit more. The one thing I’d steer clear of? Stretchy fabrics like knit. They’ll turn sewing 24 uniform pockets into an absolute nightmare.
The passion for quilting is bigger than ever. The global quilt market was recently valued at USD 231.26 billion, and it's expected to balloon by 2032. If you're a data nerd like me, you can dig into these impressive quilt market findings on dataintelo.com. This global enthusiasm is exactly why we have access to such an incredible variety of fabrics for projects like this one.
This is where you can really let your creativity shine! Each method brings a completely different style to your finished advent calendar.
Think about the vibe you're going for. Hand embroidery feels very traditional and charming, while stenciling gives off a clean, minimalist look.
The way you number the pockets is one of the easiest ways to make your calendar uniquely yours. Don’t be afraid to mix and match techniques if you’re feeling a little adventurous!
The real magic of a handmade calendar is customizing the daily surprises. This is your chance to think beyond the usual chocolate coins!
For kids, you could fill the pockets with small toys, fun erasers, stickers, or even a daily clue that leads to a little holiday scavenger hunt around the house. If you're making one for a fellow crafter, how about filling the pockets with mini thread spools, unique buttons, or essential notions like wonder clips?
You can also get creative with experiences. Write down a fun family activity for each day ("Movie night with hot cocoa!"), add small ornaments to decorate a mini tree, or even hide puzzle pieces that come together to create a full picture by Christmas Day. The possibilities are endless.
Here at High Country Quilts, we believe in the pure joy of creating something beautiful with your own two hands. Whether you're gathering supplies for your next masterpiece or looking for the perfect BERNINA machine, we're here to support your creative journey. Stop by our shop or explore our wide selection of fabrics and notions online at https://hcquilts.com.
At High Country Quilts we care deeply about community. With our experiences in retail, we know that a store is not only a place to shop but also a place for the community to gather and share. During this busy...

Hi! We’re Adam and Renee Wheaton, the new owners of High Country Quilts! For more than 40 years, we’ve owned and operated vacuum and sewing businesses. Following in Renee’s father’s footsteps after he retired from All Discount Vacuum and Sewing in Colorado...


Leave a comment