

We Love Our Quilting Community
At High Country Quilts we care deeply about community. With our experiences in retail, we know that a store is not only a place to shop but also a place for the community to gather and share. During this busy...


Think of a quilting panel as your creative jumpstart. It's a single piece of fabric printed with a whole scene, a big, bold picture, or even a set of coordinating blocks. This gives you a fantastic head start, letting you create a show-stopping project without all the tiny, intricate piecing. It's the perfect way for a beginner to dive in and a wonderful canvas for an expert to play on.
Imagine a painter being handed a beautifully sketched canvas instead of a totally blank one. That's exactly what a quilting panel does for you. It’s one continuous piece of fabric with a design already printed on it. This means you don't have to piece together dozens—or sometimes hundreds—of tiny fabric squares just to create that central image. This simple fact makes them one of the most useful tools for quilters at any skill level.
For anyone just starting their quilting journey, panels offer a clear and encouraging path to a finished project. The hard part—the detailed artwork—is already done! This frees you up to focus on the fundamentals, like adding borders, layering your quilt sandwich, and the actual quilting. You end up with a polished-looking quilt that boosts your confidence and gets you excited for the next project.
But don't be mistaken; panels are far from just a beginner's tool. For a seasoned quilter, they're a unique artistic opportunity. A panel can be the perfect playground for showing off your amazing free-motion quilting, practicing precise ruler work, or adding custom embroidery. The printed lines and open spaces in the design practically beg for you to add texture and depth, transforming the original artwork into something truly one-of-a-kind.
At their core, panels for quilting bridge the gap between a complex design and an achievable project. They give you a solid foundation that you can either frame simply or embellish to your heart's content.
A fabric panel is more than a shortcut; it's a storytelling launchpad. It provides the main character or the setting, and you, the quilter, get to write the rest of the story with borders, quilting, and finishing touches.
It's no surprise that panels are so popular in the quilting world. The advantages of working them into your projects are pretty clear.
In the end, these versatile pieces of fabric open up a whole new world of possibilities, making quilting more approachable and creatively satisfying. They empower you to create beautiful, high-impact projects, no matter how long you've been quilting.

Walking into the panels for quilting section of a fabric store is like stepping into an art gallery. The options are truly endless, with designs for every taste, season, and occasion you can imagine. Whether you’re looking for whimsical animals for a child’s room or elegant florals to grace a living space, there’s a panel out there with your name on it.
This incredible variety is a huge part of their charm. Panels, being pre-printed fabric sections, have opened up quilting to so many more people, especially in creative communities across North America and Europe. This isn't just a feeling; the numbers back it up. The global quilting fabric market jumped from $3.5 billion in 2023 and is expected to hit $5.7 billion by 2032. This boom shows just how much quilters adore these convenient, artistic shortcuts. You can dig deeper into these trends in this detailed quilting fabric market report.
What this growth really means for you is a constant flow of fresh, exciting panel themes from designers, so you’ll never run out of inspiration.
Quilt panels are usually built around a central theme, which makes it incredibly easy to find the perfect centerpiece for your project. Some of the most popular categories you'll come across include:
Think of a panel's theme as the "genre" of your quilt. Just as you'd pick a favorite book genre, you can choose a panel that perfectly matches the mood and story you want to tell.
Panels aren’t a one-size-fits-all product. They come in a wide range of dimensions, and each one is better suited for different kinds of projects. Getting a handle on these common sizes will help you plan your design much more effectively. A small block panel, for instance, is perfect for a quick set of placemats, while a massive, mural-style panel really needs a well-thought-out border to shine.
This variety lets you scale your creativity. You can start small with a panel for a tote bag or dive right into a bed-sized quilt designed around a show-stopping scenic image.
Here's a quick look at the typical panel sizes and what they're most often used for.
This table is a handy reference for seeing how a panel's dimensions line up with the kinds of projects you can create.
| Panel Size (Approximate) | Common Project Types | Best For |
|---|---|---|
| 12" x 12" Blocks | Pillows, Tote Bags, Placemats, Pot Holders | Small, quick projects and practicing techniques. |
| 24" x 44" (Standard) | Baby Quilts, Wall Hangings, Table Runners | The most versatile size for a wide range of projects. |
| 36" x 44" (Yard Panel) | Lap Quilts, Crib Quilts, Quilt Backs | Creating a significant focal point without being overwhelming. |
| 45" x 45" or Larger | Throw Quilts, Medallion Centerpieces, Bed Quilts | Making a bold statement with a single, mural-like image. |
Having a panel's measurements in mind from the start makes planning borders, sashing, and backing so much easier down the road.
The vast majority of quilting panels you'll find are printed on high-quality, 100% quilting cotton. It’s the gold standard for a reason: the weave is stable, it holds color beautifully, and it’s a dream to sew with. For projects that need an extra dose of cozy, you can also find panels printed on soft, warm flannel—absolutely perfect for baby quilts or a winter-themed throw.
Here’s one of the best tips for working with panels for quilting: always check for coordinating fabric collections. Designers often release an entire line of fabrics—with smaller prints, blenders, and solids—that are specifically created to match their panels. This simple trick takes all the guesswork out of color matching and guarantees your finished quilt will have a polished, professional look.
Think of designing a quilt around a panel like styling a room around a stunning piece of art. The panel is your focal point—it sets the tone, gives you a color palette, and establishes the whole mood. As the designer, your job is to build a "frame" that doesn't just contain the panel but truly elevates it, turning a single piece of fabric into a complete work of art.
Sure, you could just add a few simple borders and call it a day, and that can look perfectly lovely. But the real magic happens when you think beyond basic strips of fabric. When you treat the panel as a creative launchpad, you can add so much personality and interest that the final quilt becomes uniquely yours. The goal is to make the panel feel like it truly belongs, not like it was just plopped in the middle.
One of the best ways to get creative with panels for quilting is to stop seeing them as one single, untouchable image. Instead, think of a panel as a collection of smaller design elements you can pull from. This mindset completely changes the game.
This is where a technique called fussy cutting comes in handy. It’s all about precisely cutting out specific motifs from the fabric. So instead of using the whole scene, you might carefully cut out a beautiful flower, a charming little bird, or an interesting geometric pattern.
You can then take these fussy-cut pieces and build brand-new blocks that echo the main panel. Imagine a large scenic panel surrounded by smaller blocks, each featuring a single tree or animal you've cut from a coordinating fabric—or even from a second copy of the same panel. This repetition creates a wonderful rhythm and makes the entire quilt top feel cohesive.
Once your central panel is in place (or you've arranged your fussy-cut pieces), it's time to build outward. This is your chance to really customize the quilt's size and style. Instead of just slapping on plain borders, consider piecing your borders to add a whole new layer of texture and detail.
A few ideas to get you started:
Think of your borders as the supporting cast for your panel's starring role. They shouldn't steal the show, but they should absolutely enhance the story and guide the viewer's eye right where you want it to go.
Choosing the right coordinating fabrics is probably the most important part of the whole process. The colors and prints you pick will make the difference between a quilt that feels harmonious and one that looks jumbled. The absolute best way to get it right is to "audition" your fabrics.
Lay your panel out on a design wall or even just a clear spot on the floor. Then, start placing your potential border and accent fabrics next to it. Take a few steps back and really look at the combination from a distance.
Ask yourself a few questions:
This auditioning process is priceless. It lets you see how the fabrics actually play together in real life, which can save you from making a cutting mistake you'll regret. Don't be afraid to try out several different options before you commit to one. Sometimes the most unexpected combination is the one that brings your panel to life in a way you never even imagined.
Alright, you’ve picked out the perfect panel and have a brilliant design in mind for the borders. Now comes the part where precision really counts. Think of it like being a chef with the best ingredients—how you slice and dice, or in our case, cut and piece, makes all the difference in the final dish. We're aiming for a quilt that lays perfectly flat and looks like a work of art.
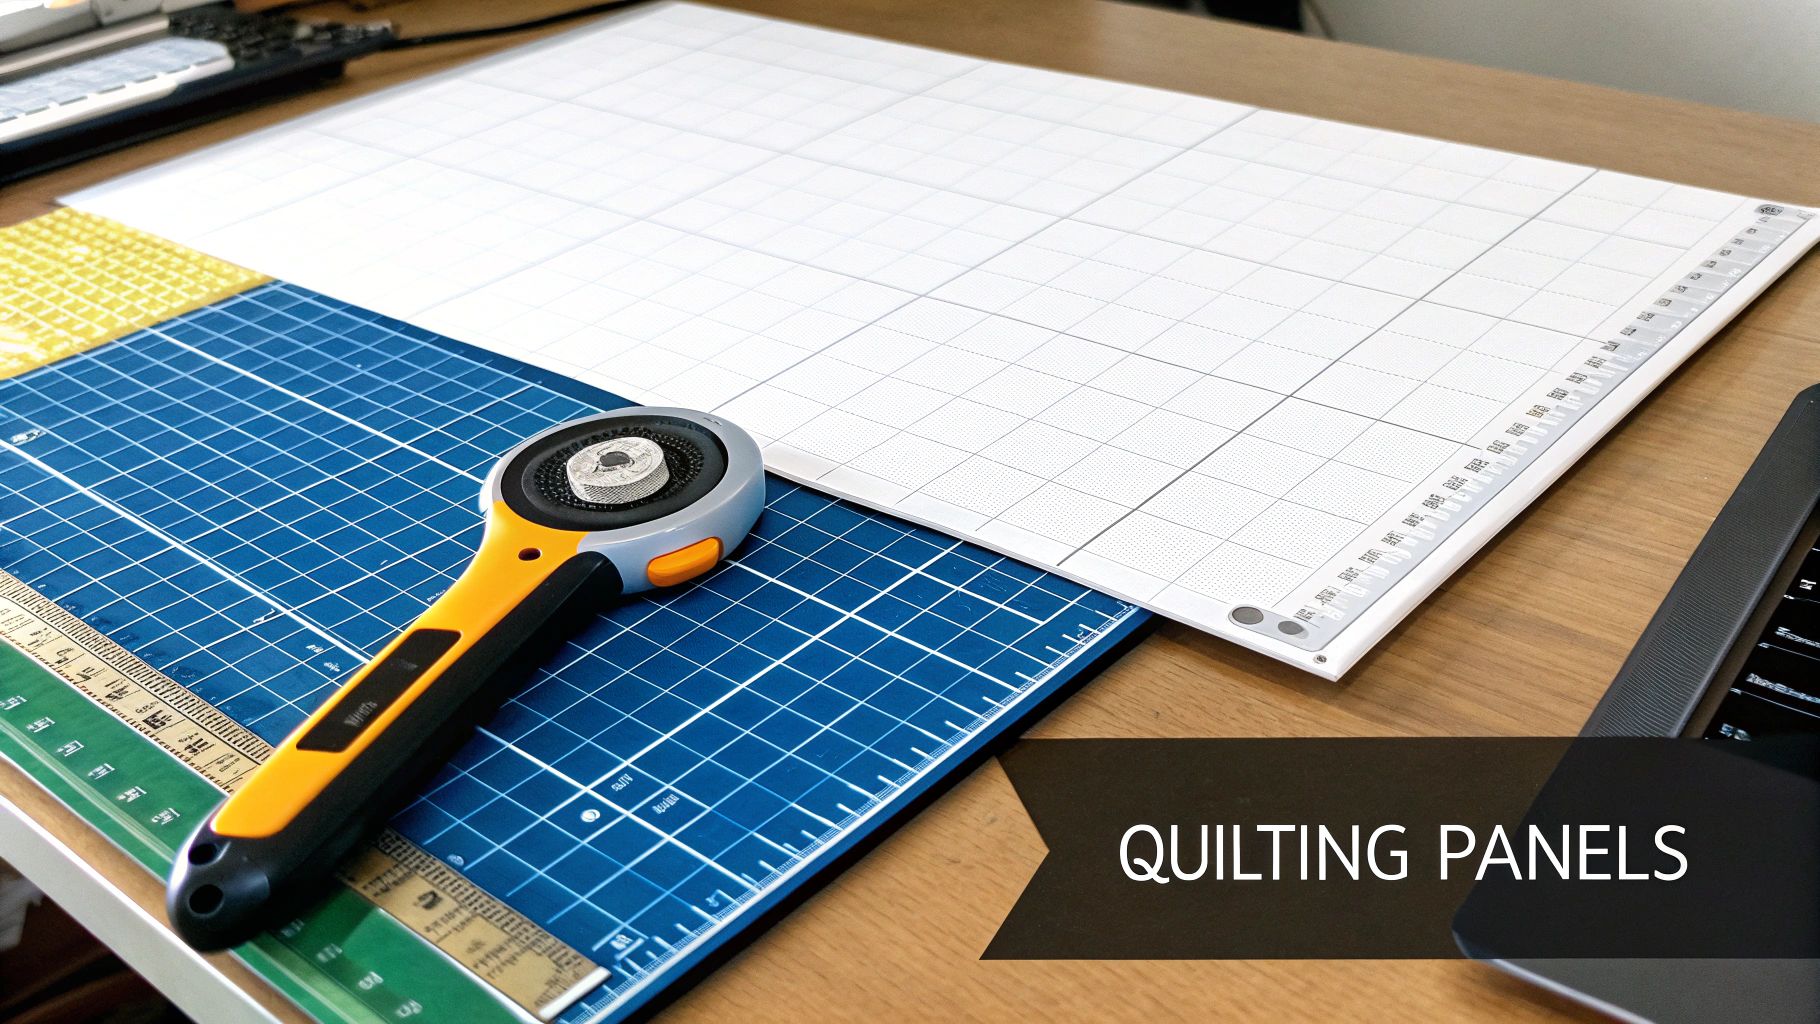
It all starts with one step that you absolutely cannot skip: squaring up your panel. This is the foundation for everything that follows.
So many quilters, especially when they first start with panels, fall into a common trap. They assume the printed edge of the fabric is a straight line. Here's a little secret from someone who's learned the hard way: it almost never is! The printing process can skew the design on the fabric grain, and if you cut your borders based on that crooked edge, you're signing up for a wrestling match with wavy, frustrating borders later.
The trick is to ignore the fabric's raw edge and square the panel based on the printed image itself.
Doing this guarantees your panel is a true square or rectangle, giving you a stable, reliable center to build on.
Think of it this way: squaring up is like laying the foundation for a house. If that foundation isn't perfectly square, every wall you add will be crooked, no matter how carefully you measure. A straight panel is the only way to get straight borders.
Now that your panel is perfectly square, you can cut borders that will fit flawlessly. But here’s the secret to getting them flat and pucker-free: never, ever measure the sides of your quilt top to figure out how long your borders should be. Fabric has stretch, especially on the outer edges that have been handled a bit. Measuring there will almost always give you a measurement that's too long.
Instead, use this tried-and-true method for perfect results every time:
Last but not least, let's talk about the small details that make a big impact. A consistent quarter-inch seam allowance is the gold standard in quilting. It’s the magic number that all patterns are based on, and using a quarter-inch foot on your machine is the easiest way to stay on track.
Just as important is how you press your seams. As a general rule, press your seams toward the darker fabric so the color doesn't peek through on the lighter side. When adding borders to a panel, I like to press the seam toward the border fabric. This helps create a really crisp, defined frame around your panel. And remember to press with an up-and-down motion, not a side-to-side ironing motion that can stretch your beautiful work out of shape. Nailing these techniques is what turns a good quilt into a great one.
Alright, this is where the magic really happens. The quilting, batting, backing, and binding are the final steps that turn your panel top into a real, honest-to-goodness quilt. This is your chance to add that gorgeous texture and dimension that makes a quilt so special, giving it a polished, professional finish. The way you quilt can make the panel’s artwork pop or simply provide quiet support—the choice is yours.
Choosing a quilting design is a bit like framing a painting. Your stitches can follow the lines of the artwork, creating a beautiful ripple effect that adds texture. Or, you can opt for a simple all-over meander, letting the panel's detailed image be the undisputed star of the show.
Think of the quilting stitches as another layer of art. The design you pick should always complement the panel, never compete with it. If you have a panel with a lot of intricate detail, a busy quilting pattern on top can just look messy. A better approach is to let the panel's own artwork guide your needle.
Here are three tried-and-true strategies that work wonderfully with panels for quilting:
This visualization shows how the quilting builds on the careful work you did cutting and piecing everything together.

Following this workflow ensures your project is perfectly squared and ready for quilting, which is the key to a great result.
The batting is the heart of your quilt sandwich, and it dictates the final look, feel, and warmth of your project. Think about how you’ll use the quilt. For a wall hanging that needs to lie flat, a thin cotton batting is perfect. For a cozy bed quilt, a lofty wool or polyester blend will give you that wonderful puffiness and warmth.
For the backing, pick a fabric that complements the front but doesn't steal the spotlight. Using a print from the panel’s coordinating fabric line is often a no-brainer, as it guarantees a cohesive look from front to back.
The rising popularity of quilting panels is part of a bigger trend. The global quilt market is projected to grow at a 5.7% CAGR through 2031, fueled by our love for unique, decorative home goods. It’s a craft that just keeps growing!
And now for the final touch: the binding. This is the frame for your quilt, and a well-made binding not only protects the raw edges but also gives your project that crisp, finished look.
You can match the binding to your backing for a subtle effect, or go bold with a contrasting color pulled from the panel to create a more dramatic frame. For some gorgeous inspiration on how a beautiful edge can elevate a project, check out these examples of finished linen quilts. Taking your time with these final details is what makes a quilt something to be proud of for years to come.
Alright, now that you've got a handle on just how much creative punch a panel can pack, it’s time for the fun part: finding the perfect one for your next project. If you're anywhere near Colorado Springs, your first and last stop should be High Country Quilts. Honestly, walking into the shop feels less like browsing fabric and more like stepping into a gallery of pure possibility.
Their selection of panels for quilting is incredible and clearly chosen with a quilter's eye. You'll find everything from cozy holiday scenes that just ooze winter magic to bright, vibrant florals that feel like the first day of spring. Whether your taste runs toward artistic landscapes, sharp modern geometrics, or something whimsical for a new baby, you’ll find it here. It’s a genuine treasure trove, just waiting for you to discover the heart of your next masterpiece.
What really makes High Country Quilts special, though, is the team. These aren't just retail employees; they're quilters. They get it. They share that same thrill of finding the perfect fabric and can help you hunt down a panel that really speaks to you.
Even better, they have an amazing knack for pulling coordinating fabrics off the bolts to bring your vision to life. This kind of hands-on help is gold, especially with so many new people discovering the craft. The global quilting industry is expected to hit $4.5 billion by 2025, and nearly 18% of quilters are newcomers. Shops like this are essential for welcoming them in, making quilting feel approachable with beautiful panels and real, expert advice. You can actually read more about these quilting market trends and their impact on the craft if you're curious.
High Country Quilts has also become a real hub for learning and creativity. They offer a fantastic schedule of classes and workshops—the perfect place to get hands-on guidance for your panel project. It's a fun, supportive way to build your skills and get your confidence up.
At High Country Quilts, we believe quilting is about community and creativity. We're here to provide the tools, the fabric, and the guidance you need to turn your ideas into heirlooms.
And since they're an authorized BERNINA dealer, you can get your hands on some of the best machines in the business. The precision of a BERNINA can make the actual quilting process an absolute dream. No matter where you are on your quilting journey, High Country Quilts has everything you need to get that next panel project started.
Even seasoned quilters run into questions when working with a new panel. They’re a unique starting point, and getting that polished, professional look often comes down to a few key techniques. Let's walk through some of the most common hurdles so you can tackle your next panel project with confidence.
Ah, the dreaded wavy border. It’s a frustrating issue that can make an otherwise beautiful quilt top look distorted, but thankfully, it's almost always preventable. The problem usually starts when the border strips are cut to the length of the quilt top's edge, which can easily stretch out of shape during handling and piecing.
The secret to a flat, square quilt is to measure the quilt, not the edge. Here's how:
This method forces the quilt top back into a perfect square and is the gold standard for getting flawlessly flat results every single time.
Absolutely! In fact, you should. Cutting up a panel is one of the most exciting ways to unlock its creative power. We often call this “fussy cutting,” and it’s all about isolating specific images or scenes within the larger printed design.
Many panels are designed with this in mind, offering a collection of gorgeous, related images. You can snip these out to become the star of individual quilt blocks, create a set of coordinating throw pillows, or even make a matching set of placemats. Just be sure to plan your cuts thoughtfully, leaving at least a quarter-inch seam allowance around the part of the design you want to feature.
The best quilting approach is one that enhances the panel's artwork rather than competes with it. You're looking to add texture and dimension that makes the printed design pop.
Think of your quilting stitches as a supporting actor—they should make the star (the panel) look even better. The quilting should follow the mood of the art, adding depth without stealing the show.
For a panel with a lot of intricate details, you might try echo quilting, which involves stitching lines that follow the main shapes in the print. If your panel has big open areas of "negative space," that's your chance to fill them with some fun free-motion quilting. And for those quilts where you want the panel to be the undisputed hero, a simple all-over pattern like a gentle meander or a clean grid will do the job perfectly, securing the layers while letting the art shine.
This is a surprisingly common headache—you get a beautiful panel, but the image isn't printed perfectly straight with the fabric's grain. When this happens, trust your eyes, not the grainline. Always prioritize the printed image.
A slightly off-grain fabric is virtually invisible in a finished quilt, but a crooked picture will stick out like a sore thumb. To fix it, lay the panel on your cutting mat. Use a large ruler to find a strong horizontal or vertical line within the print itself—like the line of the horizon or the edge of a building. Line up your ruler with that printed line and trim the panel parallel to it. This guarantees your borders will frame the picture correctly, giving you a finished quilt that looks straight and beautifully composed.
Ready to find the perfect centerpiece for your next creation? Explore the incredible selection at High Country Quilts and let our expert team help you bring your vision to life. Visit us today to discover a world of inspiration
At High Country Quilts we care deeply about community. With our experiences in retail, we know that a store is not only a place to shop but also a place for the community to gather and share. During this busy...

Hi! We’re Adam and Renee Wheaton, the new owners of High Country Quilts! For more than 40 years, we’ve owned and operated vacuum and sewing businesses. Following in Renee’s father’s footsteps after he retired from All Discount Vacuum and Sewing in Colorado...


Leave a comment