

We Love Our Quilting Community
At High Country Quilts we care deeply about community. With our experiences in retail, we know that a store is not only a place to shop but also a place for the community to gather and share. During this busy...


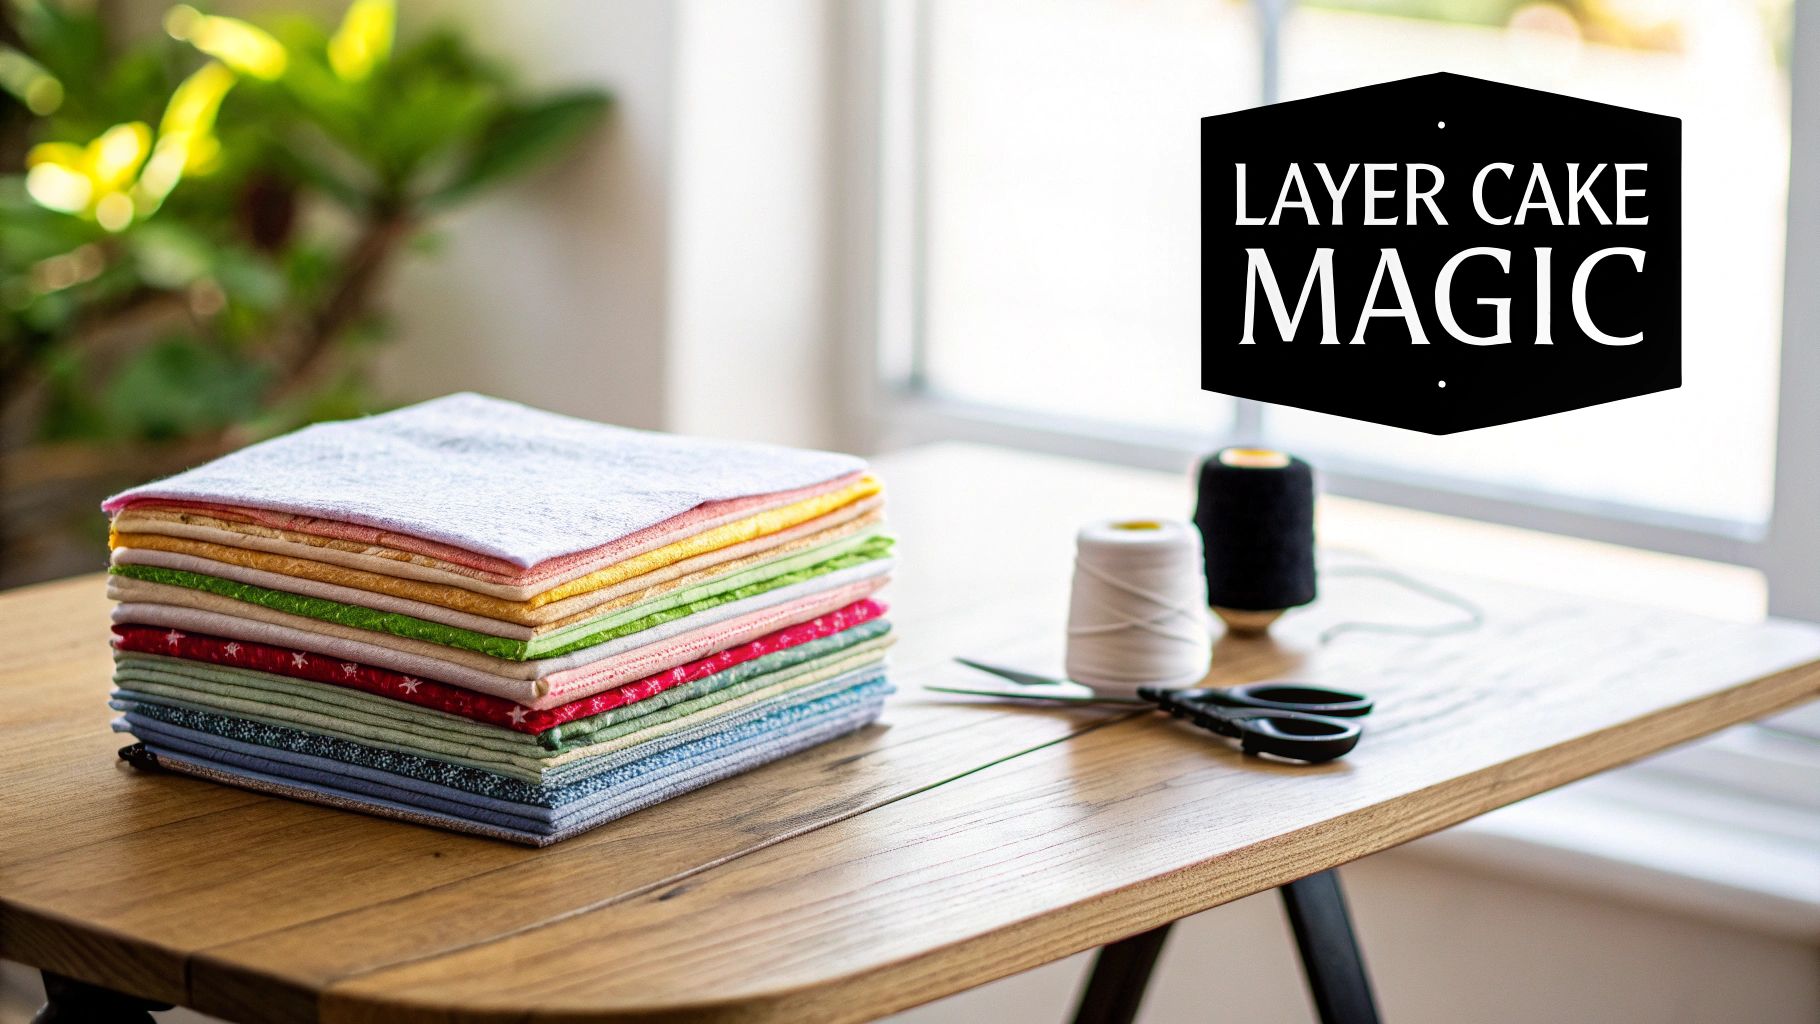
If you've ever wanted to make a quilt but felt overwhelmed by the thought of choosing and cutting all that fabric, layer cake quilting is about to become your new best friend. It's a fantastic approach that uses precut bundles of coordinated 10x10 inch fabric squares, taking the most tedious part of the process right off your plate.
These bundles, affectionately known in the quilting world as layer cakes, make the craft so much more approachable and, frankly, a lot faster.
Standing in a fabric store surrounded by endless bolts can be paralyzing. How do you know which patterns and colors will look good together? The beauty of a layer cake is that a professional designer has already done that work for you. Each stack is a thoughtfully curated collection from a single fabric line, so you know every piece is going to play nicely with the others.
This completely removes the color-pairing anxiety and lets you jump right into the creative part—the sewing. For anyone just starting, this is a massive confidence booster. It makes that first big project feel exciting and totally doable instead of intimidating.
To give you a quick overview, here's a look at why starting with a layer cake is such a smart move.
| Aspect | Benefit for Quilters |
|---|---|
| Time-Saving | Skips the most time-consuming step of measuring and cutting from yardage. |
| Perfect Coordination | Fabrics are from a single designer collection, ensuring a cohesive, professional look. |
| Beginner-Friendly | Lowers the barrier to entry, making quilting less intimidating for newcomers. |
| Reduced Waste | Precut bundles minimize fabric scraps and unnecessary leftovers. |
| Versatility | The 10-inch squares are a perfect base for countless quilt patterns and blocks. |
As you can see, the benefits go far beyond just saving a little time.
The name "layer cake" was originally coined by Moda Fabrics, but it has since become the go-to term across the industry for these 10-inch square packs. A standard layer cake usually includes around 40 fabric squares, which saves you hours of work with a rotary cutter and mat. If you're curious, Nancy's Notions offers a great history on how they became a staple in modern sewing rooms.
And this efficiency isn't just for beginners. I know plenty of seasoned quilters who reach for layer cakes when they need to kickstart a new project, whip up a gift on a tight deadline, or simply want to enjoy the process without all the initial prep work.
Using a layer cake is like having a personal fabric stylist. It takes the guesswork out of coordination, allowing your creative energy to focus on design and piecing rather than fabric selection.
While saving time is a huge perk, the real magic of working with a layer cake is how it sparks your creativity. Just holding a perfectly matched stack of beautiful fabric in your hands can get the ideas flowing for patterns and designs you might not have thought of otherwise. Because the squares are a uniform size, they're incredibly versatile for a massive range of popular quilt patterns.
Here’s a quick rundown of what makes them a quilter's favorite:
Ultimately, starting a project with a layer cake is just a smarter, more enjoyable way to quilt. It respects your time and empowers you to create something stunning with confidence from the very first stitch.
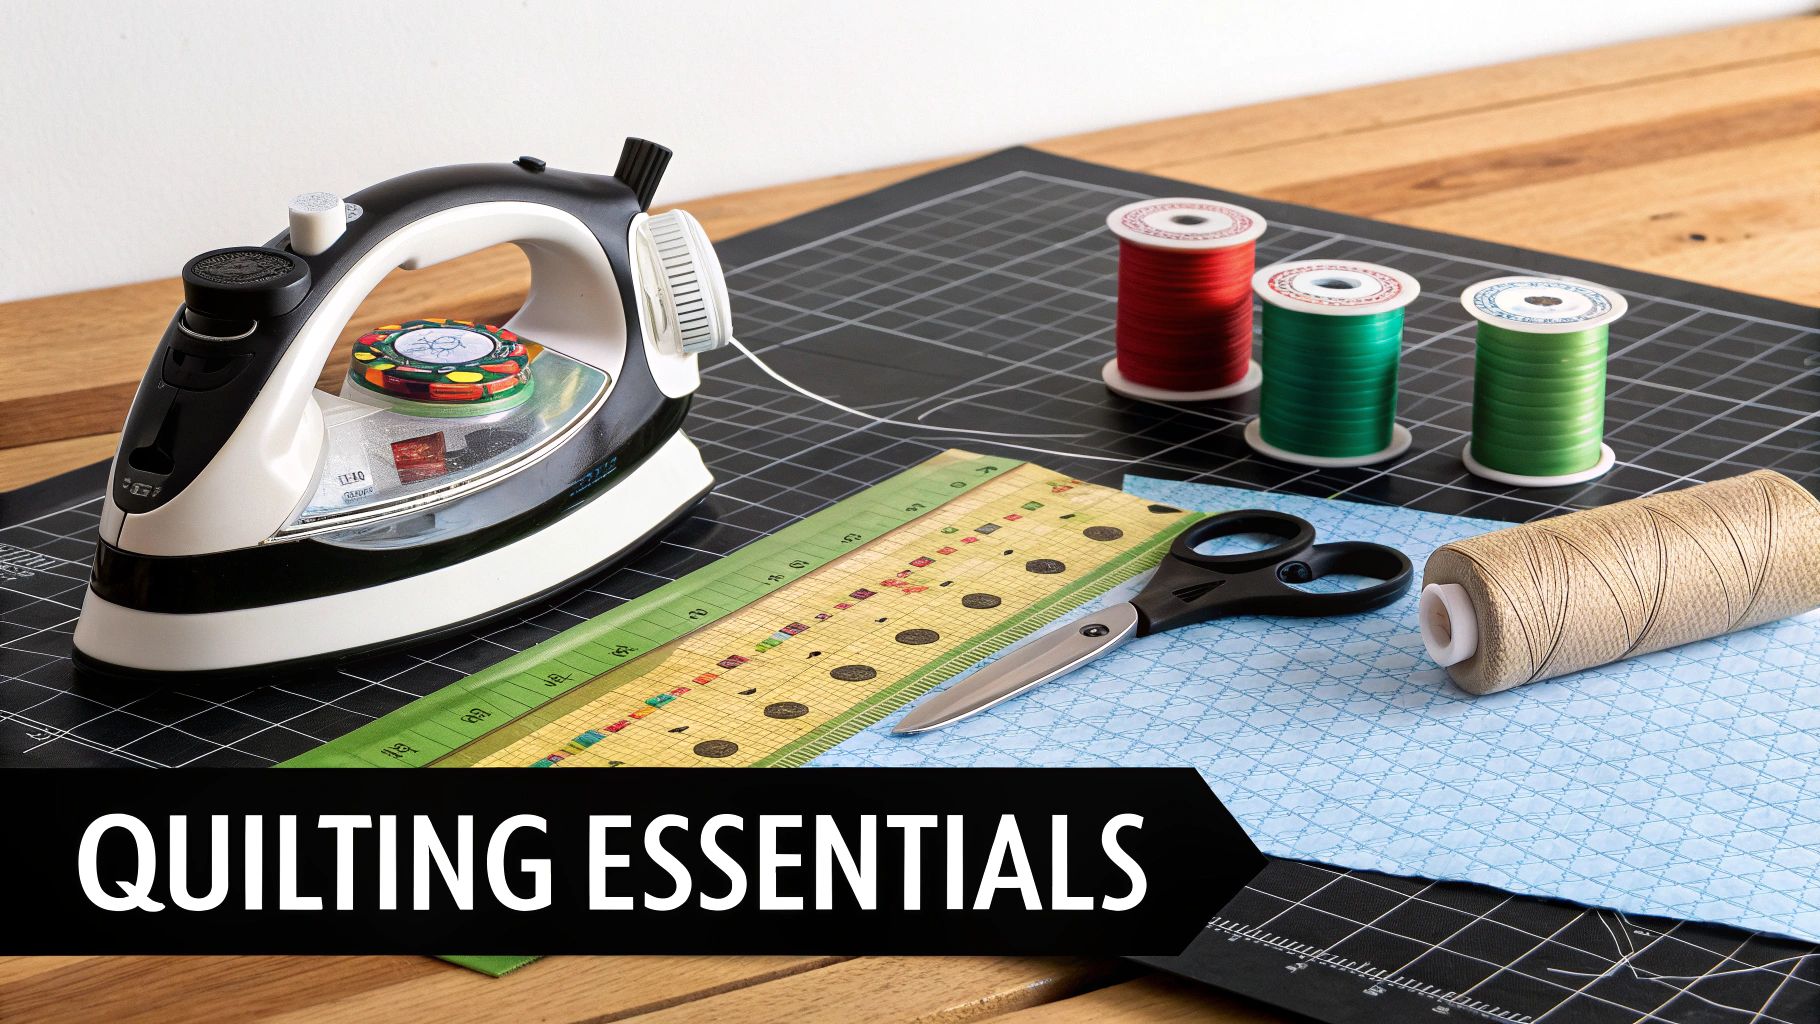
Before you dive in and make that first exciting cut into your layer cake, let's talk about setting up your space. Taking just a few minutes to get your area prepped can honestly make or break the entire project. When you have the right tools within arm's reach, the whole layer cake quilting process just feels smoother, and more importantly, your accuracy will skyrocket.
First things first: your rotary cutter. I can't stress this enough—make sure you have a sharp blade. A dull one will just snag and pull your fabric, leaving you with jagged edges and a lot of frustration. A fresh blade will glide right through those 10x10 squares, giving you the clean, precise cuts you need for perfect piecing. It’s such a simple thing, but it makes a world of difference.
Of course, a cutter is only as good as the ruler you use with it. While you might have a collection of rulers, a good 6x24 inch acrylic ruler is the real MVP of any quilting room. It's long enough for squaring up your finished quilt top or cutting long border strips, but it's just as handy for making accurate cuts on your smaller layer cake pieces.
Once your cutting station is good to go, it's time to think about sewing. Your sewing machine is obviously the star of the show here, but the supporting cast—your thread, pins, and iron—are just as crucial for a beautiful finish.
When it comes to piecing, my go-to is a quality 50-weight cotton thread. I usually stick with a neutral color like cream, beige, or gray because it blends into the seams beautifully. This thread is the perfect balance: it’s strong enough to create durable seams without adding any bulk, which is key to getting your blocks to lie nice and flat.
Next, you'll need something to hold your fabric pieces together as you guide them through the machine. This really comes down to what you like working with:
The real secret to a professional-looking quilt isn't just in the sewing—it's in the pressing. A good steam iron is your best friend for achieving flat, crisp seams that nest together perfectly.
Finally, let's talk about the most underrated tool in quilting: your iron. Pressing your seams as you go is the one habit that truly separates a good quilt from a great one. Get in the rhythm of setting each seam with your iron before pressing it to one side. This little step is what prevents puckers and ensures your finished quilt top is wonderfully flat and polished.
Alright, let's get that stack of fabric looking like a quilt! This is the part where your creative vision starts to take shape, turning that beautiful pile of potential into a solid plan. A good pattern is everything, especially for a first project, and the best ones let the fabrics in your layer cake do all the talking.
For your first go, simplicity is your best friend. Look for patterns built around straightforward shapes like simple squares, four-patch blocks, or half-square triangles (HSTs). These classic quilt blocks are a perfect match for 10x10 inch squares. They let the colors and prints you fell in love with really shine without getting you bogged down in complex piecing.
It’s a classic approach for a reason. Block-style quilts have a rich history going back to the early 1800s, and by WWII, quilters had perfected the art of creating stunning geometric designs with them. You can learn more about the fascinating history of patchwork and quilt blocks if you're curious!
Before you even think about picking up your rotary cutter, you need a game plan. The best way to see how your finished quilt will look is to lay out all your squares. No fancy design wall needed—a clean spot on the floor or a large bed will do the trick just fine. Trust me, don't skip this step. It's your one chance to really play with the fabric arrangement before anything is permanent.
I always start by roughly sorting my squares into three piles: lights, mediums, and darks. Don't agonize over it, just a quick sort based on their overall brightness. This simple step is the secret to creating a quilt that has depth and sparkle. Without a good mix of values, your quilt can end up looking a little flat.
Pro-Tip: Once you have a layout you like, snap a quick black-and-white photo of it with your phone. Stripping away the color instantly shows you if your light and dark values are balanced. It’s amazing how clearly you can spot areas that need a little more contrast this way.
After sorting, you can start placing the squares in a grid according to your pattern. A really nice size for a lap quilt is a 6-square by 7-square grid, which gives you a great rectangular shape to work with.
As you lay out the squares, keep an eye on the overall flow. Are you going for a completely random, scrappy vibe, or would you rather create a more structured pattern, like a checkerboard of light and dark fabrics? This is where you get to be the artist.
Take a step back and look at your layout. Here are a few things I always check for:
Don't be afraid to spend some real time here, moving pieces around until you step back and think, "Yes, that's it!" This hands-on preview is so valuable. It helps ensure the quilt you're picturing in your head is the one that actually comes off your sewing machine. Once you’re happy with it, take one more photo for reference, and then you’re ready to start cutting.
Once you’ve settled on a design, the real fun of layer cake quilting begins. This is where precision becomes your best friend. Honestly, the secret to a quilt top that lies perfectly flat—with those crisp points and clean intersections we all drool over—isn't some complicated trick. It's just a commitment to being accurate, right from the first cut to the final stitch.
Your journey to a beautiful quilt top starts with prepping the fabric. I know, I know—it's tempting to just tear open that delicious stack of squares and start sewing. But taking a few minutes to prep your fabric will make a world of difference in your final project. A little bit of prep makes the fabric more stable and keeps it from stretching or warping while you work.
The following infographic gives you a bird's-eye view of the whole process, from picking a pattern to laying out your squares.
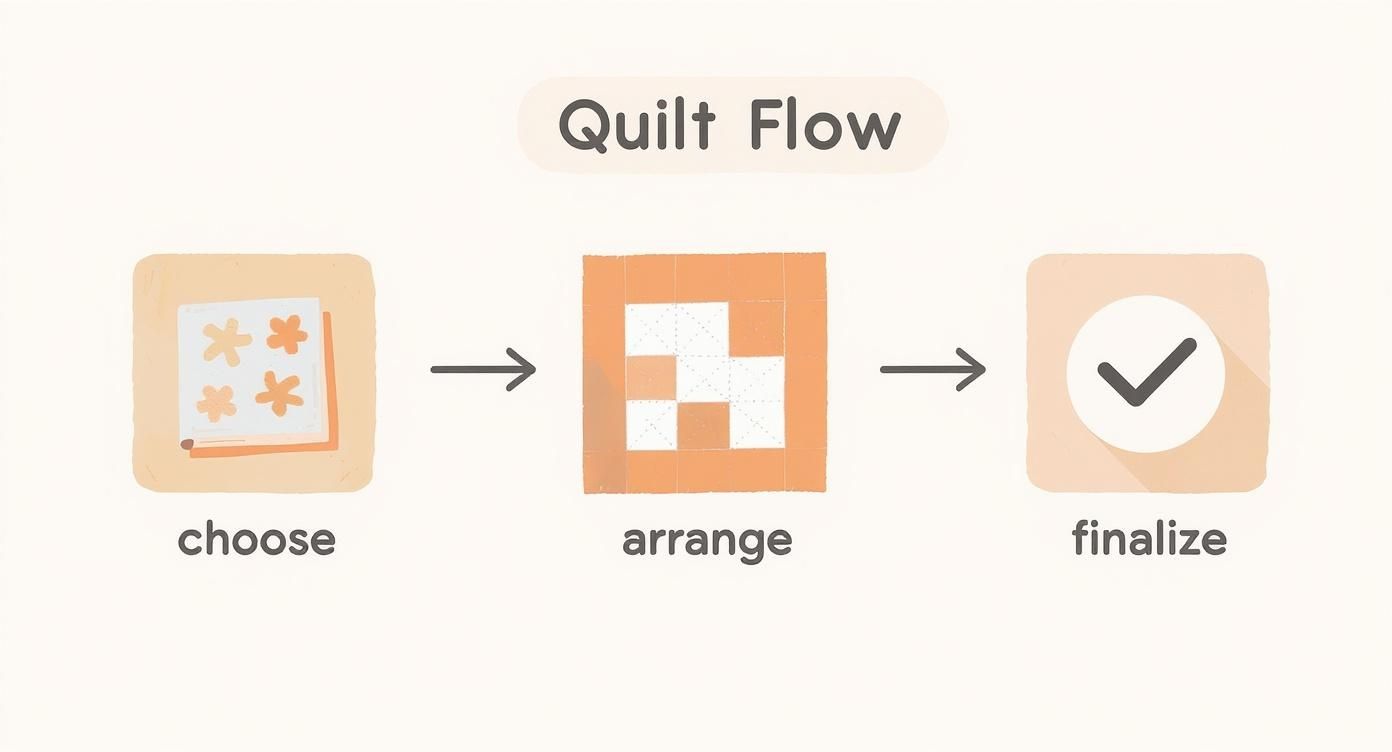
As you can see, spending time arranging your fabrics is the crucial step between choosing a pattern and actually cutting. It’s what ensures the quilt in your head is the one that comes out of your sewing machine.
One of the best habits any quilter can get into is treating their layer cake squares with starch (or a starch alternative) before cutting. Just give each square a light spray and press it with a hot, dry iron. This adds a crispness to the cotton that is a total game-changer.
So, why does this simple step matter so much?
I tell every new quilter this: The most foundational skill in all of patchwork is sewing a consistent quarter-inch seam. If you can master this one thing, you will solve 90% of common piecing problems. It’s the key to making blocks that actually fit together.
Every single quilt pattern is designed around a precise 1/4-inch seam allowance. If your seams are too wide or too narrow—even by a hair—those tiny errors will multiply across your quilt top, and your finished blocks will end up being the wrong size. It's a classic rookie mistake!
To keep things consistent, a quarter-inch presser foot is your best bet; it has a little guide that runs right along the edge of your fabric. If you don't have one, no worries. You can create your own guide by placing a stack of painter's tape or a magnetic seam guide on your machine's throat plate to create a physical "fence" for your fabric to follow.
Once you're confident in your seam allowance, it's time to work smarter, not harder. Let me introduce you to chain piecing. This is basically an assembly-line method for sewing quilt blocks, and it saves a truly incredible amount of time and thread.
Instead of sewing two pieces together, stopping, cutting the threads, and then starting on the next pair, you just feed them through your machine one after another without breaking the thread in between. You'll end up with a long, festive-looking "chain" of connected pairs.
When you’ve sewn all your pairs, you just go back and snip the threads connecting them. This technique helps you get into a good sewing rhythm, cuts down on all that starting and stopping, and is absolutely perfect for layer cake projects that have lots of repeating units.
The final step for perfect blocks is pressing. How you press your seams is just as important as how you sew them. The main goal here is to reduce bulk where multiple seams meet up. A tried-and-true technique is to press seams toward the darker fabric, which cleverly prevents the darker color from peeking through on the front of your lighter fabrics.
When you're ready to join blocks or rows, think about pressing the seams in opposite directions. For example, in one row of blocks, press all the seams to the right. In the next row, press them all to the left.
When you go to sew those rows together, the seams at the intersections will "nest" together like the teeth on a zipper. This little trick not only makes it a breeze to match your points perfectly but also distributes the fabric bulk evenly. The result? A beautifully flat and professional-looking quilt top.
https://www.youtube.com/embed/kXM8Txt7Mqk
With your quilt top all pieced together, you're in the home stretch! This is where all those squares and seams finally transform from a flat piece of fabric into a cuddly, three-dimensional quilt. It's truly the most magical part of the process.
First up, you need to build your "quilt sandwich." This is exactly what it sounds like: three layers stacked together. You'll have your finished quilt top, a soft layer of batting in the middle for warmth, and your backing fabric.
A crucial tip here is to make sure your batting and backing are both a bit bigger than your quilt top. I always aim for a 4-inch margin on all sides. This extra room is a lifesaver, giving you some wiggle room and preventing the layers from shifting apart at the edges as you quilt.
Find the biggest flat surface you can—the floor usually works best! Start by spreading your backing fabric out, wrong side up. I like to use painter's tape to secure the corners and edges, pulling it just taut enough to be smooth without stretching the fabric out of shape.
Next, lay your batting down over the backing, smoothing it out from the center to get rid of any wrinkles. Finally, place your beautiful quilt top, right side up, over the batting. Again, smooth it carefully from the middle outwards to make sure everything is perfectly flat.
Now comes basting. This step temporarily holds the three layers together, and it's your best defense against dreaded puckers and tucks later on. You've got a few solid options to choose from:
Basting isn't just about sticking the layers together. It’s about making them act like a single piece of fabric. Patience here pays off big time, giving you a smooth, professional-looking finish.
You don't need a massive, expensive longarm machine for a beautiful finish. Your regular home sewing machine is more than capable of doing some gorgeous quilting.
Straight-line quilting is a fantastic place to start. Just pop on a walking foot—which helps feed all three layers through the machine evenly—and you can stitch along your seam lines. This is often called "stitching in the ditch." You could also create a simple grid pattern for a classic, clean look.
Another forgiving and beautiful option is to stitch gentle, wavy lines. They don't have to be perfect, and the organic movement adds a wonderful texture to the quilt. Once your masterpiece is done, you might want to show it off! You can get some great ideas for presentation if you learn how to create a Pinterest collage.
The binding is the final frame for your artwork. It’s a narrow strip of fabric that encloses all the raw edges, giving your quilt a durable and polished look that's built to last.
For a standard binding, you'll cut several 2.5-inch wide strips of fabric, sew them together end-to-end to create one very long strip, and then press it in half lengthwise.
You'll start by sewing the raw edge of this folded strip to the front of your quilt. Then, you'll wrap it around to the back and stitch it down, either by hand or machine. The part that often trips people up is getting those neat, mitered corners. It just takes a simple folding technique to create a perfect 45-degree angle, but it makes all the difference. This is the very last step that officially makes your project a quilt
Even with a project as straightforward as a layer cake quilt, questions always come up. Let's tackle some of the most common ones I hear so you can quilt with confidence and avoid those little frustrations that can trip you up.
This is probably the number one question people ask, and the answer from just about every experienced quilter is a resounding no. Don't do it!
Pre-washing those perfect 10x10 squares can be a disaster. They tend to fray like crazy, shrink unevenly, and lose that crisp, straight edge you need for accurate cutting. It's much better to work with them right out of the package and then wash your finished quilt. That first wash is what gives the quilt that wonderful, crinkly, well-loved texture anyway.
A standard layer cake with 40 to 42 squares gives you enough fabric for a really nice throw-sized quilt.
For instance, if you arrange 42 squares in a 6x7 layout, your quilt top will finish at about 57 x 66.5 inches after you account for seam allowances. Of course, you can always make it bigger by adding sashing between the blocks or putting on a few borders.
It's this kind of convenience that has made precuts so popular, especially for quilters with busy schedules. A recent survey even showed that 28% of quilters are now between the ages of 25 and 45. Many in this group are looking for projects that fit into a modern lifestyle, and layer cakes are a perfect fit. If you're curious, you can read more about current quilting trends and community insights and see how the craft is changing.
A Quick Tip: The most common mistake I see beginners make is measuring from the tips of the pinked (zigzag) edges. Always ignore those and measure from the solid, innermost part of the square to get an accurate cut.
Beyond the pinked edges, a few other things can derail a layer cake project. Keep an eye out for these culprits:
At High Country Quilts we care deeply about community. With our experiences in retail, we know that a store is not only a place to shop but also a place for the community to gather and share. During this busy...

Hi! We’re Adam and Renee Wheaton, the new owners of High Country Quilts! For more than 40 years, we’ve owned and operated vacuum and sewing businesses. Following in Renee’s father’s footsteps after he retired from All Discount Vacuum and Sewing in Colorado...


Leave a comment