

We Love Our Quilting Community
At High Country Quilts we care deeply about community. With our experiences in retail, we know that a store is not only a place to shop but also a place for the community to gather and share. During this busy...


At its core, using fusible interfacing is pretty straightforward. You just cut a piece to match your fabric, place the glue-side down on the wrong side of your material, and press it with a hot iron. The heat melts the adhesive, creating a permanent bond between the two layers. This simple step adds structure and stability to your projects with almost no fuss.
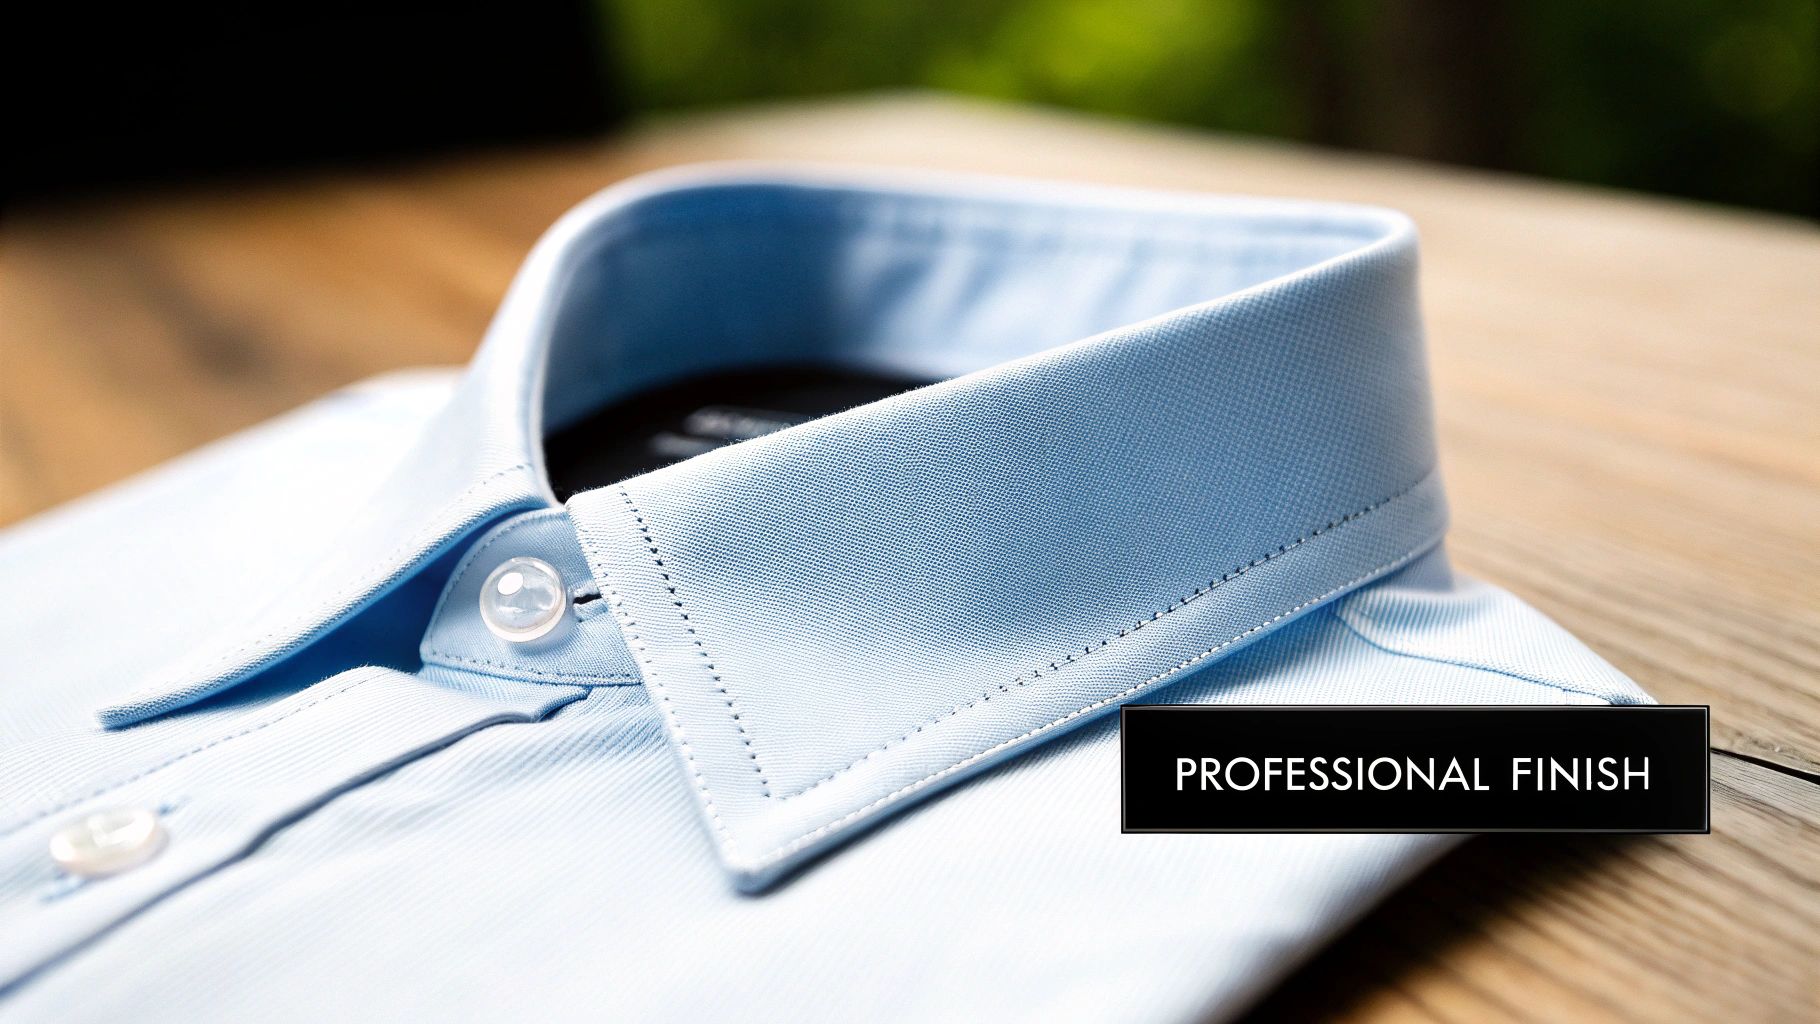
Fusible interfacing is that secret ingredient that takes homemade projects from looking good to looking truly professional. It’s the unsung hero working behind the seams, giving shirt collars their crispness, preventing buttonholes from stretching out of shape, and providing tote bags with enough body to stand up on their own.
Honestly, without it, so many of our favorite projects would just feel limp and unfinished. This guide is all about showing you how to use fusible interfacing the right way, so you can finally ditch flimsy results and avoid those dreaded puckered seams for good. Let’s dive into why this simple iron-on material is a must-have for so many sewing projects.
Fusible interfacing isn't just another helpful notion; it fundamentally changed how garments are constructed. When it hit the manufacturing scene, it replaced tedious and time-consuming sew-in methods, leading to huge improvements in both production speed and the quality of the final garment.
It's so effective, in fact, that since the early 2000s, fusible interfacing has grown to capture over two-thirds of the entire interlining market. It's easy to use and it just plain works. If you're curious about its market impact and the industry's shift toward more sustainable materials, you can dig deeper with this global interlining fabric market analysis.
Think of fusible interfacing as the scaffolding for your fabric. It provides the essential internal support needed to create polished, structured items that look store-bought and last for years.
Ultimately, getting comfortable with this material is a huge confidence booster. When you know the right techniques, you can give your projects the perfect body and drape every single time, turning what you envision in your head into a beautifully executed reality. Let's get started.
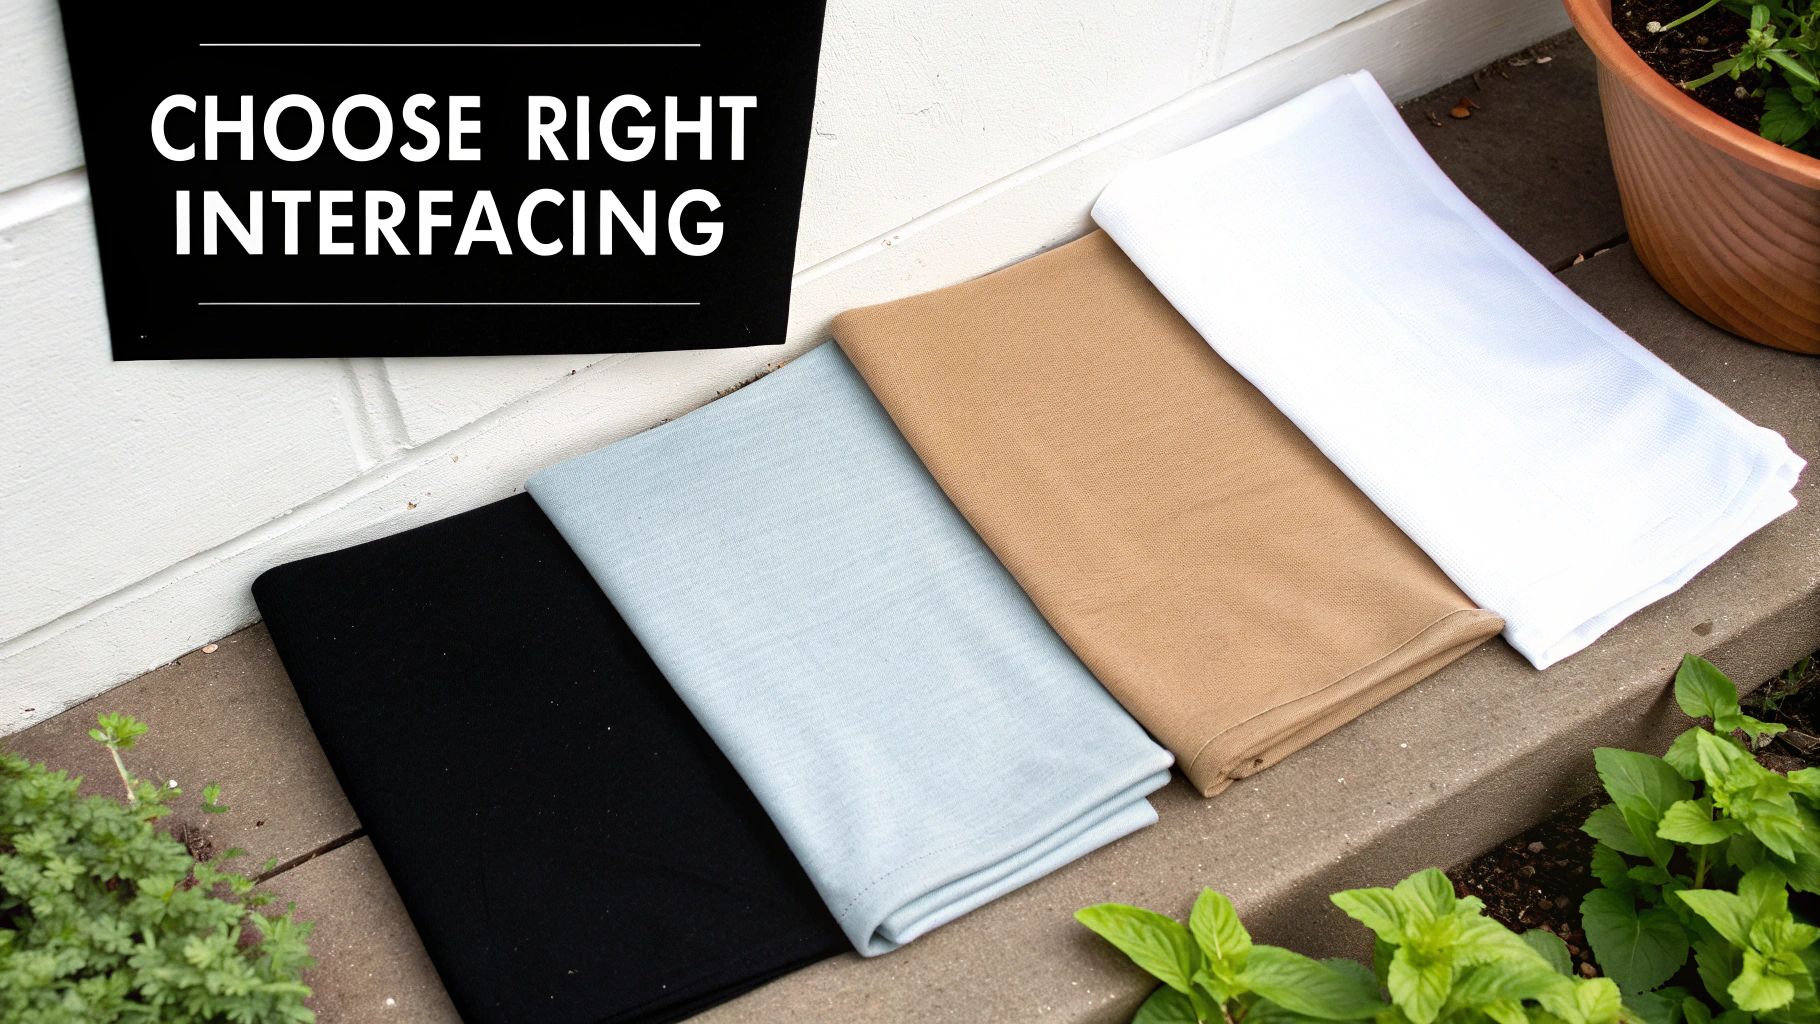
Picking the right fusible interfacing is just as critical as choosing your main fabric. A poor match can completely ruin a project—imagine a drapey silk blouse that feels like cardboard or a structured bag that just won’t stop flopping over. The whole point is to support your fabric's natural qualities, not completely change them.
A simple rule I always follow is to choose an interfacing that's slightly lighter than my fashion fabric. This way, it adds the necessary support without killing the fabric’s natural drape and hand. Think about it: a delicate silk charmeuse needs a featherlight, almost sheer interfacing, while a sturdy cotton twill for a waistband needs something with much more backbone.
The way interfacing is made is a big deal. There are three main types, and each one is designed for a specific job. Getting this right is half the battle.
Modern garment sewing relies heavily on interfacing for structure and durability. It’s no surprise that non-woven types make up about 42.1% of the market; they’re just so easy to work with and incredibly effective.
Once you've picked the type, the next decision is weight. Generally, you'll find interfacing categorized as lightweight, medium-weight, or heavyweight.
Pro Tip: Always, always test your fusible interfacing on a scrap of your fashion fabric first. This little test will show you exactly how it will bond, how much stiffness it adds, and if it changes the look of your fabric. It’s a five-minute step that can save you from a major project headache.
This principle of matching support to fabric applies to more than just clothes. When you're tackling big projects and choosing the best fabrics for reupholstering a sofa, the same logic holds true. A heavy-duty upholstery fabric requires an equally firm and durable interfacing to stand up to daily use.
To see this in action, picture making a structured canvas tote bag. You’d reach for a heavyweight or firm interfacing to give the bag enough body to stand up on its own. Now, switch gears to the collar of a flowy rayon blouse. Here, a lightweight non-woven interfacing is all you need to gently hold the collar’s shape without making it stiff or awkward.
To make things even clearer, I've put together a quick reference chart to help you match your fabric to the perfect interfacing.
| Fabric Type | Recommended Interfacing Weight | Interfacing Type (Woven/Non-Woven/Knit) | Common Project Examples |
|---|---|---|---|
| Sheer & Lightweight Fabrics (Chiffon, Voile, Silk Charmeuse) | Featherweight / Lightweight | Woven or Non-Woven | Blouse collars, button plackets, delicate facings |
| Light to Medium-Weight Wovens (Cotton Poplin, Linen, Chambray) | Lightweight / Medium-Weight | Woven or Non-Woven | Shirt collars, cuffs, waistbands, dress facings |
| Medium to Heavy-Weight Wovens (Denim, Canvas, Corduroy) | Medium-Weight / Heavyweight | Non-Woven or Woven | Tote bags, jacket structures, structured waistbands |
| Knit Fabrics (Jersey, French Terry, Rib Knit) | Lightweight / Medium-Weight | Knit (with stretch) | Neckbands, stabilizing shoulder seams, knit plackets |
This table is a great starting point, but remember that the ultimate test is always fusing a small swatch to your actual fabric. Getting the weight and type right is what gives your projects that professional, polished finish we're all aiming for.
Honestly, good prep is the secret weapon for avoiding all those classic fusible interfacing headaches. If you take a few minutes before you even plug in the iron, you can sidestep the bubbling, weak bonds, and that awful shrinkage that shows up after the first wash. This is where the magic really happens for a professional finish.
The most skipped step is also the most critical: pre-washing. You need to wash both your main fabric and the interfacing. I can't stress this enough. Natural fibers like cotton, linen, and rayon are notorious for shrinking. If you fuse an unwashed fabric to unwashed interfacing, they'll shrink at different rates, and you'll end up with a puckered, distorted mess that’s basically impossible to fix.
Once everything is washed and dried, press your main fabric until it’s completely smooth. Seriously, get every single wrinkle out. Any little crease you leave in now will be permanently set by the heat and adhesive later. Think of it as creating a perfectly flat, clean canvas.
Next up, you have to figure out which side of the interfacing has the glue. It can be tricky with some types, but there are a couple of go-to tricks:
Make sure you place this bumpy, shiny side down onto the wrong side of your fabric. Fusing the wrong side is a sewing rite of passage that leaves a sticky, melted disaster on your iron—let's try to avoid that!
With your fabric pressed and the interfacing oriented correctly, it's time to cut. For most garments, you’ll cut the interfacing to the exact same size and shape as your pattern piece. This gives the entire area the structure it needs.
But here’s a pro tip for dealing with thicker fabrics where you want to reduce bulk in the seams. You can trim away about 1/4 to 1/2 inch from the edges of the interfacing piece. This keeps the interfacing out of the seam allowance, which makes the seams flatter and so much easier to sew through.
Think of fabric prep as your project's insurance policy. A few minutes spent pre-washing and pressing can save you hours of frustration later, guaranteeing your finished piece looks polished and holds up wash after wash.
Alright, now lay your prepared fabric wrong-side-up on your ironing board. Carefully place your cut interfacing piece on top, with that adhesive side facing down against the fabric. You're now officially ready to start fusing, knowing your prep work has set you up for a perfect, lasting bond.
Alright, let's get to the heart of it: actually applying the fusible interfacing. This is where the magic happens, and it's all about technique. The single biggest mistake I see people make is ironing their interfacing. You don't iron it; you press it.
Sliding an iron back and forth is great for getting wrinkles out of a shirt, but here, you're essentially melting a sheet of glue. The goal is to apply steady heat and pressure to melt that adhesive right into the fabric's fibers. This "press and hold" method creates a strong, even bond that won't bubble or peel on you down the road.
This infographic breaks down the essential prep work that sets you up for success.
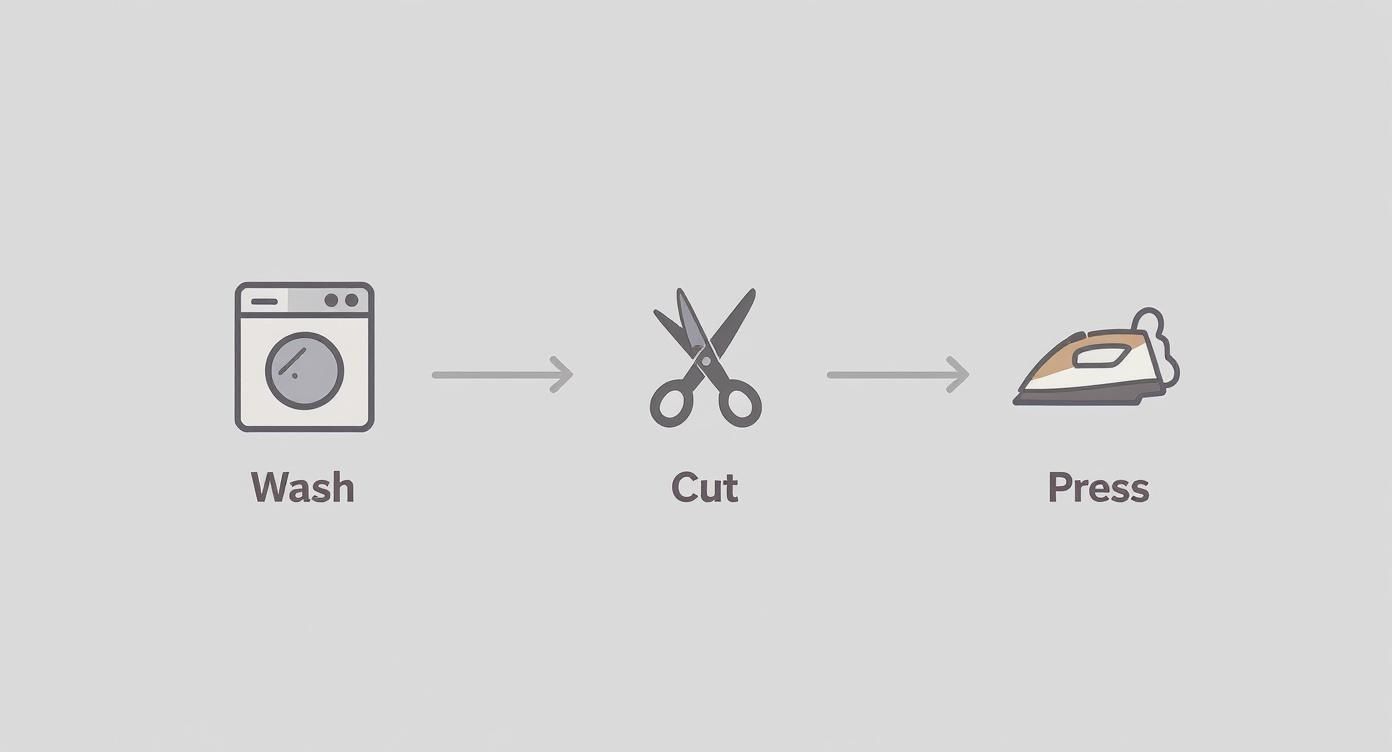
As you can see, a flawless finish starts long before the iron comes out—with proper washing, cutting, and a good pre-press.
First things first, get your iron ready. Set the temperature for your fabric, not the interfacing. A good rule of thumb is to use the setting you'd normally use to press that material, but always turn the steam off. Steam is the enemy here; it can mess with the adhesive and leave you with a weak, spotty bond.
Next, grab a press cloth. This is non-negotiable. A scrap of cotton, a sheet of organza, or a dedicated Teflon sheet will do the trick. A press cloth does two very important jobs: it protects your fabric from scorching and prevents any rogue adhesive from gumming up the bottom of your iron.
Lay your fabric wrong side up on your ironing board. Then, carefully place the interfacing on top, making sure the bumpy, adhesive side is face-down against the fabric.
With everything in position, you're ready to start fusing. Here’s how you get that perfect, professional bond:
This methodical approach ensures every bit of the interfacing gets the consistent heat and pressure it needs. The principles are similar even at a professional level; learning how to heat press flawless custom apparel relies on the same fundamentals of time, temperature, and pressure.
Crucial Tip: After you've pressed the whole piece, let it cool down completely before you even think about moving it. The adhesive needs time to set, or "cure." Picking it up while it's still warm can weaken the bond you just worked so hard to create. This is the step everyone forgets, but it makes all the difference.
https://www.youtube.com/embed/6TqGqyOEwLU
Even with perfect prep, things can still go sideways when you're working with fusible interfacing. Don't panic! Most of these hiccups are super common and totally fixable. Think of this as your sewing triage station—a place to figure out what went wrong and get your project back on track.
One of the most frequent frustrations I hear about is bubbling or blistering on the fabric's surface. This almost always means the adhesive didn't get an even, solid bond with your material.
More often than not, the culprit is using a classic back-and-forth ironing motion. Sliding the iron around can easily shift the fabric or interfacing just enough to trap little air pockets, which then turn into those dreaded bubbles.
Inconsistent heat or steam can also sabotage your efforts. If your iron has hot spots, or you accidentally leave the steam on, you’ll end up with a splotchy, weak bond that won't hold up. The secret is always steady, dry heat and firm, consistent pressure.
If you see bubbles starting to form, stop right there. Let the fabric cool down completely, then try pressing the area again. This time, make sure to use a press cloth and hold the iron firmly in one spot for a full 15 seconds. If that doesn't do the trick, the bond might be too far gone, and it's honestly better to start over with a new piece than to fight with it.
What if the interfacing just peels right off? A complete bond failure usually points to one of three things: not enough heat, not enough time, or not enough pressure. Your iron might not be hot enough to fully melt the adhesive, or you may have rushed the pressing time.
Key Takeaway: A perfect fuse is a simple recipe: Heat + Time + Pressure. If you skimp on any one of these three key ingredients, the interfacing just won't stick the way it's designed to. Always double-check the manufacturer's directions for the right temperature and pressing time.
Ever fuse a piece only to find it has the texture of cardboard? That’s a classic sign that your interfacing is too heavy for your fashion fabric. It’s a lesson most of us learn the hard way!
Always remember this golden rule: your interfacing should be a little lighter in weight than your main fabric. It's there to support, not dominate.
Unfortunately, if you've already fused a piece and it's way too stiff, there isn't an easy way to remove the interfacing without risking damage to your fabric. The best thing to do is chalk it up to experience. Make a note of which interfacing you used so you know to pick a lighter one next time. This is exactly why testing on a scrap piece of fabric first is such a valuable, time-saving habit to get into.
Every sewing enthusiast runs into interfacing issues now and then. Here’s a quick-reference table to help you diagnose the problem and find the right solution.
| Problem | Common Cause | Solution / Prevention Tip |
|---|---|---|
| Bubbling or Blistering | Iron was moved back and forth; uneven heat or pressure. | Press and hold the iron in one spot for 10-15 seconds. Do not slide. Let it cool completely before moving. |
| Interfacing Won't Stick | Not enough heat, time, or pressure. | Increase the iron's temperature (check fabric safety first!), press for a longer duration, and apply more pressure. |
| Puckering Fabric | Fabric shrank from the iron's heat, but the interfacing did not. | Always pre-wash and press your fashion fabric to pre-shrink it before you even think about fusing. |
| Adhesive on Iron | Interfacing was fused to the wrong side of the fabric, or it shifted off the edge. | Use a press cloth. If adhesive gets on your iron, clean it while warm with an iron cleaner. |
| Fabric Feels Stiff | The interfacing is too heavy for the fashion fabric. | Always match the interfacing weight to your fabric. Test on a scrap first to check the final feel and drape. |
With these tips, you can troubleshoot with confidence and ensure your interfacing always enhances, rather than hinders, your final garment.
Even after you've got the basics down, you're bound to run into some specific questions once you're in the middle of a project. I've pulled together some of the most common ones I hear from other sewers to give you quick, practical answers. Think of this as your go-to guide for troubleshooting on the fly.
This is a big one, and the answer is almost always no. Stick with a dry iron.
Steam introduces moisture, and that water can get in the way of the adhesive, preventing a solid, even bond. It's actually one of the main culprits behind that frustrating bubbling you sometimes see.
Now, there are a few specialty interfacings out there that might call for steam, but they are definitely the exception. Your best bet is to always check the manufacturer’s instructions that came with your interfacing. When in doubt, a dry iron and a good press cloth is the safest route to a durable, professional finish.
Ah, the classic beginner's mistake! Fusing the interfacing to the "right side" (the public-facing side) of the fabric has happened to the best of us. It's an easy slip-up when you're laser-focused on getting everything lined up just right.
Unfortunately, it creates a sticky mess. The adhesive melts all over your iron's soleplate, and the interfacing is now permanently stuck to the outside of your project. Before you even think about pressing, always take a breath and double-check that the rough, bumpy side of the interfacing is facing the "wrong" side of your fabric.
My Go-To Mantra: Before the iron touches down, I always say to myself, "Bumpy side to the wrong side." It’s a simple little habit that has saved me from countless headaches and a very annoying iron-cleaning job.
Yes, absolutely. This is one of those prep steps you just can't skip. You should pre-shrink both your main fabric and your interfacing.
Many interfacings, especially the ones with natural fibers like cotton, will shrink the moment they feel the heat of your iron. If you fuse an un-shrunk piece of interfacing to your already-washed fabric, the interfacing will shrink up and pull the fabric with it, causing permanent puckering and distortion.
The good news is that pre-shrinking is simple. Just let the interfacing soak in a basin of warm water for 15-20 minutes. Gently squeeze out the extra water (don't wring it!) and let it air dry completely before using.
For the most part, you can just follow the care instructions for your main fabric. Modern fusible interfacings are made to be pretty tough and can handle machine washing and even dry cleaning without a problem.
That said, the one thing to be mindful of is high heat. Try to avoid super-hot settings when washing, drying, or ironing the finished piece. Extreme temperatures can sometimes reactivate the adhesive, which could cause it to bubble or separate down the road. Sticking to your fabric's care label is the best way to keep your handmade item looking great for years.
At High Country Quilts, we know that having the right tools and a bit of know-how can completely change your sewing experience. From picking out the perfect fabric to mastering techniques like fusible interfacing, we're here to help. Check out our huge selection of high-quality fabrics, notions, and BERNINA sewing machines to get started on your next creation.
At High Country Quilts we care deeply about community. With our experiences in retail, we know that a store is not only a place to shop but also a place for the community to gather and share. During this busy...

Hi! We’re Adam and Renee Wheaton, the new owners of High Country Quilts! For more than 40 years, we’ve owned and operated vacuum and sewing businesses. Following in Renee’s father’s footsteps after he retired from All Discount Vacuum and Sewing in Colorado...


Leave a comment