


Free Fabric All Year: Our 2027 Fabric Punch Card
November 2–25 only: buy a $200 gift card in either store and get a free yard of fabric every month of 2027.

Quick Summary
A charm pack is a bundle of precut 5-inch fabric squares, usually from one fabric collection, and most hold 42 squares. To use one, divide the squares your quilt pattern requires by 42 and round up, then sort, square up, and sew the squares in your chosen layout with a 1/4-inch seam.
Last Updated: November 12, 2026
A charm pack is a bundle of precut 5-inch fabric squares, usually drawn from one fabric collection. Most standard charm packs hold 42 squares, and each square is 5 inches by 5 inches.
Charm packs are available from popular collections, so you can pick a line that matches your style. Each pack gives you a coordinated set of prints, which takes the guesswork out of choosing colors.
Charm packs work well for:
The 42-square count is a common standard, but always check the label before you buy. Some collections and brands package their squares differently.
Most quilt patterns list the number of squares you need, so start there. Divide the total squares required by the number of squares in one pack, then round up. For a 42-square pack, a quilt that needs 100 squares requires three packs, since two packs give you only 84.
Here is a simple way to plan:
Use this chart to skip the math. It assumes 42 squares per pack and a plain 5-inch grid with no sashing, so add packs if your pattern calls for sashing, cornerstones, or a border made from charm squares.
| Finished quilt size | Grid (squares across x down) | Squares needed | Charm packs (42-count) |
|---|---|---|---|
| Baby, about 30 x 35 in | 6 x 7 | 42 | 1 |
| Crib, about 35 x 45 in | 7 x 9 | 63 | 2 |
| Lap, about 50 x 60 in | 10 x 12 | 120 | 3 |
| Throw, about 60 x 70 in | 12 x 14 | 168 | 4 |
| Twin, about 65 x 85 in | 13 x 17 | 221 | 6 |
| Queen, about 85 x 95 in | 17 x 19 | 323 | 8 |
Charm packs (42-count)
These sizes are starting points, not rules. A 5-inch square finishes at 4 1/2 inches once you sew a 1/4-inch seam on each side, so a 6 x 7 grid finishes at roughly 27 x 31 1/2 inches before borders. Add a 2 1/2-inch border on all four sides and the baby quilt lands near 32 x 36 1/2 inches, which is a comfortable stroller size.
Charm squares cannot cover the back or the binding, so buy those separately.
A common mistake is forgetting that borders, backing and binding need separate yardage. Once the packs are chosen, calculate the remaining border, backing and binding yardage with Designer Fabrics USA before cutting.
Watch out: a pattern that adds sashing between every row can consume 1 to 2 extra yards of a separate fabric, which is easy to overlook when you are focused only on the charm pack count.
Before you sew, take time to sort and check your squares. Lay them out and group similar prints together. This helps you spot any squares that look too different and keeps your color balance even.
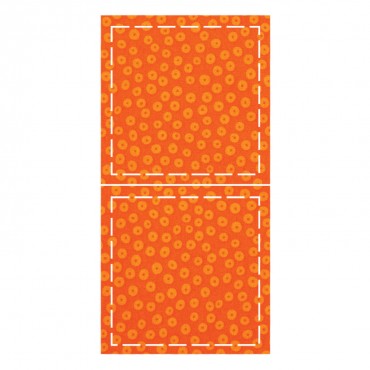
Precision matters more than most beginners expect. Small cutting errors add up across a full quilt, so a few minutes of squaring up saves hours of frustration later. A 5-inch cutting die or a 2 1/2-inch square ruler helps you check and trim each piece accurately.
Keep your squares organized in these steps:
A common problem is stacking squares that have shifted. Keep your stack neat, and your piecing will go more smoothly.
Layout changes the whole feel of a quilt. A traditional layout uses a simple grid where every square sits in a neat row. A modern layout might use offset rows, a diagonal setting or a random scatter for a more playful look.
Try these starting points:
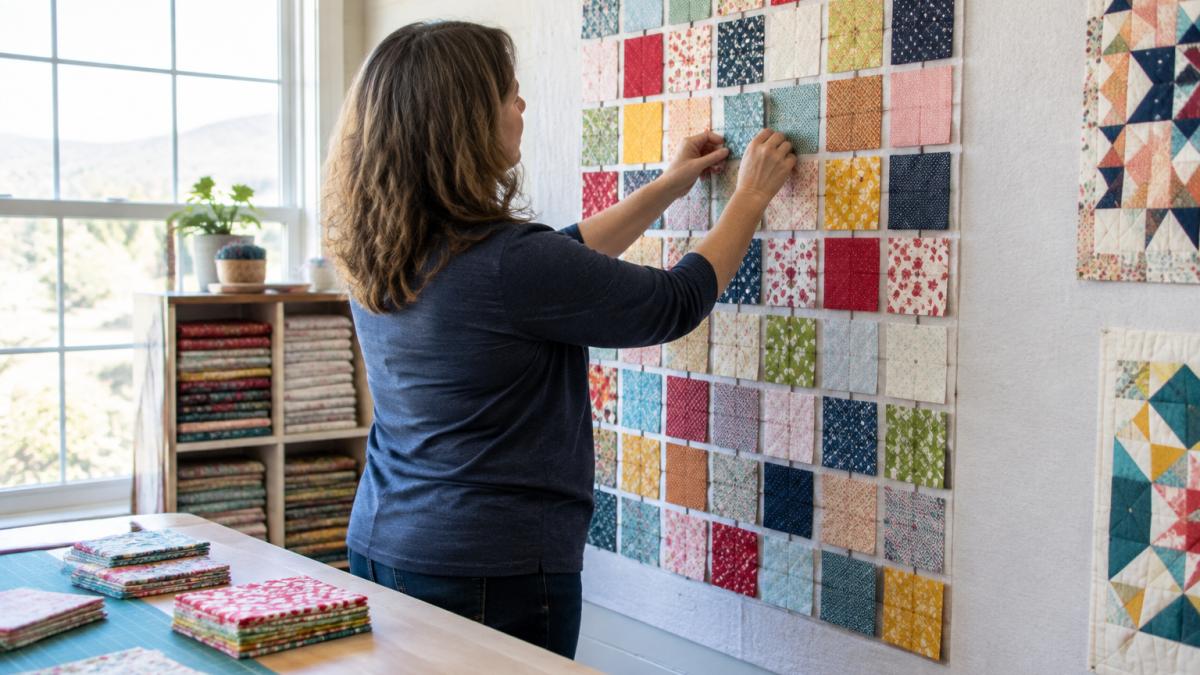
Lay out your squares on a design wall or the floor before you sew. Take a photo to check the balance from a distance. It is much easier to fix a layout now than after you have pieced it together.
Once your layout is set, you are ready to sew. Work in order so your rows stay straight.
Chain piecing speeds things up. Feed squares through the machine one pair after another without cutting threads between them.
Gaps and wavy seams usually come from an inconsistent seam allowance. Use a quarter-inch foot or mark your guide line on the machine bed. Test a few squares before you sew the full top.
If your finished rows come out short, check your seam allowance first. A seam that is just 1/16 inch too wide on each side can shorten a row by almost a quarter inch.
Watch out: pressing seams open can stretch the fabric. Press to one side for stability, unless your pattern calls for open seams.
Factory-cut charm squares are usually accurate, but your seam is the variable you control. Run this test before you piece the top:
A row of six squares should finish at 24 1/2 inches. If it comes out at 24 inches, you are losing 1/2 inch per row, and a 12-row quilt will finish 6 inches narrower than planned. That is the single most common reason a charm pack quilt comes out smaller than the pattern says.
Not every charm square leaves the factory perfectly square. Hold each square against a 5-inch square ruler or a 5-inch cutting die and check all four edges. Trim only the edges that are visibly off, and trim no more than 1/8 inch total so you do not shrink the square below the size your pattern assumes. If a square is more than 1/8 inch out of square, set it aside for a pillow, mug rug, or scrap project rather than forcing it into the quilt.
When you join rows, nest the pressed seams so they lock together. Press one row's seams toward you and the next row's seams away from you, then butt the seams together and pin on both sides of the intersection. This nesting step is what keeps corners sharp, and it is faster than pinning every inch of the seam. Sew slowly over each intersection, and do not lift the presser foot until the seam is fully under the needle.
A single charm pack is enough for a small baby quilt. Many free patterns are written for 5-inch squares, so you can start without buying a full pattern book. Look for patterns labeled for charm packs, and check that the finished size fits your needs.
A simple one-pack baby quilt uses 42 squares in a 6 by 7 grid. Add a narrow border and backing from a separate piece of fabric, and you have a finished quilt in a weekend.
For more project ideas, check the free pattern library from Surplus Strips Quilt Pattern.
Charm packs make quilting approachable, and the right planning makes each project easier. Count your squares, sort carefully, and test your layout before you sew.
Our Highlands Ranch store is a good place to see charm packs in person. Browse the charm packs listed on our website to find the right colors for your next quilt.
A standard charm pack holds 42 five-inch squares, which is enough for a baby quilt or small lap quilt when paired with sashing or a border. Sewn edge to edge with no added fabric, one pack typically yields a top of roughly 30 by 30 inches. To reach throw size, most quilters add a second charm pack, extra yardage for borders or a coordinating background fabric. Check the layout before you cut, since the number of squares per row determines the final dimensions.
Most baby quilts of about 36 by 45 inches need two charm packs, or one pack plus additional yardage for sashing and borders. A single pack works well for a small baby quilt or wall hanging. High Country Quilts stocks Full House by Marcus Fabrics 5x5 Charm Pack with 42 cuts for $14.75 and the MO Wellspring Charm Pack for $14.99, so you can match a color story across packs before you buy.
Often yes. A single charm pack gives you 42 squares, which covers the quilt top but not borders, sashing, or backing. Plan at least half a yard to a yard of background fabric for sashing or setting squares, plus binding and backing yardage sized to the finished quilt. The book Just Two Charm Pack Quilts Slash Your Stash, priced at $20.99, shows how to combine two packs for quilts with built-in variety.
Lay all squares out on a design wall or large floor space, grouped by value, before sewing. Move squares around until light and dark contrast is balanced and no identical prints sit next to each other. Photograph the layout with your phone so you can restore it if squares get shuffled. Number the rows and sew each row in order, then press seams in alternating directions from row to row so the seams nest when you join them.
November 2–25 only: buy a $200 gift card in either store and get a free yard of fabric every month of 2027.

Serger and BERNINA Mastery classes, longarm training, bag-of-the-month, Kids Sewing Club and a Highlands Ranch retreat. Here's what's on the calendar in November.

Free gifts, included packages and special pricing on the BERNINA 790 ULTRA, 990, Liberty Editions, L 890 serger and Q Series longarms, now through December 31.


Leave a comment