

We Love Our Quilting Community
At High Country Quilts we care deeply about community. With our experiences in retail, we know that a store is not only a place to shop but also a place for the community to gather and share. During this busy...


Knowing how to sharpen your sewing scissors is one of those skills that pays for itself over and over. It's really just a matter of cleaning the blades, using a sharpener to get that perfect edge angle back, and then giving them a quick test on some scrap fabric. A little bit of upkeep prevents a world of frustration and keeps your favorite tools in the game for years.
Let's face it, dull scissors don't just cut poorly—they actively sabotage your work. They can turn what should be a relaxing, creative process into an absolute chore. When your blades lose their bite, they stop slicing cleanly through fibers and start snagging and chewing the material instead.
This is a nightmare on delicate fabrics like silk or chiffon. A dull pair of scissors will leave a messy trail of pulled threads and frayed edges, ruining what could have been a perfect seam or hemline. It’s the kind of thing that makes a finished garment look homemade in all the wrong ways.
It's not just about looks, either. Forcing a dull pair of scissors through fabric puts a ton of unnecessary strain on your hands and wrists. If you’ve ever wrapped up a big cutting session with aching hands, your scissors are the likely culprit. A sharp pair should feel like it's gliding through the material with almost no effort from you.
My Two Cents: Taking care of your scissors isn't just another task on the to-do list. It’s about respecting your craft, your beautiful fabrics, and honestly, your own body. A sharp tool is a safe and effective tool, period.
This isn't just a personal pet peeve; it's smart economics. The global market for tailor’s scissors hit around USD 2.1 billion in 2024, which shows just how much we invest in these essential tools. Taking a few minutes for proper care can extend the life of your scissors by 20-30%, meaning you won't have to buy new ones nearly as often. If you're curious, you can read the full research about the tailor's scissor market to see just how much proper maintenance matters on a larger scale.
The best part? Getting that factory-sharp edge back on your blades is a skill you can definitely learn. You don't need a bunch of expensive equipment or years of apprenticeship.
Think about what a dull edge is really doing to your projects:
With a few simple techniques, you can keep your scissors in perfect shape, making sure every single cut is as clean and effortless as the day you bought them. This guide will walk you through exactly how to do it.

Before you even think about putting a tool to your blades, you need to decide which tool is right for the job. The best method for you really depends on what kind of scissors you have, your budget, and frankly, how confident you feel about the whole process. The real goal here isn't just getting them sharp—it's about restoring the factory edge without messing up the blade's precise angle.
And it’s no wonder there are so many options. The global market for sharpeners is booming, expected to grow from USD 796.69 million to nearly USD 1.48 billion by 2033. This shows just how many people are looking for reliable ways to bring their tools back to life. For sewing scissors, that means carefully getting back to that sweet spot, an acute angle usually between 15-20 degrees. You can actually see more insights on the knife sharpener market to understand why quality manual tools are gaining so much traction.
If you're just starting out, a dedicated scissor sharpener is probably your safest bet. These are usually handheld gadgets with built-in slots made of ceramic or carbide. You just pull the blade through, and the pre-set angle does the work for you.
They’re pretty much foolproof, which is a huge relief when you're worried about ruining a good pair of shears. The downside? That one-size-fits-all angle might not be ideal for high-end scissors that have a special, custom bevel.
A Word of Caution: Whatever you do, never use a pull-through kitchen knife sharpener on your fabric scissors. Those are designed for a much wider blade angle and will absolutely destroy the delicate edge you need for clean fabric cuts.
For anyone who wants total control and the sharpest possible edge, a sharpening stone—also known as a whetstone—is the gold standard. These stones come in different "grits." A coarse grit is for fixing nicks or bringing a seriously dull blade back from the dead, while a fine grit polishes that edge to perfection.
I'll be honest, there's a bit of a learning curve here. You have to maintain a perfectly consistent angle with every single stroke, which takes practice. But once you get the hang of it, the results are unbeatable. A good combination stone, like a 1000/6000 grit, is a fantastic investment that will last you for years.
Another excellent option is a diamond hone. Think of it as a steel plate coated in microscopic diamonds. They cut much faster than a traditional stone and are incredibly durable. Plus, they don't need the soaking or oiling that some whetstones do, making them a low-maintenance choice for getting a dull edge back in shape quickly.
You've probably also heard of a few quick-fix methods, like:
While these tricks can help in a pinch, they are no substitute for proper sharpening. Real sharpening involves removing a tiny amount of metal to create a brand-new, precise edge.
Now that you've got a better idea of the tools available, here’s a quick breakdown to help you compare them side-by-side.
This table breaks down the most common tools for sharpening sewing scissors, helping you decide on the best fit for your needs and skill level.
| Tool Type | Best For | Pros | Cons |
|---|---|---|---|
| Manual Sharpener | Beginners and quick touch-ups on standard scissors. | Easy to use, affordable, pre-set angle for consistency. | Not suitable for all blade types or high-end shears. |
| Sharpening Stone | Serious sewers who want maximum control and the sharpest edge. | Delivers superior, long-lasting sharpness. | Requires practice to master the correct angle; can be messy. |
| Diamond Hone | Quickly restoring very dull or damaged blades. | Fast-cutting, durable, and low-maintenance. | Can be more aggressive; might be overkill for simple touch-ups. |
| Quick Fixes | Emergency touch-ups between proper sharpenings. | Fast, cheap, and requires no special tools. | Doesn't actually sharpen the blade; effect is temporary. |
Ultimately, the right tool is the one you feel comfortable using. For most people, starting with a manual sharpener and maybe graduating to a stone later is a great path.
Once you've picked your tool, it's time to set up your station. A little prep work makes the whole process safer and more effective. Find a stable, flat surface like a workbench or a sturdy table, and make sure you have good lighting so you can see what you’re doing.
Before you start, gather your supplies:
Having everything laid out and ready to go will let you focus on the task at hand: getting that perfectly sharp edge back on your favorite pair of scissors.
Alright, let's get to the good part—the actual hands-on process of bringing your scissors back to life. This isn't some mysterious art form; it's a practical skill that any sewist can master. When you're done, you'll have turned a frustrating tool back into the precision instrument it was meant to be.
We're going to walk through this methodically, from taking the scissors apart to the sharpening motion itself, and finally, putting it all back together. For this guide, I'm focusing on using a sharpening stone because it really gives you the most control and, once you get the hang of it, the best possible edge. The goal here is simple: restore the blade's original factory angle, not create a new one.
Before a single blade touches a stone, you have to get them ready. Grab a screwdriver that fits the pivot screw perfectly—using one that's too big or too small is a great way to strip it. Carefully remove the screw and lay the pieces out in the order they came apart. Trust me, this little step will save you a headache later.
Taking your scissors apart is non-negotiable for getting an even, consistent edge along the entire length of the blade.
Once they're separated, give each blade a good cleaning. A soft cloth with a little rubbing alcohol works wonders for getting rid of lint, sticky residue, or any oily buildup. Pay extra attention to the pivot area, as that's where gunk loves to hide and interfere with a smooth cutting motion. A clean blade is a happy blade, and it sharpens much more effectively.
This infographic gives a great visual overview of the key sharpening steps we're about to dive into.
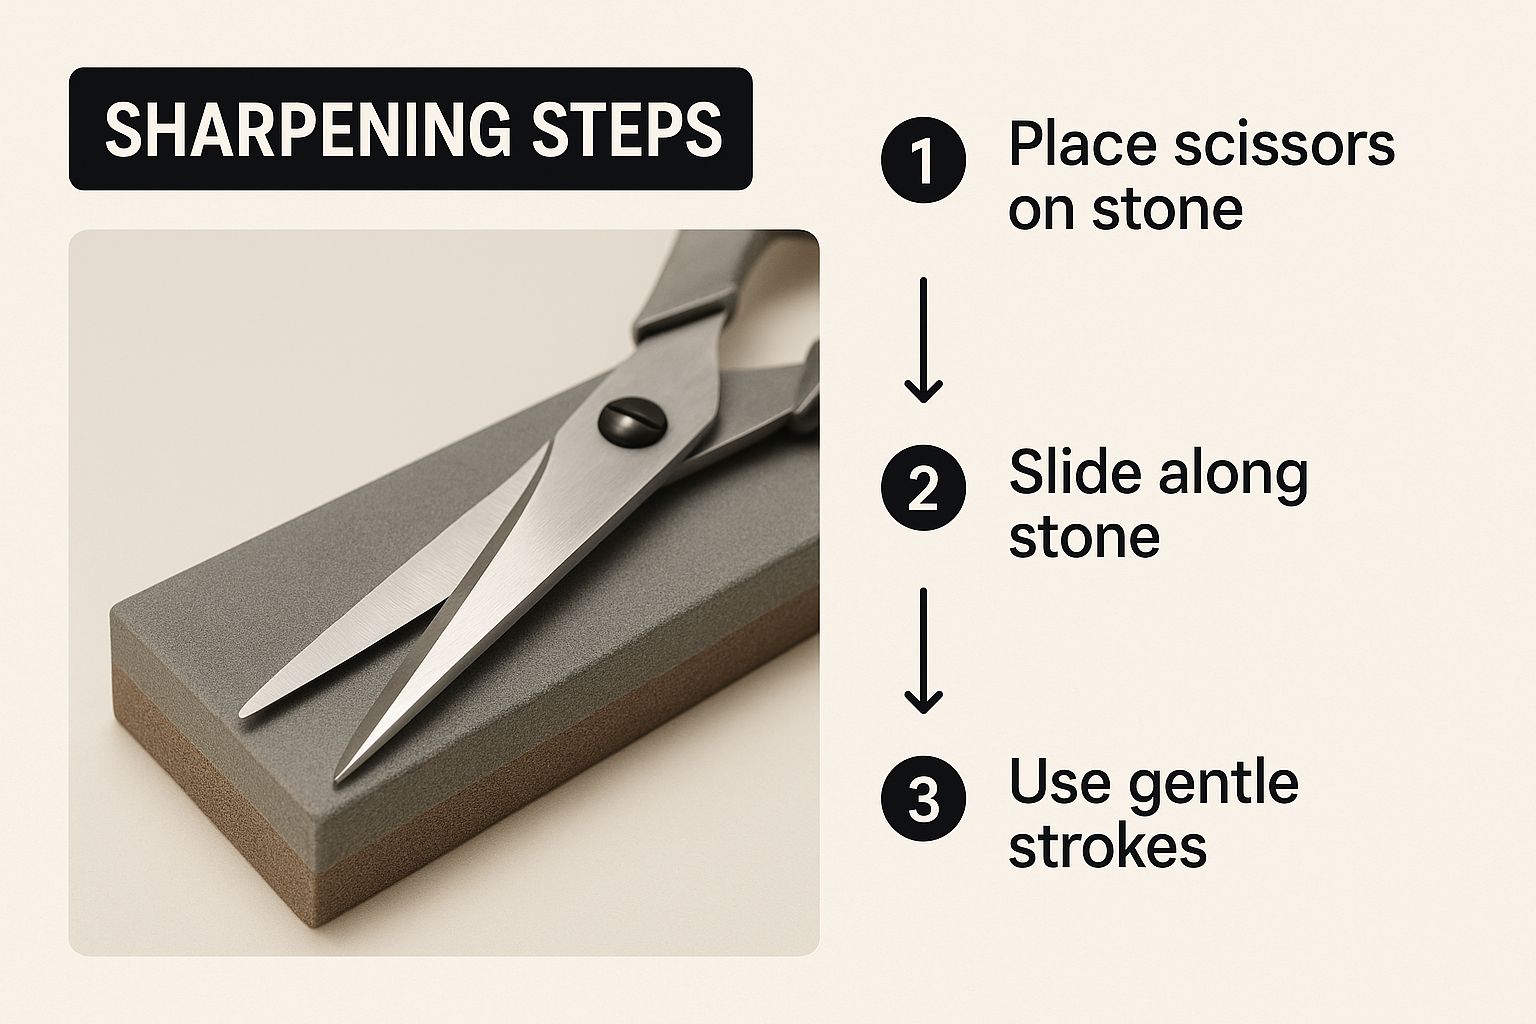
As you can see, the image highlights that smooth, consistent motion needed to hold the correct angle against the stone. That right there is the secret to a great result.
With a clean blade in hand, it's time for the main event. Put your sharpening stone on a stable surface where it won't slip around. If you're using a whetstone, make sure it’s been soaked in water for as long as the manufacturer recommends.
Now, take one blade and lay its beveled edge flat against the stone. The most important thing you'll do is perfectly match the existing angle. You can often feel when you've got it just right; the entire beveled surface sits completely flush against the stone. Don't try to guess or eyeball a new angle—just follow the one the maker gave you.
Hold the blade firmly and glide it across the stone in one smooth, sweeping motion, starting from the base and moving all the way to the tip. A good way to think about it is that you're trying to slice a paper-thin layer off the top of the stone. Keep the pressure steady and even. This isn't about speed or brute force; it's all about consistency.
So, how do you know when you're actually done? The secret is something called a "burr." A burr is a tiny, almost microscopic ridge of metal that forms on the opposite side of the edge you're sharpening. It’s the tell-tale sign that you’ve successfully ground the metal all the way to its very edge.
After about 10-15 consistent strokes, stop and carefully run your fingernail up the flat, unsharpened side of the blade toward the cutting edge. You should feel a tiny, rough lip right at the very edge. That’s the burr! If you can't feel it yet, that's okay—just do a few more strokes and check again.
Key Takeaway: The burr is your most reliable indicator of progress. Once you can feel a consistent burr along the entire length of the blade, you can stop sharpening that side. If there's no burr, you haven't actually created a new, sharp edge.
Once that burr is there, flip the blade over. Now, lay the flat, non-beveled side perfectly flat against the stone and give it just one or two very light passes. The only goal here is to slice that burr off, not to sharpen this side.
Repeat this entire process for the second blade. Consistency is everything. Try to use the same number of strokes and the same amount of pressure you used on the first one to ensure your scissors will close and cut perfectly.
After you've sharpened both blades and removed the burrs, you're ready to carefully put your scissors back together, oil the pivot, and move on to the final honing and testing.
Getting a sharp edge is just the first half of the job. The real magic—that smooth, satisfying glide through fabric—happens in the finishing touches. After any sharpening session, you’re left with a tiny, invisible metal burr along the edge. Getting rid of that burr is the key to a truly professional cut.
This final step is called honing (or stropping), and it’s what polishes the blade to perfection. Seriously, don't skip this. It’s the difference between a pretty good edge and an exceptional one, and it’s where all your hard work pays off.
One of the easiest ways to hone your blades is with a scrap of leather (use the rough, suede-like side) or even just a block of soft pine. Lay the beveled edge of your blade flat against the surface.
Now, here’s the crucial part: drag the blade away from the cutting edge in one smooth motion. You’re pulling the spine of the blade backward, not trying to slice into the material. Give each blade 5-10 good passes like this. This gentle stropping action rolls that burr right off and perfectly aligns the microscopic teeth along the edge, leaving you with a razor-sharp finish.
A common mistake I see is people pushing the blade forward like they're still sharpening. That will just undo your work and dull the edge. Always pull the blade backward, away from its cutting edge.
Once your blades are perfectly honed, it's time to put your scissors back together. But don't just crank the pivot screw down as hard as you can—the tension is everything.
Start by tightening the screw until it feels just snug. Open and close the scissors. You're looking for a smooth action with just a tiny bit of resistance. If they feel loose and floppy, tighten the screw a quarter-turn at a time. If they're too tight, you’ll tire out your hand and wear down the pivot. Too loose, and the blades will push the fabric between them instead of cutting it cleanly. Find that sweet spot.
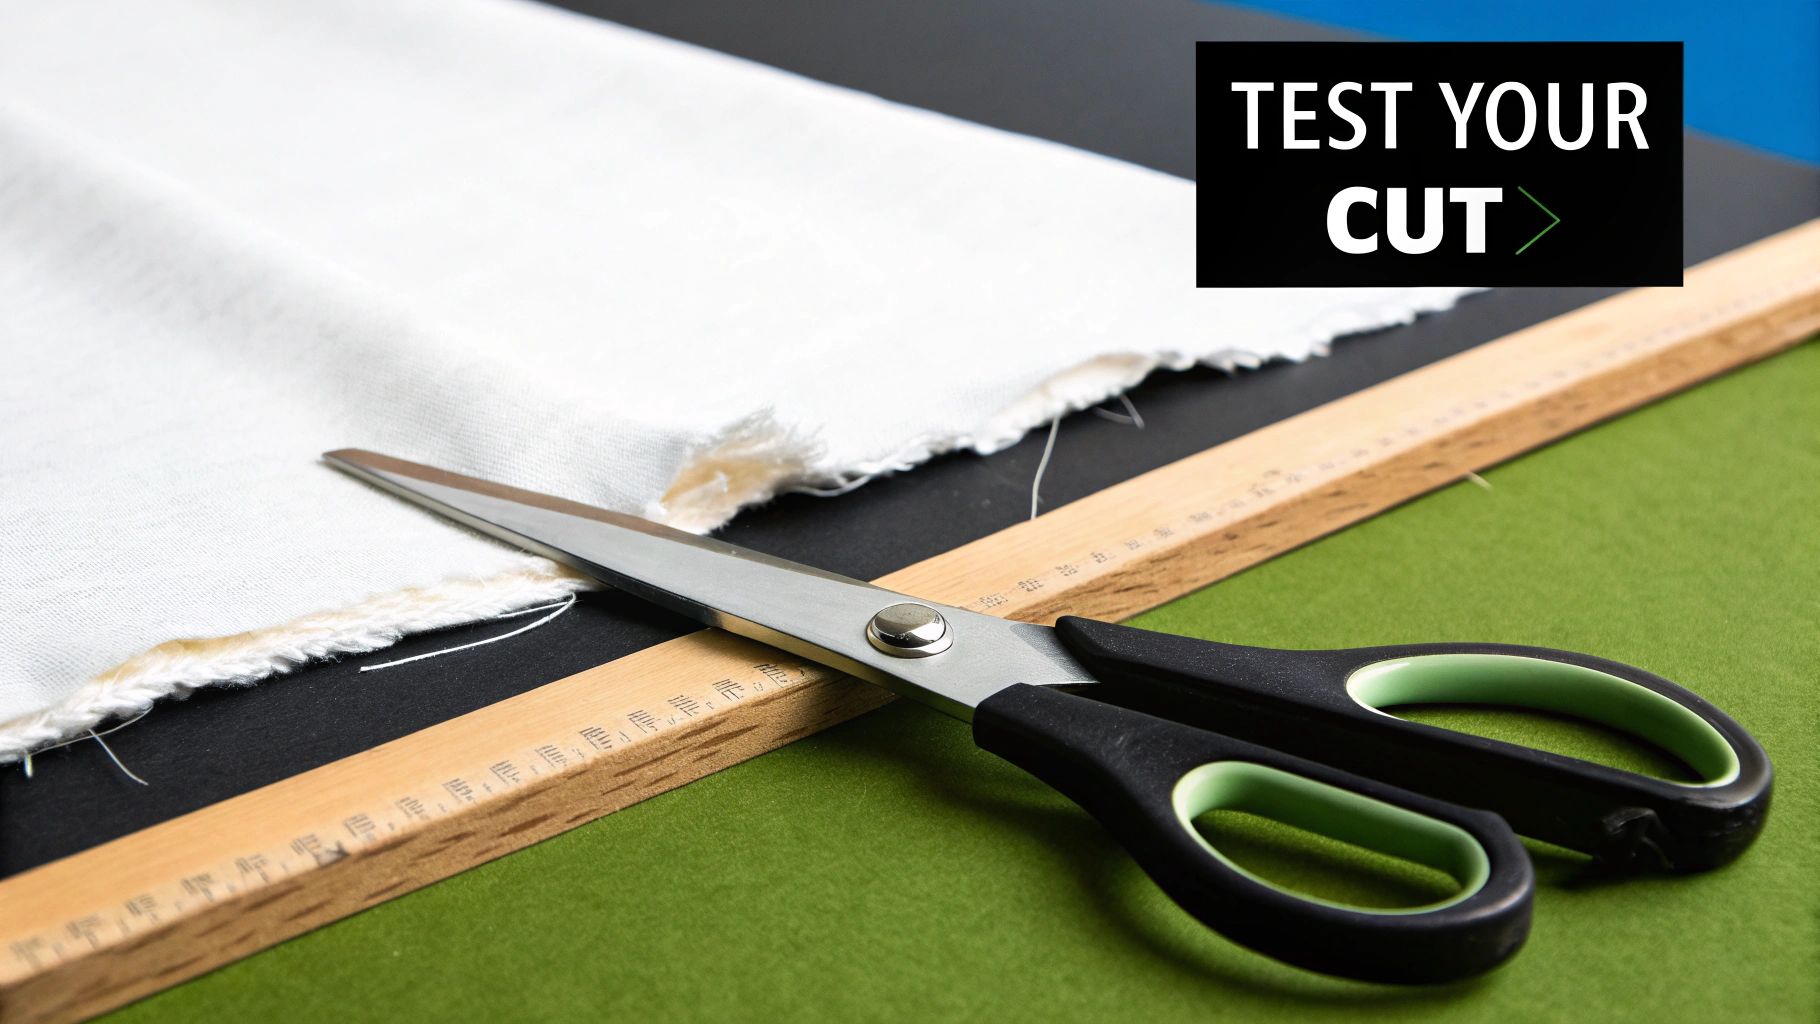
Forget about testing your freshly sharpened scissors on paper. To really see if you’ve nailed it, you need to grab a scrap of something lightweight and slippery. Silk or chiffon are the gold standard, but even a thin cotton lining will do the trick.
Here’s what you’re looking for:
If your scissors can do all that, congratulations! They’re ready for your sewing table. You’ll feel that perfect, crisp "swoosh" with every cut, giving you the confidence that your tools are up to the task.
Learning to sharpen your own sewing scissors is a fantastic skill to have in your back pocket. It saves you time, money, and a trip out. But knowing when to step back and let an expert take over is just as important. Sometimes, the risk of permanently damaging a beloved or expensive pair of shears just isn't worth the DIY satisfaction.
Think of it like this: for your trusty, everyday fabric scissors, a good sharpening stone or a handheld tool is usually all you need for a quick tune-up. But for those high-end German or Japanese shears? The ones made from high-carbon steel with a perfectly calibrated bevel? Those require specialized equipment to get them back to their factory-sharp glory without messing up their delicate cutting geometry.
Certain situations and specific types of damage are clear signals that it’s time to find a pro. Trying to tackle these issues at home can easily turn a small problem into a disaster.
You should definitely seek professional help if you're dealing with:
Trusting an expert with your tools is becoming more common, especially as more people recognize how critical precision is in sewing. In a related industry, the global knife sharpening market was valued at USD 650 million in 2024 and is projected to reach USD 1.2 billion by 2033. That growth comes from people who understand that restoring a precise blade angle—usually 40-45 degrees for sewing shears—is everything. You can find more data on the professional sharpening service market on verifiedmarketreports.com.
A key question to ask any potential service is how they sharpen. A true professional will use a slow-speed, water-cooled grinder. This is crucial because it prevents the steel blades from overheating, which can ruin their temper and make them soft.
Don't be shy about vetting them before you hand over your precious tools. Ask if they have specific experience with sewing shears, not just knives. Find out what their typical turnaround time is. A reputable sharpener will be happy to walk you through their process, giving you the peace of mind that your scissors are in very good hands.
Even with a step-by-step guide, you're bound to have some questions once you get started. Let's walk through some of the things I get asked most often by fellow sewers. Getting these details sorted will help you feel much more confident taking care of your own tools.
There's really no one-size-fits-all answer here, as it completely depends on how much you sew. If you're a hobbyist pulling out your machine a couple of times a month, you might only need to sharpen them once a year. But for someone running an Etsy shop or quilting every day, sharpening every 3-6 months is a much more realistic timeframe.
Forget the calendar, though. Your scissors will tell you when they need help. Pay attention to the little signs: Are they snagging on silks? Are they folding the edge of the fabric instead of slicing cleanly through it? Do you feel like you have to muscle through a cut? Those are all cries for help.
Please don't do this! I know it's tempting to grab that gadget from your kitchen drawer, but it's one of the fastest ways to ruin a good pair of fabric shears.
Most of those pull-through sharpeners are designed for a knife's V-shaped edge, which has a pretty shallow angle (around 20-22 degrees). Your sewing scissors have a much steeper, more specialized bevel, often somewhere between 40-60 degrees.
Forcing a scissor blade through a knife sharpener will grind it down at the wrong angle, destroying its ability to make that signature shearing cut. It’s always better to use a tool made specifically for scissors or a flat stone where you control the angle yourself.
This is a great question. It's easy to get them mixed up, but they serve two very different purposes. Think of it as a major surgery versus regular physical therapy.
Oh, the dreaded tip problem! It's one of the most common frustrations. When your shears slice like a dream through the middle but just mangle the fabric right at the tips, it's almost always one of two things.
First, check the pivot screw. If the tension is too loose, the blades won't press against each other firmly enough at the very end to make a cut. Try giving the screw a tiny clockwise turn—just a quarter-turn at a time—and test it again. More often than not, this little tweak solves the problem.
If that doesn't work, it likely means the tips didn't get sharpened as thoroughly as the rest of the blade. It's really easy to accidentally ease up on the pressure as you finish a stroke on the sharpening stone. Go back and carefully re-sharpen, making sure you maintain consistent, even contact all the way through the end of the blade.
For all your sewing and cosplay needs, from high-quality fabrics to essential tools, Famcut.com is your creative partner. Explore our collection and find everything you need for your next project at https://famcut.com.
At High Country Quilts we care deeply about community. With our experiences in retail, we know that a store is not only a place to shop but also a place for the community to gather and share. During this busy...

Hi! We’re Adam and Renee Wheaton, the new owners of High Country Quilts! For more than 40 years, we’ve owned and operated vacuum and sewing businesses. Following in Renee’s father’s footsteps after he retired from All Discount Vacuum and Sewing in Colorado...


Leave a comment