

We Love Our Quilting Community
At High Country Quilts we care deeply about community. With our experiences in retail, we know that a store is not only a place to shop but also a place for the community to gather and share. During this busy...


Learning how to sew a ladder stitch is actually pretty simple. You’ll create small, parallel stitches on the inside of the folded edges of your fabric. Then, with a gentle pull of the thread, the gap closes up, and your stitches become completely invisible. It's often called a slip stitch or blind stitch, and it's an absolute game-changer for giving your projects a clean, professional finish where a machine just can't go.
Have you ever looked at a handmade plush toy and wondered where the final seam is? Or admired the perfectly sealed lining of a well-made jacket? The secret is almost always the ladder stitch. This essential hand-sewing technique creates a connection between two folded fabric edges that’s virtually undetectable from the right side.
This is your secret weapon for closing up those little gaps you leave for turning a project right-side out. Imagine sewing a pillow, a soft toy, or even the cuff on a pair of pants. After you’ve done all the main sewing and turned it, you’re left with that small opening. The ladder stitch is the perfect way to close it up flawlessly.
The real magic of the ladder stitch is in its structure. The stitches—which look like the "rungs" of a ladder before you pull them tight—are hidden inside the folds of the seam allowance. When you gently tug the thread, the two sides of the fabric are cinched together, and the stitches disappear completely. What you're left with is a strong, durable, and clean finish that looks like it was part of the original machine-sewn seam.
This technique is incredibly versatile and pops up in so many different projects:
While it might feel like a modern sewing hack, the ladder stitch is a classic, time-tested method. This hand-sewing technique became widely recognized between 1880 and 1885, making it a foundational skill that has been passed down for over a century.
It's fascinating to think that its core method hasn't really changed, even as sewing machines completely transformed the industry. This just proves how uniquely valuable it is for those finishing tasks that machines simply can’t replicate. If you're a history buff, you can learn more about its long history and relevance on The Sewing Loft Blog.
Ultimately, mastering the ladder stitch is what elevates your sewing from "homemade" to "handmade." It’s that small, thoughtful detail that signals real quality and craftsmanship, giving your projects a truly professional look.
Getting that truly invisible seam isn't about following rigid rules; it’s about understanding the rhythm and feel of the ladder stitch. Let's break down the mechanics. Once you get the hang of it, the motion becomes second nature, and you'll be able to close up seams like a pro.
The whole magic trick starts with hiding the knot. You need to anchor your thread securely, but it has to be completely out of sight. I've found the best way to do this is to start inside the seam allowance, tucking the knot away between the fabric layers. When you bring your needle up through the folded edge to begin, that knot is perfectly concealed, giving you a flawless start.
This diagram shows the three simple elements you're working with. It's all about how they interact.
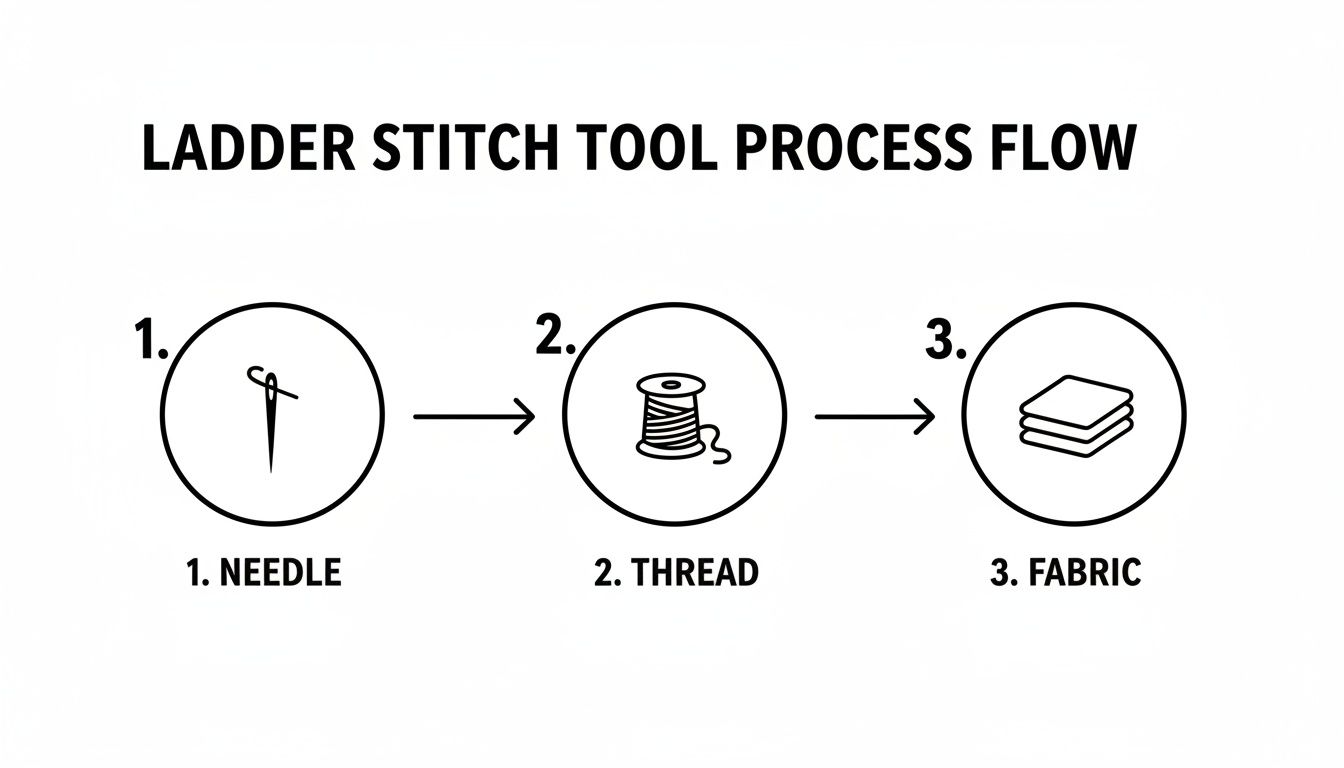
As you can see, it really just comes down to the precise movement of your needle and thread along the folded edges of your fabric.
With your thread anchored, it's time to start the back-and-forth motion that gives the stitch its name. You’re going to take a tiny "bite" of fabric with your needle, running it right inside the folded edge on one side of the opening. The key here is to keep this stitch small—I usually aim for 1/8 to 1/4 inch, depending on the fabric.
Next, you'll move your needle directly across to the opposite fold. The goal is to make a stitch that’s perfectly parallel to the first one, just like a rung on a ladder. Take another small bite of fabric from that second folded edge, making sure you enter the fabric directly across from where your last stitch ended.
This parallel movement is what makes the seam close up so neatly. If your stitches are crooked or uneven, you'll end up with puckering or little bits of visible thread once you pull it all tight.
Pro Tip: Before you even thread your needle, press the seam allowances flat with an iron. This gives you a crisp, clear line to follow, which makes keeping your stitches straight a thousand times easier. If you're working with a fabric that doesn't press well, you can use a fabric marking pen to draw a faint guide instead.
The real secret to making the stitch disappear lies in two things: consistent stitch length and even tension. Keeping your stitches the same size is absolutely crucial. A little trick I use is to guide the needle with my thumb; you can even make tiny, washable marks on your thumbnail to help you eyeball the distance until it becomes muscle memory.
Tension is just as important, but here's where new sewers often go wrong: don't pull each stitch tight as you go. That's a recipe for a puckered mess. Instead, let the "rungs" of your ladder stay loose for about an inch of sewing.
Here’s the rhythm I've settled into over the years:
This method stops you from strangling the fabric by pulling too hard on individual stitches. It gives you far more control and results in a beautiful, flat seam. If the fabric starts to bunch up, you know you're pulling too hard. If you can still see a gap, you can give it a slightly firmer tug. It’s all about feel.
Building this kind of muscle memory is what will allow you to nail a perfect ladder stitch on any project, whether you're closing up the final seam on a plush toy or invisibly hemming a delicate silk blouse.
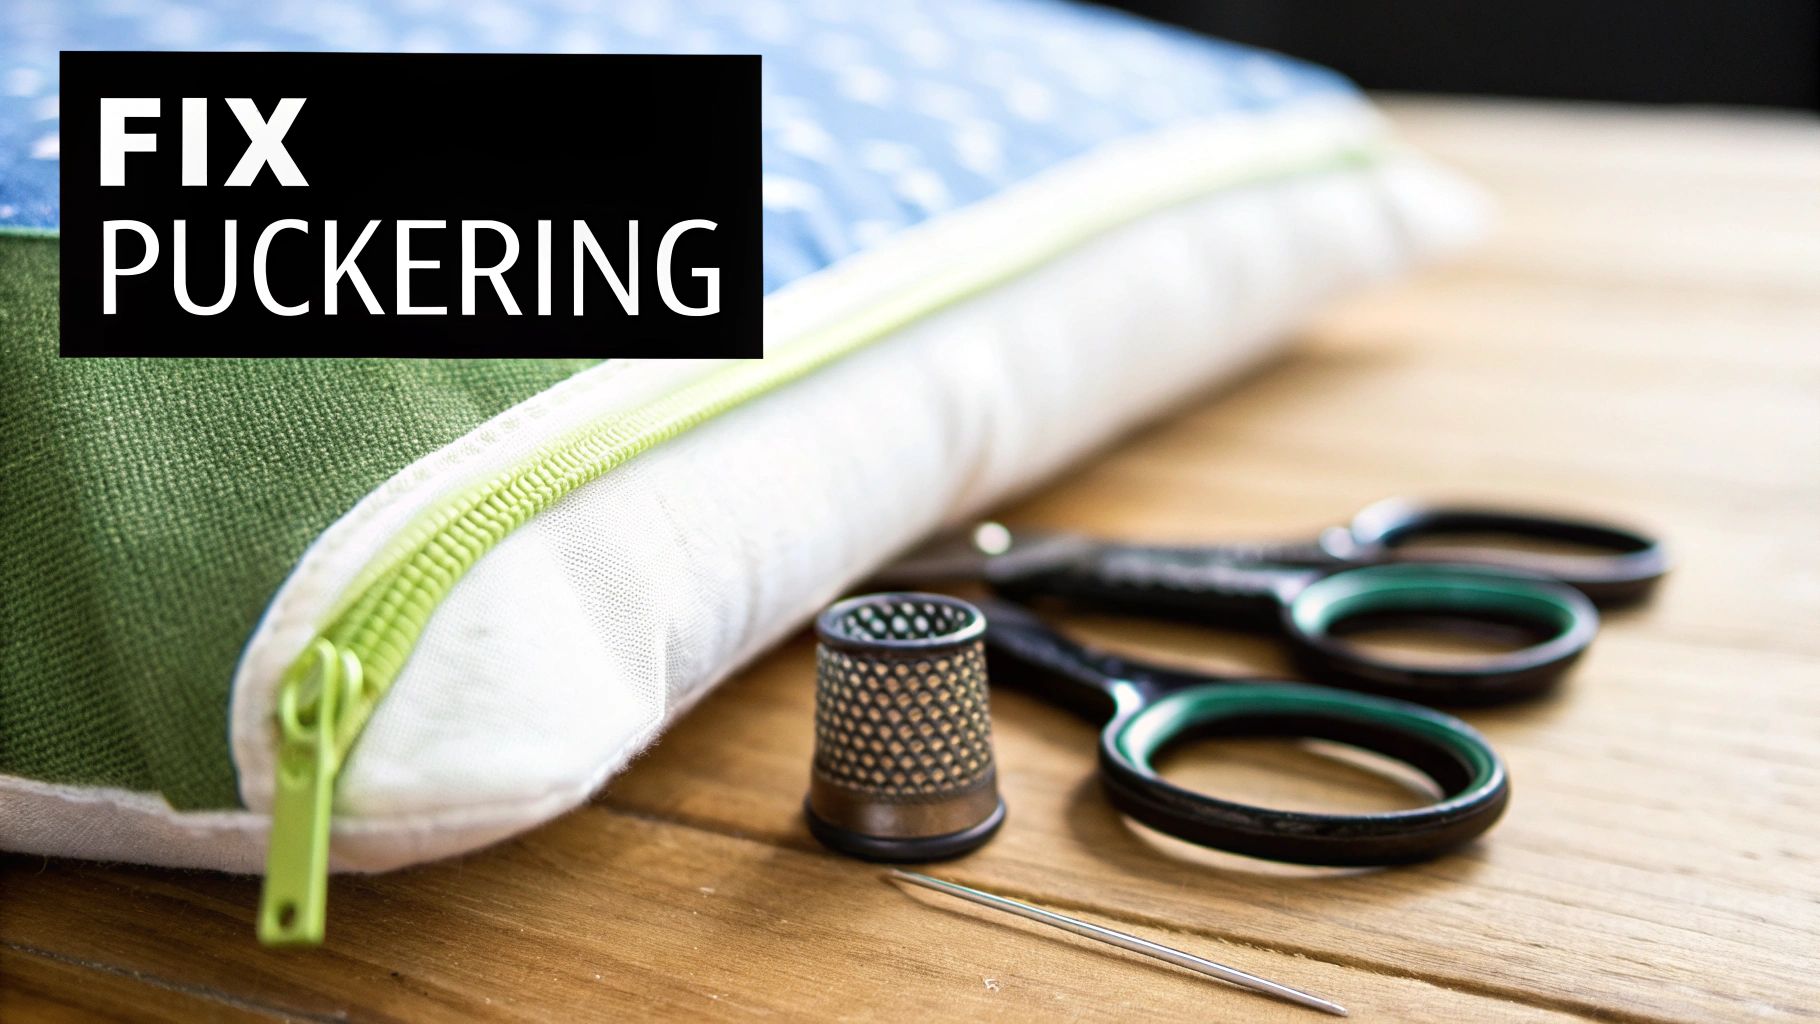
Even after years of sewing, I still occasionally end up with a puckered seam or a few stitches peeking through. It’s just part of the process! The good news is that these little hiccups are almost always easy to fix and, even better, simple to prevent once you know what to look for.
If you pull your thread and the whole seam bunches up, you've got a classic pucker. This is usually caused by one of two things: your stitches are too far apart, or you're pulling the thread way too tight. The key is a gentle touch. Don't think of it as yanking a rope taut; instead, you're just lightly coaxing the two fabric edges together.
Puckering happens when there’s too much tension on the thread. A great habit is to pull the thread to close the seam gradually, maybe after every five or six stitches, instead of giving it one big yank at the very end. If you see the fabric start to gather, you know you need to ease up. You're aiming for a perfectly flat, smooth closure.
Visible stitches, on the other hand, usually mean the work is a bit uneven. If the "rungs" of your ladder aren't straight and parallel, the seam just won't close as cleanly as it should. This is exactly why pressing your seam allowance beforehand is such a game-changer—it creates a crisp, straight guide for you to follow on both sides.
Here are a few ways to tackle these problems on the spot:
My number one tip? Match your thread color as closely as you possibly can to your fabric. A slightly imperfect stitch becomes completely invisible when the thread just blends right in. It’s a simple detail that gives you a huge margin for error.
Of course, preventing problems is always better than fixing them. A few good habits can eliminate most ladder stitch frustrations before they even start. The biggest headache for many people is a tangled, knotted mess of a thread.
Keeping your thread at a manageable length is the single best way to avoid this. I never work with a piece longer than 18 inches. It might feel like you’re re-threading the needle more often, but trust me, you'll save so much time by not fighting with knots. If you have a thread that loves to twist, try running it through a bit of beeswax or thread conditioner. It gives it a light coating that helps it glide smoothly.
Another thing to consider is your needle. Using a needle that's too thick for your fabric will leave noticeable holes, while one that's too fine might just bend or break on heavier materials. For most cottons and quilting projects, a standard sharps needle is a fantastic all-purpose choice.
By focusing on your stitch size, keeping an even tension, and doing a little prep work, you’ll be able to troubleshoot any issue that pops up and sew a perfect, invisible ladder stitch every single time.
Once you get the hang of the ladder stitch, you'll start seeing opportunities to use it everywhere. It's one of those techniques that takes a project from "good" to "great" simply by creating a clean, professional finish. This isn't just about mending; it's a genuine crafting skill that elevates your work.
This single hand-sewing method is the secret to a polished look across a massive range of projects. From cosplay and quilting to simple everyday repairs, its adaptability makes it an absolute must-have in your sewing toolkit.
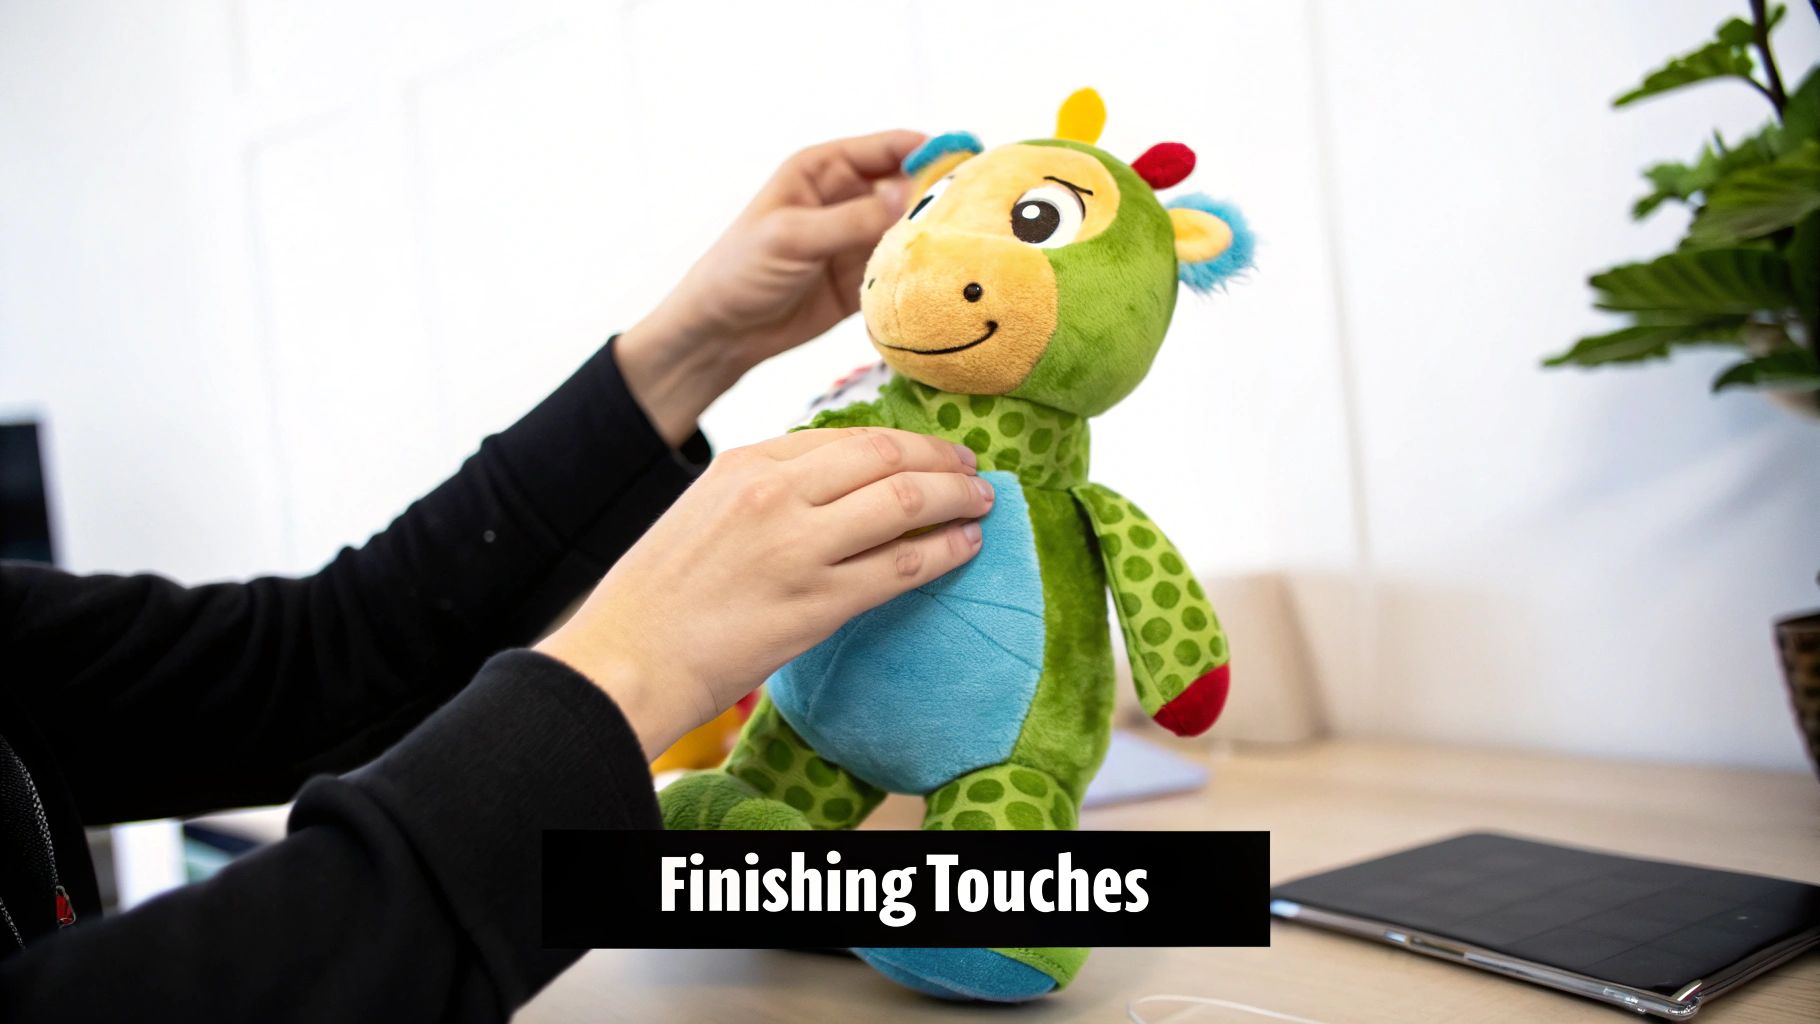
Closing the final gap on a stuffed animal or a plush pillow is probably the most common—and satisfying—use for the ladder stitch. It's the perfect way to make that last little seam disappear, leaving no bulky, obvious thread to ruin the soft, squishy look you’re going for.
Think about that moment you finish a complex cosplay piece. You’ve turned it right-side-out, and now you just have to close that turning gap. A neat ladder stitch here is your best friend, making the seam completely vanish and keeping the illusion of your character's gear intact.
Quilters also lean on this stitch heavily. After machine-stitching the binding to the front of a quilt, many will turn to the ladder stitch to meticulously secure the binding to the back. It creates a seamless, strong edge that gives the quilt a show-quality finish, ensuring no distracting stitches take away from all that beautiful piecing and quilting.
Beyond new creations, the ladder stitch is a total lifesaver for repairs. Got a split seam on a favourite cushion? A small tear in a jacket lining? You can fix it so neatly that no one will ever know it was damaged. This is where your thread choice really matters.
This stitch is also fantastic for attaching appliqué details. If you want to add a felt patch or a fabric cutout to a project without any visible stitching, the ladder stitch is the way to go. You just work your way around the edge, catching a tiny bit of the appliqué and the background fabric with each stitch. The result is a flawlessly attached piece that almost looks like it’s floating on the surface.
The ladder stitch’s versatility is a major reason for its continued relevance. Its use in everything from hemming and binding to appliqué and repairs makes it a highly valuable skill. This widespread application ensures that learning this technique provides a professional-quality finishing touch for countless projects.
While the ladder stitch is my top choice for a truly invisible seam, it’s always good to have options. Expanding your skillset with other techniques for invisible seams, like the 'stitch in the ditch' method, will prepare you for pretty much any finishing challenge that comes your way.
Doesn't it feel great to get that stitch just right? Nailing the ladder stitch is a game-changer, giving your projects that polished, professional look you’ve been striving for. It’s one of those skills that opens up a whole new world, from perfectly finished stuffed animals to beautiful, invisible hems on a handmade dress.
But don't stop there. This is just one small step on a much bigger, more exciting creative path.
If you're buzzing with ideas and live near Atlanta, we'd love to help you keep that momentum going. At Famcut, we're not just a fabric store; we're a community built by and for people who love to make things.
Think of us as your local sewing resource, staffed by people who are just as passionate about this craft as you are. We've designed our space to be a place where you can learn, share, and find exactly what you need.
You've already learned a foundational skill. Now, let's work together to turn those ambitious project ideas into beautifully finished pieces you can be proud of.
Ready to see what else you can do? Check out the latest class schedule on Famcut.com or just stop by our shop. We're excited to see what you'll make next.
Even the clearest tutorial can leave you with a few lingering questions. When you're first getting the hang of the ladder stitch, it's the little details that can make or break your finish. Let's tackle some of the most common questions I hear from sewers.
You bet! It works beautifully on knits and other stretchy materials, but you have to adjust your technique just a bit. The biggest mistake you can make here is pulling the thread too tight.
When you cinch the stitches on a stretchy fabric, you're essentially locking it in place and killing its natural give. This can lead to ugly puckering or, even worse, threads that snap the first time the garment is stretched. The trick is to keep your tension light and easy. You want the stitches to close the gap, not strangle the fabric. Using a thread with some polyester or nylon content also helps, as it has a bit more built-in stretch than 100% cotton thread.
This really comes down to your fabric and what you're trying to achieve. But if there’s one general rule for the ladder stitch, it's that smaller stitches are almost always more invisible.
The real secret isn't just stitch size, it's consistency. A row of perfectly even 1/4-inch stitches looks a million times better than a wobbly line of stitches that jump all over the place.
The number one thing for an invisible finish is matching your thread color to your fabric. It’s your best camouflage and will hide a multitude of sins. But the thread type matters, too.
For most hand-sewing, a good all-purpose polyester thread is my go-to. It's strong, glides through fabric smoothly, and doesn't tangle as easily as some other types. However, if you're working on something like a cotton quilt, you might want to stick with a cotton thread so that the repair ages and wears the same way as the rest of the project. Ultimately, you want a thread that’s strong enough for the job but doesn't overpower your fabric.
Ready to put that needle and thread to work? Getting a handle on fundamental skills like the ladder stitch is how you go from just sewing things to creating beautiful, professional-looking pieces.
If you're in the Atlanta area and want to take your skills to the next level, come say hello! Visit us at Famcut to check out our workshops, browse supplies, and meet other people who love to create. You can see what we've got going on by checking out our class schedule.
At High Country Quilts we care deeply about community. With our experiences in retail, we know that a store is not only a place to shop but also a place for the community to gather and share. During this busy...

Hi! We’re Adam and Renee Wheaton, the new owners of High Country Quilts! For more than 40 years, we’ve owned and operated vacuum and sewing businesses. Following in Renee’s father’s footsteps after he retired from All Discount Vacuum and Sewing in Colorado...


Leave a comment