

We Love Our Quilting Community
At High Country Quilts we care deeply about community. With our experiences in retail, we know that a store is not only a place to shop but also a place for the community to gather and share. During this busy...


Sewing gathering stitches is all about using long, temporary stitches to scrunch up a long piece of fabric so it fits a shorter one. This simple, classic technique is the magic behind creating soft ruffles, full puff sleeves, and those gorgeous tiered skirts you see everywhere. You just lengthen your stitch, sew a line or two, and gently pull the threads. It's surprisingly easy to get beautiful, even fullness.
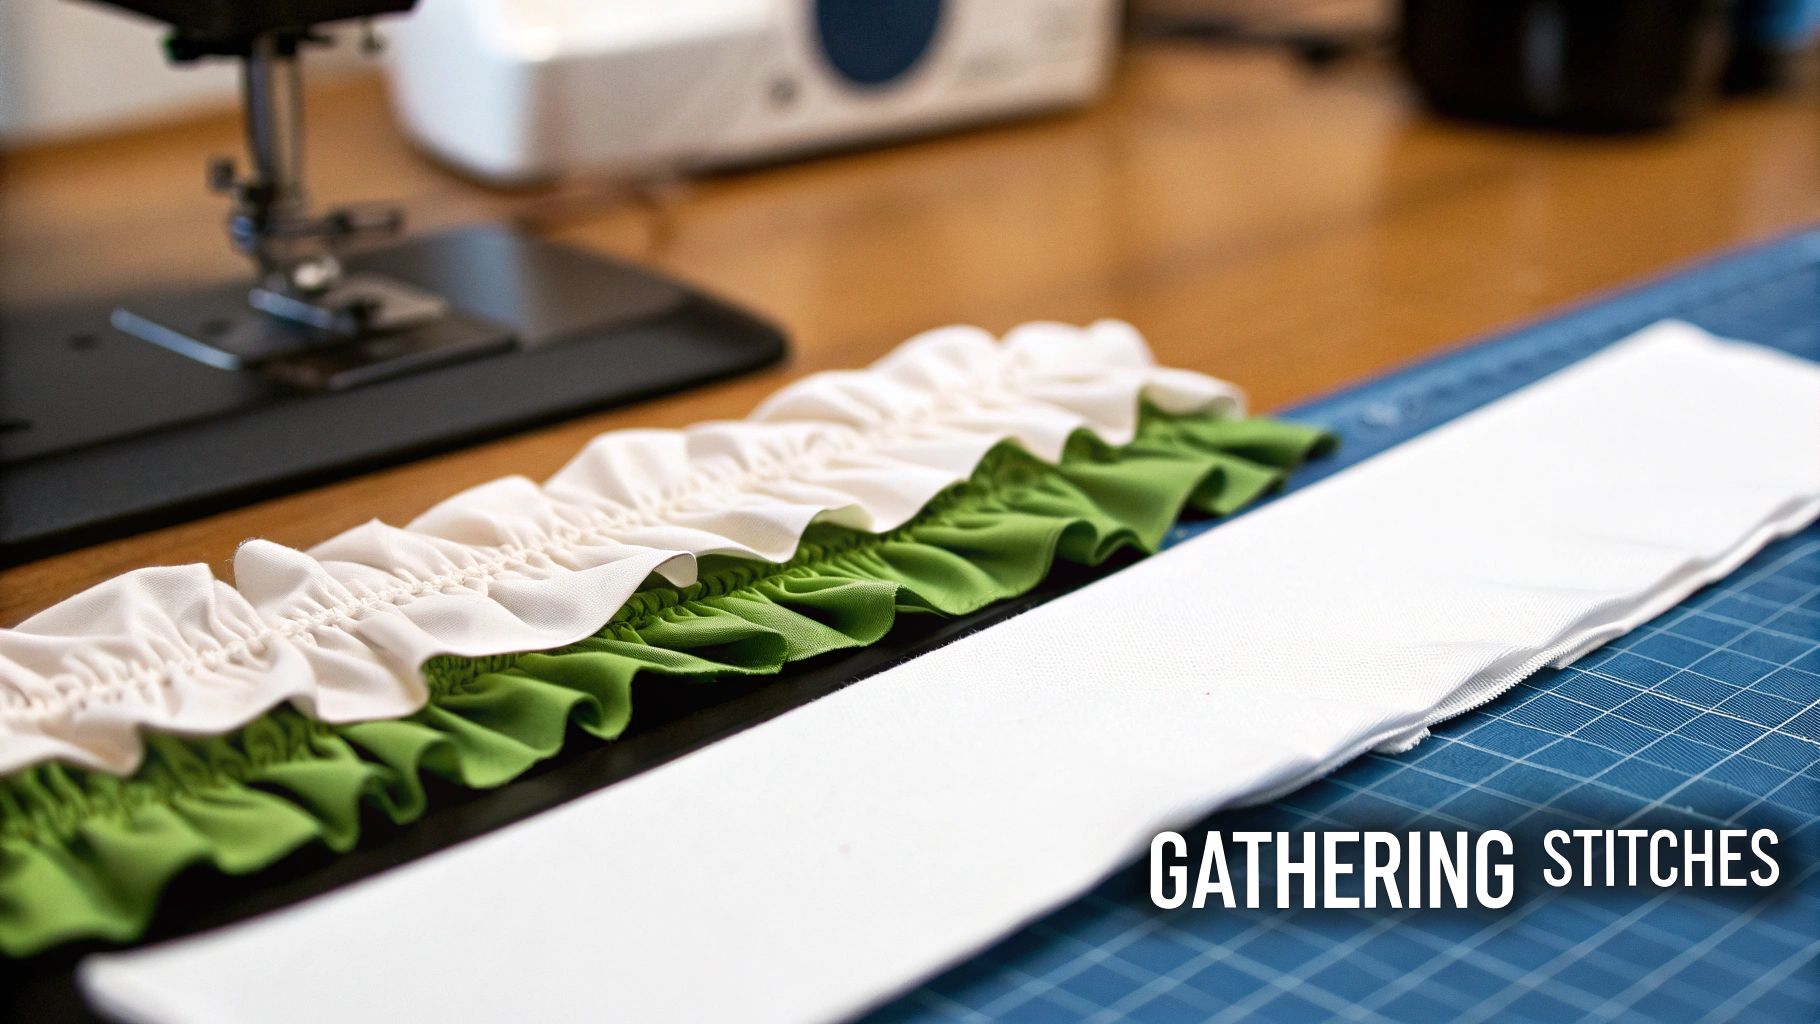
At its heart, gathering is a foundational sewing skill. It’s what gives shape, volume, and texture to a flat piece of fabric. This is how you transform a basic rectangle of cotton into a charming ruffled cuff or create the flowing, cascading layers of a boho-style dress. Think of it as sculpting with fabric, creating soft waves and folds that bring your projects to life.
You’ll find this technique used all over the place, from clothing to home decor.
Once you know how to sew gathering stitches, a whole world of creative possibilities opens up. It’s not just a mechanical step; it’s a powerful design element. By controlling the gathering ratio—how much fabric you’re pulling in—you can create effects that range from subtle, gentle waves to dense, dramatic ruffles.
This technique is fundamental for adding fullness and shaping to various garments. Grasping its application is key, much like understanding the intricate details involved in professional ladies tailoring.
For example, gathering a delicate chiffon for a dress tier gives you a soft, airy look. Do the same thing with a crisp quilting cotton for a child's apron, and you get a more structured, playful ruffle. Mastering this skill really empowers you to add a personal, professional-looking touch to every single project you take on.
Before you even think about touching the pedal, let's talk about setting yourself up for success. Getting your tools and fabric in order first is the secret to creating those lovely, even gathers without wanting to pull your hair out later. It’s like prepping your ingredients before you start cooking – it just makes everything go smoother.
At a minimum, you’ll need a sewing machine that lets you change the stitch length. This is key because gathering is all about using a long, loose stitch that's easy to pull. Grab some quality, all-purpose thread that matches your fabric, and you've got the basics covered.
Got your supplies? Great. Now, let’s get the fabric ready. The first rule of sewing club is: pre-wash your fabric! Trust me on this. You don't want to pour your heart into a beautiful garment only to have it shrink into a doll-sized version after the first wash.
Once it's washed, dried, and nicely pressed, take a moment to mark your stitching lines with a fabric pen or chalk. It might seem like a skippable step, but it’s what separates a homemade-looking ruffle from a crisp, professional one.
I also like to use a thread that's a bit more robust than my standard choice, especially when I'm working with something like a medium-weight cotton. There's nothing worse than getting halfway through pulling your gathers and hearing that dreaded snap of the thread breaking. It’s a real pain to start over.
The biggest rookie mistake I see is cutting the thread tails too short. You have to leave at least 4-6 inches of thread at the beginning and end. These long tails are your handles—they’re what you'll be pulling on to create the actual gathers.
While you can get by with just a machine and thread, a few extra tools can really level up your gathering game:
Okay, with your tools laid out and your fabric prepped, you're all set to learn how to sew gathering stitches like a pro.
This is the tried-and-true technique that delivers incredible control and consistently professional results. Honestly, it’s my go-to for almost every project, from the delicate ruffles on a blouse to the sturdy gathered waist of a skirt. Using two rows of stitching gives your fabric stability, stops it from twisting as you pull, and really helps you distribute the fullness smoothly.
The secret to making this method work is all in your sewing machine settings. You’ll want to crank your straight stitch up to the longest possible length, which is usually somewhere between 4.0mm and 5.0mm. These long stitches are what create the loose loops of thread you'll need to pull on to form the gathers.
Once your machine is set, you're ready to sew the first line. Aim to stitch about 1/4 inch (6mm) away from the raw edge of your fabric. The most important rule here is simple but crucial: do not backstitch at the beginning or the end. Instead, leave long thread tails—at least 4-6 inches—on both sides. Think of these tails as your handles for gathering the fabric later on.
Now, sew a second line of stitches parallel to the first. This line should be another 1/4 inch (6mm) away from your first one, which will put it about 1/2 inch (1.3cm) from the raw edge. Just like before, no backstitching, and don't forget those long tails. When you're done, you'll have two perfect, parallel rows of long stitches, ready for the magic to happen.
Taking a moment to prep your fabric correctly is the foundation for getting great results. This quick visual guide shows the essential workflow you should follow before you even start sewing the gathers.
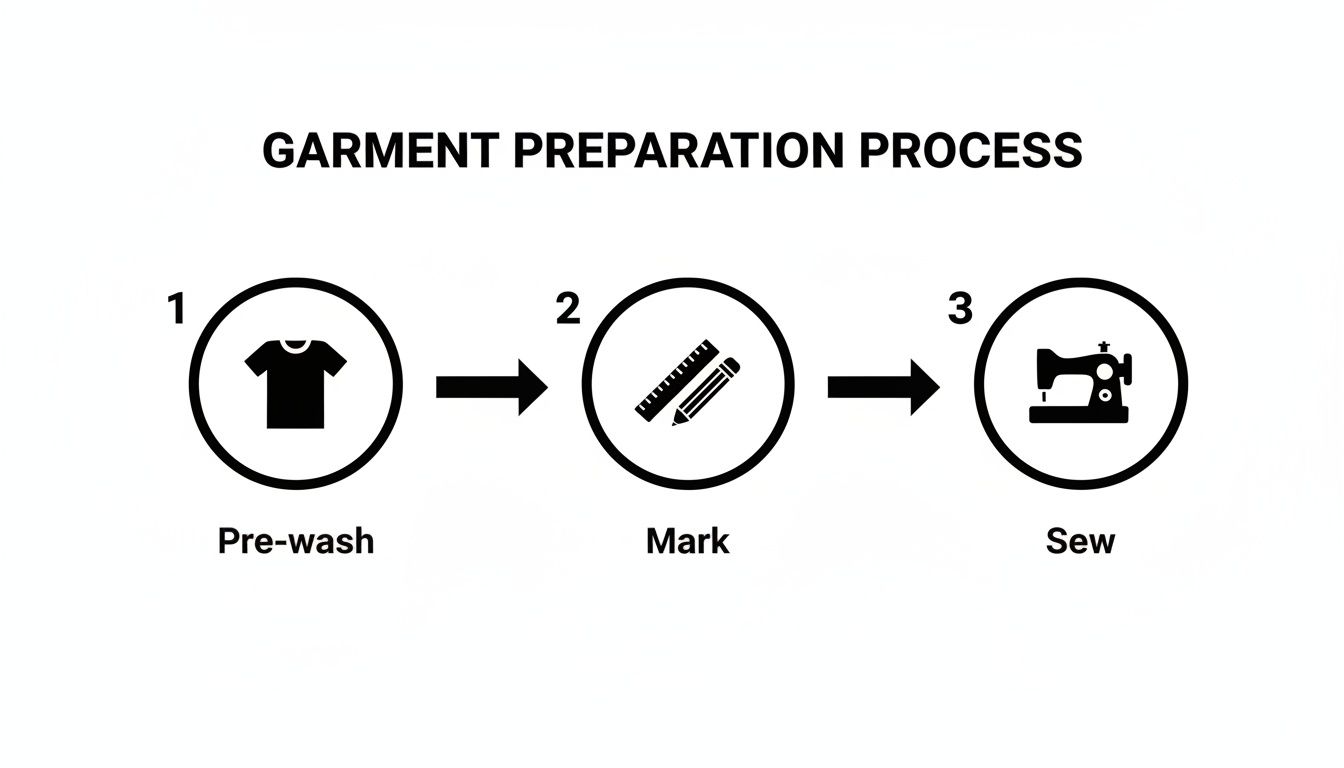
Following these simple preparation stages makes sure your fabric is stable and your stitching is accurate, setting you up for perfectly even gathers every time.
Dialing in your machine settings based on your fabric weight is a game-changer for this technique. Lighter fabrics need a gentler touch, while heavier ones require a bit more muscle from your machine.
| Fabric Type | Recommended Stitch Length | Tension Setting | Needle Size |
|---|---|---|---|
| Lightweight (Voile, Chiffon) | 4.0 mm | Standard (3-4) | 70/10 or 75/11 |
| Medium-weight (Cotton, Linen) | 4.5 mm - 5.0 mm | Standard (4-5) | 80/12 |
| Heavyweight (Denim, Corduroy) | 5.0 mm | Slightly Looser (2-3) | 90/14 or 100/16 |
Remember, these are starting points. It's always a good idea to test your settings on a scrap of fabric first to see how it behaves.
Okay, now for the fun part. Grab your fabric and, on one end, find and separate the two top threads (or the two bobbin threads—just be consistent). Holding these two threads securely, gently start to push the fabric along them, scrunching it up as you go. You'll see those lovely ruffles start to form right away. For the most even distribution, I like to work from both ends of the fabric toward the middle.
Pro Tip: Whatever you do, don't try to yank the threads quickly or aggressively. This is the fastest way to snap them, which is incredibly frustrating. Go slow, be patient, and use your fingers to adjust the gathers as you slide the fabric.
While we rely on our machines today, the technique itself is ancient. For millennia, hand-basting was the only way to shape fabric, with skilled artisans using long running stitches long before sewing machines became common in the 19th century. Even after machines took over, couture houses and traditional crafters continued to use hand-gathering for its superior control and delicate finish. You can find more fascinating tidbits about the history of gathering on historicalsewing.com.
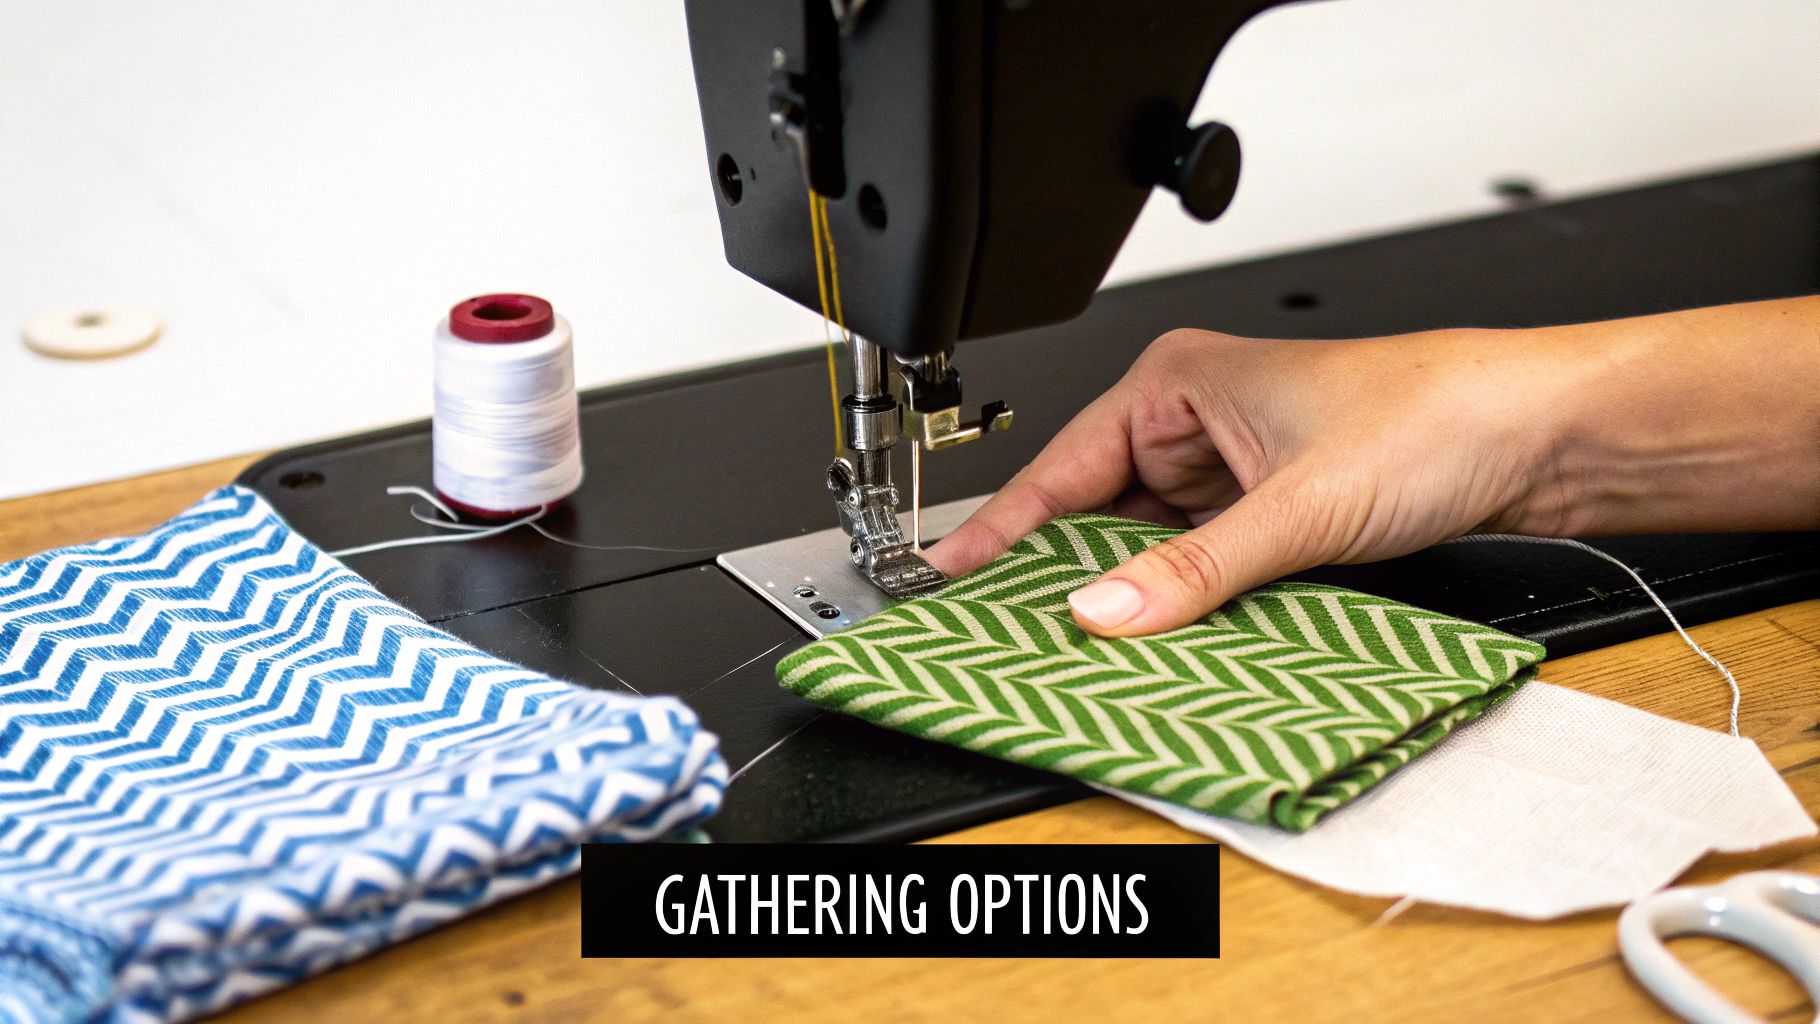
While the classic two-row method is my usual go-to, it’s not a one-size-fits-all solution. Sometimes a project just demands a different approach. Heavier fabrics can fight you every step of the way, and delicate sheers might betray your stitch lines. Knowing a few other ways to gather fabric is like having a secret weapon in your sewing toolkit.
I learned this the hard way trying to gather a heavy upholstery fabric for a pillow. My thread kept snapping no matter what I tried. That’s when I turned to a different technique, and it made all the difference.
This method is a lifesaver for those stubborn, bulky fabrics. You just lay a strong cord—like crochet thread or even dental floss in a pinch—along your seam line. Then, you set your machine to a wide zigzag stitch and sew right over the cord.
The trick is to make sure your needle never actually pierces the cord. You’re essentially creating a little tunnel for it. Once you’ve stitched the full length, you just pull the cord, and the fabric cinches up beautifully. The cord is so much stronger than thread, so it can handle the tension from materials like canvas, denim, or velvet without breaking a sweat.
When to Use This Method: This is perfect for heavyweight fabrics, but it's also great for sheers where you're worried about the gathering threads snapping. It gives you incredibly strong and secure gathers that can take a lot of handling.
If you've got a project that calls for yards and yards of ruffles—think tiered skirts or ruffled curtains—a dedicated gathering foot is an absolute game-changer. This little attachment does all the work for you, creating soft, even gathers as you sew in a single pass. It’s a huge time-saver.
The difference in speed is pretty astounding. An experienced sewer might spend about eight minutes hand-stitching and gathering a meter of cotton. With a gathering foot, that same job can be done in under two minutes. It's a great example of how sewing technology has made our lives easier, which you can read more about in this article on the evolution of gathering techniques on Wikipedia).
Every technique has its moment to shine. The real skill is knowing which one to pull out for the job at hand to get those smooth, professional-looking results every time.
Running those first lines of stitches is really just the prep work. The real magic, and what separates a homemade look from a beautifully handmade one, happens when you start finishing the gathers. This is where you bring it all together.
Your first step is to carefully and evenly distribute all that bunched-up fabric. Gently tug on your bobbin threads, sliding the fabric along to create the ruffles. Keep adjusting until the gathered piece is the exact same length as the flat piece of fabric you're about to attach it to.
For getting things perfectly even, I absolutely swear by the "quartering method." It's a game-changer.
First, you'll need to find and mark the center and quarter points on both the gathered edge and the flat edge. A pin or a little chalk mark works great. Then, you just match these points up.
This technique essentially breaks your long seam into four smaller, much more manageable sections. From there, you can easily adjust the fabric within each little section to get a truly flawless distribution of gathers across the entire seam. No more lopsided ruffles!
Once everything is pinned securely, it's time to head back to the machine. You'll sew your final, permanent seam right between your two rows of gathering stitches. This clever placement ensures those temporary stitches are hidden inside the seam allowance later.
Sew slowly and carefully, making sure no ruffles get accidentally folded over or flattened as they go under the presser foot.
A little pro tip: After sewing the final seam, give it a good press with your iron. Always press the seam allowance up and away from the ruffles. This small step makes a huge difference, helping the gathers lie flat and look incredibly crisp.
The last thing to do is grab your seam ripper and gently pull out any visible gathering stitches. Since you didn't backstitch them at the start, they should come out with a simple tug.
And that's it! Stand back and take a look at your perfectly gathered, professional-looking seam. You did it
Even the most seasoned sewists run into snags with gathering stitches now and then. It can be frustrating when you're so close to a beautiful ruffle, only to have a thread snap. Let's walk through the most common hurdles and how to clear them, so you can get back to the fun part.
This is easily the most common gathering frustration. You've stitched your parallel lines, you start to gently pull, and snap! The culprit is almost always one of two things: either your thread isn't up to the task, or your machine's tension is too tight.
Basting stitches don't need to be strong, but the thread you use to pull the gathers does need to handle some friction. Grab a quality all-purpose thread. Before you start pulling, also double-check that you remembered to lower your machine's tension. A standard or even slightly loose tension setting makes the threads much easier to slide.
The "how much fabric" question is a classic. While it depends on the look you're going for, a great rule of thumb is to start with a strip of fabric that is 1.5 to 2 times the length of the edge you're attaching it to. This will give you a lovely, moderately full ruffle.
For those big, dramatic, densely packed ruffles, you’ll want to increase that to 3 times the finished length.
Don't forget to factor in your fabric type! A lightweight cotton lawn will gather like a dream at a 2:1 ratio. Something stiffer, like organza, might need that 3:1 ratio to look truly full. On the flip side, a bulky fabric like corduroy can look chunky and bunched if you go much past a 1.5:1 ratio.
Gathering knits is a whole different ballgame. Their natural stretch means that using the standard two-row basting stitch method often results in a distorted, wavy edge instead of a clean gather. It just doesn't work well.
Instead, you'll have much better luck with one of these methods:
Getting a feel for these little adjustments can make all the difference and turn gathering from a chore into a technique you can rely on.
At High Country Quilts we care deeply about community. With our experiences in retail, we know that a store is not only a place to shop but also a place for the community to gather and share. During this busy...

Hi! We’re Adam and Renee Wheaton, the new owners of High Country Quilts! For more than 40 years, we’ve owned and operated vacuum and sewing businesses. Following in Renee’s father’s footsteps after he retired from All Discount Vacuum and Sewing in Colorado...


Leave a comment