

We Love Our Quilting Community
At High Country Quilts we care deeply about community. With our experiences in retail, we know that a store is not only a place to shop but also a place for the community to gather and share. During this busy...


If you’ve ever looked inside a high-end blouse or a beautiful vintage dress and wondered how the seams were so perfectly clean, you were probably looking at a French seam. It's a classic technique that completely encases the raw edge of the fabric, creating a finish that’s as beautiful on the inside as it is on the outside.
The magic happens in two steps: first, you sew the seam with the wrong sides of the fabric facing each other—which feels totally backward at first! Then, you trim the seam allowance, press it, and sew it again, this time with right sides together, trapping the raw edge inside.

A French seam isn't just a pretty detail; it's a mark of true craftsmanship that boosts the quality and lifespan of your projects.
Think about a standard seam. It leaves a raw edge that you have to finish somehow, usually with a serger or a zig-zag stitch. While functional, those methods can add bulk. A French seam, on the other hand, elegantly hides that messy edge within the seam itself. This is why it's the go-to for fabrics that are sheer or love to fray.
Imagine you're making a delicate silk camisole. A bulky serged seam would be visible right through the fabric and could ruin the garment's fluid drape. With a French seam, all you see is a tiny, neat tuck on the inside, preserving that lightweight, airy feel. It’s this kind of detail that turns a simple homemade item into a cherished handmade piece.
Beyond the clean aesthetic, French seams add incredible durability. Because you’re essentially double-stitching and enclosing all the raw fibers, you create a seam that’s remarkably strong. It stands up to wear and washing without fraying.
This makes it the perfect choice for:
A well-executed French seam is a silent testament to a sewist's skill. It tells a story of patience and an appreciation for the unseen details that create a truly beautiful and lasting piece.
Knowing when to use a French seam versus another technique can be confusing when you're starting out. To make it easier, let's compare it to some other common seam finishes.
| Seam Finish | Best For | Appearance | Durability | Skill Level |
|---|---|---|---|---|
| French Seam | Lightweight, sheer fabrics, unlined garments | Clean, professional, hidden raw edges | Very High | Intermediate |
| Serged/Overlocked | Knits, wovens, most general sewing | Neat, but visible thread edge | High | Beginner |
| Zig-Zag Stitch | Most woven fabrics when a serger isn't available | Functional, but can be bulky and less neat | Medium | Beginner |
| Pinking Shears | Stable, non-fraying fabrics like felt or fleece | Fast, but offers minimal fray protection | Low | Beginner |
Understanding how high-quality finishes contribute to a garment’s elegance is a huge step in leveling up your sewing skills. To see how these construction methods come to life, this Vintage Floral Dress Guide offers some great examples of pieces where these details really shine.
Ultimately, picking the right finish for your fabric is what sets you on the path to a truly professional-looking result.
Before you even think about sitting down at your sewing machine, let's talk about setting yourself up for success. Getting a beautiful French seam really starts with having the right tools on hand. It's not just about having any scissors or pins; it's about choosing the specific gear that makes precision work, especially on tricky fabrics, so much easier.
When you have the right supplies laid out, the whole process feels less like a struggle and more like the creative fun it's supposed to be. We're trying to avoid any guesswork that leads to wonky cuts or puckered seams.
The real secret to a professional-looking French seam? It all comes down to a perfectly straight cut and a ridiculously accurate seam allowance. To get there, you'll want to have a few key essential sewing notions in your corner.
Here are the specific tools I wouldn't start a French seam project without:
Rotary Cutter & Self-Healing Mat: When you're working with slippery fabrics like silk or chiffon, scissors can be your worst enemy, pushing the fabric around as you cut. A sharp rotary cutter and mat are game-changers. They allow you to slice through the fabric with even pressure, giving you a perfectly straight edge every single time. This initial accuracy is everything.
Fine, Sharp Pins or Fabric Weights: Don't even think about using standard pins on delicate materials like organza or georgette—they'll leave noticeable holes or even snag the threads. Instead, grab some extra-fine or silk pins. Even better, fabric weights are a fantastic option because they hold everything down without ever piercing your precious fabric.
Clear Acrylic Ruler: Precision is the name of the game. A transparent ruler, especially one with 1/8-inch markings, is your best friend for measuring those tiny seam allowances. The first pass on a French seam is often a scant 1/4 inch, and being able to see the fabric right through the ruler makes marking and double-checking that measurement a breeze.
Sharp, Fine-Point Scissors: While the rotary cutter is king for the initial big cuts, you'll need a small, nimble pair of scissors for trimming the first seam allowance. I'm talking about embroidery or appliqué scissors. Their super-fine tips let you trim incredibly close to your stitching without the risk of accidentally snipping it.
One of the most overlooked—yet most critical—tools in this process is your sewing machine needle. It might seem like a tiny detail, but using a standard needle on lightweight fabric is a recipe for disaster. You'll end up with pulls, snags, and a puckered seam line.
Whenever I'm sewing with silk, voile, or any of those feather-light wovens, I always swap out my needle for a smaller size. A 70/10 or even a 60/8 microtex needle is perfect. Their sharp, slender points glide through the delicate fibers instead of punching through them. It's a tiny change that makes a massive difference in the final look.
Alright, let's get down to the nitty-gritty of sewing a French seam. This is where we move from just talking about it to actually doing it. I'll walk you through the whole process, step by step. Forget any intimidating sewing jargon; just think of this as me sitting right there with you, helping you build the muscle memory to make this seam second nature.
The very first thing we're going to do is going to feel completely backward, but trust me on this one. You need to place your two pieces of fabric together with the wrong sides facing each other. Yes, you read that right—the "pretty" sides of your fabric should be on the outside, looking up at you.
This is the complete opposite of almost every other seam you've ever sewn, but it's the critical first move that makes the magic of a French seam happen.
With your fabric pinned wrong-sides-together, head over to your machine for the first pass. The goal here is a really narrow seam allowance. From my experience, a scant 1/4-inch (about 6mm) is the sweet spot for most lightweight fabrics.
Why so small? This first seam is going to be completely hidden inside the second one. If you make it too wide, it's a real pain to encase it completely, and you risk it peeking through on your finished project.
Once you’ve finished that first line of stitching, take a look. It’s going to feel strange seeing a visible seam allowance on the right side of your project, but you're exactly where you need to be.
The following diagram breaks down the essential tools for getting this kind of precision work done right.
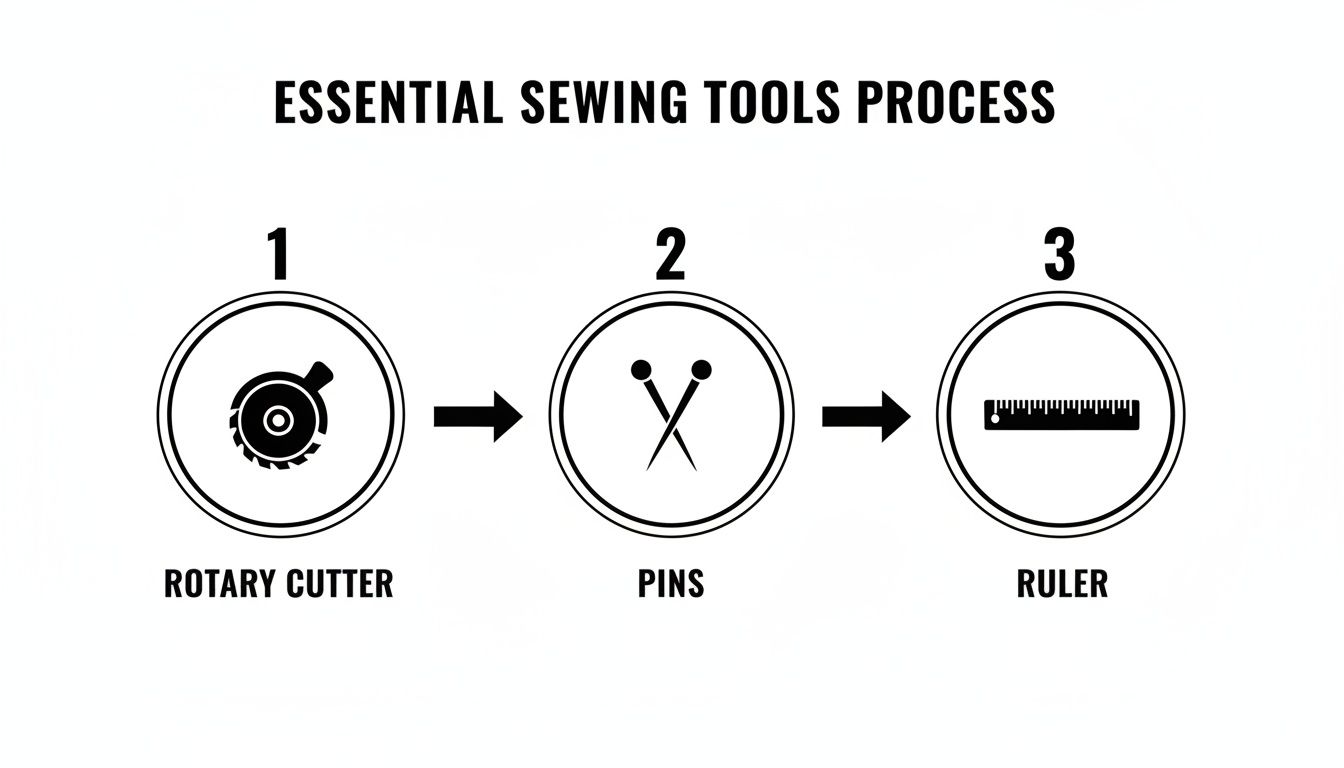
As you can see, this whole technique really comes down to being precise, from the initial cut all the way to the final stitch.
This next part is, without a doubt, the most important for getting that truly professional look. First, take your project over to the ironing board. Press the seam allowance you just made flat to one side. It seems like a small thing, but setting the stitches this way makes everything that follows so much easier.
Now, it’s time to trim. This is the moment that separates a good French seam from a great one. Grab a pair of small, sharp scissors—I like using my embroidery or appliqué scissors for this—and trim that seam allowance down as close to the stitch line as you possibly can without snipping into it. You're aiming for about 1/8 inch or even less.
Don't be afraid to get really close to your stitching here; this is what makes it all work. Any stray threads you leave behind now are the ones that will poke through your final seam later.
Being meticulous here is what prevents "whiskers"—those annoying little threads that can ruin an otherwise perfect finish. The whole idea is to get rid of as much bulk as you can so the seam can be enclosed cleanly.
After you've trimmed everything down, fold your fabric along the seam line. This time, you'll fold it with the right sides together. That tiny, trimmed seam allowance should now be completely tucked away inside the fold.
Take it back to your ironing board for another good press. This creates a sharp, crisp edge that will be a dream to guide through your sewing machine. Trust me, this pressing step is not optional; it’s what ensures your final seam is perfectly flat and doesn't pucker.
You're now ready for the second and final line of stitching. This pass is what encases those raw edges for good. You'll want to sew this seam with a slightly wider seam allowance than your first one. So, if your first seam was 1/4 inch, you should make this second pass a bit wider, like 3/8 inch.
That wider measurement guarantees that you completely capture the trimmed, raw edges from the first seam inside. The two seam allowances combined (1/4" + 3/8") neatly create a final seam allowance of 5/8", which is standard for many commercial patterns.
Sewing wrong-sides-together first, then trimming and enclosing the raw edge is an incredibly effective technique. In fact, sewing studies show this method can reduce fabric raveling by up to 90% on delicate materials compared to just using a standard overlocked edge. If you're a data nerd like me, you can explore more insights on different construction techniques and seam finishes.
One last trip to the iron is all it takes to finish your masterpiece. Turn your project so the wrong side is facing up, where you'll see your beautiful, tidy French seam. Press the entire seam allowance to one side—usually toward the back of the garment is best.
And that's it! You've officially sewn a perfect French seam. You now have a clean, durable, and professional-looking finish on the inside that's just as lovely as the outside. With a little practice, this will become an easy and incredibly satisfying part of your sewing toolkit.
French seams have a reputation for being the go-to finish for slippery silks and gossamer-thin chiffons, but their magic doesn't stop there. The real skill comes in knowing how to tweak the technique for a whole world of different materials. Once you learn how to adjust your approach, you can get that same beautifully clean, professional finish on everything from crisp cotton lawns to floaty rayon challis.
A lot of sewists get stuck thinking this seam is only for the most delicate, high-end fabrics. The truth is, with a few small changes to your seam allowance and how you handle the fabric, you can use it on almost any light to medium-lightweight woven. It’s all about understanding how each fabric behaves under the needle.
Let's be honest, fabrics like silk charmeuse, georgette, and viscose can be a nightmare to work with. They shift, slide, and stretch out of shape, making a precise seam feel like an impossible task. When you're dealing with these, stability is everything.
One of my favorite tricks is to bring in a temporary stabilizer. I like to sandwich the fabric between two layers of lightweight tissue paper before sewing. This gives the feed dogs something solid to grip, which stops the delicate fabric from getting chewed up and keeps your stitch line perfectly straight and pucker-free.
Another crucial tip? Shorten your stitch length. Dropping it to around 2.0 mm helps prevent the seam from pulling on those fine threads. Just remember to gently tear away the tissue paper after you've stitched both passes of your seam.
But what about fabrics that aren't sheer but are still lightweight, like a nice cotton lawn, voile, or shirting? These are fantastic candidates for French seams, especially on unlined summer garments where you want the inside to look just as pristine as the outside. The only thing you need to watch out for is bulk.
A standard 5/8-inch French seam can feel a bit stiff on a breezy cotton lawn. The solution is simple: just sew a narrower version.
This gives you a beautiful, enclosed seam that's only 3/8-inch wide. It’s a tiny adjustment that makes a massive difference, creating a seam that’s plenty strong but still drapes beautifully with the fabric.
The goal is always to match the seam to the fabric. A bulky, stiff seam on a lightweight garment can ruin its drape and flow, no matter how beautifully it's constructed. Always aim for a finish that complements the material, not fights it.
Figuring out the right seam allowance and needle size can feel like a guessing game when you're starting out. To help you master how to sew French seams on different materials, I’ve put together a table with my go-to settings. Think of this as your starting point—and always, always test on a scrap of your project fabric first!
| Fabric Type | First Seam Allowance | Final Seam Allowance | Recommended Needle Size |
|---|---|---|---|
| Silk Chiffon/Organza | 1/4" | 3/8" | 60/8 Microtex |
| Rayon Challis/Voile | 1/4" | 3/8" | 70/10 Microtex |
| Cotton Lawn/Shirting | 1/4" | 1/4" (for a 3/8" total seam) | 70/10 Universal |
| Lightweight Linen | 3/8" | 1/4" (for a 5/8" total seam) | 80/12 Universal |
As you can see, the changes are subtle but they make a real impact. Using a finer needle prevents snags on delicate weaves, while adjusting the seam allowance width is all about controlling the final bulk and stiffness. This kind of thoughtful approach is what takes your sewing to the next level, letting you use this gorgeous finishing technique on a much wider range of projects.
Even seasoned pros hit a snag sometimes. While a perfect French seam is one of the most satisfying finishes in sewing, it’s also easy for things to go slightly sideways. Don’t panic! This is your go-to guide for troubleshooting the most common headaches.
The key isn't just fixing the problem, but figuring out why it happened. That's how you turn a frustrating mistake into a skill-building moment for your next project.

This is hands-down the most common issue, especially when you're just getting the hang of French seams. You’ve done the final press, you flip your project over to admire your work, and… tiny, frayed threads are sticking out through the final stitch line. I call them "whiskers," and they can instantly spoil an otherwise clean finish.
The culprit is almost always the same: you didn't trim the first seam allowance close enough. If even a tiny bit of that raw edge is wider than your second seam allowance, it’s going to find a way to peek through.
Here’s how to banish them:
This little repair job really drives home the most important lesson of French seams: a perfect result is all in the trim.
Another all-too-common frustration is a seam that just won't lay flat. Instead, it looks wavy or has little puckers along the stitching. This happens a lot on curved areas like armholes or when you're working with tricky fabrics like silk chiffon or rayon.
Puckering is usually a sign of a few potential issues: incorrect machine tension, not pressing properly, or stretching the fabric as you sew.
My best advice: Let the machine do the heavy lifting. Resist the urge to pull or stretch the fabric as it goes under the needle. This is the number one cause of puckering, especially with lightweight materials that have a bit of give.
Before you reach for the seam ripper, try giving the seam a good press with plenty of steam. Sometimes, the fabric just needs a little help relaxing into place. If that doesn't solve it, it's time to investigate further.
By walking through these potential causes, you can quickly diagnose the issue and get back to sewing beautiful, professional-looking seams with confidence.
Once you get the hang of French seams, you'll probably start wondering where else you can use them. It's a fantastic technique, but as you move from simple straight seams to more complex projects, a few questions always seem to pop up.
Let's tackle some of the most common ones I hear. This is the stuff that can trip you up when you're trying to apply this finish to different garments and fabrics.
Yes, you can, and it looks amazing when you do! Think about the clean finish on an armhole or a princess seam on an unlined jacket. It just takes a little more patience and care than sewing a straight line. The main goal is to avoid any pulling or puckering along the curve.
The secret is to work with a slightly narrower seam allowance than you normally would. This is what keeps the seam from getting too bulky and stiff.
Here’s how I approach it:
I've also found that shortening your stitch length to about 2.0 mm can give you a lot more control as you're easing around those curves.
They absolutely are. I think a lot of people assume that because French seams are so common on delicate, floaty fabrics, they must be weak. The opposite is actually true. A properly sewn French seam is incredibly strong—often much more durable than a standard seam finished with a zig-zag stitch.
Its strength is all in the construction. Because the raw edges are completely tucked away inside the seam, they’re protected from all the friction and stress that comes with wearing and washing your clothes. You've essentially got a double-stitched, self-enclosed seam that won't fray or pull apart. It’s no wonder this is the go-to finish for high-end and couture garments that are built to last a lifetime.
A French seam isn't just about looking pretty. It's structural. By fully encasing the raw edges, you create a seam that’s incredibly resistant to fraying, making it ideal for everyday items made from lightweight cotton, linen, or rayon.
This is where you have to use a bit of judgment. French seams really shine on light to medium-lightweight fabrics—anything with a nice drape and a bit of movement.
They're perfect for materials like:
You can definitely get away with using them on things like cotton shirting or a lightweight linen. But once you start getting into heavier fabrics like quilting cotton, denim, flannel, or corduroy, the French seam starts to cause more problems than it solves.
The enemy here is bulk. All those folds needed to create the seam will turn into a thick, stiff ridge on heavier fabrics. That ridge can completely ruin the way a garment hangs, feel really uncomfortable against your skin, and be an absolute nightmare to press flat. For those sturdier materials, you're much better off with a finish like a flat-felled seam (the kind you see on jeans) or just a simple serged edge.
At Famcut.com, we're passionate about helping you master techniques that elevate your craft. Explore our wide selection of high-quality fabrics and sewing supplies perfect for your next project at https://famcut.com.
At High Country Quilts we care deeply about community. With our experiences in retail, we know that a store is not only a place to shop but also a place for the community to gather and share. During this busy...

Hi! We’re Adam and Renee Wheaton, the new owners of High Country Quilts! For more than 40 years, we’ve owned and operated vacuum and sewing businesses. Following in Renee’s father’s footsteps after he retired from All Discount Vacuum and Sewing in Colorado...


Leave a comment