

We Love Our Quilting Community
At High Country Quilts we care deeply about community. With our experiences in retail, we know that a store is not only a place to shop but also a place for the community to gather and share. During this busy...


Getting a shirt collar to sit just right is one of those skills that can make a homemade shirt look truly professional. It's all about the prep work. Before you even think about stitching, setting yourself up for success with the right tools and a clear plan is the most important thing you can do.
A crisp, sharp collar is the hallmark of a well-made shirt. It’s what separates the good from the great. But here’s a secret many sewers learn the hard way: that perfect finish is decided long before you sit down at your machine.
Think of it like a chef preparing their ingredients—what they call mise en place. Having everything you need, neatly organized and within reach, prevents those frantic mid-project searches for a tool and lets you focus completely on the craft. A tidy workspace isn't just for show; it genuinely helps you sew more accurately and makes the whole process far more enjoyable.
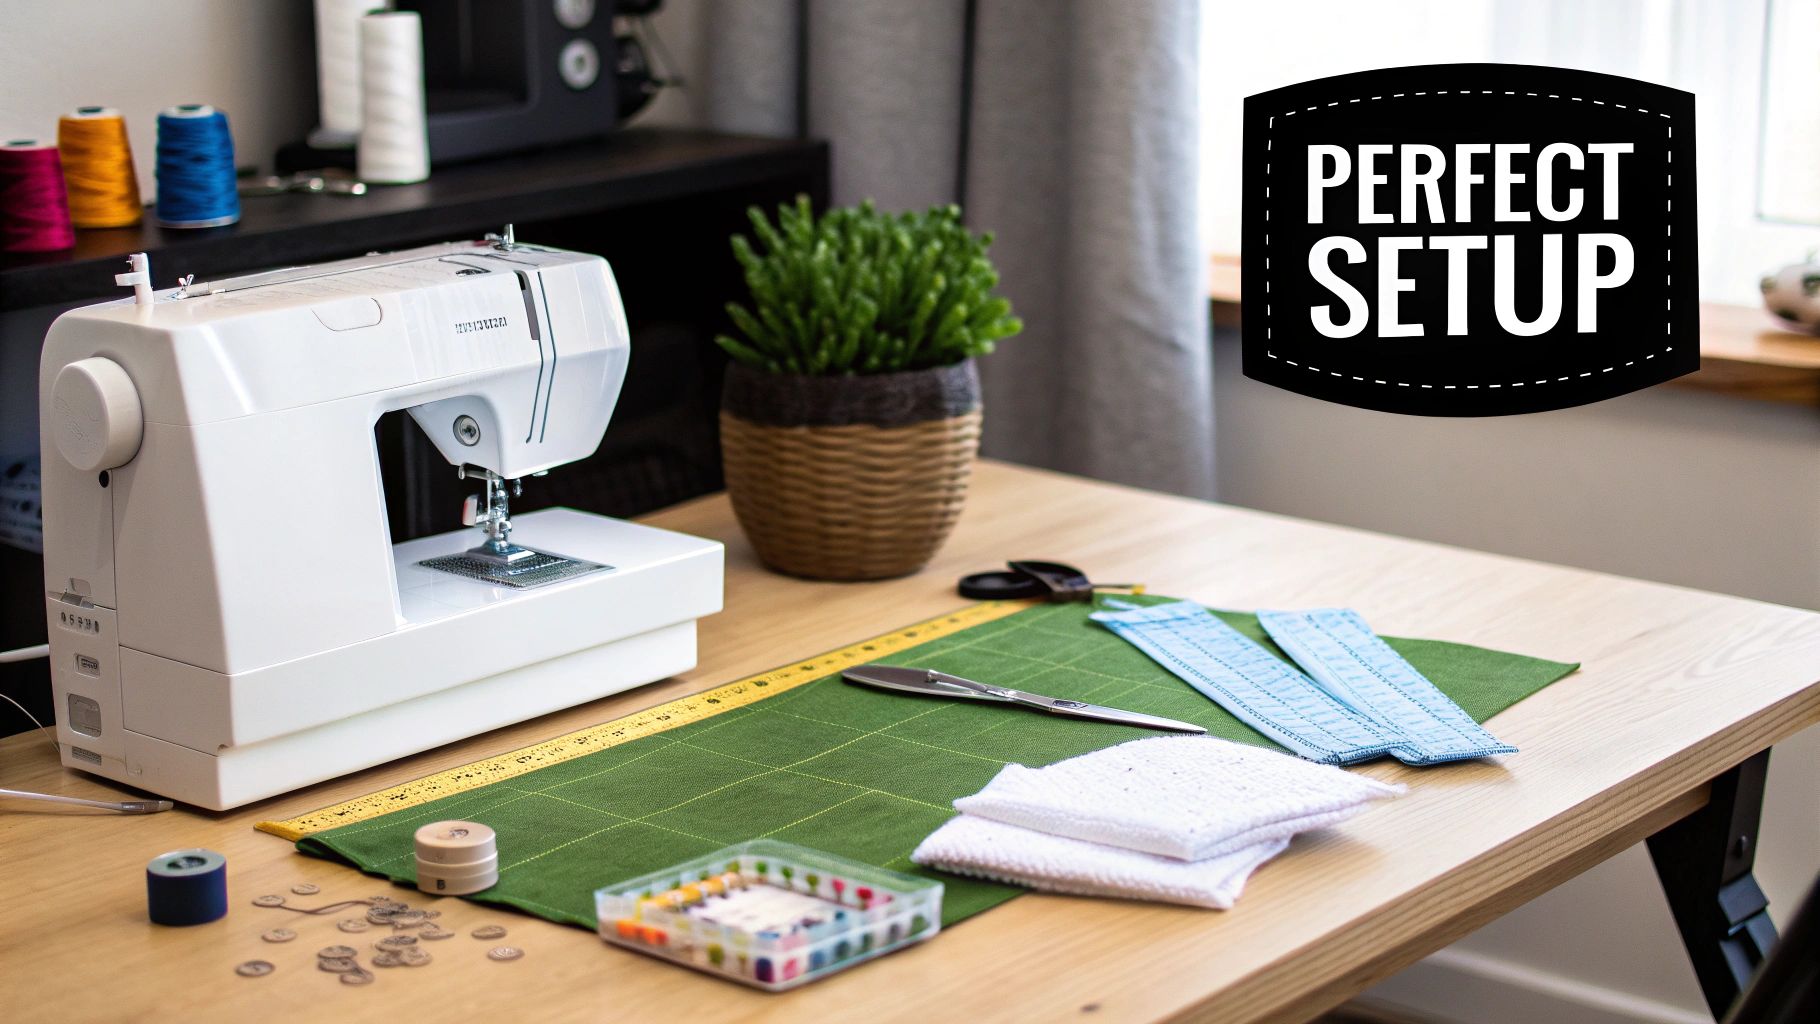
Having the right gear on hand can be the difference between a frustrating mess and a flawless collar. You don’t need a fancy industrial setup, but a few key items are absolutely non-negotiable for getting that professional look.
To make sure you're ready to go, I've put together a quick checklist of the essentials. Trust me, having these items prepared will make your sewing session so much smoother.
| Item | Recommended Type | Why It's Important |
|---|---|---|
| Sewing Machine Needle | Microtex or Sharp (size 70/10 or 80/12) | A fresh, sharp needle is your best friend. It will pierce tightly woven shirt fabrics cleanly, preventing snags and giving you beautiful, precise stitches. |
| Interfacing | Lightweight Woven Fusible | This is the secret ingredient! Woven interfacing provides structure and body to your collar, keeping it crisp without making it stiff or cardboard-like. A floppy collar is a dead giveaway of a homemade garment. |
| Point Turner | Bamboo or Plastic Tool | Ever struggled with rounded, sad-looking collar points? This little tool is a game-changer. It helps you gently poke out the corners for perfectly sharp points after you turn the collar right-side out. |
| Fabric Scissors | Sharp Rotary Cutter or Shears | Accurate cutting is the foundation of good sewing. Dull blades can snag or stretch your fabric, resulting in mismatched pieces and a wonky, uneven collar. |
| Pressing Tools | Iron with Steam, Pressing Cloth | I can't stress this enough: you are not just sewing, you are pressing. A good iron with steam sets your seams, shapes the curve of the collar, and creates a polished finish that stitching alone can never achieve. |
Getting your supplies in order first means you can focus on the techniques without interruption.
Not all collars are built the same, and knowing what you're working with is half the battle. Your pattern will specify the type, but understanding the basic construction helps you visualize the process before you start.
Stand Collar: This is the quintessential dress shirt collar. It's actually two pieces: the collar that folds over and the "stand" it's attached to. This two-part construction is what gives it that elegant roll around the neckline.
Band Collar (or Mandarin Collar): Think of this as just the collar stand, without the part that folds down. It’s a simple, single band that stands up, offering a clean, modern look.
One-Piece Collar (or Convertible Collar): Often found on more casual or vintage-style shirts, this is where the collar and its stand are cut as a single, clever piece. It lies flatter against the body for a more relaxed feel.
A well-made collar is the focal point of any shirt. It frames the face and immediately signals quality and attention to detail.
It's a small part of the garment, but its impact is huge. The global market for shirts is projected to hit US$80.81 billion by 2025, and a huge part of that value is in the details. In fact, professional tailors report that collar issues make up 22% of their alteration jobs. Getting the roll and points just right is directly linked to client satisfaction and can even boost repeat business by 35%. You can learn more about these shirt market trends to see why this skill is so valuable. Mastering the collar isn't just about looks; it's about creating a garment that truly looks and feels high-end.
The real secret to a crisp, professional-looking collar has nothing to do with fancy sewing machine feet or complicated techniques. It all happens before you even sit down to sew. It’s about careful prep work—meticulous cutting and smart interfacing. These two steps build the structure that gives you those sharp points and that perfect, smooth roll.
Think of interfacing as the unsung hero of your collar. Without it, even the most gorgeous fabric will flop and look lifeless. Your goal is to add just enough body and stability, not to make your collar feel like a piece of cardboard.
Choosing the right interfacing is half the battle. For most shirt-weight fabrics like cotton poplin, chambray, or linen, a lightweight woven fusible interfacing is your best bet. It provides support but still has a bit of drape, moving with the fabric instead of fighting against it.
When you're ready to fuse it, remember this mantra: press, don't iron.
A Tip from Experience: Always pre-shrink your interfacing, especially the woven kind. Just give it a quick blast of steam with your iron before cutting. This simple step prevents it from shrinking up later and causing ugly puckers on your finished collar.
Everything starts here. If your cutting is even a little bit off, it can throw off the entire collar assembly, leaving you with mismatched, wonky points. Before you even lay your pattern down, make sure your fabric is perfectly on-grain. The grainline arrow on your pattern piece needs to be perfectly parallel to the fabric’s selvage edge.
Cutting on-grain is non-negotiable for a stable collar. The lengthwise grain has the least amount of stretch, which is exactly what you need for a piece that has to hold its shape wear after wear. Use a fresh blade in your rotary cutter or a pair of sharp shears to get the cleanest edges you can.
With your pieces perfectly cut and your under collar interfaced, it’s time to actually construct the thing. You should have an upper collar (the one everyone will see) and an under collar (your interfaced piece).
Place the two pieces with their right sides facing each other, and take a moment to line up all the raw edges. Pin them together, paying special attention to the corners.
When you start stitching, use your pattern’s recommended seam allowance (it’s often 5/8" or 1.5 cm). I like to shorten my stitch length just a bit to around 2.0 mm. This creates a stronger, more secure seam, which is especially helpful around those sharp points.
To get a perfect corner, stitch right up to the point, stopping with the needle down in the fabric. Lift your presser foot, pivot the fabric 90 degrees, lower the foot, and then continue sewing down the next side. It's a simple move that makes a world of difference.
This is where you go from a homemade-looking collar to a truly polished one. Skipping this step will leave you with bulky, rounded corners, no matter how much you press them.
Grading the Seam Allowance:
This just means trimming the layers to different widths to reduce bulk.
By staggering the layers like this, you create a much smoother, flatter edge once the collar is turned.
Clipping the Corners:
After grading, snip diagonally across the very tip of each corner. Get close to your stitching, but be really careful not to cut through it! This removes that little wad of fabric that would otherwise get bunched up inside the point.
Now, turn the collar right-side out. Use a point turner or something blunt like a chopstick to gently poke the corners out from the inside until they’re nice and sharp.
Give the whole thing a final, thorough press. As you press, try to roll the seam line slightly toward the under collar side so it's hidden from view. This little trick is called "favoring," and it's what gives you that clean, ready-to-wear finish.
This is the moment of truth. All that careful cutting and stitching you've done is about to pay off as your garment finally starts to look like a real shirt. Attaching the collar to the neckline can feel a bit nerve-wracking, but it's really just about careful alignment and sewing a smooth curve. If you break it down, it's totally manageable.
The absolute first thing you need to do—before your collar even gets near the shirt—is to stabilize the neckline. It's a curved edge, which means it's incredibly easy to stretch out of shape as you handle it, and a stretched-out neckline will ruin the fit of your collar.
Staystitching is your best friend here. It’s a simple line of regular stitches sewn just inside the seam allowance, about 1/8 inch (3mm) from the raw edge. Think of it as an insurance policy against a saggy, gaping neckline.
This isn't a decorative stitch; its only job is to provide stability. Just sew from each shoulder seam down to the center front. Seriously, don't skip this step. It makes a world of difference.
Precision is everything when you attach a collar. Before you start pinning, grab a fabric marker or some pins and mark a few key spots on both your collar stand and the shirt's neckline. This is how you guarantee a perfectly centered and symmetrical result.
You’ll want to mark these non-negotiable points:
Matching these points meticulously is the secret to avoiding weird puckers and ensuring the whole thing sits just right.
I've learned over the years that attaching a collar is less about some complex, secret technique and more about sheer precision. Taking an extra few minutes to pin carefully and ease the fabric correctly is what separates a professional finish from a "homemade" look.
The basic flow of building the collar unit itself is pretty straightforward: cut, stitch, and turn. Getting this part right gives you a crisp, solid piece to work with.
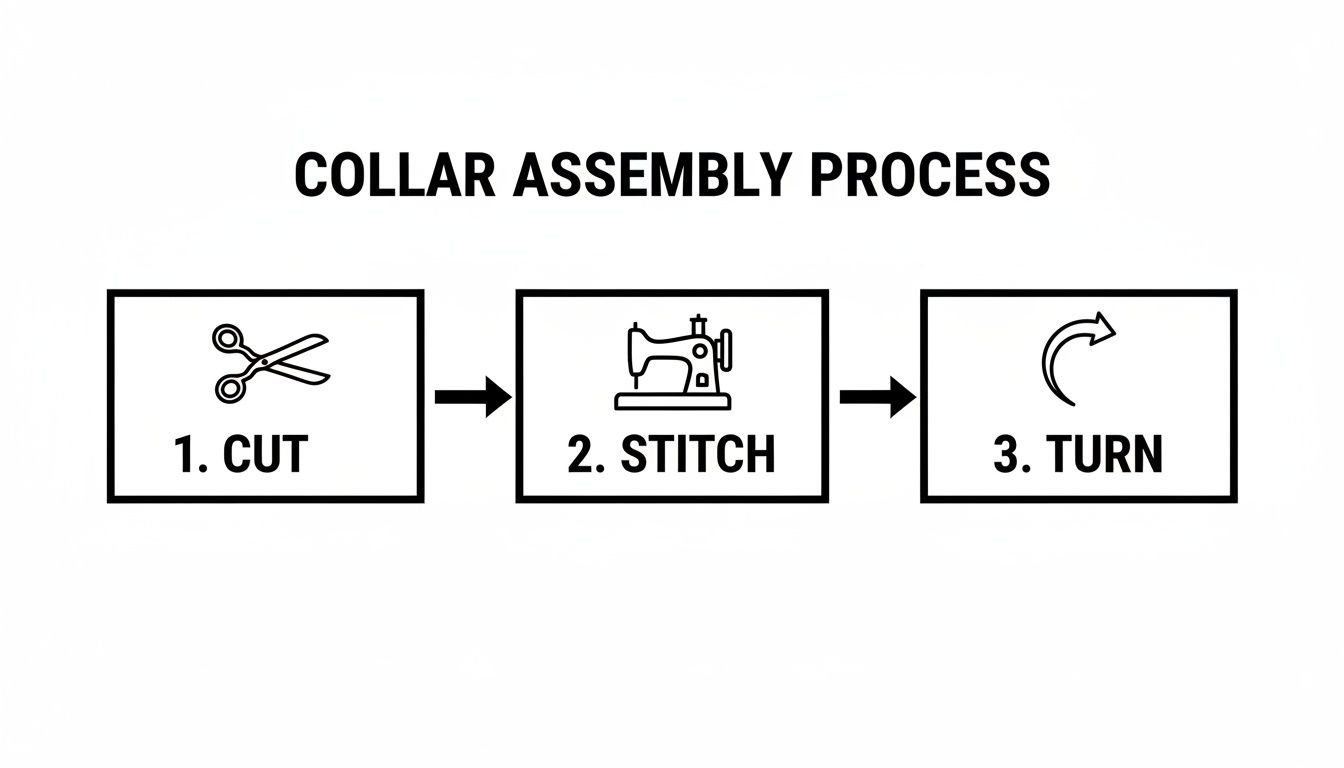
Each step builds on the last, giving you a perfectly prepped collar that's ready to meet the shirt.
With all your points marked, you're ready to join the collar to the shirt. We're going to start with the outer collar stand—the un-interfaced one.
Now, this part might feel backward, but trust the process: place the right side of the outer collar stand against the wrong side of the shirt's neckline. This is the key to getting a clean, enclosed seam later on.
Pin your marked points first. Match the center backs, then align the shoulder seam points with their corresponding notches on the stand. Once those anchors are in, fill in the space with more pins, gently easing the neckline fabric to fit the collar stand. The curves won't look like a perfect match at first, but easing them together without stretching is what makes it work.
Sew this seam carefully, following the curve. I always recommend going slowly here, adjusting the fabric under the needle as you go to keep any puckers from forming.
Okay, time for the magic trick. We're going to attach the inner, interfaced collar stand, which will sandwich that raw neckline seam between the two stand pieces. This is what creates that beautiful, clean finish you see on store-bought shirts.
First, take that inner collar stand and press its bottom seam allowance up toward the wrong side. Your pattern will tell you how much—it’s usually 5/8 inch or 1.5 cm. This pre-pressing creates a crisp, folded edge that makes the final step a breeze.
Now, place the inner stand on the right side of the shirt, right sides together, so it lines up perfectly with the outer stand you just sewed. The raw edge of the neckline should now be hidden between them. Pin it all down, matching up those center backs and notches one more time.
Stitch that seam, sewing directly on top of your previous stitch line. I find it easiest to do this from the outer stand side where I can see my original stitches.
Understitching is one of those pro techniques that makes a huge impact. It encourages the collar stand to roll neatly to the inside, which stops the inner stand from peeking out.
With both stands attached, press the entire seam allowance toward the inner collar stand. From the right side of that inner stand, stitch about 1/8 inch (3 mm) away from the seam, making sure you catch all the seam allowance layers underneath.
No one will ever see this line of stitching from the outside of the shirt, but it’s doing the crucial work of keeping your collar looking sharp and professional.
This kind of detailed finishing is exactly why there’s a growing demand for quality construction. The tailoring services market is set to jump from USD 0.3 billion in 2026 to USD 0.71 billion by 2035, largely because consumers want better, custom fits. With over 70% of shoppers preferring tailored garments, skills like perfect collar attachment are becoming more valuable. You can explore more on the tailoring market's impressive growth to see just how much these skills are in demand.
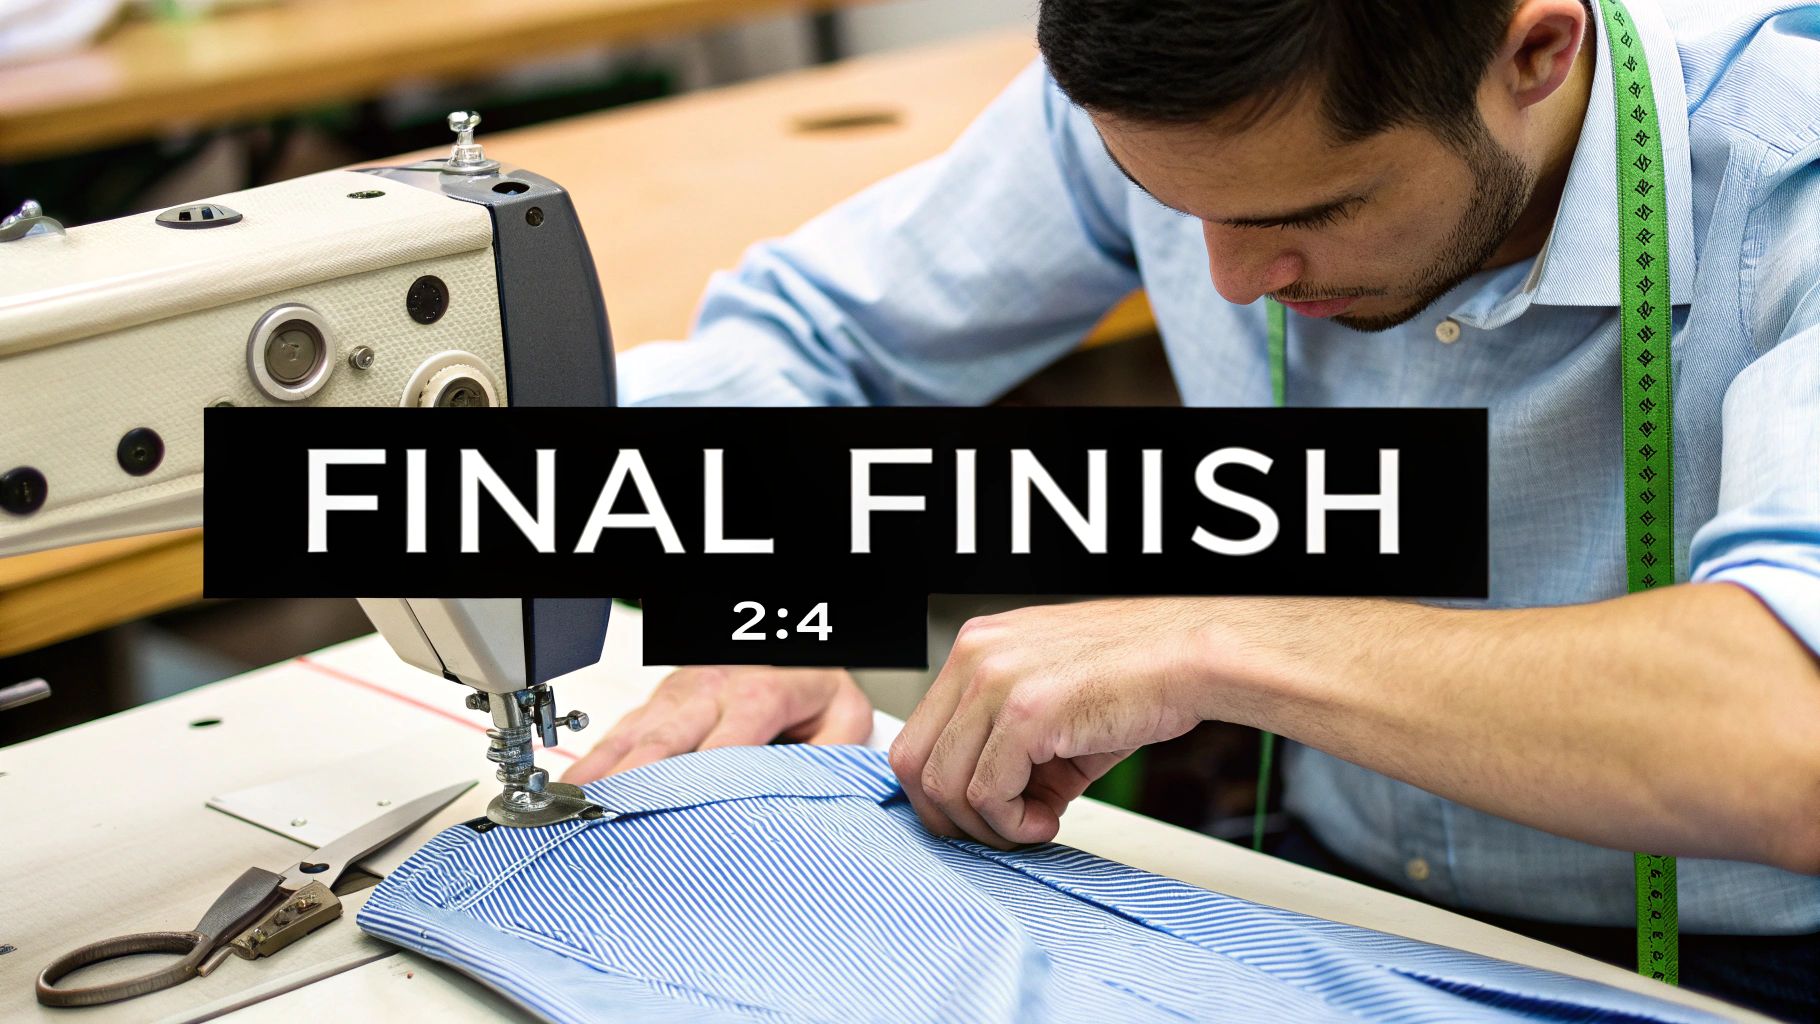
Alright, you’re in the home stretch. Your collar is attached, and everything looks good. Now it’s time for the final touches that separate a decent homemade shirt from one that looks truly professional. Don't rush this part—topstitching and the final press are what give your collar that crisp, polished structure.
These last steps are where the magic really settles in. A clean line of topstitching isn't just for show; it adds durability by securing all those layers. Similarly, a thoughtful final press will shape the collar, giving it that perfect roll so it sits just right around the neck.
Topstitching is front and center on your finished shirt, so you want to get it right. It’s the detail everyone sees. Beyond just looking sharp, it’s a functional stitch that keeps the collar stand and collar edges lying flat and secure.
Consistency is everything here. Your mission is to sew a perfectly straight line of even stitches. To get that classic ready-to-wear look, I always lengthen my stitch slightly to about 2.5 mm or 3.0 mm. A longer stitch looks much more intentional and professional than a standard construction seam.
Think about your thread choice, too. Your regular all-purpose thread will work just fine, but if you want that topstitching to pop, especially on heavier fabrics like denim or twill, grab a spool of topstitching thread. Just remember to use all-purpose thread in the bobbin and switch to a bigger needle—a 90/14 or 100/16—to handle the thicker thread without shredding it.
For the straightest possible lines, don’t just rely on your eye. An edge-stitching foot is a game-changer. It has a little metal guide that hugs the fabric edge, keeping your stitches a consistent distance away for an incredibly neat finish.
No special foot? No problem. A strip of masking tape on your machine's throat plate works as a great DIY guide. You could also draw a very faint line with a removable fabric marker. Whatever you do, take it slow. This is not the time to speed through.
You’ve been pressing as you go, but this final press is different. It’s not just about getting out wrinkles; it’s about using steam and pressure to permanently shape the fabric. The goal is to set a soft, natural roll in the collar so it curves elegantly around the neck.
This is where a tailor's ham becomes your best friend. Its curved surface is designed to mimic the human body, letting you press curves into the collar stand without creating ugly flat spots or creases.
Here’s how I approach the final press:
This last bit of shaping is what ensures your collar sits correctly and looks polished every time you wear it. It’s a tiny step that makes a huge difference, turning your hard work into a garment you’ll be genuinely proud of. You've just taken the last crucial step in learning how to sew a collar on a shirt with real skill.
Let’s be honest—even after sewing countless shirts, I still hold my breath for a moment when it comes to the collar. It’s a focal point of the garment, and tiny mistakes can feel like they're on full display.
The good news? Most common collar issues are entirely fixable. Better yet, understanding what causes them is the secret to avoiding them on your next project. We've all been there, so let's walk through some of the most frequent frustrations and get them sorted out for good.
It's a classic sewing moment: you finish stitching, turn your collar right-side out, and... one point is longer or shaped differently than the other. This almost always comes down to two things: inconsistent stitching or inaccurate cutting.
If your pattern pieces weren't cut with perfect precision, they simply won’t line up. The same thing happens if you sew the collar seam with a wobbly line, maybe curving gently at the pivot point instead of making a sharp, confident turn. Your points will show that inconsistency every time.
How to get them sharp and even:
This is another common headache, and it’s all about one thing: bulk. When you turn a corner right-side out, all of that seam allowance fabric gets bunched up inside, making a crisp point impossible.
To get those coveted sharp points, you have to be aggressive about reducing the bulk before you turn the collar.
The secret to professional-looking collars isn't some complex, hidden technique—it's mastering the basics of trimming and grading. A few careful snips of the scissors make all the difference between a soft, homemade look and a sharp, ready-to-wear finish.
After stitching the collar but before turning, make sure you:
You know the look—little unintentional gathers where the collar stand joins the shirt. This issue is almost always rooted in how the curved pieces were joined together. The neckline of the shirt and the edge of the collar stand have slightly different curves that need to be eased together smoothly, not forced.
Puckers can happen if you accidentally stretched the neckline while sewing or didn't distribute the fabric evenly when pinning. Inaccurate staystitching (or skipping it altogether) is another huge culprit. Fabric along a curved edge can easily distort by up to 5% during handling, which is precisely why that initial line of staystitching is non-negotiable.
Learning to sew a professional-looking collar connects you to a massive market; the global shirt industry is projected to grow from USD 82.08 billion in 2025 to USD 105.85 billion by 2031. A key technique that separates hobbyists from pros is meticulously grading seams to reduce bulk, a simple step that can cut finishing time by 20-30%. You can learn more about the expanding global shirt market on techsciresearch.com.
To fix puckering, you’ll have to unpick that seam, give it a good press to reset the fabric, and then re-pin it carefully. And I mean carefully. Use plenty of pins—placing one every half-inch if you have to—to ensure the fabric is perfectly distributed before you take it back to the machine.
Sometimes, a quick-reference chart is the best way to diagnose a problem in the moment. Here are some of the most common issues I see and what’s likely going on.
| Problem | Likely Cause | Solution |
|---|---|---|
| Uneven Collar Points | Inaccurate cutting or inconsistent stitching at the corners. | Unpick and re-stitch, using a marked guideline. Ensure pattern pieces are cut precisely. |
| Bulky, Rounded Corners | Too much seam allowance fabric bunched inside the point. | Trim seam allowances diagonally at the corner and grade the layers before turning. |
| Puckered Neckline Seam | Fabric was stretched during sewing, or curves weren't eased together properly. | Unpick the seam, press, and re-pin with extra pins to evenly distribute the fabric. |
| Collar Doesn't Lie Flat | Under collar is rolling out and visible; understitching was missed or is ineffective. | Unpick the topstitching, press the seam toward the under collar, and understitch closer to the seam line. |
| Gaps at the Front | Collar stand doesn't meet the front placket or facing correctly. | Inaccurate marking of the center front or pivot points. Unpick and carefully re-align using pattern markings. |
Fixing mistakes is part of the sewing process, not a sign of failure. Each time you unpick a seam or solve a puckering problem, you're building the experience that will make your next project even better.
Even with the best instructions, you're bound to have a few questions when you're learning the ropes. Sewing a great shirt collar is all about those little details that can trip you up. I've been there! Let's clear up some of the most common hangups I see people run into.
Think of this as that last bit of advice from a friend before you dive in. Getting these things straight can be a real confidence booster and save you from reaching for the seam ripper later on.
This is a classic "it depends" situation, but there's a pretty reliable starting point. For most shirts made from medium-weight cottons—think poplin, broadcloth, or chambray—a lightweight woven fusible interfacing is your best bet. It gives the collar the structure it needs to look sharp without turning it into a stiff piece of cardboard. You still want that elegant, natural roll around the neck.
Now, if you're tackling something heavier like flannel or denim, you might want to bump up to a medium-weight interfacing to match. The golden rule, though? Always, always test your interfacing on a scrap of your fashion fabric first. Fuse a little piece and see how it feels. It’s the only way to know for sure how it will behave before you commit.
A very common mistake is going too heavy with the interfacing. The goal is to support the fabric, not overpower it. A great collar feels crisp, but it's still flexible and, most importantly, comfortable to wear.
Ah, the dreaded bulky, rounded collar point. It’s one of the most frustrating and obvious giveaways of a homemade shirt. Nine times out of ten, the problem comes down to two things: you didn't trim away enough bulk, or you didn't turn it correctly. You simply can't get a sharp point if there's a traffic jam of fabric inside.
Here’s how to get those razor-sharp points you see in ready-to-wear shirts. You'll do this after you’ve sewn the collar but before turning it right-side out.
Finish it off with a good press using plenty of steam, and you'll lock that perfect point in place.
A stretched-out neckline is the #1 reason a collar won't fit right. That curved edge is cut on the bias of the fabric, which means it’s practically designed to warp and stretch as you handle it. The solution is simple and non-negotiable: staystitching.
Staystitching is just a line of regular stitches sewn just inside the seam allowance—I usually aim for about 1/8 inch (3mm) from the raw edge. You should get in the habit of staystitching the neckline of your shirt front and back pieces right after you cut them from the fabric. It’s a tiny step that acts as an insurance policy, stabilizing that curve and preventing a gaping, wavy mess later on.
Understitching is one of those pro techniques that really elevates your sewing. It’s a clever line of stitching that forces facings and linings to stay neatly tucked away on the inside. For a collar, it ensures the inner collar stand doesn't roll to the outside and become visible.
Here's how it works: After you've attached the collar stand to the neckline, press all the seam allowances toward the inner stand (the piece you interfaced). Then, from the right side of that inner stand, stitch about 1/8 inch away from the seam, making sure you catch all those seam allowances underneath. This mechanically pulls the seam to the inside of the shirt, giving you a perfectly clean finish at the neckline.
At Famcut.com, we're all about helping you master new skills with fantastic advice and the right supplies. Whether you're just starting out or working on your next big cosplay, you can find everything you need for your sewing projects on our site.
At High Country Quilts we care deeply about community. With our experiences in retail, we know that a store is not only a place to shop but also a place for the community to gather and share. During this busy...

Hi! We’re Adam and Renee Wheaton, the new owners of High Country Quilts! For more than 40 years, we’ve owned and operated vacuum and sewing businesses. Following in Renee’s father’s footsteps after he retired from All Discount Vacuum and Sewing in Colorado...


Leave a comment