

We Love Our Quilting Community
At High Country Quilts we care deeply about community. With our experiences in retail, we know that a store is not only a place to shop but also a place for the community to gather and share. During this busy...


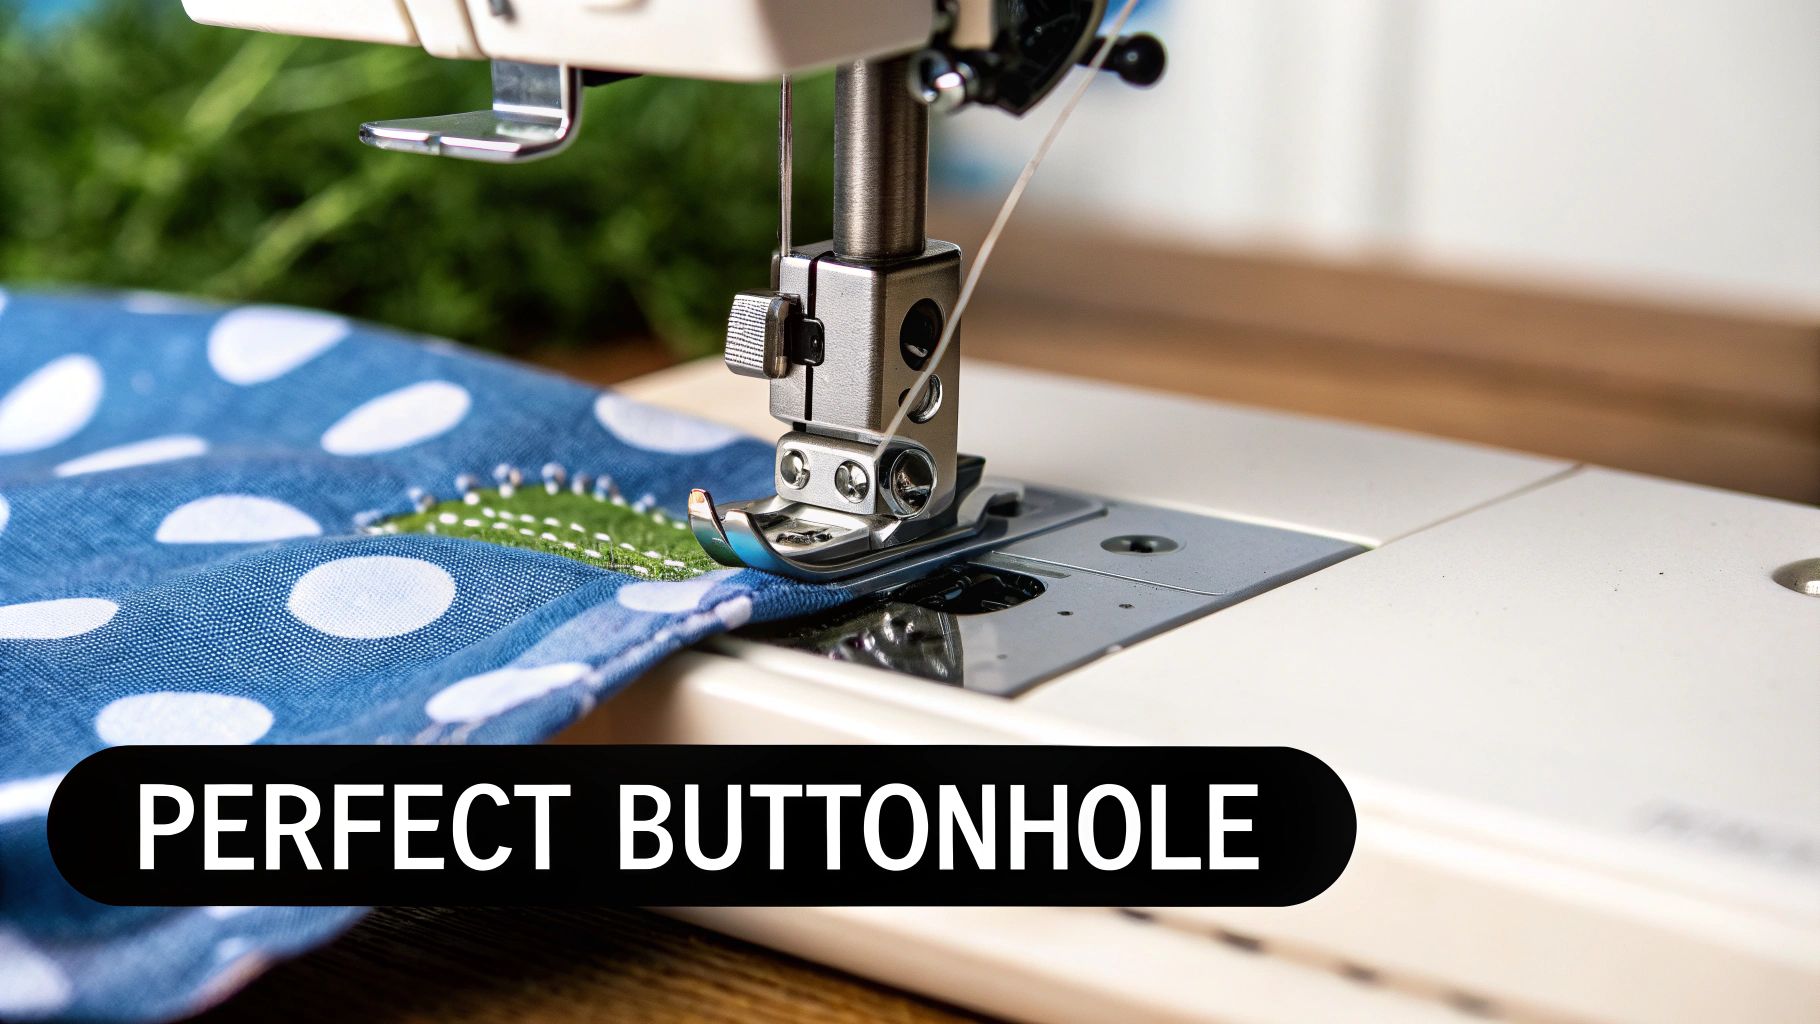
Sewing a buttonhole on your machine might seem intimidating, but it's one of those skills that looks much harder than it actually is. The real secret? It's all in the prep work. With the right foot on your machine and a little practice on some scrap fabric, you'll be making clean, professional buttonholes on every single project.
Learning how to sew a great buttonhole is what takes a homemade garment from "done" to truly polished. I know it can feel like a big leap, but most modern sewing machines have taken the guesswork out of the process. This first stage is simply about getting your supplies in order and understanding the basics before you even think about pressing the foot pedal. It’s less about tricky techniques and more about being methodical.
If you take away only one piece of advice, let it be this: stabilize your fabric. Without proper interfacing, even the fanciest machine will chew up your fabric, leaving you with a puckered, stretched-out mess. Interfacing gives the fabric the backbone it needs to handle all those dense satin stitches without warping.
Before you get started, do yourself a favor and gather everything you'll need. Having it all within arm's reach makes the whole process so much more enjoyable and prevents those "where did I put that?" moments.
With the explosion of home sewing, manufacturers have really stepped up their game. We're seeing more and more machines with incredibly sophisticated buttonhole features, and the market reflects it. Global sales of automatic buttonhole machines jumped from 15,000 units in 2023 and are projected to hit 22,000 units in 2025—that's an increase of over 44%. It just goes to show how many of us are embracing tools that give us professional results right in our own sewing rooms. You can read more about these automatic buttonhole machine trends and data.
To make sure you have everything ready before you start, I've put together a quick checklist.
Here's a quick rundown of the must-have items and settings to review before you begin. Having this list handy helps ensure a smooth, frustration-free process from the start.
| Category | Item | Key Consideration |
|---|---|---|
| Tools | Buttonhole Foot | Ensure it's the correct one for your machine model. |
| Tools | Sharp Needle | Match the needle type and size to your fabric. |
| Supplies | Interfacing | Choose a weight compatible with your main fabric. |
| Supplies | Fabric Marker | Use a marker that will disappear or wash out easily. |
| Machine Settings | Buttonhole Stitch | Select the specific buttonhole style you want. |
| Machine Settings | Stitch Length & Width | Refer to your machine's manual for recommended defaults. |
| Practice | Scrap Fabric | Use a piece of the same fabric, with interfacing applied. |
Running through this quick checklist is the best way to set yourself up for success and avoid common mistakes before they happen.
Pro Tip: My number one rule is to always sew a test buttonhole. Always. Grab a scrap of your project fabric, apply the interfacing exactly as you will on the real garment, and stitch one out. This is your chance to check the tension, stitch density, and overall size before you touch your actual project. It's a simple step that has saved my garments more times than I can count.
A perfect buttonhole doesn't just happen when you press the foot pedal. The real magic happens long before that. Think of this prep work as building a strong foundation; if you skimp on it, even the fanciest sewing machine is going to give you trouble. Honestly, getting your setup right is the most important part of sewing a great buttonhole.
It all starts with the little things, like your needle. A universal needle is fine for a sturdy cotton or linen, but it can absolutely wreck delicate fabrics. If you're working with something like silk charmeuse or a fine microfiber, do yourself a favor and switch to a sharp, slender microtex needle. It will pierce the fibers cleanly and you won't get those frustrating pulls.
Your thread choice is just as crucial. A thread that’s too heavy for your fabric will create bulky, stiff buttonholes that scream "homemade" in all the wrong ways. The best rule of thumb is to match your thread to your fabric's weight. A standard all-purpose polyester is a solid choice for most medium-weight projects, but for lightweight shirtings, a finer cotton thread will give you a much more professional finish.
Here’s the real game-changer for sewing buttonholes: stabilization. Fabric, especially anything with a bit of stretch or a loose weave, desperately needs some reinforcement to handle the dense stitches of a buttonhole. Without it, you're pretty much guaranteed to end up with puckering, stretching, and a distorted mess.
Interfacing is your best friend here, but you have to choose the right kind. The goal is to complement your fabric, not completely overpower it.
The point of interfacing isn't to make your fabric feel like cardboard. It's simply to give the buttonhole area just enough stability to support all those dense satin stitches. Always, always test your interfacing on a scrap of your fashion fabric first to make sure it gives the right amount of support without ruining the fabric's drape.
You can't eyeball this part. Accurate marking is absolutely non-negotiable if you want evenly spaced, professional-looking buttonholes. A single wonky buttonhole can make an entire garment look off-kilter. Before you start sewing, take a moment to measure everything out precisely. You'll definitely want a reliable measuring tape handy for this.
Use a marking tool that will disappear completely, like a water-soluble pen or a chalk pencil. Mark the top and bottom of where your buttonhole will go, then draw a straight line to connect them. This line will be your guide. As a quick reminder, buttonholes traditionally go on the right-hand side for women's shirts and on the left for men's shirts.
Okay, your fabric is prepped and ready. Now it's time to get the machine set up so all that preparation can pay off.
First things first, attach the buttonhole foot. Most modern machines have a fantastic automatic one-step buttonhole foot with a little slot in the back. You just pop your button right into that slot, and the machine uses it as a guide to sew a perfectly sized buttonhole every single time. It’s a brilliant feature that takes all the guesswork out of the equation.
Next, select the buttonhole stitch on your machine. Every model is a little different, so this is a great time to grab your manual. You’ll probably see a few options, like a standard rectangle or a keyhole style. Once you pick one, your machine will likely default to the best stitch length and width for a nice, balanced satin stitch.
Finally—and this is a big one—most machines with a one-step function have a special buttonhole lever you need to pull down. This little lever is what signals to the machine when to stop and reverse direction to finish the buttonhole. Forgetting to lower this lever is the #1 reason a one-step buttonhole fails. Make it a habit to double-check it before you even think about starting to sew.
Alright, you've done the prep work, and now for the fun part: watching the machine stitch out a perfect buttonhole. Whether you're working with a newer machine that has a one-step feature or an older one with a four-step process, the goal is the same. We'll walk through both.
Everything hinges on the foundation you just laid. The stabilization, marking, and machine setup are the non-negotiable steps that lead to a great result.
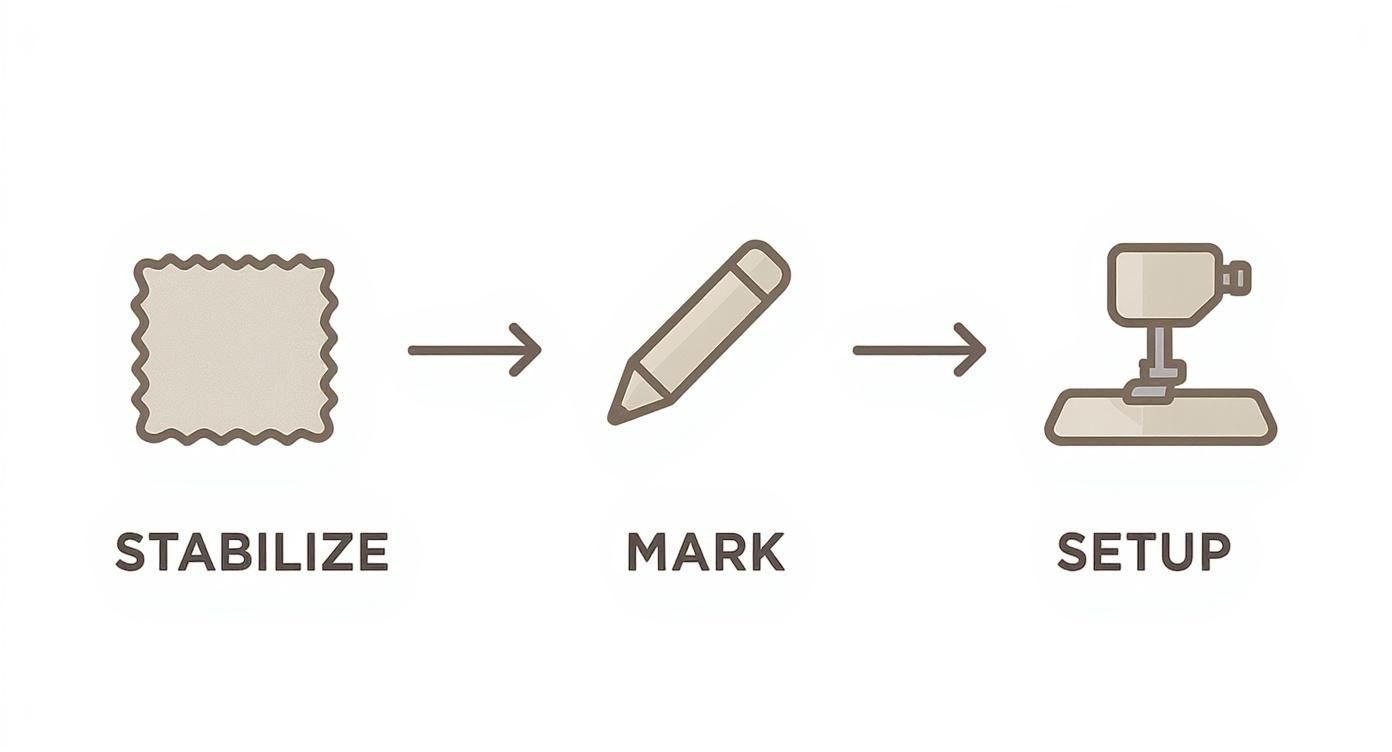
This little sequence is your recipe for success. I can't tell you how many times I've seen beginners get frustrated, and it almost always comes back to skipping one of these prep stages. Trust me, they matter.
If you have a modern machine, you've likely got a one-step automatic buttonhole function, and it's a thing of beauty. It completely automates the process, giving you perfectly matched buttonholes one after the other.
First, pop your button into the little sliding tray on the back of the buttonhole foot. That's how the machine measures the exact length it needs. Once the button is snug, snap the foot onto the machine.
Now, slide your fabric under the needle, lining up your starting mark right where the needle will drop. Lower the presser foot to hold everything steady.
Crucial Check: Before you even think about pressing the pedal, pull down the buttonhole lever. It's a small plastic lever, usually hanging out to the left of the needle. This is the sensor that tells the machine when to turn around. Forgetting this step is the #1 reason one-step buttonholes fail.
With the lever down and your fabric aligned, you're ready. Gently press the foot pedal and let the machine work its magic. It will stitch one side, create a bar tack, stitch back up the other side, and finish with a final bar tack. All you have to do is lightly guide the fabric to keep it from drifting. Don't push or pull; just let the feed dogs do their job.
Working with a machine that has a four-step buttonhole? No problem. You'll have a bit more hands-on work, but the results are just as clean. This process just means you have to tell the machine when to perform each of the four stages, usually with a dial or button selection.
The upside here is that you have total control over the length, which is handy for non-standard buttons. The key is simply to be precise and stop right on your marks at each stage.
You’ve stitched a beautiful buttonhole, but it's not a buttonhole until it’s open! This can feel like the most terrifying part of learning how to sew buttonholes by machine—one slip of the seam ripper and your project is damaged. But there's a simple trick to make it foolproof.
Grab your seam ripper and a single straight pin. Place the pin horizontally across one of the bar tacks, just inside the stitching. The pin acts as a physical barrier, stopping your seam ripper from going too far and cutting your stitches.
Insert the tip of your seam ripper into the fabric at the opposite end of the buttonhole and gently push forward until you hit the pin. For a really long buttonhole, you can even put a pin at both ends and cut from the middle out to each side. This gives you a clean, sharp opening every time without the risk. Now you just need to sew on the button and step back to admire your work
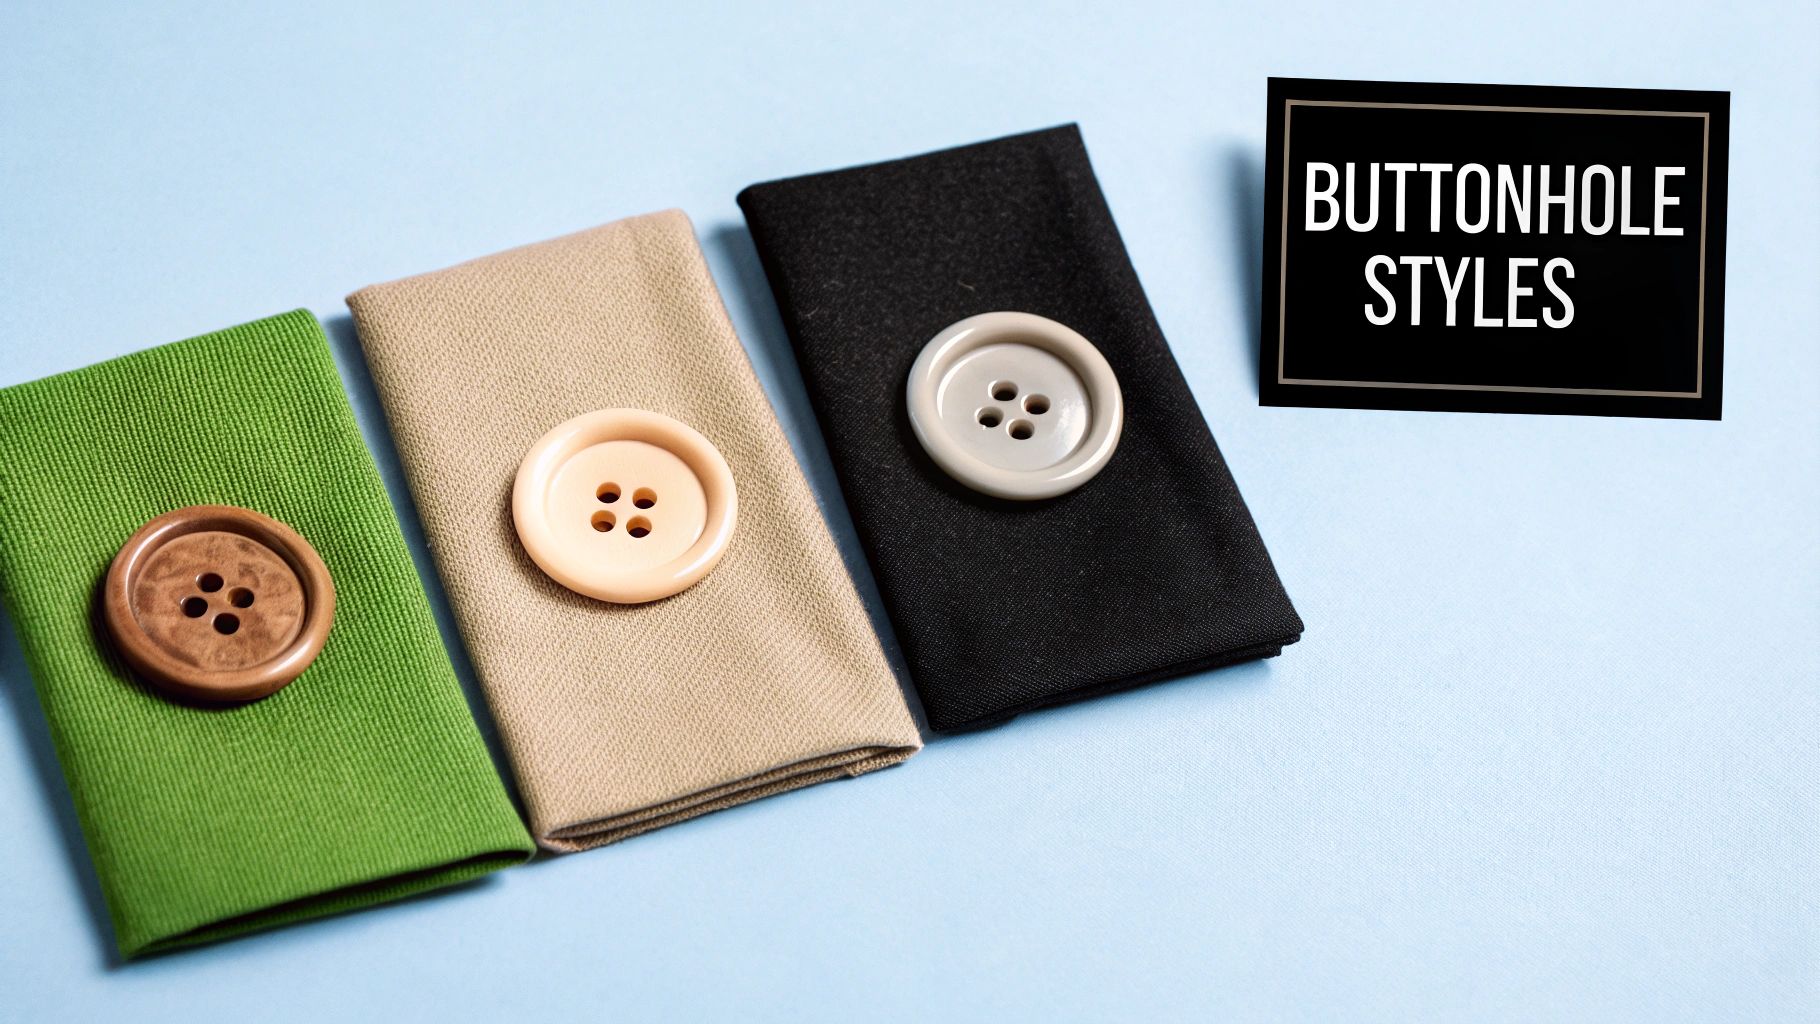
Once you've got the hang of sewing a standard buttonhole, a whole new world of creative and functional options opens up. Most modern machines can do more than just a basic rectangle, and knowing which style to use can give your projects a truly professional finish. These variations aren't just for show; they're designed for specific fabrics and purposes.
Moving beyond the standard buttonhole lets you tailor the closure perfectly to your garment. Think of it like choosing the right font—the style of the buttonhole should match the feel and function of what you're making.
One of the most useful variations you'll encounter is the keyhole buttonhole. You can spot it by its distinct circular opening at one end, just like an old-fashioned keyhole. This clever design serves a very practical purpose.
That rounded end is specifically made to accommodate the shank of a thick button, letting it settle in nicely without pulling the fabric out of shape. This makes it the perfect choice for heavier garments where you need some real durability.
If you've ever sewn a button on a knit top only to have the threads pop the first time you wear it, you need the stretch buttonhole in your life. This style is an absolute lifesaver for any fabric with a bit of give, like knits containing lycra or spandex.
Instead of the dense satin stitch of a standard buttonhole, the stretch version uses a series of lighter zigzag stitches. This creates a more open structure that can flex right along with the fabric. The result? A closure that won't break or cause that dreaded wavy, stretched-out look. It’s a game-changer when learning how to sew buttonholes by machine on anything stretchy.
A classic mistake is to use a standard buttonhole on jersey or sweater knits. The dense stitches essentially lock the fabric, killing the stretch and leading to popped threads or a distorted placket. Trust me, always switch to the stretch setting for a lasting, professional finish.
Beyond these functional workhorses, your machine might have some beautiful heirloom or decorative buttonholes. These are often more delicate, maybe with tapered ends or scalloped edges, and are meant to be a visible design element.
For example, a gorgeous cotton lawn blouse can be elevated with a delicate, tapered-end buttonhole for a vintage feel. A child's dress might feature a tiny, decorative buttonhole that adds to its charm.
Choosing the right buttonhole can feel a bit overwhelming at first, but it really comes down to matching the style to your fabric and the type of garment you're creating. To make it a little easier, here’s a quick-reference table I find helpful.
| Buttonhole Type | Best For Fabrics | Common Garment Applications |
|---|---|---|
| Standard/Rectangle | Light to medium-weight wovens (cotton, linen, chambray) | Shirts, blouses, dresses, skirts |
| Keyhole | Medium to heavy-weight wovens (denim, corduroy, wool) | Coats, jackets, trousers, jeans |
| Stretch | Knit fabrics (jersey, interlock, sweater knits) | T-shirts, cardigans, knit dresses, activewear |
| Heirloom/Decorative | Very lightweight wovens (voile, lawn, silk) | Blouses, christening gowns, children's wear |
Think of this table as a starting point. The more you sew, the more you'll develop an instinct for which buttonhole will not only look the best but also perform the best for your project.
Historically, the ability to create these varied buttonholes by machine was a huge leap forward. Moving from painstaking hand-sewing to specialized machines during the industrial revolution changed garment production forever. This technology is still critical today; import data reveals that around 1,756 shipments of buttonholing machines were traded globally last year, supplying over 1,165 buyers. This highlights the ongoing need for efficient, high-quality buttonhole making across the entire apparel industry. You can dig into more on the global buttonholing machine trade if you're curious.
Even after years of sewing, I still run into a stubborn buttonhole now and then. The good news is that most issues are caused by just a few common culprits, and they're usually surprisingly easy to fix. Think of these mishaps not as failures, but as your machine trying to tell you what it needs.
When things go wrong, it's easy to blame the machine. But more often than not, the solution is a simple adjustment to your setup. That dreaded “thread nest” on the underside of your fabric or stitches that look wonky are classic signs of a tension imbalance or—even more likely—a dull or incorrect needle. Before you get frustrated, take a deep breath and run through this quick diagnostic checklist.
One of the most frequent complaints I hear is about a buttonhole with weak, gappy stitches on one side and dense, tight stitches on the other. This almost always points to an issue with how the fabric is feeding under the presser foot.
The primary cause is usually a lack of stabilization. If your fabric is too soft or stretchy, the dense satin stitches will pull and distort it, preventing the feed dogs from moving it evenly. The fix is as simple as using the right interfacing for your fabric weight.
Another thing to check is the presser foot itself. Is it snapped on correctly? Is there a bit of lint or thread caught underneath that could be getting in the way? A quick check and clean can often solve the problem in an instant.
My Personal Go-To Fix: For particularly tricky or slippery fabrics, I sometimes place a layer of tear-away stabilizer on top of the fabric as well, sandwiching my project fabric between the stabilizer and the interfacing below. This gives the feed dogs something extra to grip, ensuring a perfectly smooth and even feed every single time.
Is your automatic one-step buttonhole sewing halfway and then stopping, or just stitching in place? This is an incredibly common hang-up, and 90% of the time, the cause is the same: you forgot to pull down the buttonhole lever.
This small lever is what tells the machine’s sensor when it has reached the end of the buttonhole and needs to reverse direction. If it's not fully engaged or positioned correctly behind the little tab on the buttonhole foot, the machine simply doesn't get the signal to turn around.
The ideal buttonhole has satin stitches that are close enough to look solid but not so dense that they create a stiff, bulky ridge. If your stitches are too far apart, the buttonhole will look weak and may fray easily. On the flip side, if they're too dense, the machine might struggle to move the fabric, causing it to stitch in place.
Thankfully, this is just a simple stitch length adjustment. Most machines default to a good setting, but different fabric and thread combinations often require a little tweak. This is why you should always sew a test buttonhole on a scrap of your project fabric, complete with interfacing.
Mastering these troubleshooting skills is essential for any home sewer, but it also mirrors the precision required in large-scale garment production. The industrial sewing machine market, which includes these advanced buttonhole machines, was valued at around USD 5.0 billion in 2023 and continues to grow. This growth is driven by automation that produces consistent, high-quality buttonholes at speed—a key factor in global apparel manufacturing. You can discover more insights about the global high-speed sewing machine market here. Tackling these small problems helps you understand the mechanics of how to sew buttonholes by machine, building skills that translate to a more professional finish every time.
Even after you've made a few buttonholes, some nagging questions can pop up. It’s a technique with a lot of little details, so don't worry if you hit a snag—we've all been there! This is where you iron out the wrinkles and really start to master the craft.
Let's tackle some of the most common issues I see people run into.
Nine times out of ten, uneven stitches are a stabilization problem. If your fabric is shifting around while the machine lays down those dense satin stitches, you'll get gaps and wonky-looking sides. This is especially true for lightweight wovens and pretty much any knit fabric.
The fix is almost always a good quality interfacing fused to the back of your fabric. This gives the material the stability it needs to stand up to the stitching.
For really tricky fabrics like silk or chiffon, I also like to slide a piece of tear-away stabilizer on top of the fabric. It gives the presser foot and feed dogs something extra to grip, so everything moves along smoothly.
The other big culprit is thread tension. If you can see little dots of your bobbin thread on the top side, your top tension is too tight. Always, always sew a test buttonhole on a scrap of your project fabric (with interfacing!). If you see those dots, just dial back your top tension a little at a time until the stitches lock neatly between the fabric layers.
This is all about how much your machine does for you.
A one-step buttonhole is a feature on most modern, computerized machines. It's pretty magical. You put the actual button you're using into a special presser foot, pull down a lever, and the machine sews the entire thing perfectly sized, all in one go. It’s a lifesaver when you’re making a shirt with ten buttons.
A four-step buttonhole, on the other hand, is the manual version you'll find on older or more basic mechanical machines. Just like it sounds, you have to manually guide the machine through four stages: the bottom tack, one side, the top tack, and the final side. It means you're in the driver's seat, turning a dial or flipping a switch for each step. It definitely takes more focus to get the sides even, but it creates a perfectly sturdy and functional buttonhole.
My Take: The one-step is your best friend for speed and consistency. The four-step gets the job done and gives you a bit more control, but it requires a careful hand.
The classic rule of thumb is to measure the button's diameter and add 1/8 inch (about 3mm). That little bit of "ease" is what lets the button pass through without a fight.
But—and this is a big but—that rule doesn't always work. For chunky buttons, dome-shaped ones, or buttons with a thick shank, you'll probably need a little more wiggle room to account for their height.
There is truly only one way to know for sure: make a test buttonhole. Use a scrap of your fashion fabric with the same interfacing you're using in the real garment. Sew the buttonhole, slice it open, and then try to push your button through. It should be snug, but not a struggle. If you have to force it, add another millimeter or two to your length. If it slides through with a gap, shorten it up a bit. This single step will save you from so much potential frustration later.
At Famcut.com, we get excited about helping you build your skills, whether it's perfecting a buttonhole or tackling a big cosplay project. For more sewing tips, great supplies, and info on our sewing classes in the Atlanta area, come check us out.
At High Country Quilts we care deeply about community. With our experiences in retail, we know that a store is not only a place to shop but also a place for the community to gather and share. During this busy...

Hi! We’re Adam and Renee Wheaton, the new owners of High Country Quilts! For more than 40 years, we’ve owned and operated vacuum and sewing businesses. Following in Renee’s father’s footsteps after he retired from All Discount Vacuum and Sewing in Colorado...


Leave a comment