

We Love Our Quilting Community
At High Country Quilts we care deeply about community. With our experiences in retail, we know that a store is not only a place to shop but also a place for the community to gather and share. During this busy...


Alright, before we can even think about sewing, we need to talk about supplies. Getting your materials and tools in order first is half the battle, trust me. It’s a bit like prepping your ingredients before you start cooking—it saves you from scrambling around later and makes the whole process so much more fun.
Let’s get you set up for success.
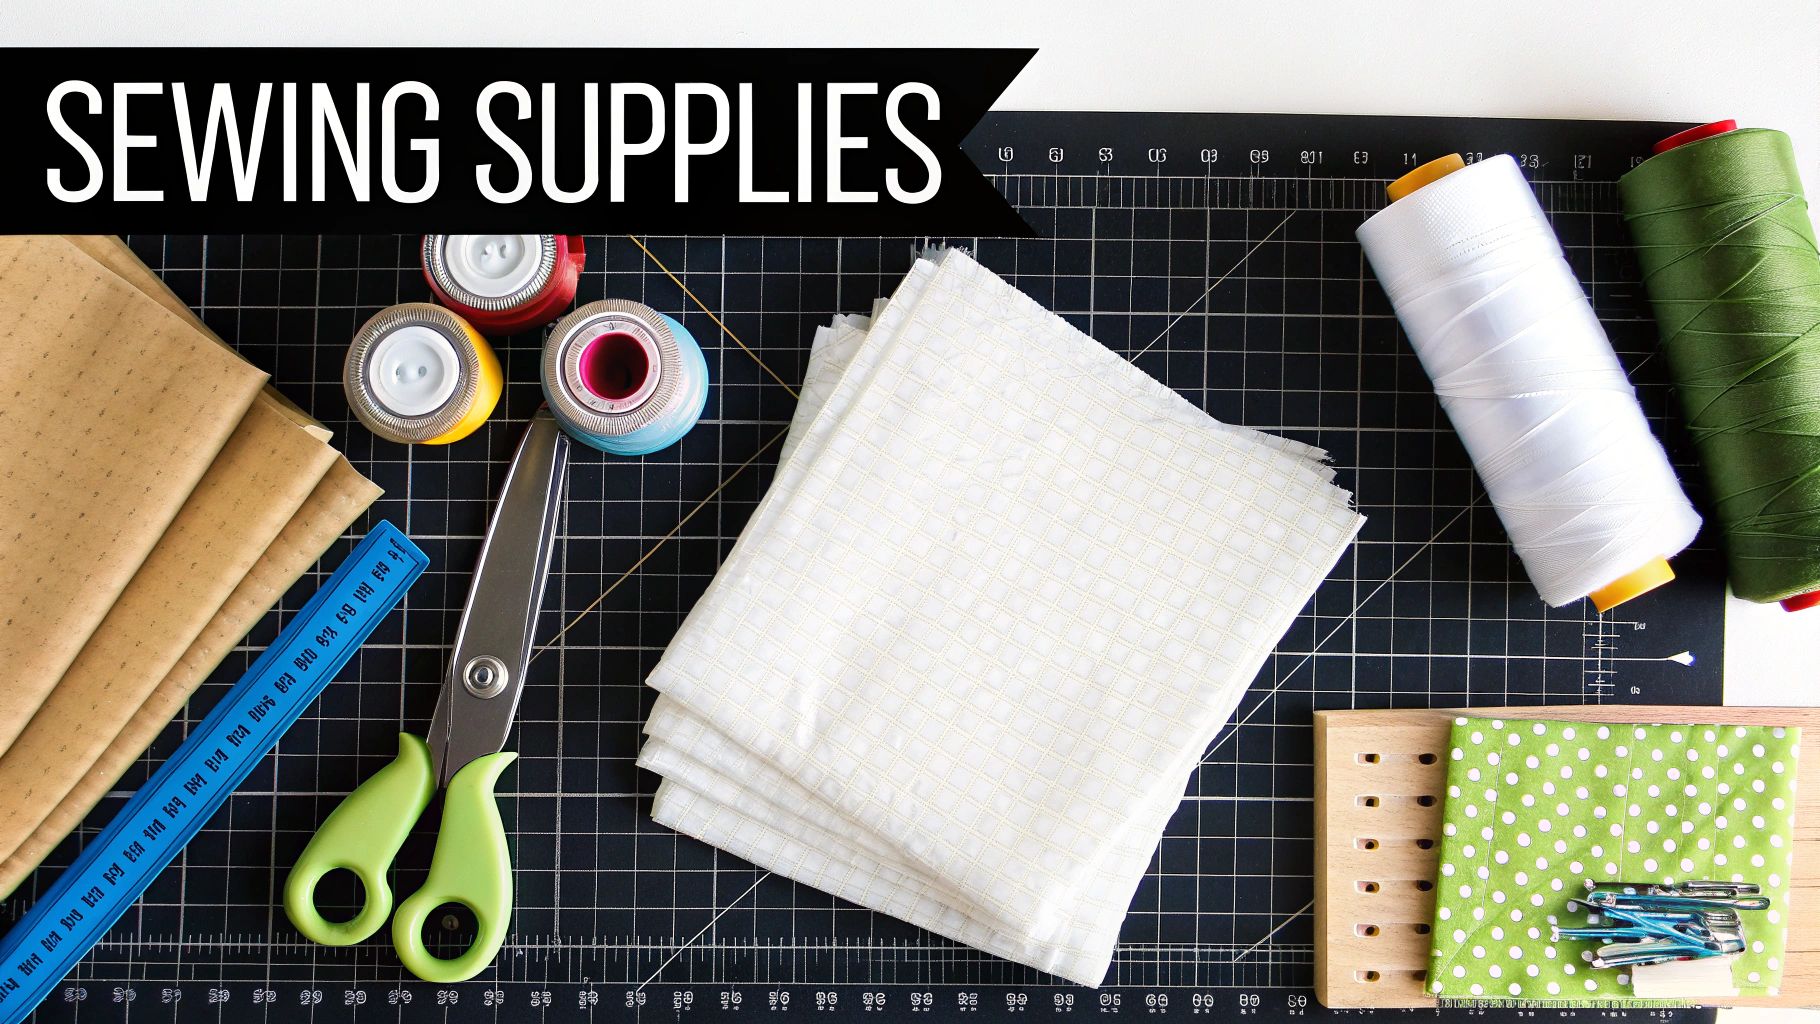
Here's a breakdown of what you'll need to pull from your stash or pick up at the fabric store.
When you're starting out, I always recommend quilting cotton. It's a dream to work with because it doesn't stretch or slip around, it presses beautifully, and the sheer variety of prints is just endless. You'll need one piece for the outside of your pouch (the exterior) and another for the inside (the lining).
Now, let's talk about the secret to a pouch that doesn't feel limp or homemade: interfacing. This is a material you iron onto the back of your fabric to give it some structure and body. A good, lightweight fusible interfacing like Pellon SF101 is my go-to for pretty much everything. It makes a world of difference.
My Personal Tip: Don't skip pre-washing your fabric! Cotton is notorious for shrinking, and the last thing you want is a wonky pouch after its first wash. A quick press with the iron before you cut also ensures your measurements are spot-on.
Choosing the right interfacing can feel tricky at first, so I've put together a quick guide to help you pair it with different fabrics.
This little chart is a great starting point for figuring out which interfacing will give you the best results for your project.
| Fabric Type | Recommended Interfacing | Best Use Case |
|---|---|---|
| Quilting Cotton | Lightweight woven fusible (e.g., Pellon SF101) | Everyday pouches, makeup bags, pencil cases |
| Canvas or Denim | Medium-weight non-woven fusible or no interfacing | Sturdy tool pouches, dopp kits, projects needing grit |
| Faux Leather/Vinyl | Non-fusible interfacing or fleece | Structured clutches, bags that need to stand on their own |
| Waterproof Canvas | None required | Snack bags, wet bags, outdoor gear |
Ultimately, the goal is to add just enough body to your fabric so the final pouch holds its shape without being too stiff to work with.
The zipper is obviously a key player here. For a beginner-friendly project, you can't go wrong with a standard nylon coil all-purpose zipper. They are incredibly forgiving—you can even sew over them (slowly!) without breaking a needle. I always suggest buying a zipper that's a few inches longer than the width of your fabric; it makes the installation process a thousand times easier.
For thread, a quality all-purpose polyester is the workhorse of sewing. It's strong, durable, and has just a tiny bit of give, which is perfect for seams that will see a lot of action. Try to pick a color that blends nicely with your exterior fabric for a clean, professional finish.
Finally, there are a few other tools that will make your life much easier:
A professional-looking pouch is made long before you ever sit down at your sewing machine. It all starts with getting your cuts straight and accurate. Think of this step as creating the blueprint for your project—if the foundation is solid, the rest of the sewing process will be so much smoother.
For this tutorial, we’re going to make a classic 10" x 7" finished zipper pouch. Once you understand the logic behind these measurements, you'll be able to confidently resize and design your own custom pouches down the road.
To get our finished 10" x 7" pouch, we need to cut four rectangles of fabric. These measurements already have a seam allowance built right in, which is the extra fabric around the edges that gets hidden inside the seams. We'll be using a standard 1/2-inch seam allowance on all sides, which is a great, forgiving size for beginners.
Here are the exact pieces you'll need to cut:
You might have noticed the interfacing pieces are smaller than the fabric. That's on purpose! By cutting the interfacing to the exact finished size of the pouch, we keep it out of the seam allowances. This simple trick reduces a ton of bulk, making the pouch easier to turn right-side-out and giving your finished seams a much flatter, crisper look.
Before you even think about sewing, it's time to fuse the interfacing to the wrong side of your two exterior fabric pieces. This is what gives your pouch its structure and keeps it from feeling limp or flimsy.
Seriously, take your time with this step. A perfectly fused piece of interfacing completely changes the feel of a finished pouch. Make sure your iron is set to the right temperature for your fabric and use firm, even pressure.
To get a good bond, lay the bumpy, adhesive side of the interfacing down on the wrong side of an exterior fabric piece. Center it carefully so there's a 1/2-inch fabric border all the way around.
Cover it with a press cloth (a scrap of cotton works perfectly for this) and press with a hot, dry iron for about 10-15 seconds. The key is to lift and press, not slide the iron around. Work your way across the piece until it's completely bonded, then repeat the whole process for the second exterior piece.
Nothing screams "homemade" like wonky edges. While a good pair of sharp fabric scissors will get the job done, using a rotary cutter, self-healing mat, and a clear ruler is the secret to getting super precise, fast cuts.
Taking the time to measure, cut, and fuse everything carefully really pays off. You're setting yourself up for a frustration-free sewing experience and a final zipper pouch you’ll be truly proud of.
Let's tackle the zipper. This is the part that seems to trip up so many new sewists, but I promise it's not as scary as it looks. We're going to use a simple layering method I call the "zipper sandwich," and it's my go-to for getting a clean, professional finish every single time. Once you get this down, you’ll look at zippers as a fun detail instead of a hurdle.
The whole trick is just making a neat stack of your materials before you even think about sewing. This technique neatly encloses all your seams and ensures the lining sits perfectly flat inside the finished pouch. It's one of those foundational skills you'll come back to again and again.
Alright, let's build our first sandwich. Grab one of your outer fabric pieces and lay it on your work surface, right side facing up. Now, place your zipper on top of it, also right side up. Make sure the top edge of the zipper tape lines up with the top raw edge of the fabric. I usually like to have the zipper pull over on the left side to start.
Next, take one of your lining pieces and place it on top of the zipper, this time with the right side facing down. You should now have a stack where the top raw edges of all three layers—your exterior, the zipper, and the lining—are perfectly aligned. Pin them or, even better, use sewing clips to hold everything steady. These little clips have become so much more common as home sewing has exploded in popularity.
It’s amazing to see how many people are getting into this craft. The global sewing machine market was valued at around USD 5.59 billion back in 2025 and is expected to climb to USD 7.26 billion by 2029. All that interest means we get access to tons of great tools and resources.
Time to head to the machine. You'll want to swap out your regular presser foot for a zipper foot. This little guy is a game-changer; it's designed to glide right alongside the zipper teeth without bumping into them, so you can stitch nice and close. I usually position my needle to the left of the foot for this first pass.
Sew all three layers together using a straight stitch, staying about 1/8 to 1/4 inch away from the zipper teeth. Take it slow and steady, pulling out the pins or clips just before you get to them. And don't forget to backstitch at the beginning and end to lock in your stitches.
Once you’ve sewn that first side, take the whole piece over to your ironing board.
A Quick Tip on Pressing: Don't skip the pressing! Seriously, it makes all the difference. Open up the layers and press both the exterior and lining fabrics away from the zipper. This step crisps up your seam and sets you up for a much easier time with topstitching.
Topstitching is what separates a good-looking pouch from a great-looking one. It’s that crisp line of stitching you see running parallel to the zipper on bags you'd buy in a store. But it’s not just for looks—it's super functional. It keeps the lining fabric from ever getting snagged in the zipper teeth, which is a common and annoying problem with un-topstitched pouches.
With your fabric still nicely pressed away from the zipper, bring it back to the machine. I like to lengthen my stitch a little bit here, usually from 2.5 to 3.0, because it just looks more polished. Sew a straight line about 1/8 inch from the folded edge, making sure you catch both the exterior fabric and the lining.
While we're using a standard zipper here, getting comfortable with other types is a great next step in your sewing journey. For instance, knowing how to sew invisible zippers is incredibly useful for making clothes or pillows where you want the closure to completely disappear.
Now, you just have to do it all again! Repeat the entire process—sandwich, sew, press, and topstitch—with your remaining exterior and lining pieces on the other side of the zipper tape. When you're done, you'll have a perfectly flat panel with a zipper installed right down the middle.
Alright, your zipper is in, and you've got this flat, two-sided panel. Now for the fun part: turning it into an actual pouch. This is where it really starts to take shape, and trust me, it’s easier than it looks. We're just going to fold, align, and sew a few key seams.
But before you even think about touching your sewing machine's foot pedal, there’s one critical thing you must do. If you take away only one tip from this entire guide, let it be this: open the zipper about halfway. I can't tell you how many times I've seen beginners (and even experienced sewists!) get to the end, only to realize their pouch is sewn completely shut. It's a frustrating mistake that forces you to grab a seam ripper, but it's so easy to avoid.
First, lay your panel out flat. You’re going to fold it right in half, bringing the two exterior fabric pieces together, right sides facing. When you do this, the two lining pieces will also fold onto each other, right sides together.
Now, take a moment to carefully line up all the raw edges. The side seams of the exterior should match up perfectly with the side seams of the lining. Pin or clip everything in place around the entire perimeter. Pay special attention to the seams right where the zipper is attached—getting those aligned on both sides makes for a much cleaner, more professional-looking finish.
Here's a little pro tip: At the ends of the zipper, push the seam allowances toward the lining side before you pin. It’s a small detail, but it helps reduce bulk and gives you much neater top corners on your finished pouch.
With everything clipped and secure, we're ready to sew. You'll start on one of the long sides of the lining fabric, a few inches away from a corner. We're going to sew almost all the way around this big rectangle.
Don't forget to backstitch right at the beginning to lock in your stitches. Using a 1/2-inch seam allowance, sew straight down the side.
As you get to a corner, slow down and stop with your needle down in the fabric. Then, lift your presser foot, pivot the whole piece 90 degrees, lower the presser foot, and continue sewing down the next side. This technique is the secret to getting those nice, sharp corners.
Keep sewing and pivoting all the way around. When you get back to the lining side where you started, sew for a bit, backstitch, and then stop, leaving a 3- to 4-inch opening. This gap is non-negotiable! It’s the magic portal you'll use to turn the entire pouch right-side-out in a few minutes.
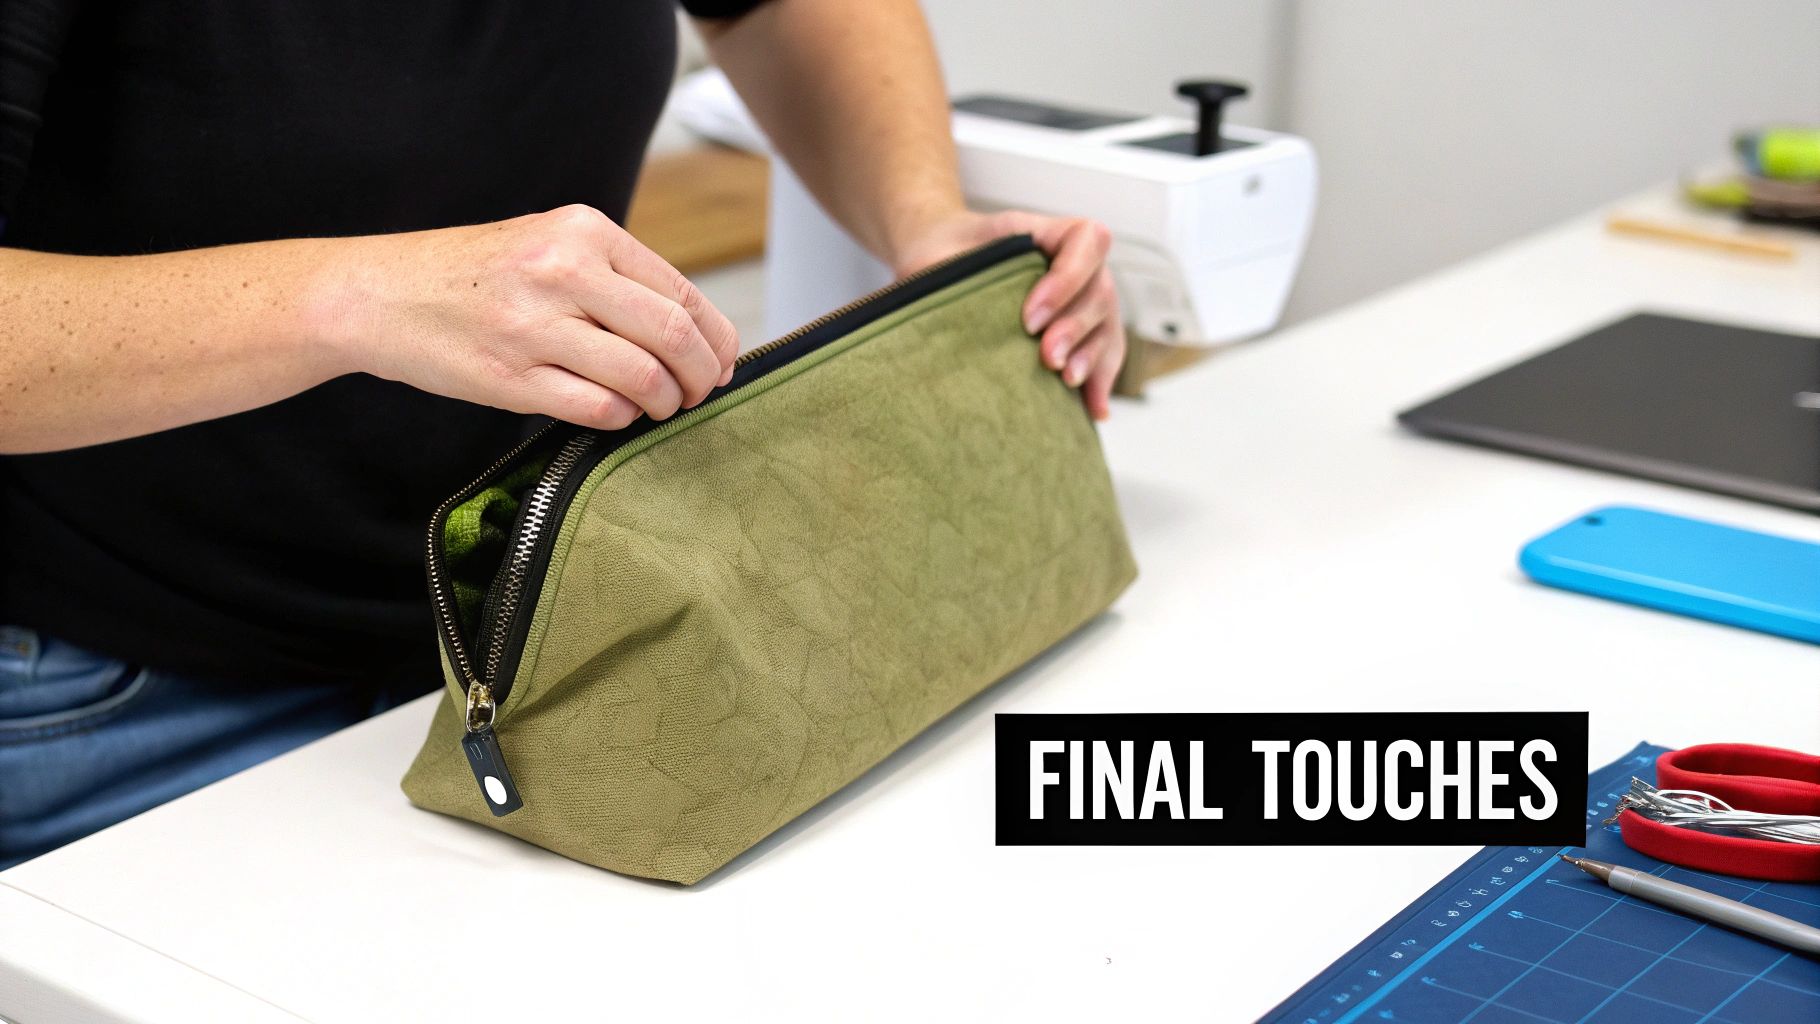
This is my favorite part—the grand finale! It's where your flat, sewn-together fabric pieces finally become a real, three-dimensional pouch. With your main seams stitched up and that all-important gap left in the lining, you're ready for the magic trick.
Reach right through the opening you left in the lining and grab the far end of the exterior fabric. Now, gently start pulling the entire pouch through that hole. Don't panic if it looks like a crumpled mess at first; that's totally normal. Just keep easing it through until everything is right-side out.
Once you’ve mastered this basic construction, you can easily create all sorts of incredible things, like beautiful personalised pouches that make perfect gifts.
Now that the pouch is turned, it's time to give it some structure. The corners will probably look a little soft and rounded, so they need a bit of coaxing to look sharp.
I like to use a point turner, but a simple chopstick or the blunt end of a pen works just as well. Gently poke out each of the four corners from the inside. The key is to be firm enough to get a nice, crisp point but gentle enough that you don't poke a hole right through your seams. It's a small detail that makes a world of difference.
Want your pouch to have a flat bottom so it can stand up on its own? The secret is adding "boxed corners." This technique sounds complicated, but it's surprisingly simple and gives your project such a professional look.
Here’s how it's done:
Do this for the other bottom corner of the exterior fabric, and then repeat the exact same steps for both bottom corners of the lining. You'll be amazed at the shape it creates when you turn the pouch right-side out!
Why Box Corners Work: This clever trick essentially flattens the pointy corners into a base or gusset. The length of the line you sew (2 inches in our example) directly determines the depth of your finished pouch.
We're almost there! The last little bit of sewing is closing that gap you left in the lining. Start by tucking the raw edges of the opening inward by about 1/2 inch, matching the original seam allowance. A quick press with the iron will help hold it in place.
You've got two great options for sealing it up:
Once the lining is sealed, tuck it down neatly inside the pouch. The final, non-negotiable step is to give the entire pouch a good, thorough press with a hot iron. This sets the seams, sharpens the edges, and gives your project that polished, store-bought look.
Even the clearest instructions can leave you with a few head-scratchers, especially when you're just starting out. I've seen these same questions pop up time and time again in sewing classes and online forums. Let's tackle them head-on so you can get unstuck and back to your project.
Getting these little details right is what really makes your finished pouch look polished and professional.
This is, by far, the most common frustration for anyone sewing their first few pouches. You finish your bag, go to zip it open, and crunch—the lining gets snagged. The culprit is almost always a missed step: topstitching.
That little line of stitching you run along the outside edge of the zipper isn't just for looks. Its main job is to tack down the lining and the seam allowance underneath, forcing them to lie flat and stay far away from the zipper teeth. Don't skip it!
Another thing to check is your cutting accuracy. Before you even sit down at your machine, make sure your outer fabric and lining pieces are cut to the exact same dimensions. If one is even a little bigger than the other, that extra fabric has to go somewhere, and it usually ends up bunching up inside.
Mushy, rounded corners can make an otherwise perfect pouch look a little homemade. Luckily, getting those sharp, professional-looking points is all about a simple two-part trick you do right before turning your pouch right-side-out.
First, you have to get rid of the bulk. After sewing the main body of the pouch, take your scissors and snip the seam allowance diagonally across each bottom corner. You want to get as close as you can to the stitches without actually cutting them. This removes the excess fabric that creates lumps.
The second step is all in how you turn it. Once your pouch is right-side out, grab a point turner, a chopstick, or even the blunt end of a pencil. Gently poke the corners out from the inside until they are nice and sharp. A final press with a hot, steamy iron will lock them into a perfect point.
Absolutely! A waterproof pouch is a fantastic, practical project for organizing makeup, carrying wet swimsuits, or even packing snacks. The key is choosing the right fabric for the job.
A quick pro-tip for working with these materials: use sewing clips instead of pins. Pins will leave tiny, permanent holes in the fabric, which defeats the whole purpose of it being waterproof! You may also find a Teflon or walking foot helps the fabric feed through your machine without sticking.
At Famcut.com, we're passionate about helping you succeed in all your sewing and cosplay projects with the best supplies and expert advice. Discover everything you need for your next creation at https://famcut.com.
At High Country Quilts we care deeply about community. With our experiences in retail, we know that a store is not only a place to shop but also a place for the community to gather and share. During this busy...

Hi! We’re Adam and Renee Wheaton, the new owners of High Country Quilts! For more than 40 years, we’ve owned and operated vacuum and sewing businesses. Following in Renee’s father’s footsteps after he retired from All Discount Vacuum and Sewing in Colorado...


Leave a comment