

We Love Our Quilting Community
At High Country Quilts we care deeply about community. With our experiences in retail, we know that a store is not only a place to shop but also a place for the community to gather and share. During this busy...


Learning how to sew a napkin is one of those simple, satisfying skills that opens up a world of possibilities for your table. At its core, it's just a matter of cutting a square of fabric, pressing the edges to create a neat hem, and stitching it in place. That's it! This makes it a fantastic starting point for anyone new to sewing.
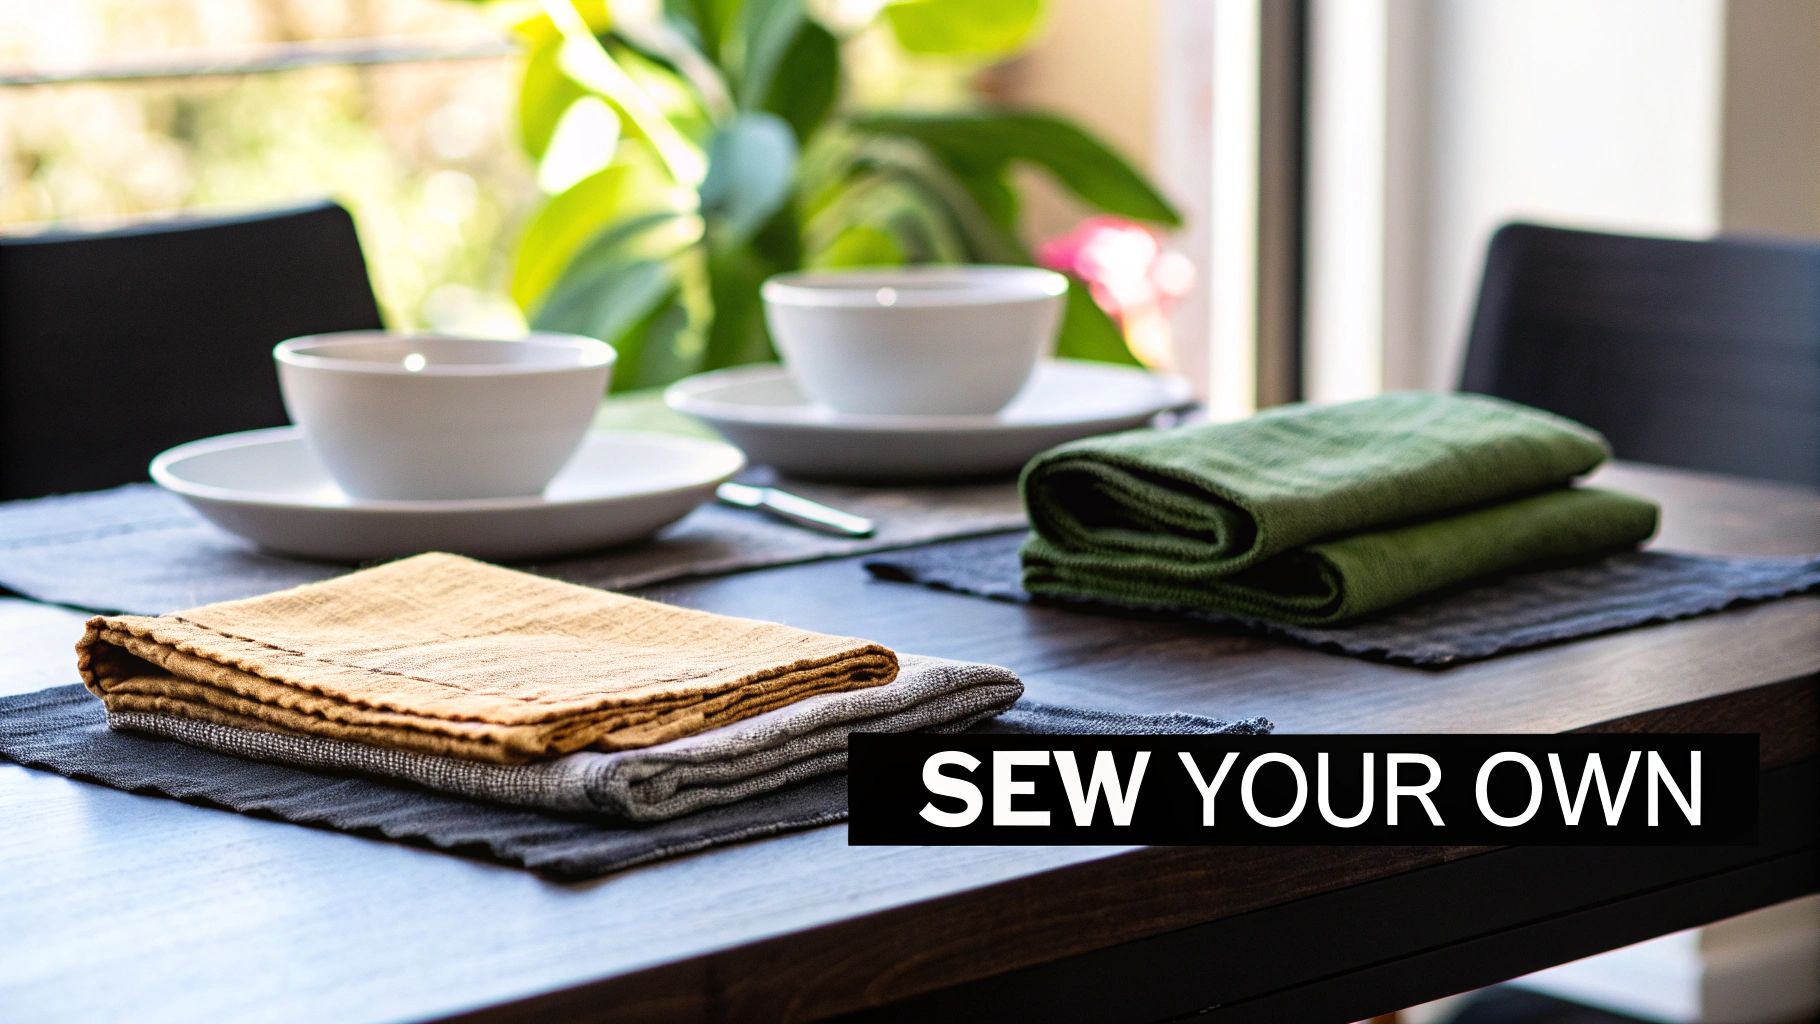
Tackling a project like cloth napkins is more than just a fun way to spend an afternoon—it's incredibly practical and rewarding. If you're just starting, this is the perfect project to build your confidence and get the hang of basic skills like straight stitching and hemming. For those of us who have been sewing for years, it’s a wonderfully quick way to use up beautiful fabric scraps or whip up something special for a dinner party.
The real magic of DIY napkins is having total creative freedom. You’re no longer stuck with whatever the big box stores decide is in style. Instead, you can swing by High Country Quilts and pick out the perfect fabric to match your favorite dishes, celebrate an upcoming holiday, or just bring a little more of you to the table.
Beyond just looking pretty, sewing your own napkins has some real advantages that make it a project I come back to again and again. It's that perfect blend of practical craft and personal expression.
Crafting your own napkins is a fantastic way to ensure a perfectly coordinated and personalized look for any meal. Discover expert guidance on how to set a formal dining table to impress your guests.
Ultimately, sewing your own napkins is all about bringing a bit of handmade charm to your everyday moments.
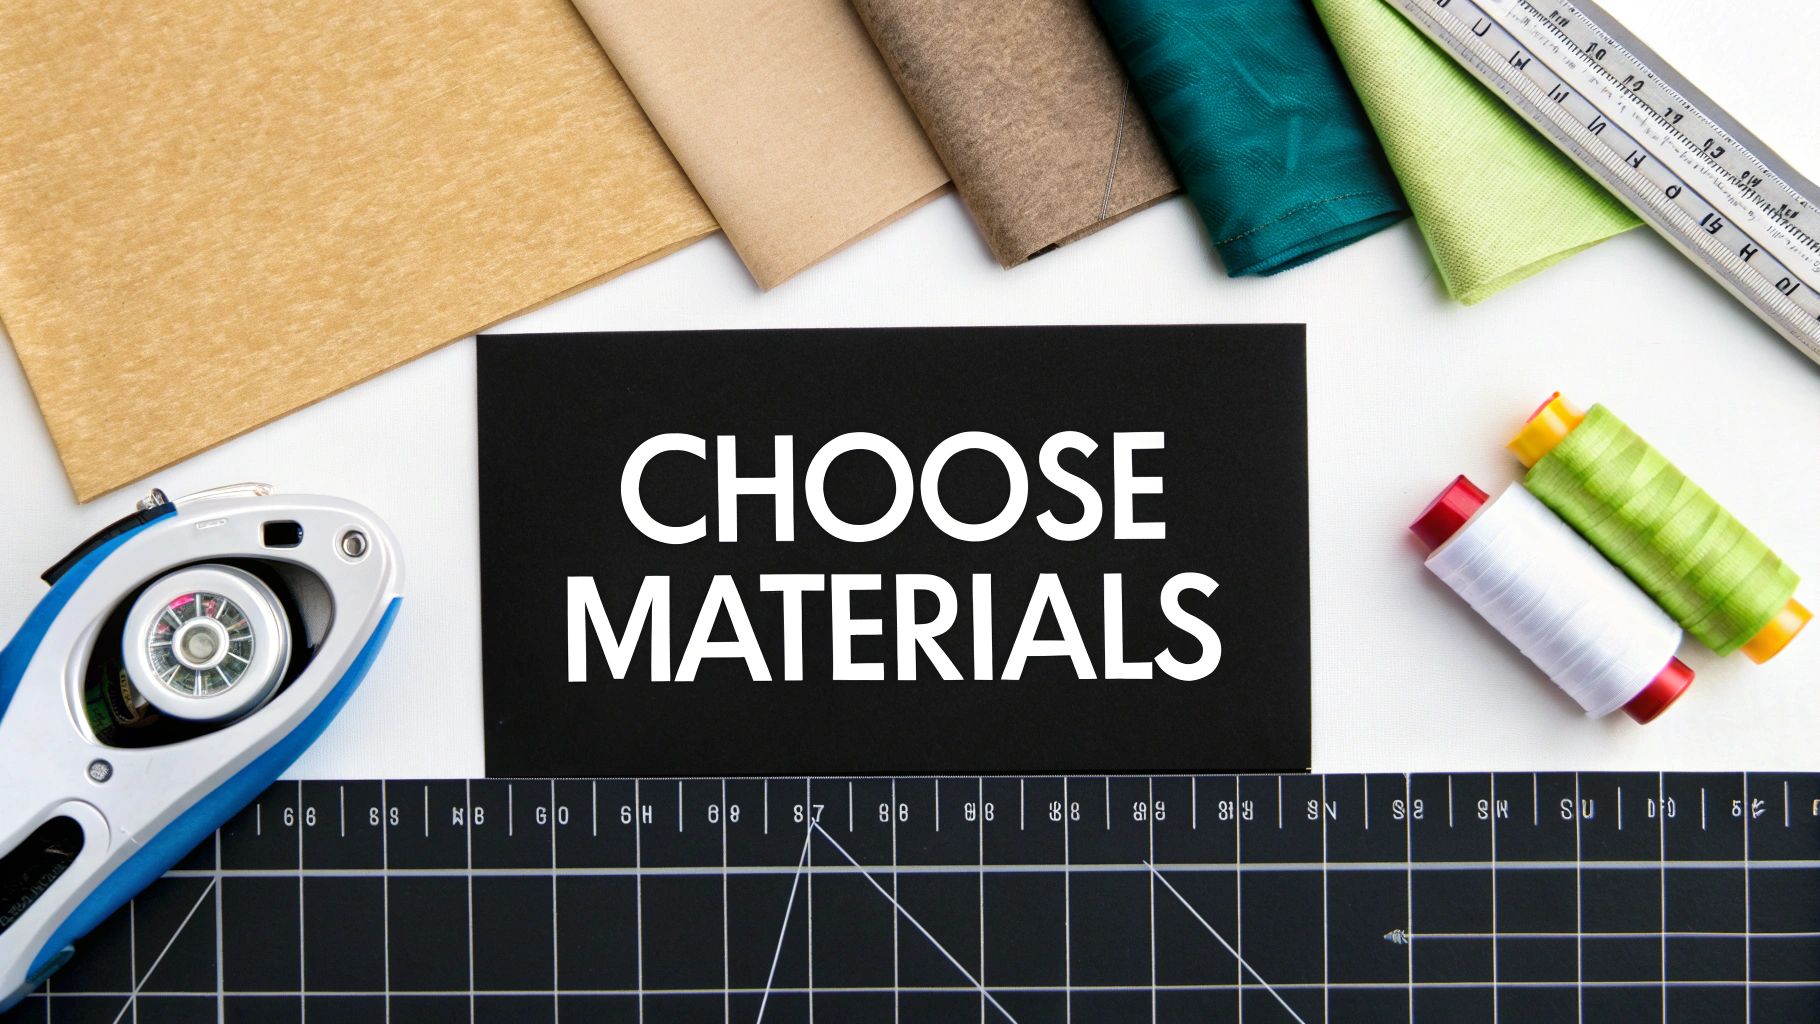
The secret to a napkin that looks fantastic and stands up to countless spaghetti dinners is starting with the right materials. Your fabric choice really sets the tone, influencing everything from the drape and feel to how it holds up in the wash.
When you're making something for everyday use, you just can't go wrong with a high-quality quilting cotton. It's durable, comes in a million different prints, and is a dream to sew with. For a slightly more elegant or rustic vibe, linen and linen blends are wonderful options. They get that beautiful, soft, lived-in texture the more you wash them.
If you're curious about what makes cotton fabric such a go-to for home textiles, you'll find it's all about its absorbency and strength. It's a workhorse!
Choosing reusable napkins is also a fantastic step toward a more sustainable home. It's a trend we're seeing everywhere as the market for paper napkins (projected to hit USD 10.1 billion by 2030) shows a broader growing demand for reusable home goods. Think about it: a napkin made from our 100% cotton seasonal fabrics can easily last 300+ washes, while a paper napkin gets tossed after one meal.
Choosing the right material can feel overwhelming with all the beautiful bolts at the shop. This little table breaks down my favorite options to help you decide what's best for your project.
| Fabric Type | Best For | Care Instructions | Sewing Tip |
|---|---|---|---|
| Quilting Cotton | Everyday meals, beginners, and vibrant prints | Machine wash warm, tumble dry medium | Very stable and easy to cut and press. A universal needle works perfectly. |
| Linen/Linen Blend | Formal dinners, housewarming gifts, a rustic look | Machine wash cold, tumble dry low or hang dry | Can be shifty; use plenty of pins or clips. It will soften beautifully with each wash. |
| Cotton Chambray | A casual, denim-like appearance | Machine wash cold, tumble dry medium | Presses wonderfully but can fray a bit. Finish your seams well. |
| Double Gauze | Soft, absorbent, crinkly texture for casual use | Machine wash cold, gentle cycle, tumble dry low | This fabric is delicate! Be gentle and avoid over-pressing to maintain its texture. |
Ultimately, the best fabric is one that you love and that fits how you'll use your napkins. Don't be afraid to experiment!
Before you even think about cutting, you absolutely must pre-wash and dry your fabric. I know it’s tempting to skip, but this is a non-negotiable step! Natural fibers like cotton and linen are notorious for shrinking, sometimes up to 5%, in their first wash.
If you skip the pre-wash, your perfectly square napkins will likely come out of their first laundry cycle looking warped and wonky. Just toss your fabric in the machine and wash and dry it exactly how you plan to care for the finished napkins. This gets all that shrinkage out of the way first.
A hot, steamy iron is your best friend on this project. Seriously. Pressing your fabric after washing and pressing your hems as you go are the true keys to getting those crisp, professional-looking edges.
Having all your tools ready before you start makes the whole process so much more relaxing and fun. You don’t need a ton of fancy gadgets, but a few key items will make a world of difference in your final product.
Here’s a quick checklist of what I always have on my cutting table for a project like this:
With your fabric prepped and your tools laid out, you're all set for a smooth and successful sewing session. This initial prep work is what takes your napkins from simply "homemade" to beautifully handmade.
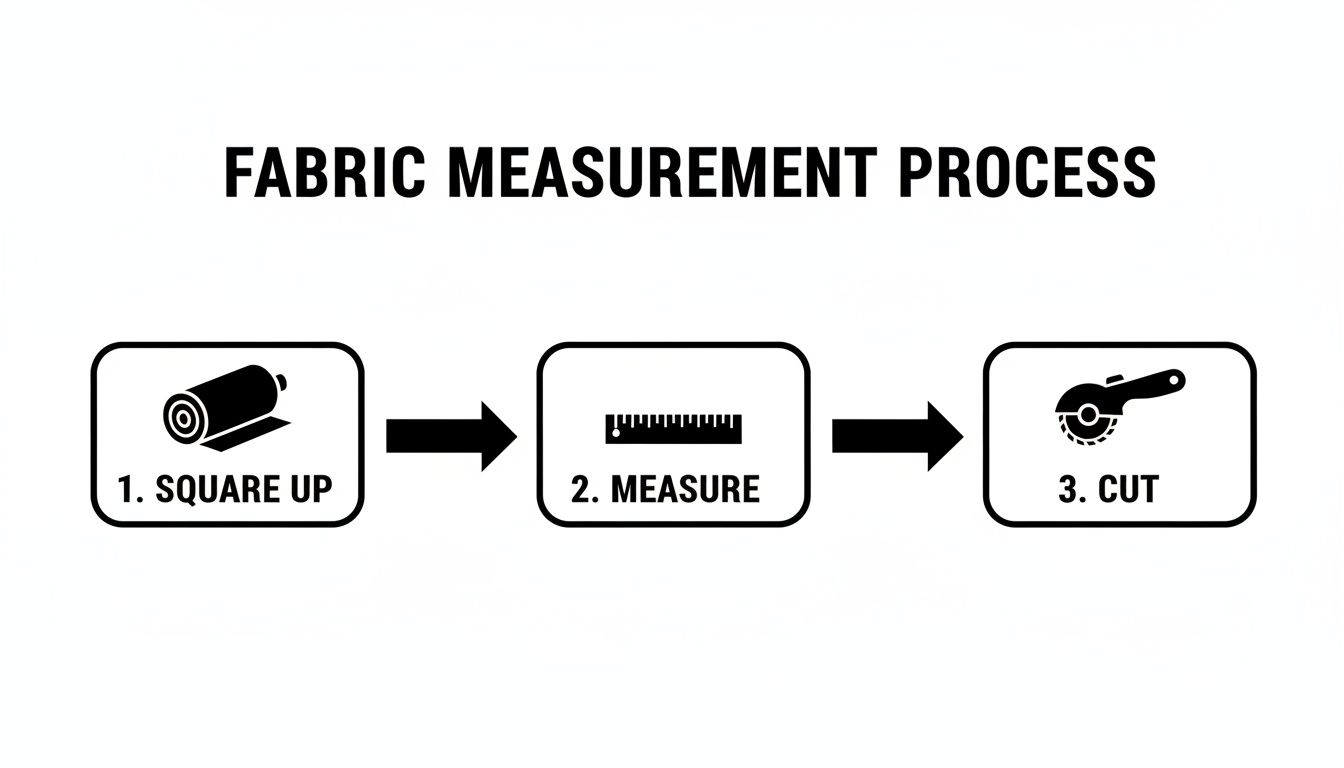
A beautiful napkin starts long before you sit down at your sewing machine. It all begins with a precise cut. Taking the time to get your measurements right and ensuring your fabric is perfectly square is the single most important thing you can do for flawless hems and sharp corners later on.
First up, let's talk about size. Napkin dimensions can vary a lot, but a few standard sizes will see you through just about any occasion.
My Go-To Rule: Always add your hem allowance to your desired finished size before you even think about cutting. For a simple double-fold hem, I add 2 inches to both the length and width. So, for a finished 18x18 inch napkin, I'll cut a 20x20 inch square. It's a foolproof way to make sure you have enough fabric to work with.
Here’s a hard-earned lesson: never, ever trust the cut edge of the fabric straight off the bolt. It’s almost guaranteed to be crooked. To get truly square napkins, you have to square up your fabric first. This is where a rotary cutter, mat, and a clear acrylic ruler really earn their keep.
Lay your pre-washed and pressed fabric out on your cutting mat. The first step is to create one perfectly straight edge to work from. I like to line up the selvage (that tightly woven edge that doesn't fray) with a horizontal line on the mat. Then, place your ruler along a vertical line on the mat, creating a perfect 90-degree angle. Now, trim off that wonky factory edge with your rotary cutter. Voila! You have a true, clean corner to measure from.
Taking a few moments to do this is the secret to avoiding those frustrating, skewed hems that just won’t lie flat. It ensures every side is the exact same length and every corner is a true right angle.
Once your fabric is squared up, the rest is easy. To make those 18x18 inch dinner napkins, you'll simply measure and cut 20-inch squares from your newly straightened corner. By taking your time here, you’re doing more than just cutting fabric—you’re setting the stage for a truly professional-looking set of napkins.
When you sew your own napkins, you're tapping into a massive trend. The global home textile market was valued at an incredible USD 149.09 billion in 2025 and is projected to grow to USD 267.58 billion by 2035. It's pretty cool to know your creative hobby is part of such a significant movement! You can see more details about the home textile market on Precedence Research.
This is where the magic really happens—where your neat square of fabric officially becomes a finished napkin. The hem is what gives your project structure, durability, and that polished, store-bought look. We'll walk through three fantastic methods, and I promise each one creates a beautiful result.
Before we dive into hemming, remember that your prep work is key. The steps below—squaring up, measuring, and cutting—are the foundation for any good hemming technique.
Starting with true 90-degree corners is what sets you up for success. It makes all the difference, no matter which finish you choose.
This is the workhorse of hems and a wonderful technique for any beginner to master. A double-fold hem is clean, incredibly durable, and my go-to for medium-weight fabrics like quilting cotton. It completely encases the raw edge of the fabric, so you never have to worry about fraying, even after dozens of trips through the washing machine.
Honestly, most of the work for this hem is done at your ironing board. A good, hot iron is your best friend here.
A little pro tip for perfect corners: To reduce bulk where the hems overlap, you can snip a tiny bit of fabric from the corner before you make that final fold. Just be careful not to cut past your fold lines!
If you want to take your napkins to the next level, a mitered corner is the way to go. This technique creates a sharp, diagonal seam right at the corner, just like you’d see on a picture frame. It looks incredibly professional and creates a perfectly flat, non-bulky corner, which is especially nice if you're working with a thicker fabric.
It might look fancy, but it’s really just a series of clever folds.
First, you'll press a double-fold hem just like we did above—a 1/2-inch fold, followed by another 1/2-inch fold. Then, unfold everything. You should see a little grid of crease lines near the corner.
Now for the magic. Fold the very tip of the corner in diagonally, so the point lines up with the intersection of the outermost crease lines. Press that fold. From there, you just refold your hems along the existing creases. The edges will meet perfectly at a 45-degree angle. Give it a final press and stitch it down!
For a more delicate, refined finish, especially on lightweight fabrics like linen or double gauze, a rolled hem is a fantastic option. It creates a tiny, clean edge that’s far less bulky than a traditional hem. While you can certainly do this by hand, the fastest way is with a little help from your machine.
There are two great ways to pull this off:
Ultimately, your hemming method comes down to the fabric you’re using, the look you want, and the tools you have on hand. Each one produces a beautiful napkin you’ll be proud to have on your table.
Alright, once you've nailed down the basic construction, the real fun begins. A simple hemmed square is lovely on its own, but think of it as a blank canvas just waiting for your signature touch. This is where you can go beyond a simple sewing project and start infusing your personality into every stitch.
Never underestimate how much a small detail can change the entire vibe of your project. Something as simple as swapping matching thread for a bold, contrasting color can instantly take a napkin from classic to modern. Just imagine a crisp white linen napkin stitched with a vibrant red thread for the holidays—a tiny change with a huge impact.
This is also the perfect excuse to finally play with those decorative stitches on your BERNINA sewing machine. So many of us have a whole library of beautiful stitches built right into our machines that we completely forget about! A simple scallop, honeycomb, or delicate leaf stitch sewn right along the hemline adds a bit of texture and a bespoke quality that feels incredibly special.
Adding custom details doesn't have to be a huge, time-consuming effort. You can create a stunning, personalized set of napkins with just a few extra minutes per piece. These simple techniques are perfect for making your napkins truly one-of-a-kind or for creating a heartfelt, handmade gift.
Don't stop at just one set of napkins! You can grab a coordinating fabric collection from High Country Quilts and create a whole table ensemble with matching placemats, a table runner, and even coasters. It’s the easiest way to pull together a cohesive and really impressive tablescape.
Making your own cloth napkins isn't just about creating something beautiful; it's a small but meaningful act. In a world where the paper napkin market is still growing, your handmade version is a durable, personal, and beautiful alternative.
The move toward reusable products is a big deal, and your sewing project is a genuine part of that shift. While industrial machines can churn out thousands of paper products an hour (you can even read about the global market for napkin-making equipment), a handmade item has a durability and personal touch that can't be replicated. Each napkin you sew is one small step away from single-use products, making a real difference in your household's waste.
Even with a project as straightforward as cloth napkins, questions always come up. It's totally normal to get stuck on the little details—often, they're what make the biggest difference in how your project turns out. Let's walk through some of the most common queries we hear at the shop so you can get back to sewing with confidence.
Learning how to sew a napkin is a fantastic skill, and tweaking your technique along the way is all part of the fun. Here are a few quick answers to help clear things up.
For everyday fabrics like cotton and linen, you can't go wrong with a durable all-purpose polyester or a cotton-wrapped polyester thread. It’s tough enough to stand up to the frequent washing and drying that napkins go through, so you won't have to worry about your stitches popping or fraying.
At High Country Quilts, we usually suggest matching your thread to your fabric for that clean, seamless look. That said, choosing a contrasting color can be a really fun design choice! Just remember to use the same thread in both your needle and your bobbin—it’s key for getting strong, balanced stitches.
Ah, the dreaded bulky corner. It's a common frustration, but there’s a simple trick to getting them to lie perfectly flat. The secret is to trim away a tiny bit of excess fabric before you sew. We sometimes call this "de-bulking," and it's what gives you those crisp, professional-looking corners.
Here’s how you do it: press your hems along both sides of one corner, then unfold them. You'll see a small square where the crease lines intersect. Just snip that little square off diagonally, being careful not to cut past the creases. When you refold and stitch, the fabric will nestle together perfectly without all that extra bulk.
This one small step is honestly one of the biggest differences between a "homemade" look and a truly "handmade," professional finish. It’s a game-changer!
Figuring out yardage can feel a little intimidating, but it's really just some simple math. Let’s say you want a set of six standard 18x18 inch dinner napkins. First, you have to add your hem allowance. If you're doing a 1-inch hem on all sides, you'll need to cut 20x20 inch squares.
With a standard 44-inch wide quilting cotton, you can easily get two of those squares side-by-side across the width. To get six napkins, you’ll need three rows. That means you need a piece of fabric 60 inches long, which comes out to about 1 and 2/3 yards. I always recommend grabbing a little extra, just in case a cutting mistake happens!
Absolutely! A sewing machine is definitely faster, but hand-sewing your napkins can be such a relaxing and rewarding process. It gives them a unique, personal touch that a machine just can't replicate.
All you really need is a sharp needle, good thread, and maybe a thimble to save your fingers. A simple running stitch or a sturdier backstitch will work beautifully for the hems. It might take a bit longer, but the control you have with hand-sewing is incredibly satisfying and results in a gorgeous, heirloom-quality set of napkins.
Ready to get started? High Country Quilts has everything you need, from beautiful seasonal fabrics to friendly, expert advice. Stop by our shop in Colorado Springs or explore our collection online to find the perfect materials for your handmade napkins.
At High Country Quilts we care deeply about community. With our experiences in retail, we know that a store is not only a place to shop but also a place for the community to gather and share. During this busy...

Hi! We’re Adam and Renee Wheaton, the new owners of High Country Quilts! For more than 40 years, we’ve owned and operated vacuum and sewing businesses. Following in Renee’s father’s footsteps after he retired from All Discount Vacuum and Sewing in Colorado...


Leave a comment