

We Love Our Quilting Community
At High Country Quilts we care deeply about community. With our experiences in retail, we know that a store is not only a place to shop but also a place for the community to gather and share. During this busy...


"Sandwiching" a quilt is the process of layering your backing fabric, batting, and quilt top together before you start the actual quilting. We often call this step basting, and its whole purpose is to make sure those three layers don't shift, pucker, or wrinkle while you're adding your stitches. Getting this foundational step right is honestly the secret to a professional, flat finish.
Before you even think about laying out your fabric, it's so important to understand why the quilt sandwich is the unsung hero of your project. This isn't just a simple layering step; it's what transforms your beautiful patchwork into a durable, cohesive quilt. A well-made sandwich is your absolute best defense against the puckers, shifting fabric, and annoying wrinkles that can plague the quilting stage.
Getting this right is less about just following steps and more about understanding how these three distinct layers need to work together. Think of it like building the frame of a house before you put up the walls. A strong, square frame ensures everything that comes after is straight and secure. The same goes for your quilt.
Here’s a quick overview of the three essential layers that make up your quilt sandwich and what each one does.
| Layer | Purpose | Key Consideration |
|---|---|---|
| Quilt Top | The decorative, pieced top layer of the quilt. | Must be pressed flat and squared up before basting. |
| Batting | The middle layer that provides warmth and dimension. | Loft (thickness) and material (cotton, wool, poly) will affect the final look. |
| Backing Fabric | The bottom layer that completes the quilt. | Should be 4-6 inches larger on all sides than the quilt top. |
Each layer plays a critical role, and getting them to cooperate is the whole point of the basting process.
A properly assembled quilt sandwich directly impacts the final quality and longevity of your hard work. This is one of those moments in quilting where a little extra patience pays off big time, saving you from frustrating fixes down the road.
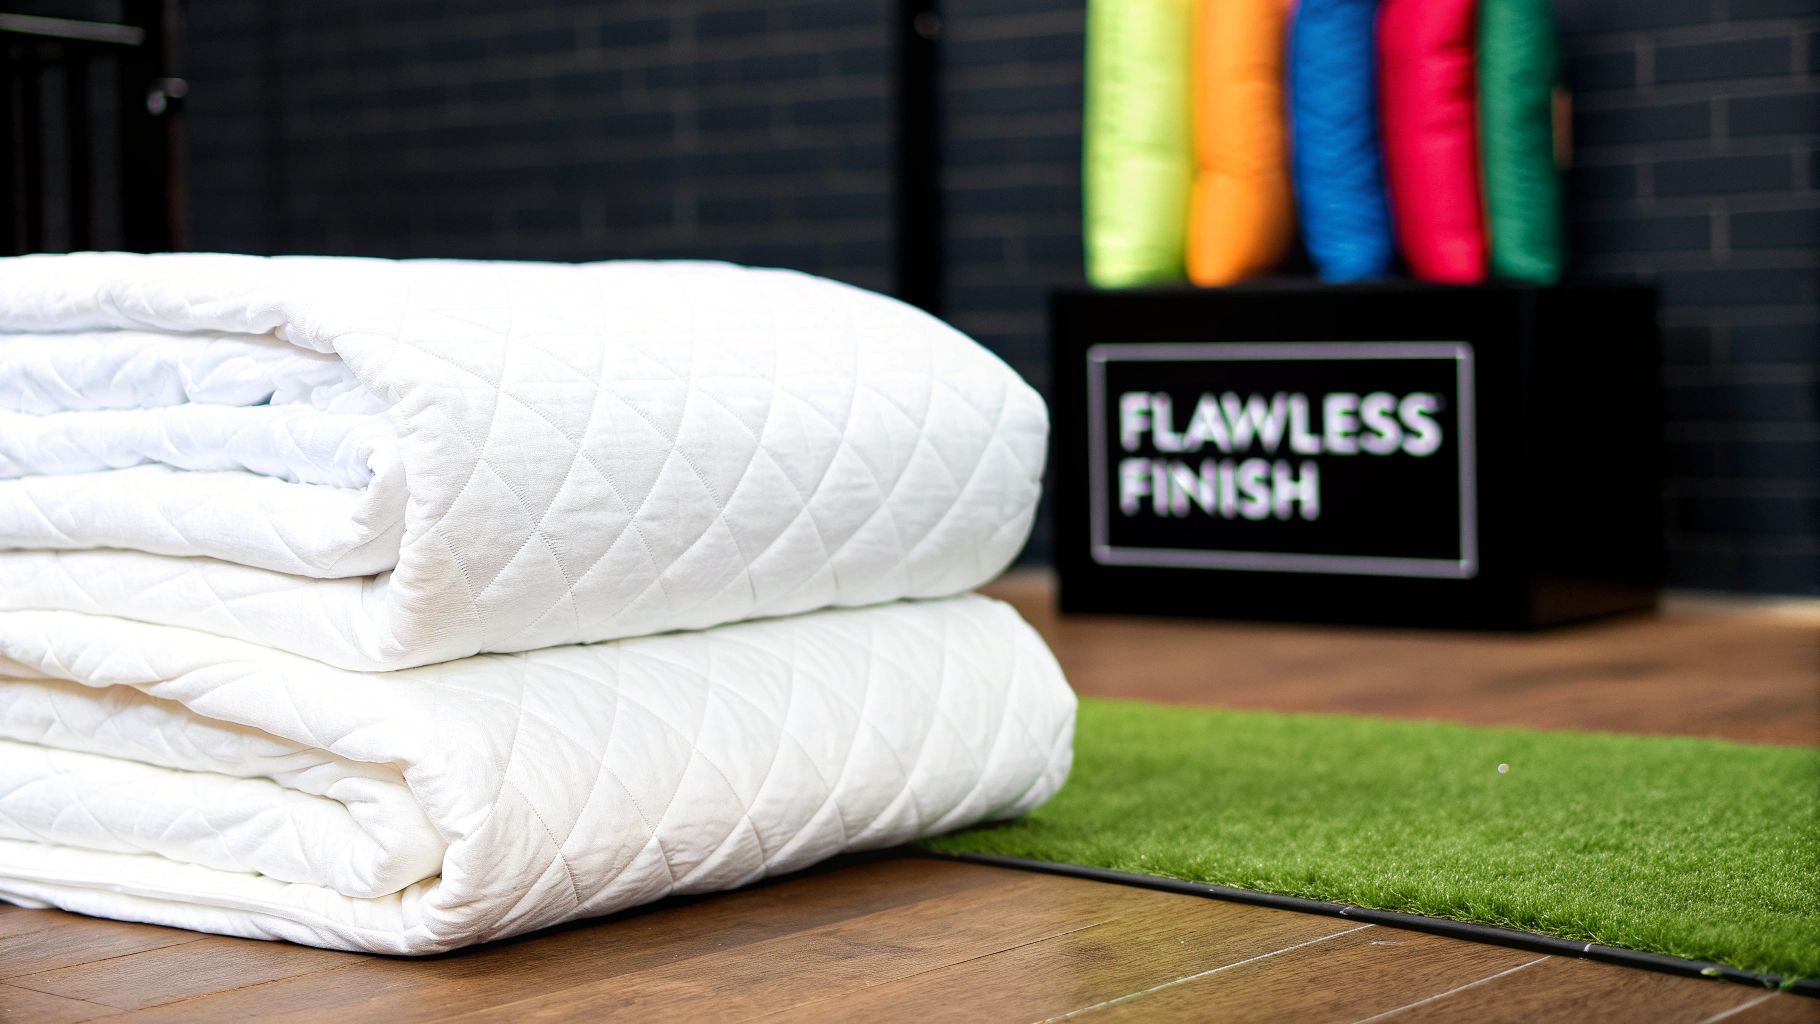
The time you invest in creating a flawless quilt sandwich is the single best way to guarantee a beautiful result. It’s the difference between a project you're proud of and one that causes headaches.
Before diving into the process, it helps to understand what makes a quilt unique. Knowing the fundamental differences between a comforter and a quilt gives you a better appreciation for the special construction you're about to undertake.
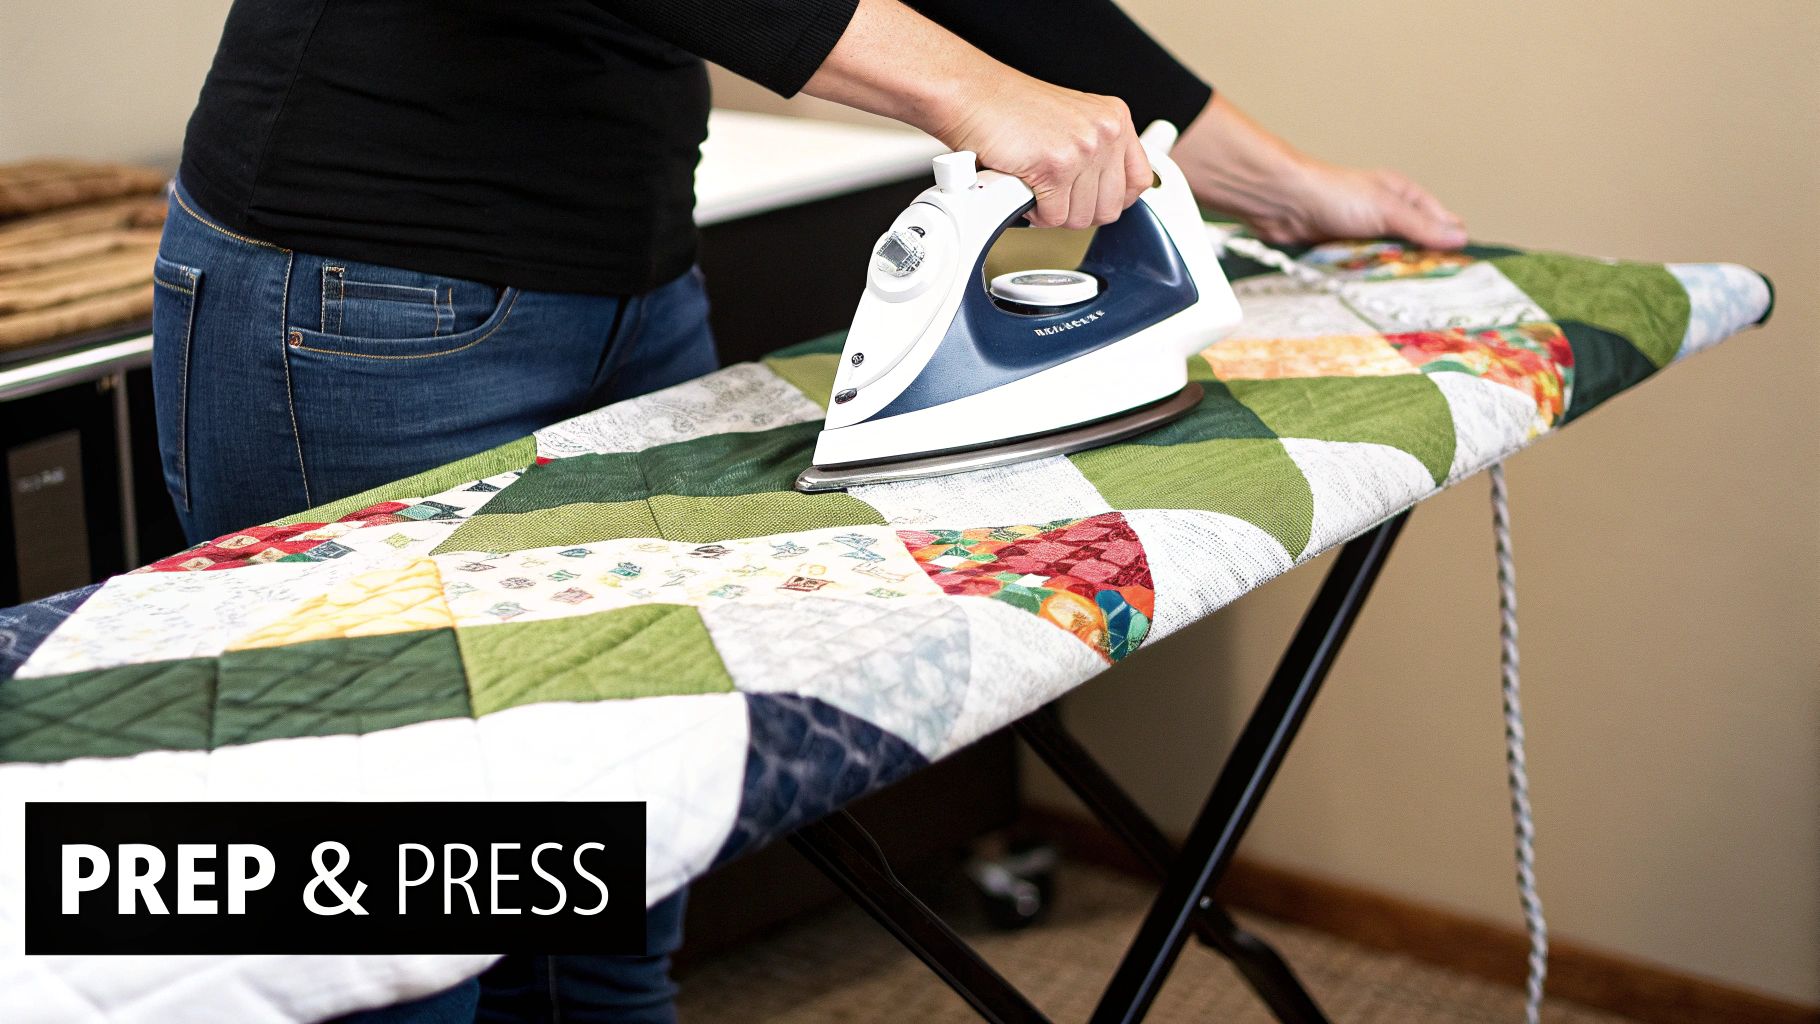
The secret to a flat, pucker-free quilt is all in the prep work. Honestly, what you do before the layers even touch is your best insurance against quilting headaches later on. A little meticulous effort now will pay off big time.
First up, your finished quilt top. Give it one final, thorough press to make sure every seam lies flat and every last wrinkle is gone.
While you've got it on the ironing board, flip it over and play detective. Look for any stray threads, especially dark ones that might peek through lighter fabrics later. Snip them all off now to prevent "shadowing" and keep your work looking crisp. Once it's pressed and tidy, square it up so the corners are true 90-degree angles and the sides are perfectly straight.
Your backing fabric needs the same careful attention. The golden rule here is to make it larger than your quilt top—I always aim for at least 4 to 6 inches extra on all four sides. This buffer zone is crucial for smoothing and securing everything without the quilt top falling off the edge.
If you pieced your backing, press that seam open or to one side. Then, just like the top, iron it until it's completely smooth.
Next, let's talk about the batting, the fluffy soul of your quilt. Take it out of the package and let it relax for a few hours to help the creases fall out. If it's being stubborn, you can toss it in the dryer on a low or no-heat setting with a damp cloth for a few minutes. That usually does the trick.
Taking the time to get these prep steps right makes the actual sandwiching process so much easier. When each layer is perfectly flat and cooperative, you've already sidestepped most of the common basting problems.
Modern materials like commercial batting are a luxury we sometimes take for granted. Before the Industrial Revolution brought us mass-produced fabrics, assembling quilts was a different story. By the late 19th century, pre-made cotton or wool batting became the standard, a far cry from the varied stuffing materials used in earlier times.
When you're choosing your batting, its weight and density play a huge role in the final warmth and drape of your quilt. If you're curious about the technical side, learning about what is GSM in quilts can help you pick the perfect one for your project.
Once all three of your components—top, batting, and backing—are pressed, squared, and wrinkle-free, you're officially ready to start assembling.
Once you have all your layers prepped and ready to go, it's time to make your quilt sandwich. The process of temporarily holding these layers together is called basting, and it's what keeps everything from shifting around while you're quilting. There isn't one "right" way to do it; the best method really comes down to the size of your quilt, the space you have to work in, and honestly, your personal preference.
Let’s walk through the most common techniques—pin basting, spray basting, and thread basting. Each one has its fans and its critics, and understanding how they work will help you figure out which one is the perfect fit for your project.
For many quilters, pin basting is the gold standard. It’s reliable, doesn’t involve any chemicals, and is super forgiving if you need to reposition a section. This method uses special safety pins to secure the top, batting, and backing.
The real trick here is to use the right tool for the job. You’re not grabbing just any safety pins from your junk drawer; you need curved safety pins. That little curve makes a world of difference, allowing you to scoop through the quilt layers without creating weird puckers or distorting your fabric.
I won't lie, pinning a large quilt on the floor can be a real workout for your hands and knees. But for the peace of mind that comes with knowing your layers are locked down, many quilters find it’s well worth the effort.
If spending an afternoon crawling around on the floor sounds like your own personal nightmare, you might fall in love with spray basting. This technique uses a temporary, repositionable fabric adhesive to gently tack the layers together. The result is a beautifully smooth, pin-free surface that glides under your needle.
Spray basting does come with a few non-negotiables, though. The big one is ventilation. You're working with an aerosol adhesive, so you absolutely must use it in a well-ventilated space. Think open garage, screened-in porch, or a room with all the windows open and a fan going.
A little goes a long way with spray baste. It's tempting to really soak the fabric, but a light, even mist is all you need. Too much spray can create stiff spots on your quilt and, even worse, gum up your machine needle.
This method is a game-changer for speed, cutting a job that could take hours down to maybe 30 minutes. Just be sure to put down a drop cloth or some old newspapers to protect your floors from overspray.
Thread basting is the most traditional technique, where you use a needle and thread to create long, running stitches through all three layers. It's definitely the most time-consuming of the bunch, but it offers a level of security that's second to none.
This is often the method of choice for hand quilters or for quilts that will have very dense machine quilting. The stitches hold every inch of the quilt exactly where it's supposed to be, completely eliminating any chance of shifting. You can do this by hand with a long needle and a contrasting color of thread, or you can even use your sewing machine with a long stitch length.
The biggest plus here is control. The basting stitches are soft and flexible, so they won't get in the way of a quilting hoop or jam up your machine foot like a pin sometimes can. After you’ve finished quilting, you just snip the basting threads and pull them right out.
Feeling a little unsure about which path to take? Sometimes seeing everything side-by-side makes the decision easier. Here’s a quick breakdown of the three main basting methods to help you choose the best technique for your next quilt.
| Method | Best For | Pros | Cons |
|---|---|---|---|
| Pin Basting | All-purpose; great for beginners and large quilts where repositioning is key. | Inexpensive, no chemicals, easily adjustable, very secure. | Time-consuming, can be hard on the hands and knees, pins can get in the way. |
| Spray Basting | Quilters short on time; creates a very flat surface for machine quilting. | Extremely fast, no pins to remove while quilting, results in a smooth finish. | Requires good ventilation, can get messy, potential for stiff fabric if overused. |
| Thread Basting | Hand quilting and projects with very dense quilting that need maximum stability. | Offers ultimate security, no bulky pins to work around, flexible. | The most time-consuming method, requires a second step to remove threads. |
Ultimately, there's no right or wrong answer. Many quilters have a favorite method they stick with, while others switch it up depending on the project. Don't be afraid to experiment to find what feels most comfortable and gives you the best results
Alright, this is the moment where all that prep work pays off. Putting the quilt sandwich together is a hands-on job, and you’ll want a good amount of space—either a big, clean floor or a large table will do the trick. The secret to a perfectly flat, pucker-free quilt is always the same: start in the center and work your way out.
The whole point here is to get each layer smooth and taut, but not stretched. You want to ease out every single bubble and wrinkle without distorting the fabric. Think of it as a calm, methodical process, not a wrestling match with your quilt.
First things first, lay your pressed backing fabric down on your workspace, wrong side up. If you’re using a hard surface like a wood floor or a big table, painter's tape is about to become your best friend.
Start by taping down the edge of one side. Then, move to the opposite side, gently pulling the fabric so it's smooth and taut—again, not stretched—before taping that edge down. Do the same for the last two sides. The goal is a perfectly smooth, secure foundation for the rest of your layers.
Next comes the batting. Center it over your secured backing and gently smooth it out with your hands, always pushing from the middle toward the edges. If your batting is hanging way over the sides, you can trim it a bit now, but it’s not a big deal if you leave it.
Finally, the main event: your quilt top. Find the center of both your quilt top and the batting and line them up. Carefully lay the top down. Just as you did with the batting, use your hands to smooth everything from the center out. Don't rush this part. This is your final opportunity to chase away any sneaky wrinkles before you lock everything in place.
A Quick Tip from Experience: This center-out smoothing technique is non-negotiable. It pushes any extra fabric or fullness toward the edges where it can escape, preventing those dreaded bubbles from getting trapped right in the middle of your quilt.
The three main basting methods are pretty straightforward, but a visual can help.
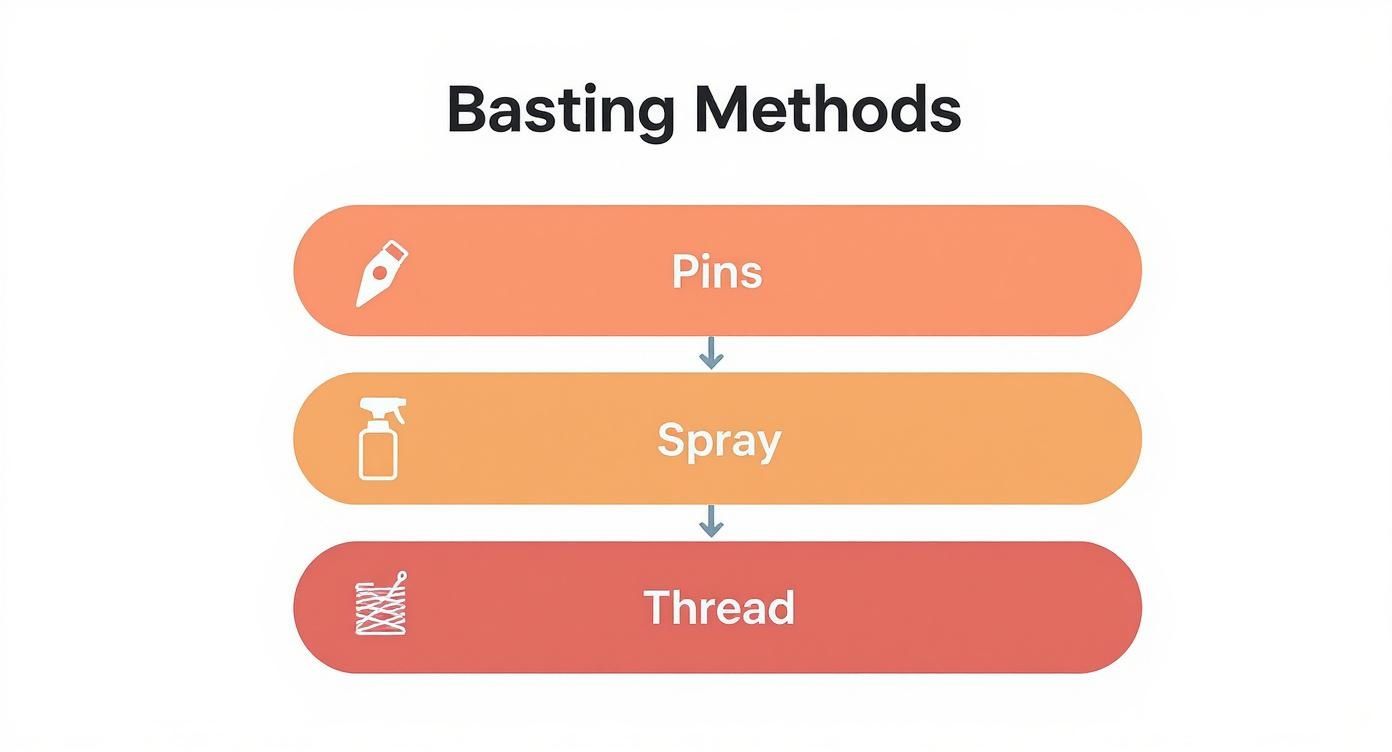
This guide shows you the basic tools for each method, giving you a quick sense of what's involved.
Once all three layers are perfectly smooth and happy together, it's time to baste. This is what stops the layers from shifting around while you're quilting. No matter which technique you've chosen, that "center-out" rule is still in full effect.
Pin Basting: If you're using pins, place your very first curved safety pin right in the center of the quilt. From there, work your way outward in a spiral or a grid, placing another pin every 4-6 inches—roughly the width of your hand. My go-to move is to smooth the fabric with one hand just an instant before I place the pin with the other.
Spray Basting: With spray, you'll work in sections. Gently fold back one half of the quilt top to expose the batting. Following the can's directions, give the batting a light, even mist of adhesive. Carefully roll the quilt top back over the sprayed area, smoothing from the fold outward to prevent wrinkles. Repeat for the other half. Then, flip the whole quilt over and do the same thing for the backing.
Thread Basting: For those who prefer thread, grab a long needle and some contrasting thread. You’ll make big, long running stitches, starting from the center and stitching out toward the edges in a kind of sunburst pattern. This method gives you incredible stability, which is fantastic if you're planning a lot of dense quilting.
Once your sandwich is basted, you can finally peel off the painter's tape. You should now have a secure, stable, and perfectly smooth quilt sandwich, all ready for the fun part—the quilting
Even when you do everything right, a quilt sandwich can sometimes have a mind of its own. It's a classic quilter's moment: you've smoothed everything out perfectly, only to find a stubborn wrinkle has appeared after you've already put in half your pins. The first rule is, don't panic. Most of these little hiccups are easy to fix without having to tear the whole thing apart.
Catching these problems early is the name of the game. A calm, targeted fix is all you need to get back on track and feel confident tackling any surprise your quilt throws at you.
You're in the zone, pinning away, and then you see it—a small pucker that definitely wasn't there a minute ago. This is incredibly common and usually just means a tiny bit of slack got trapped between the layers. The fix is almost always simpler than you think.
Instead of undoing all your hard work, just focus on the problem area.
This little spot-treatment saves a ton of time and frustration. It's much better than starting from scratch.
What if you're halfway done and realize the quilt top has drifted? Suddenly, you have a lopsided border of backing fabric. This happens to everyone, especially with bigger quilts that are harder to manage.
First, just take a breath. You can absolutely fix this. You'll need to un-baste the entire side that has shifted, along with a little extra around the corners to give yourself room to work.
Carefully lift the quilt top and batting together as a single unit. Re-center them on the backing fabric, then smooth everything back down from the middle outwards before you start basting that section again.
Don’t be afraid to take a step back and make a correction. Spending a few minutes fixing an alignment issue now is so much better than realizing your backing is too short on one side after you’ve already started quilting.
This kind of hands-on problem-solving has a long history. During the American Civil War, for example, quilters often worked without frames. They would lay their fabrics flat and use large tacking stitches to hold the layers together, a method that required constant smoothing and adjustment. You can find more fascinating details about this era of quilting on quiltingjetgirl.com.
Here's a great little trick to prevent problems before they start: the "wave test."
Before you place your very first pin or spray that first puff of adhesive, gently lift one edge of your quilt top and batting. Create a soft "wave" that ripples across the surface. Watch closely.
If you see any spots where the top fabric billows up separately from the batting, you've found hidden slack. Just smooth those areas out with your hands before you start basting, and you'll stop those puckers from ever forming. It's a simple check that takes just a few seconds and can save you a world of trouble later on.
Even when you feel like you've got the process down, a few little questions always seem to pop up right when you're about to put your quilt sandwich together. These are often the small details that make a huge difference in the final result, so let’s clear up some of the most common ones.
Getting these specifics right isn't just about following rules; it's about building your confidence and making sure your quilt turns out exactly how you've pictured it.
This is probably the most critical question of all. A good rule of thumb—and one that will save you a lot of headaches—is to cut your backing fabric and batting at least 4 inches wider than your quilt top on all four sides.
So, if you have a 60" x 70" quilt top, your backing and batting need to be at least 68" x 78".
Why so much extra? Think of this buffer zone as your insurance policy. It gives you the necessary wiggle room to smooth everything out without running short on one side. It also provides the extra fabric needed to tape down the edges securely and gives your quilter (whether that's you or a longarmer) plenty of fabric to clamp or load onto their machine's frame.
Trust me on this one: don’t be tempted to skimp. Realizing you're short on backing halfway through is a frustrating, and sometimes unfixable, problem.
The idea of using a bedsheet for quilt backing is tempting, especially as a budget-friendly option. But there's a major catch to be aware of: thread count.
Most bedsheets have a much denser weave and higher thread count than your typical quilting cotton. This tightly woven fabric can be tough for a needle to penetrate, leading to all sorts of quilting frustrations like skipped stitches, broken needles, or wonky tension.
If you decide to go for it, make sure you pre-wash the sheet to remove any finishing chemicals and soften up the fibers. For a guaranteed smooth quilting experience, though, a purpose-made wide-back quilting fabric is always your best and safest bet.
Ah, the great pre-washing debate—a classic in any quilting circle! The short answer is, it really depends on the final look you’re going for.
Most modern cotton battings are manufactured to shrink just a little, usually around 3-5%, during their first wash and dry. If you don't pre-wash the batting, this shrinkage happens after your quilt is finished. This is what creates that wonderful, slightly crinkly, vintage texture that so many of us love.
On the other hand, if you're aiming for a flat, crisp, modern aesthetic with minimal puckering, you’ll want to pre-wash your batting. The process is simple: just soak it in cool water, gently squeeze out the excess (never wring it out!), and lay it flat to air dry.
Sandwiching a truly massive quilt can feel like trying to fold a map in a hurricane. The key is to find a system that breaks the job down into manageable chunks. If you don't have a giant floor space, a large dining table can work wonders. You'll just have to baste it in sections.
Start by securing your backing and batting to the table. Then, smooth your quilt top over one half of the area and baste it thoroughly. Once that section is done, carefully shift the whole quilt over, re-smooth the unbasted section, and finish the job. It takes a bit more time, but this approach turns an overwhelming task into something you can actually handle.
Here at Famcut.com, we’re passionate about supporting your creative journey, from the first cut to the final stitch. Feel free to explore our wide selection of quilting supplies and get inspired for whatever masterpiece you're planning next.
At High Country Quilts we care deeply about community. With our experiences in retail, we know that a store is not only a place to shop but also a place for the community to gather and share. During this busy...

Hi! We’re Adam and Renee Wheaton, the new owners of High Country Quilts! For more than 40 years, we’ve owned and operated vacuum and sewing businesses. Following in Renee’s father’s footsteps after he retired from All Discount Vacuum and Sewing in Colorado...


Leave a comment