

We Love Our Quilting Community
At High Country Quilts we care deeply about community. With our experiences in retail, we know that a store is not only a place to shop but also a place for the community to gather and share. During this busy...


Piecing a quilt backing is simply the process of sewing standard-width fabric panels together to create a single, large piece that’s big enough for your quilt. It’s the perfect way to use up leftover fabric, save a bit of money, and add a custom, surprise element to your projects. Think of it as a foundational skill that turns a practical necessity into a creative opportunity.
Learning how to piece a quilt backing is much more than just a workaround; it's a strategic choice quilters make for its practicality and creative freedom. Instead of always reaching for expensive and sometimes limited wideback fabrics, you can confidently use any of the standard-width quilting cottons you already own. This opens up a world of design possibilities right from your own stash.
This resourceful approach is nothing new. Piecing backings has been a game-changer for quilters since the early 20th century, especially when fabric simply wasn't made wide enough for large bed quilts. In North America, which makes up over 40% of the global quilt market, this method fits perfectly with the growing interest in sustainable, 'cottagecore' crafting. In fact, 55% of quilters now incorporate piecing to echo those heirloom traditions.
Here at High Country Quilts, we’ve seen customers save up to 25% on fabric costs just by piecing their backings instead of buying a wideback. It really adds up.
So, when should you piece a backing versus buying a wideback? It really comes down to what you value most for a specific project—creativity, cost, or pure convenience. Here's a quick breakdown to help you decide.
| Feature | Pieced Backing (Standard 42" Fabric) | Wideback Fabric (108" Fabric) |
|---|---|---|
| Cost | Generally more budget-friendly; uses fabric that's often on sale. | Higher upfront cost per yard, though sometimes cost-effective for large quilts. |
| Creativity | Unlimited! Use scraps, orphan blocks, or create a whole new design. | Limited by available patterns and colors. What you see is what you get. |
| Convenience | Requires more time for planning, cutting, and sewing. | The ultimate time-saver. No seams to press or match. |
| Fabric Use | Excellent for using up your stash and reducing fabric waste. | Requires a specific purchase; doesn't help with stash-busting. |
Ultimately, neither option is "better"—they just serve different purposes. A pieced back is your chance to add a personal signature, while a wideback gets the job done quickly and beautifully.
The real beauty of a pieced backing is its potential to become a "secret" bonus quilt on the back. That leftover fabric from your quilt top can be turned into a gorgeous, coordinating design on the reverse side. This not only cuts down on waste but adds a thoughtful, personal element to your finished piece.
Piecing a backing is your chance to play. It’s a low-pressure canvas where you can experiment with color, pattern, and composition without the precision required for the quilt top.
Of course, to use all those lovely scraps, you have to be able to find them! Exploring smart craft storage solutions helps manage the very fabric you'll use for these creative backings. And with the right machine, like a trusty BERNINA, the whole process becomes incredibly smooth, turning a simple necessity into a deeply rewarding part of your quilting journey.
Nothing trips up a piecing project faster than bad math. Before you even think about cutting, figuring out exactly how much fabric you need is the key to buying with confidence. It saves you from that sinking feeling of running short or the frustration of having way too much leftover yardage.
It all starts with one golden rule: always add overage.
If you're sending your quilt to a longarmer, they need this extra margin on all four sides to load it onto their machine's frame. The industry standard, and a good safe bet for any quilting method, is to add at least 4 inches to every side of your finished quilt top measurement.
Let’s walk through an example. Say your finished quilt top is 60 inches wide by 72 inches long.
So, your target backing size is 68" x 80". This is the magic number you'll work with from here on out.
With your target size locked in, you have to decide which way you'll run your seam. Will you join the fabric panels vertically, creating a long seam down the quilt? Or horizontally, with a seam running across the width?
Honestly, the best answer is usually whichever one wastes the least amount of fabric.
To figure that out, you need to know the Width of Fabric (WOF) you’re working with. Most standard quilting cottons come in at about 42 inches wide once you trim off the selvedges. Using our 68" x 80" target, let's see which seam orientation is more efficient.
Here, the seam will run up and down the length of the quilt. This means the length of each fabric piece you cut needs to be 80 inches.
To see how many 42-inch-wide panels you need to cover the width, you just do a little division:68" (target width) ÷ 42" (WOF) = 1.6
Since you can't buy 0.6 of a panel, you always round up. You’ll need 2 panels of fabric. Each of those panels needs to be 80 inches long. When you sew them together along that long edge, you'll have a piece roughly 83" wide by 80" long, which you can trim down to size.
With a horizontal seam, it runs across the quilt’s width. This time, the length of each panel you cut will match your target width—so, 68 inches.
To figure out how many panels you need to cover the length, you divide again:80" (target length) ÷ 42" (WOF) = 1.9
Once again, you round up. You'll need 2 panels of fabric, and this time, each panel needs to be 68 inches long.
In this case, both options require two panels. Now we just have to see which one actually uses less fabric overall.
This is the final step: converting your measurements into yards so you know exactly what to ask for at the fabric shop. Just remember that there are 36 inches in one yard.
My Go-To Tip: I always round my final calculation up to the nearest 1/8 or 1/4 yard. It’s a tiny buffer that covers you for any slightly crooked cuts at the store or the little bit of shrinkage that can happen when you pre-wash.
Let's do the final math for our two scenarios.
Yardage for Vertical Seams
2 panels x 80 inches = 160 inches
160 inches ÷ 36 = 4.44 yards
Yardage for Horizontal Seams
2 panels x 68 inches = 136 inches
136 inches ÷ 36 = 3.77 yards
The verdict is in! Creating a horizontal seam is the clear winner, saving you about half a yard of fabric. Taking just a couple of minutes to run these numbers before you buy is one of the smartest habits you can build. It keeps waste down and your money in your wallet.
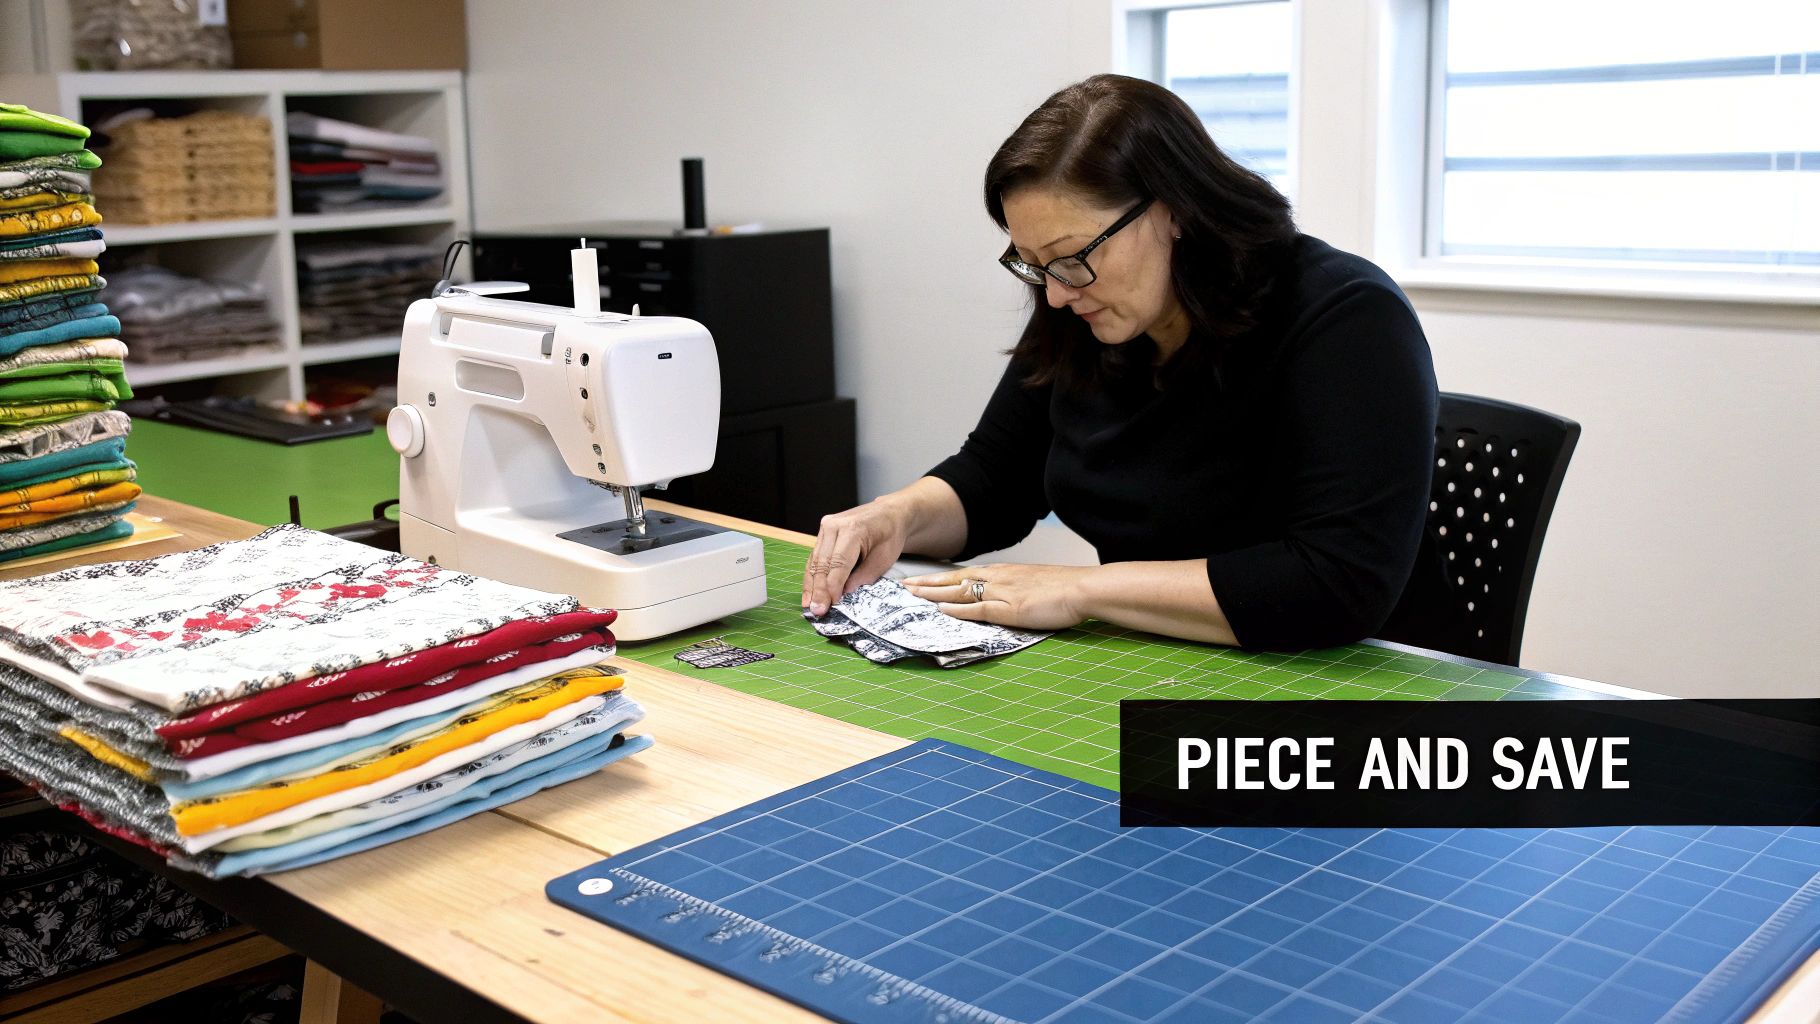
You've done the math and have your fabric in hand—now for the fun part. Turning those yards of material into a single, seamless backing isn't hard, but it does require attention to detail. Let's walk through the process of getting it right every time, so your quilt back looks just as good as the front.
Before you even think about sewing, you need to prepare your fabric. The first, and most critical, step is to square up your fabric. This just means making sure your cut edges are perfectly 90 degrees to the selvedge. Lay your fabric out on your cutting mat, line up the selvedge with one of the horizontal lines, and use a long ruler to trim the raw edge so it’s perfectly straight. Taking a few minutes to do this now saves you from the headache of wavy, distorted panels later.
The flowchart below nails down the simple, three-part process that gets you to this point.
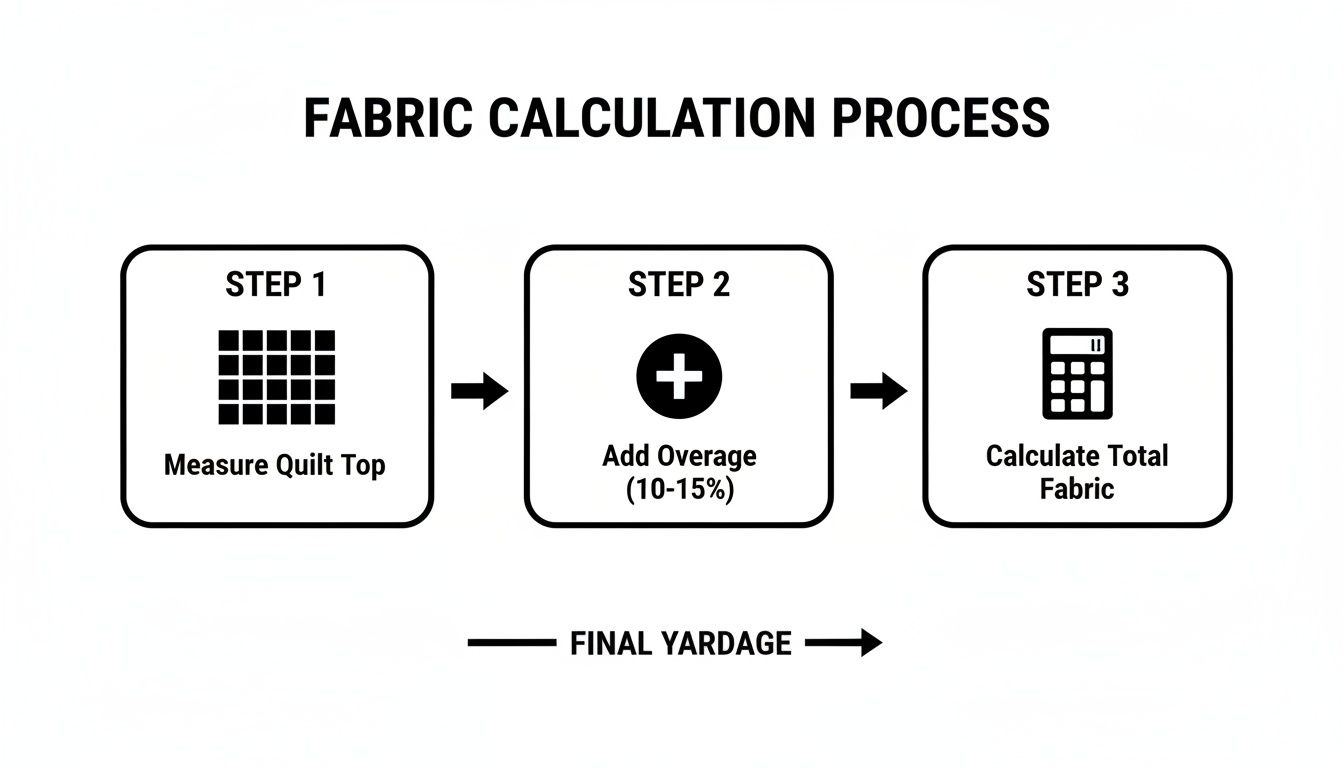
It’s a simple formula: measure your quilt top, add the overage, and then do the final calculation. This ensures you have exactly what you need before the rotary cutter ever touches the fabric.
With your fabric squared up and your panels cut, it's time to join them together. A few small details here make all the difference.
First, get rid of the selvedges. The selvedge is that tightly woven edge, often with the manufacturer's info printed on it. It behaves differently from the rest of the fabric—it shrinks differently and has absolutely no give. If you leave it on, you’re guaranteed to get puckers along your seam after the first wash. Just trim off at least a half-inch from both selvedge edges before you start sewing.
Next up is the seam allowance. We're all conditioned to use a scant quarter-inch seam for our quilt tops, but a quilt backing needs to be much more robust. It's going to be under a lot of tension during quilting, especially if it’s going on a longarm.
We always recommend using a generous 1/2-inch seam allowance for piecing your backing. That wider seam gives you extra strength and stability, drastically reducing the risk of it pulling apart under stress.
Once the seam is sewn, it's time to head to the ironing board. Always press your backing seams open. This is a non-negotiable step. Pressing them open distributes the bulk of the fabric to either side of the seam, which helps you avoid a noticeable ridge running down the back of your quilt. A bulky, one-sided seam can interfere with the quilting needle and create an uneven texture on your finished project.
You can make sewing these long, straight backing seams much easier with the right machine setup. Here at High Country Quilts, we rely on our BERNINA machines for their precision, and a few key settings are our go-tos.
This whole process isn't just a quirky shop preference; it's a widely accepted best practice. In fact, piecing backings this way is the standard technique for 75% of professional quilters in North America. The simple vertical seam, sewn with a 1/2-inch allowance and pressed open, is what we teach in all our classes because it eliminates bulk and makes for effortless quilting on machines like our BERNINA Q24.
With the quilting market having doubled in the U.S. over the last 25 years, these time-tested techniques have become a core part of the workflow for an estimated 62% of all quilters. You can find out more about the growth of the quilt market and its key trends and see how these methods have become standard.
By taking the time to cut accurately, remove the selvedges, use a wider seam, and press it open, you're giving your quilt a professional finish that will last. It’s these small details that truly elevate your work from homemade to beautifully handmade.
Once you’ve pieced a basic two-panel backing, a little lightbulb goes off: the back of your quilt is a whole second canvas. It's a fantastic, low-pressure space to play with design, use up those precious scraps you couldn't bear to toss, and add another layer of personality to your work. Moving beyond a simple center seam opens up a world of creative possibilities.
Think of it as the "business in the front, party in the back" approach to quilting. You can turn leftover blocks from your quilt top—often called "orphan blocks"—into a beautiful feature on the back. This is not only smart and sustainable, but it also creates a wonderfully cohesive look from front to back.
The goal here is to turn a functional necessity into an intentional design choice. Instead of trying to hide the seam, you can make it a deliberate part of the aesthetic. Here are a few popular approaches we love to recommend to quilters in our Colorado Springs shop.
Your quilt backing is the perfect place to experiment with techniques or color combinations you might be hesitant to try on a quilt top. It’s all about having fun and using what you have.
Ultimately, how you piece a quilt backing can be as simple or as complex as you want it to be. The key is to see it not just as a final step, but as another opportunity to leave your creative mark.
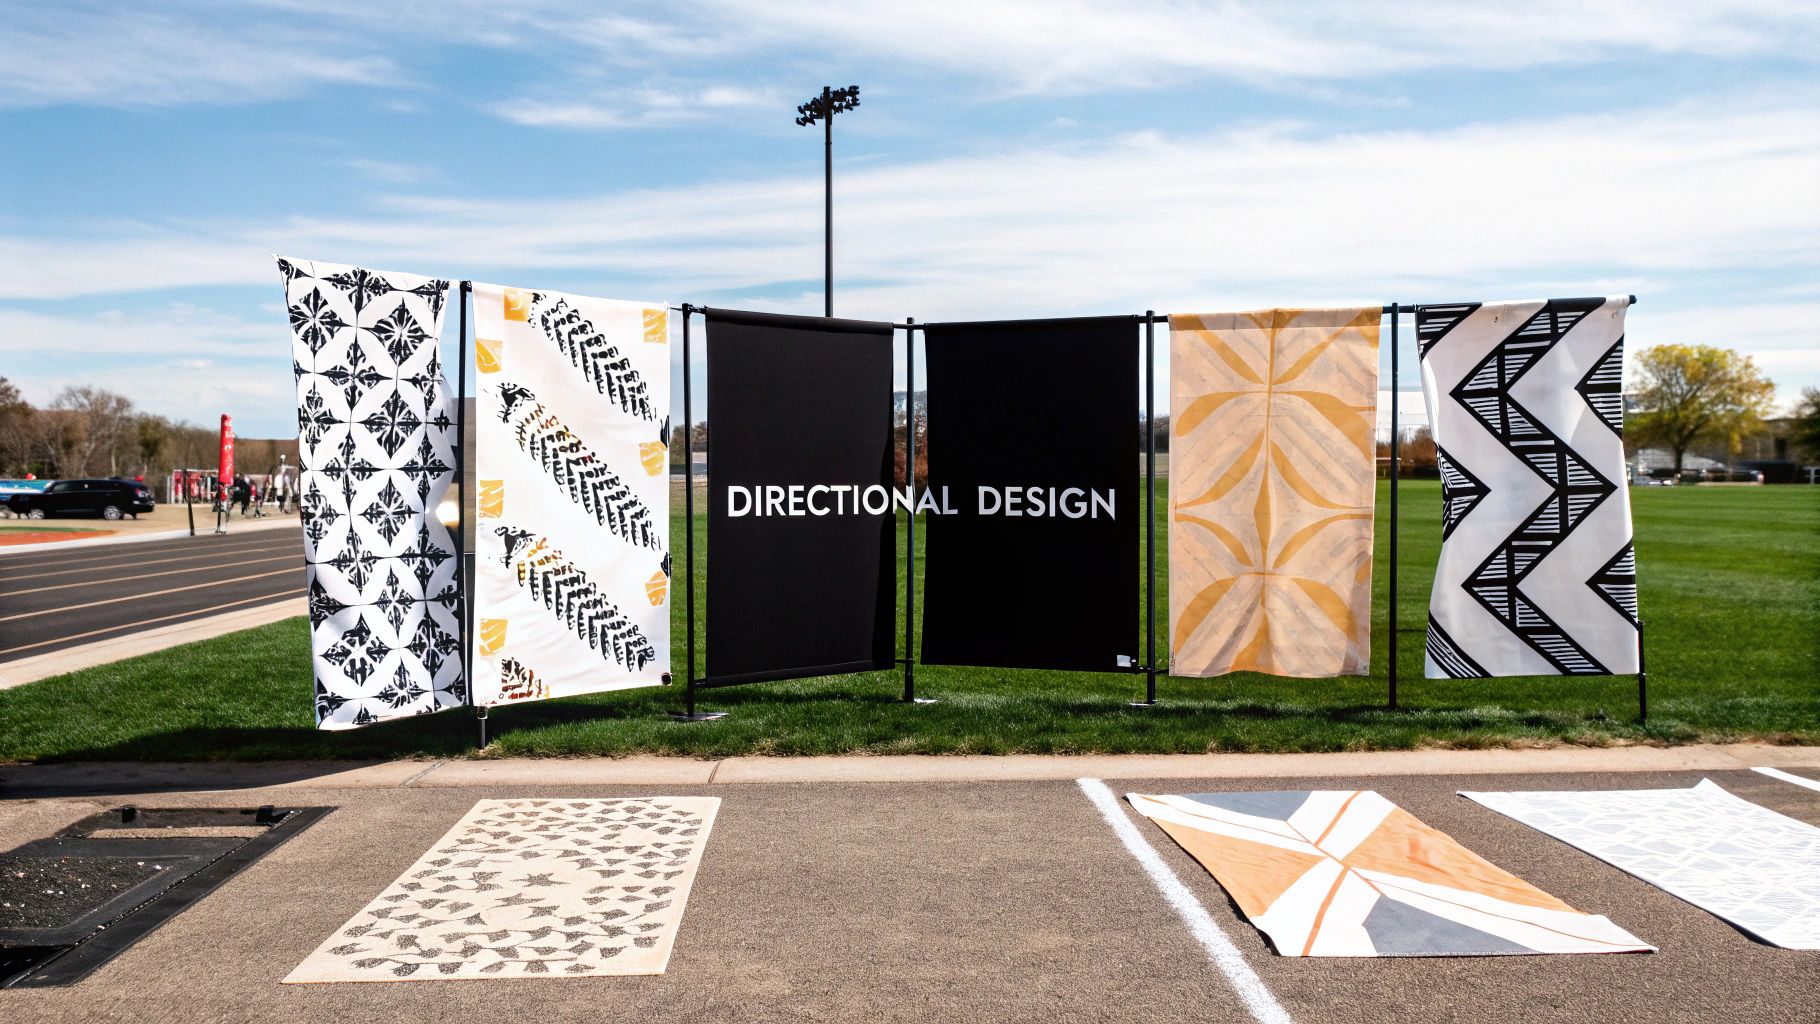
Directional prints—those fabrics with a clear up-and-down orientation, like a forest of trees or a parade of animals—add another layer of complexity to the puzzle. Getting these prints to all face the right way requires some careful planning before you ever make a cut. Trust me, an upside-down pattern on an otherwise perfect quilt can be incredibly distracting.
The secret is to treat each panel as a separate entity and map out its orientation on your cutting table. Lay your fabric out and clearly identify the "top" of the print.
Let's imagine you're making a vertically seamed backing. In this case, both panels will run from the top of the quilt to the bottom. It’s pretty straightforward—you just need to ensure you cut both pieces with the top of the print oriented in the same direction.
Horizontal seams, however, are where things get tricky.
When you join two panels with a horizontal seam, one panel will naturally be right-side up. But when you rotate the second panel to sew it, its print will be upside down. To fix this, you have to perform a little bit of fabric surgery: you’ll cut the second panel in half crosswise and then re-seam it.
Here’s the step-by-step process for getting it right:
This little trick ensures that no matter which way you look at the quilt, your adorable foxes are all running in the same direction. Taking the extra 15-20 minutes to plan for directional prints is always worth the effort for a professional and polished finish.
Even when you plan everything perfectly, things can go sideways with a large quilt backing. A tiny miscalculation or a simple forgotten step can lead to some seriously frustrating moments. But here's the good news: most of these problems are totally fixable, and they're always a chance to learn something new. Let's walk through some of the most common hiccups and how to sort them out.
One of the issues I hear about most is a backing that just doesn’t feel right after it's quilted and washed. You might notice puckers or a stiff, obvious ridge running right down the main seam. This almost always points back to two culprits: you either left the selvedges on, or you pressed the seam allowance to one side.
For a truly professional finish, taking off those selvedges is non-negotiable. Those tightly woven edges shrink differently than the rest of the fabric, which is a one-way ticket to puckering. In the same way, pressing your long backing seams open is the key to distributing bulk. A flat seam lets your longarmer (or your own machine) glide over it without a fight.
So you’ve sewn your panels together, but when you lay everything out, it looks more like a parallelogram than a nice, crisp rectangle. This kind of distortion is a classic sign of fabric stretching along a long seam, usually because one layer shifted while you were sewing.
The Cause: More often than not, this happens when you sew a long seam without a walking foot. The machine’s feed dogs pull the bottom layer through just fine, but the top layer can get dragged and stretched out over that long distance.
The Solution: The best way to fix this is to grab your seam ripper, take a deep breath, and unpick that seam. When you resew it, use a walking foot or your machine's built-in dual feed function. A walking foot grabs both layers of fabric at the same time, feeding them through evenly. A few extra pins—say, one every six inches—also work wonders to keep everything aligned.
This is that gut-wrenching moment every quilter dreads. You finish piecing, you lay out your beautiful quilt top, and you realize your backing doesn't have that crucial four-inch overage on all sides. Before you panic, take a step back. There are a couple of ways to salvage this.
Don't immediately assume you need to start from scratch. A creative fix can add an unexpected and beautiful design element to your quilt's story.
Your best bet is usually to add borders. You can carefully slice your backing either vertically or horizontally and sew in a new strip of fabric to get the width or length you need. This is a great chance to use a coordinating solid or even some leftover scraps from the quilt top. Just be sure to use that same 1/2-inch seam allowance and press the new seams open so everything lays flat.
This is a perfect example of why getting the math right at the beginning is so important. Piecing a backing isn't just a workaround; it’s a smart technique that quilters have used for generations. It’s no surprise that 82% of quilters surveyed recently prefer piecing for its incredible versatility. In North America, which makes up 45% of the quilting market, experts at shops like High Country Quilts often recommend it for added stability. A well-pieced backing distributes fabric tension more evenly, which can reduce puckers during longarm quilting by up to 40%. You can learn more about the latest quilting industry trends to see why these methods have stood the test of time.
What if your seams looked perfect before quilting, but they get all puckered and wavy after that first wash? The problem likely started with how the fabric was prepped or how the seams were finished.
| Problem Symptom | Likely Cause | How to Prevent It Next Time |
|---|---|---|
| Puckering along the main seam | Forgetting to remove the selvedge edges. | Always trim at least a half-inch off the selvedge before you sew. The selvedge's tight weave shrinks at a different rate. |
| General waviness or distortion | Fabric wasn't pre-washed. | Pre-wash and dry your backing fabric the same way you plan to care for the finished quilt. This takes care of shrinkage upfront. |
| A hard ridge along the seam | Seam allowance was pressed to one side. | Always press the main backing seams open. This distributes the fabric bulk evenly and creates a perfectly flat surface. |
With a little patience, you can turn a potential quilting disaster into a beautifully finished piece. Think of every mistake as just another skill you've added to your quilter's toolkit.
When you're first learning to piece a quilt backing, a few common questions always seem to come up. We hear them all the time in our classes and around the cutting table, so let's get you some clear, straightforward answers.
Yes, and I can't stress this enough! Pre-washing your backing fabric is one of those non-negotiable steps. It does two crucial things: it gets all the shrinkage out of the way, and it removes any excess dye that might otherwise bleed onto your gorgeous quilt top later on.
Think about it—you're joining massive panels of fabric. If one piece shrinks more than another after quilting, you’ll end up with puckers and a distorted quilt. By washing and drying the fabric just like you'll care for the finished quilt, you ensure that shrinkage happens before you sew. This little bit of prep work guarantees a smooth, flat backing that will stay that way.
While we live by the 1/4-inch seam for our quilt tops, backing is a different ballgame. For piecing the back, I always recommend a wider 1/2-inch seam allowance. This isn't just a personal preference; it's a matter of structural integrity.
Your quilt back takes a lot of stress, especially when it's being stretched on a longarm quilting machine. That wider seam gives you an essential buffer, making it much stronger and far less likely to pull apart under tension.
After you sew that 1/2-inch seam, always press it open. This is the secret to avoiding a bulky ridge down the middle of your quilt. It helps distribute the fabric evenly and keeps everything lying nice and flat.
For the most reliable and stress-free results, it’s best to stick with the same type of fabric for all your backing pieces—usually 100% quilting cotton.
Mixing different substrates, like cotton with flannel or Minky, can open up a can of worms. These fabrics tend to shrink, stretch, and even wear at different rates. That inconsistency can cause all sorts of headaches, from puckering during quilting to weird distortions after a few washes.
If you're really set on adding a different texture, my advice is to use it as a smaller decorative accent within a cotton panel, not as a main structural piece. When it comes to a stable, long-lasting quilt back, consistency is your best friend.
Sewing a perfectly straight line over 80 inches or more can feel like a real challenge, but it's totally manageable with the right approach. Please, don't just eyeball it and hope for the best!
First, you need a guide you can trust. A magnetic seam guide that snaps onto your machine's throat plate is fantastic, but even a straight line of painter's tape will do the trick. This gives you a clear visual path that's much more dependable than the tiny markings on the plate.
Next, remember your job is to guide the fabric, not force it. Let the machine's feed dogs do the work of pulling it through.
Here are a few more pro tips that make all the difference:
Combine a good guide with these simple techniques, and you'll be sewing beautifully straight seams that create a flawless canvas for your quilting.
At High Country Quilts, we believe a beautifully pieced back is the signature of a well-made quilt. Whether you need help choosing fabrics or want to find the perfect BERNINA machine to make your sewing a joy, we're here for you. You can explore our full range of products and classes online anytime.
At High Country Quilts we care deeply about community. With our experiences in retail, we know that a store is not only a place to shop but also a place for the community to gather and share. During this busy...

Hi! We’re Adam and Renee Wheaton, the new owners of High Country Quilts! For more than 40 years, we’ve owned and operated vacuum and sewing businesses. Following in Renee’s father’s footsteps after he retired from All Discount Vacuum and Sewing in Colorado...


Leave a comment