

We Love Our Quilting Community
At High Country Quilts we care deeply about community. With our experiences in retail, we know that a store is not only a place to shop but also a place for the community to gather and share. During this busy...


So, what exactly is a pieced quilt backing? It's simply the process of sewing together cuts of fabric to create one large piece that will cover the back of your quilt. The whole point is to make a smooth, flat foundation that’s a bit bigger than your quilt top. This extra space is key for a headache-free quilting process, no matter if you're using your home machine or a longarm.
The real secret to a flawless quilt back isn’t just about the sewing—it all begins with a solid plan. Before you even think about picking up your rotary cutter, a little bit of prep work can save you a world of frustration down the road. Think of this as your blueprint for a stress-free backing that makes your quilt beautiful from front to back.
First up, you need accurate measurements. Don't guess! Lay your finished quilt top out on a flat surface and measure both its width and length. It's best not to rely on the pattern's finished dimensions, as tiny differences in your seam allowances can definitely change the final size. Jot these numbers down; they are your starting point.
Now for a crucial step that trips up a lot of quilters: adding "overage." Your quilt backing absolutely must be larger than your quilt top. This extra fabric, usually 4 to 8 inches on all four sides, is critical for the actual quilting part.
This buffer zone gives you the fabric needed for grip and tension, whether you're spray-basting on your living room floor or loading it onto a longarm quilting machine. Skipping this step is a classic mistake that can lead to shifting, puckering, or simply not having enough fabric to mount the quilt properly.
For a longarm quilter, having plenty of overage isn't just a nice-to-have; it's a requirement. It gives them the room they need to attach the quilt to the machine's leaders and clamps, ensuring everything stays taut and square during stitching.
To make this easier, here's a quick cheat sheet for figuring out how much extra fabric you'll need.
This table provides a quick reference for the recommended extra fabric to add to your quilt top dimensions for different quilting methods.
| Quilting Method | Recommended Overage (Each Side) | Total Added to Width & Length |
|---|---|---|
| Domestic Machine | 4 inches | 8 inches |
| Mid-Arm Machine | 5-6 inches | 10-12 inches |
| Longarm Machine | 6-8 inches | 12-16 inches |
Just find your quilting method and add the "Total" number to both your quilt top's width and length to get your final target backing size.
Once you have your final dimensions (quilt top size + overage), you can figure out how much fabric you actually need to buy.
Let's say your quilt top measures 60" x 70" and you're sending it to a longarmer who requires 6 inches of overage per side. Your target backing size becomes 72" x 82" (60" + 12" and 70" + 12"). This simple math helps you see if a wide-back fabric (which is typically 108 inches wide) will do the trick in one piece, or if you’ll need to piece together standard 42-inch quilting cotton.
Before you start cutting and sewing, brushing up on some essential sewing techniques will give you a major advantage. This groundwork ensures that when you do start joining panels, your seams will be strong and your finished back will be perfectly ready for quilting.
Once you've got your numbers sorted, it's time for the fun part: deciding how you'll actually put your backing together. There’s really no single "right" way to do this. The best approach depends on your quilt's size, the fabric you’ve chosen, and frankly, the look you're going for. Think of this as the architectural planning for the back of your quilt.
This decision is more than just practical; it affects both the look and the sturdiness of your finished quilt. A quick, simple seam might be perfect for a smaller throw, but a big bed quilt often needs a more balanced, multi-panel design to handle the size and weight. Let’s walk through the most common ways quilters tackle this.
This is probably the method you'll use most often, especially with standard 42-inch quilting cotton. It’s exactly what it sounds like: you sew two long pieces of fabric together to get the width you need. Your main choice here is whether that seam runs vertically or horizontally.
When joining just two panels, I can't stress this enough: use a 1/2-inch seam allowance. I know we live by the quarter-inch seam for our quilt tops, but the backing takes on a lot more stress and tension during the quilting process. That wider seam gives you extra strength and peace of mind, ensuring nothing pulls apart on the quilting frame.
For those bigger projects like queen or king-sized quilts, two panels of fabric just won't cut it. That's where the three-panel back comes in as a beautifully balanced and incredibly sturdy solution. The most common way to do this is with a full-width panel down the middle, with two narrower panels sewn to each side.
This symmetrical layout isn't just nice to look at; it also distributes the tension across two seams instead of one. It avoids that single seam running right down the center of your quilt, a look that many quilters (myself included) prefer to avoid. When you’re wrestling with a large quilt, this balanced construction makes the whole backing more stable and much easier to manage.
Pro Tip: For a perfectly centered and professional-looking three-panel back, always place your full, uncut width of fabric (WOF) in the middle. Then, take your second length of fabric, cut it in half lengthwise, and sew one half to each side of that center panel. It comes out perfectly every time.
Who says the back of the quilt can't have its own personality? Piecing a quilt backing is a golden opportunity to use up leftover fabric strips, orphan blocks, or those favorite cuts from your stash that just didn't quite make it into the quilt top.
This "planned scrappy" approach turns a practical necessity into a design feature. You could create a simple striped back by sewing long strips of various fabrics together, or get more creative by arranging leftover quilt blocks into a mini-quilt on the back. There are no rules here. It’s a wonderful chance to play with color and pattern, and you end up with a reversible quilt that has a fun surprise on the other side. Not only does this save money, but it’s also one of the most satisfying ways to clear out your scrap bin.
Your quilt backing goes through a lot, especially during the quilting process. It’s pulled taut, stitched through thousands of times, and expected to hold everything together. This is where precise cutting and strong seams become your best friends, creating a foundation that will last.

Before you even think about cutting, give your fabric a good press. Wrinkles and stubborn creases can throw off your measurements and lead to wonky panels. A hot iron and a bit of steam ensure you’re starting with flat, accurate pieces.
First things first, let's square up that fabric. You need a perfectly straight edge to measure from. Just line up one edge of your fabric with the grid on your cutting mat, lay down a long quilting ruler, and trim it to get a clean, 90-degree corner. This becomes your reliable starting point for every cut that follows.
Now for a step that I cannot stress enough: you must trim off the selvages.
The selvage is that tightly woven edge on your fabric, the part that keeps it from fraying on the bolt. It’s great for the fabric store, but a nightmare for your quilt back. It has a different weave, almost zero stretch, and can cause a world of hurt after your quilt is washed.
If you leave the selvages on and sew them into a seam, they will shrink differently than the rest of the fabric. This causes ugly puckering and distortion right down your seam line—a problem that’s a real pain to fix after the fact.
So, grab your rotary cutter and slice off at least a 1/2-inch from each selvage edge. It’s a simple, quick step that prevents a massive headache later.
For our quilt tops, the 1/4-inch seam is practically gospel. But for the backing, it’s time to break the rules. I always use and recommend a 1/2-inch seam allowance when joining backing panels. It might feel a bit generous, but this wider seam is your secret weapon for a long-lasting quilt.
Think about the tension on a backing, especially if you’re using a longarm. A wider seam gives you some serious benefits:
By taking a few extra minutes to prep your fabric properly and using a sturdier seam, you’re building a quilt from the back out. This is how you create an heirloom that can be loved, washed, and snuggled for years to come.
Getting your quilt backing pieced together is a huge step, but the real magic happens at the ironing board. Honestly, how you press those long seams is just as critical as how you sewed them. Your goal is a backing that's completely flat, and your iron is the key to getting there.
Most of us are used to pressing seams to one side when working on a quilt top. For the backing, though, you need to switch gears. The absolute best way to handle these seams is to press them open. It might seem like a small detail, but trust me, it makes a world of difference.
It all comes down to one thing: bulk. When you join two big pieces of fabric, pressing the seam to one side creates a distinct ridge. That ridge is surprisingly thick and can sometimes telegraph through to the quilt top after it's quilted, creating a shadow or a bump that disrupts the look of your beautiful work.
When you press the seam open, you split that bulk in half. The seam allowance gets distributed evenly on both sides of the stitch line, making the entire seam lie incredibly flat. This gives your quilt top a perfectly smooth foundation to rest on, letting your piecing be the star of the show.
A flat backing is a happy backing. By taking the time to press your seams open, you're setting yourself (or your longarmer) up for success and avoiding quilting headaches down the road.
Getting that perfectly flat seam isn't about just gliding the iron back and forth. There's a method to it that helps prevent stretching and distortion, which is a real risk with the super-long seams on a quilt back.
First, set the seam. Before you even think about opening it up, lay your pieced backing on the ironing board with the seam still closed. With a hot, dry iron, press right on top of the stitching line. This little step locks the threads into the fabric fibers, making them more stable and easier to work with.
Next, gently finger-press it open. Use your fingers to carefully open the seam allowance. The fabric should open up easily along the stitch line you just set, so there's no need to force it.
Finally, press from the back. Place the fabric wrong side up on your board with the seam allowances spread open. I find it’s much better to press in an up-and-down motion along the seam instead of sliding the iron. Sliding can easily stretch the fabric, especially on the bias, and pull your whole backing out of square.
This careful process of setting and pressing is what separates a good backing from a great one. It's a small detail that shows real craftsmanship and is a crucial part of creating a flawless, professional finish.
Directional prints can feel a bit tricky at first, but they offer a fantastic opportunity to create a quilt backing that looks polished and professional. The goal is simple: make sure all those little motifs, whether they're cute animals or elegant florals, are facing the same direction. When you get it right, it elevates the entire quilt.
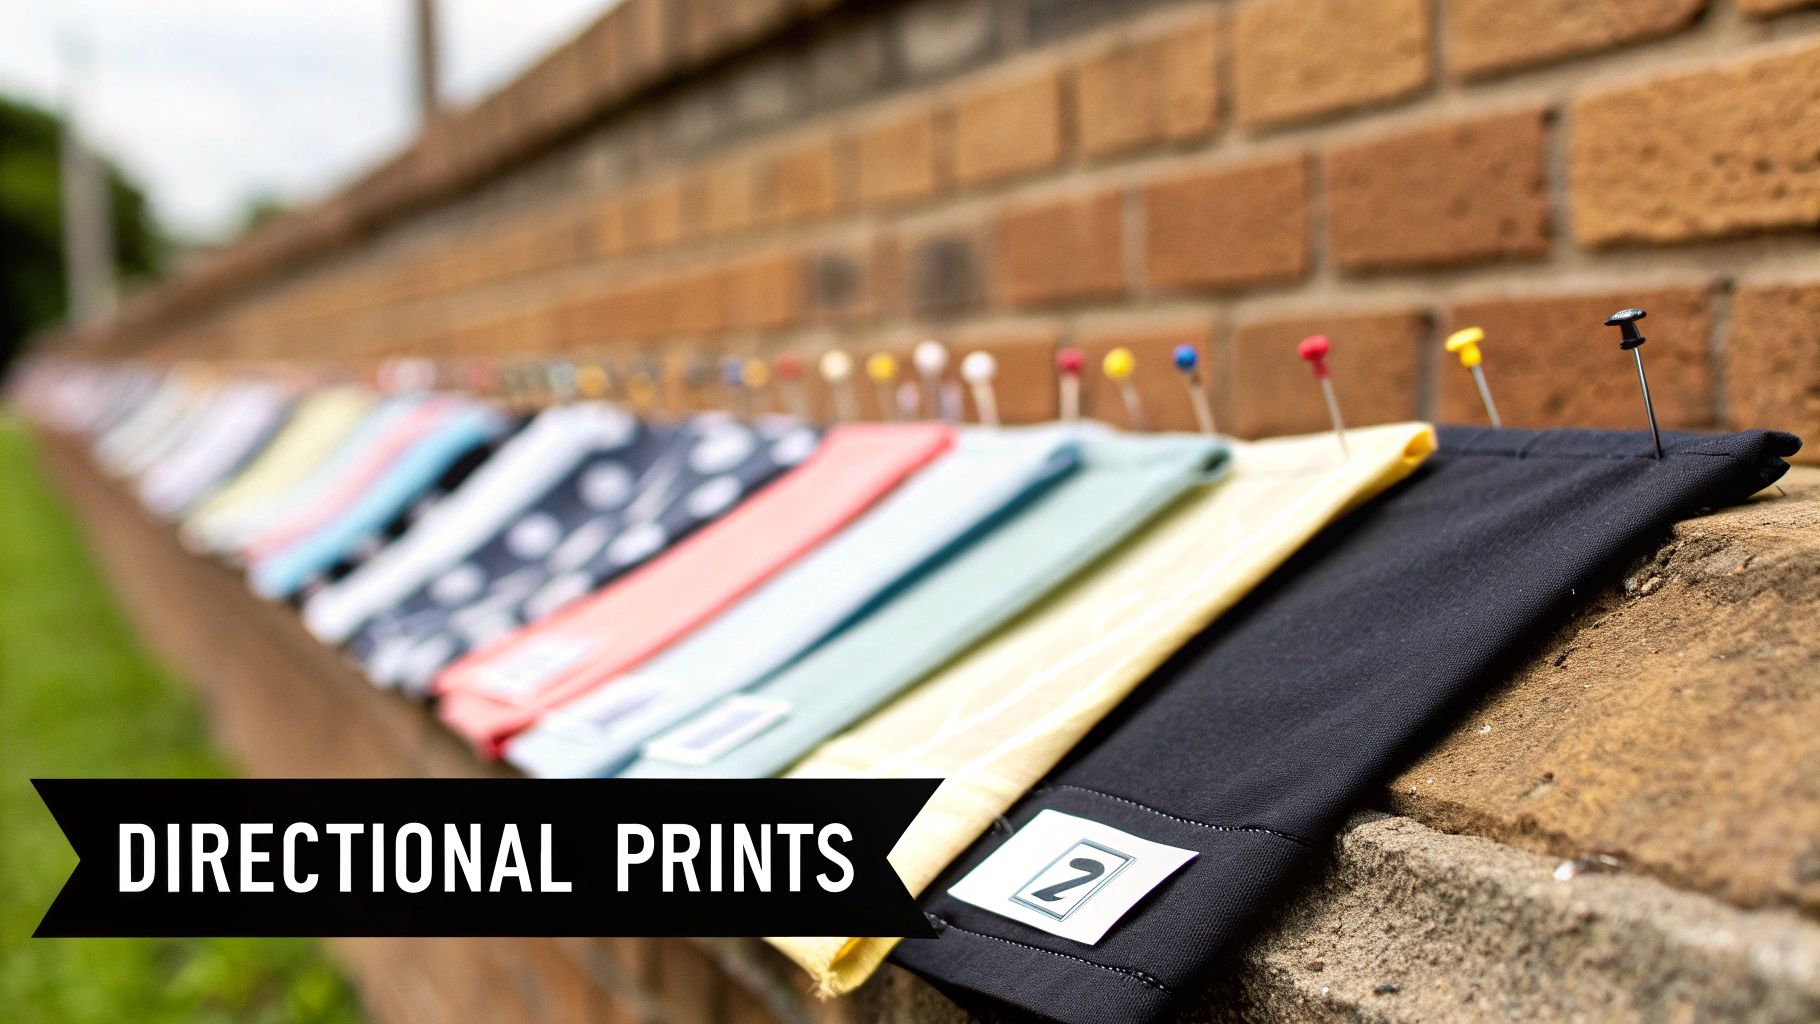
Unlike a non-directional blender fabric, you can't just slice and sew these prints willy-nilly. If you're joining two panels vertically, for example, you have to lay them out so the "top" of the print on both pieces points the same way before you sew. This little bit of planning often means buying a little extra fabric, but the cohesive result is well worth it.
The secret to a nearly invisible seam with a directional print is all in the pinning. I’ve found that long, fine pins—like what you'd use for appliqué or with silk fabrics—are your best friend here.
A perfectly matched seam on a directional backing is one of those quiet details that speaks volumes. It’s a true sign of craftsmanship that elevates a project from simply homemade to thoughtfully handmade.
This kind of attention to detail is something people really appreciate in handcrafted items. While it takes extra effort, mastering skills like piecing a quilt backing is what separates good work from truly great work. If you're interested in what drives these preferences, you can explore more about consumer trends in the craft industry.
Your quilt back is more than just a functional layer; it's a blank canvas! Think of it as a second chance to tell a story or show off a bit of personality.
Adding a Quilt Label
Instead of just slapping a label on top after the quilting is done, why not build it right into the backing? You can treat your finished label just like a quilt block. Simply cut a "window" out of one of your backing panels and piece the label in. It creates a beautifully integrated and permanent record of your work.
Creating a Feature Panel
Have you ever had a gorgeous, large-scale print that you loved but just couldn't work into the quilt top? The backing is its perfect home! You can design a three-panel back where your show-stopper fabric becomes the wide center panel, framed by coordinating solids or prints. It’s a fantastic way to make a bold statement and use up those treasured pieces from your stash.
You've got your plan, your fabric is chosen, and you're ready to start. But even the best-laid plans can hit a snag. It's totally normal to have a few questions pop up, especially when you're piecing something as big as a quilt back.
Let's walk through some of the questions I hear most often from fellow quilters. Getting these sorted out ahead of time can save you a lot of hassle and make the whole process feel much smoother.
Ah, the great pre-washing debate! My honest, experienced-based answer? Yes, you really should. I know it feels like an extra, time-consuming step, but pre-washing does two critical things. First, it gets all the shrinkage out of the way before you quilt, preventing weird puckering and distortion later on. Second, it rinses out any excess dye that could bleed onto your beautiful quilt top.
I learned this the hard way years ago with a gorgeous deep red backing. I skipped the wash, and after its first laundering, the quilt had a faint pink tint all over my crisp white patchwork. Trust me, it’s a heartache you want to avoid.
This is such a tempting shortcut, right? Sheets are big, seamless, and often cheaper than yards and yards of quilting cotton. While it can work in some cases, there are a few major watch-outs.
My rule of thumb: If you're quilting it yourself on your home machine and you’ve found a high-quality 100% cotton sheet, give it a try. But if you’re sending it out to be professionally quilted, stick with proper quilting fabric. Always ask your longarmer first!
You've spent all this time piecing and pressing your backing to perfection—the last thing you want is to unfold a mess of wrinkles when it's time to baste. The trick is to stop folding it altogether.
Sharp creases are your enemy here. Instead, gently roll your finished backing around a pool noodle or an empty wrapping paper tube. This keeps the fabric smooth, flat, and ready to go, saving you the headache of re-pressing those long, fussy seams.
At High Country Quilts, we're here to help you through every part of your project. Whether you're choosing fabrics or need a little expert advice, we've got you covered. Come explore our huge selection of fabrics and supplies at https://hcquilts.com.
At High Country Quilts we care deeply about community. With our experiences in retail, we know that a store is not only a place to shop but also a place for the community to gather and share. During this busy...

Hi! We’re Adam and Renee Wheaton, the new owners of High Country Quilts! For more than 40 years, we’ve owned and operated vacuum and sewing businesses. Following in Renee’s father’s footsteps after he retired from All Discount Vacuum and Sewing in Colorado...


Leave a comment