

We Love Our Quilting Community
At High Country Quilts we care deeply about community. With our experiences in retail, we know that a store is not only a place to shop but also a place for the community to gather and share. During this busy...


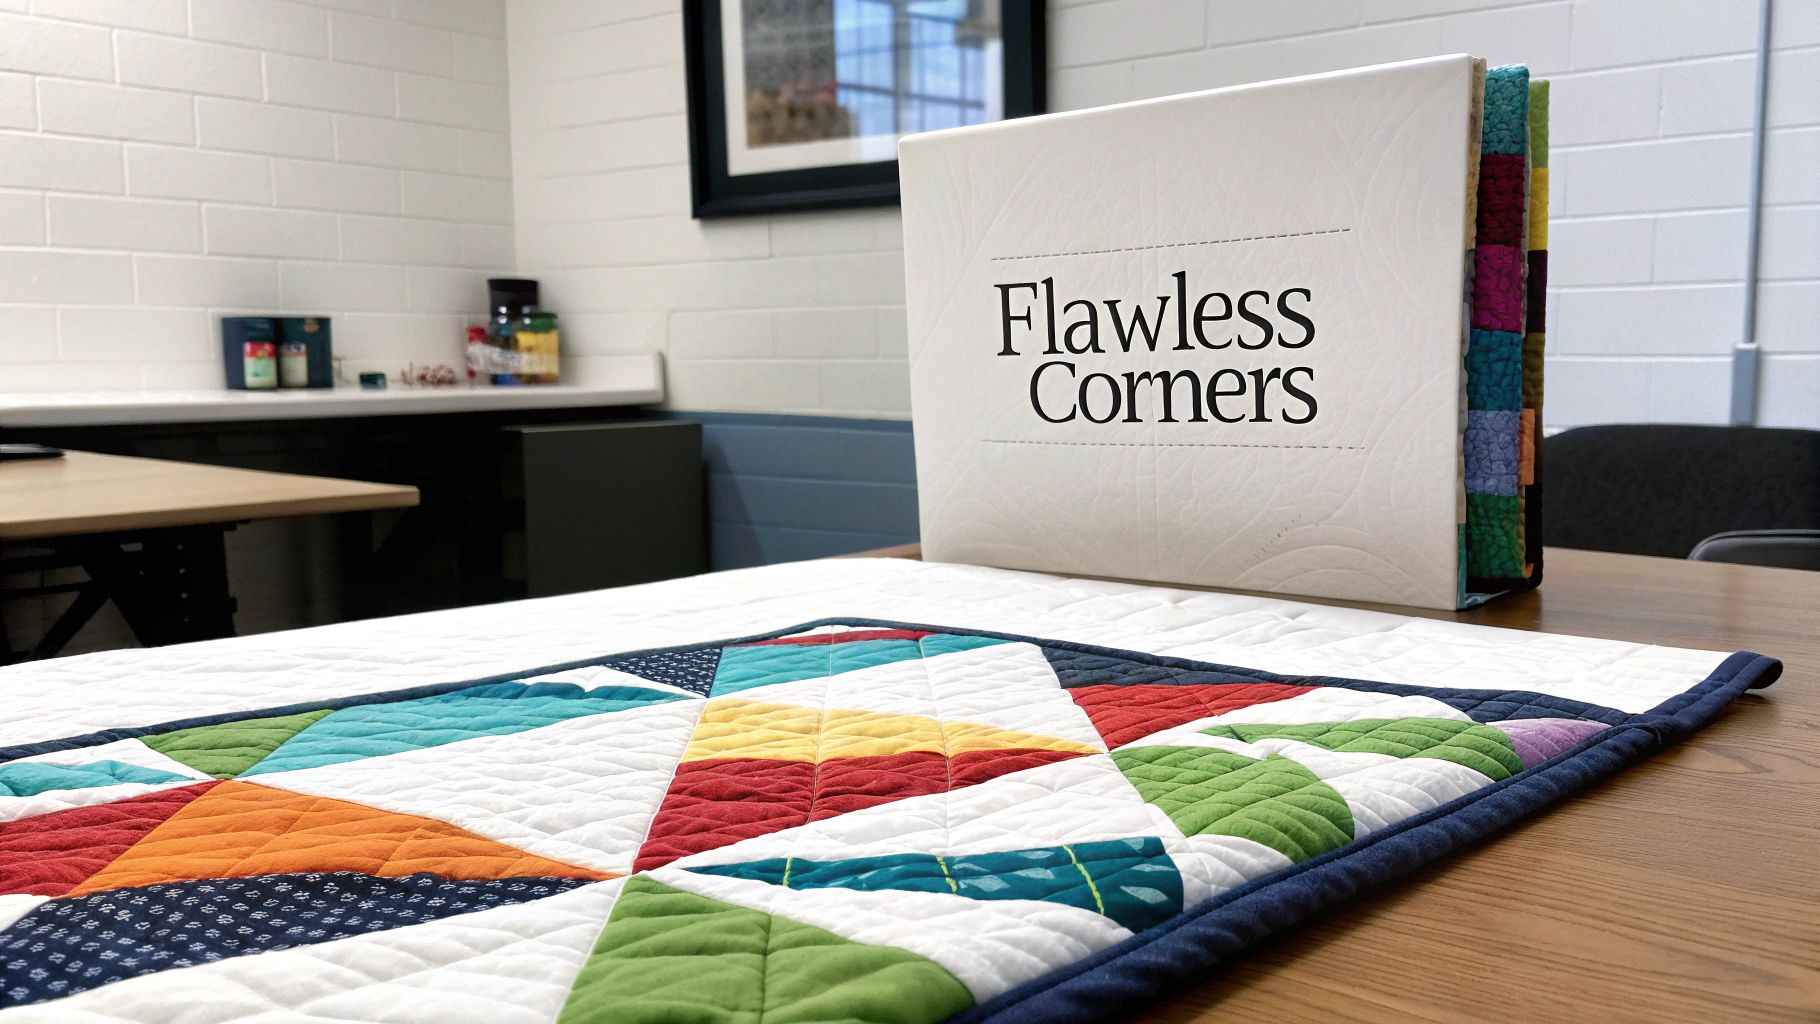
There's a reason experienced quilters obsess over a clean, sharp mitered corner—it's the detail that takes a quilt from "good" to "truly great." This professional finishing touch creates that perfect 45-degree angle, getting rid of the bulky fabric you often see with other binding methods. For many of us, getting this skill just right feels like a real badge of honor.
Before we get into the nuts and bolts of stitching, let's take a moment to appreciate why this one detail can make such a difference. A perfect mitered corner isn't just about technique. It’s a statement about your dedication to quality and, frankly, a huge confidence booster.
The real beauty of a mitered corner is its precision. It gives your quilt that polished, gallery-worthy look that a simple folded corner just can't match. This method ensures your binding lays completely flat, creating sharp, clean lines that frame your quilt beautifully instead of distracting from all your hard work.
Learning how to properly miter your quilt corners can completely transform how your projects look and feel. I like to think of it as the difference between a generic, off-the-shelf frame and a custom-matted piece of art. It’s those little details that really elevate the final product.
Here are the key benefits you’ll see right away:
This focus on quality is something you see across the quilting world. As the global quilt market grows, so does the desire to really fine-tune our skills. In fact, somewhere between 85-90% of quilters say that mastering techniques like mitered corners significantly improves how satisfied they feel with their finished projects.
Mastering detailed techniques like mitered corners is key to elevating your quilting projects, showcasing the craftsmanship and artistry that defines the broader field of creative arts.
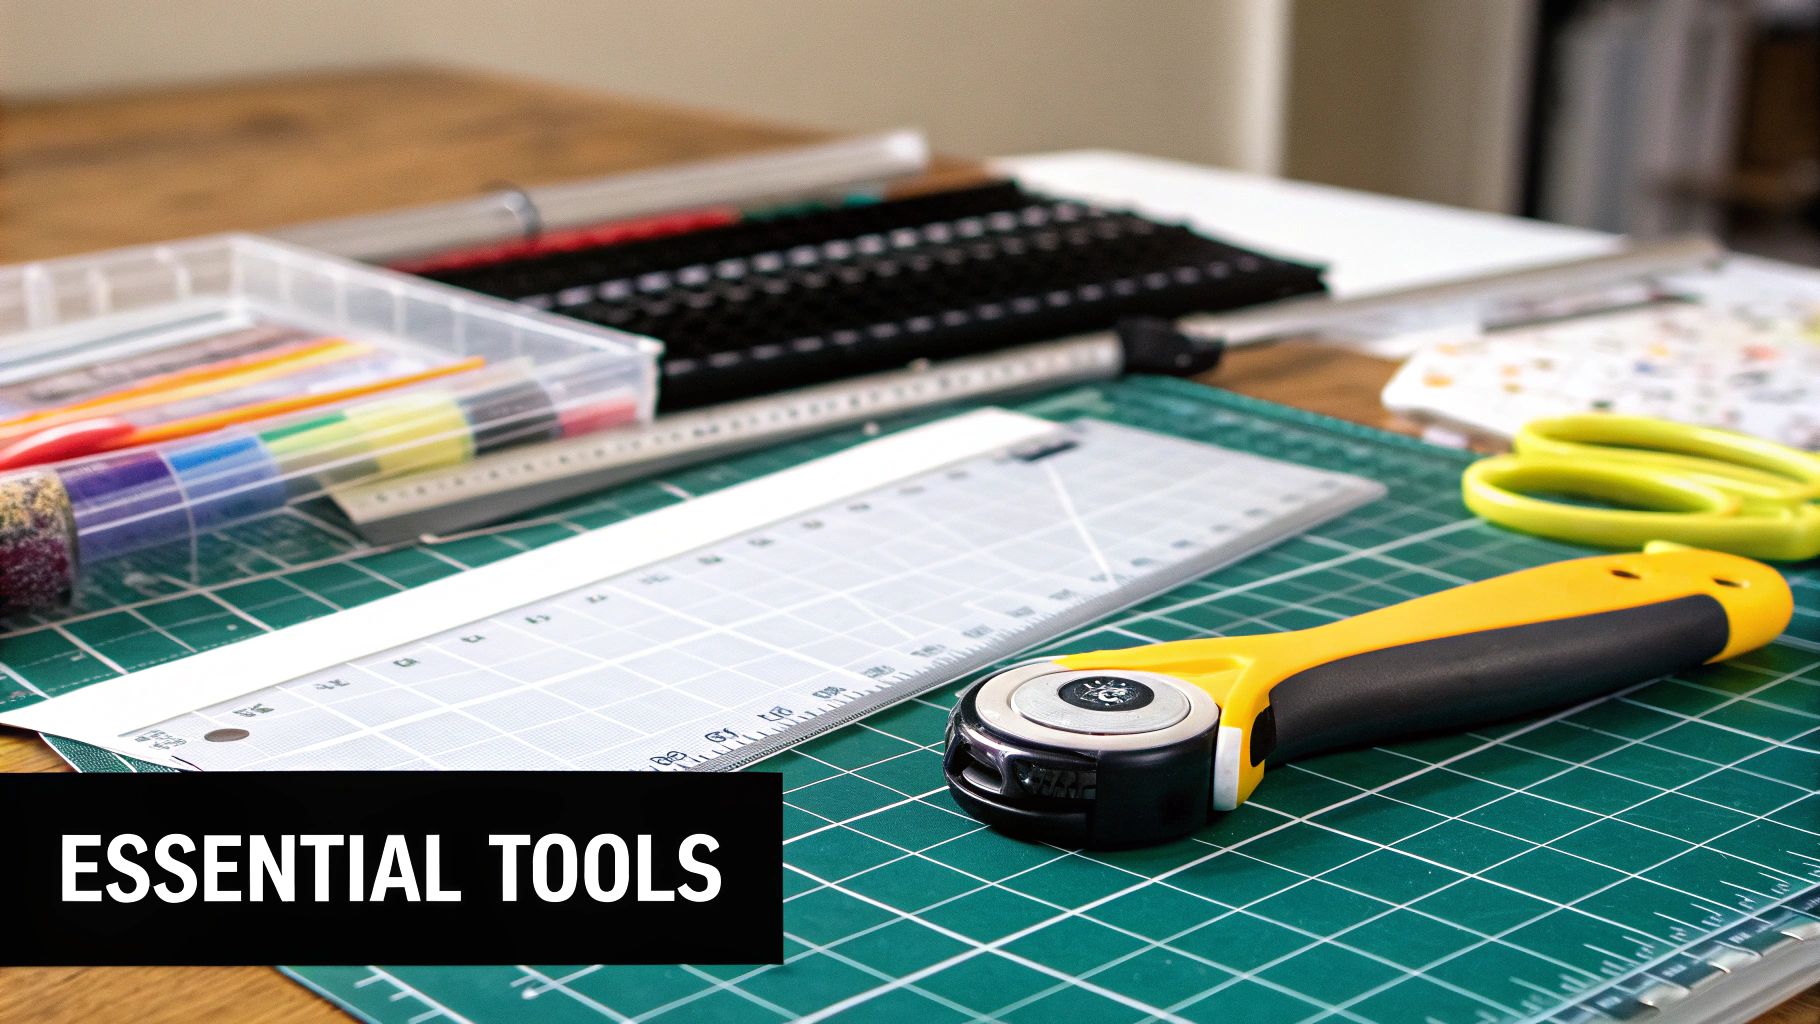
Before you even think about sitting down at your sewing machine, let's talk about setting yourself up for success. Any seasoned quilter will tell you that a sharp mitered corner is born on the cutting mat, not under the needle. Having the right tools ready and in good shape makes all the difference.
A few key players are non-negotiable here. You absolutely need a sharp rotary cutter, a good self-healing mat, and a clear acrylic quilting ruler. This trio is your ticket to clean, accurate cuts. A dull blade is your enemy—it will drag and snag your fabric, and a wonky ruler will send your entire project sideways before you've even started.
Your choice of material really matters. I've always found that choosing high-quality 100% cotton fabrics gives the most consistent and durable results for binding. Once you have your fabric, it's time to create the continuous strip that will frame your masterpiece.
One of the best tips I ever received was to switch from pins to Wonder Clips for holding the binding in place. They don't distort the fabric or create tiny holes, and they are much easier to handle as you approach the corners.
Once you’ve joined all your pieces into one long strip, press those diagonal seams open. Then, fold the entire binding in half lengthwise with the wrong sides together. Give it a good press with a hot iron to create a sharp, memory crease—this makes attaching it to the quilt so much easier. Taking the time to do this prep work is the real secret to how to miter quilt corners like a pro.
To keep everything straight, I like to use a simple checklist before I begin. It’s a great way to make sure you haven’t missed anything crucial.
| Item/Step | Why It's Important | Pro Tip |
|---|---|---|
| Sharp Rotary Cutter | Ensures clean, fray-free cuts without pulling or snagging the fabric. | Change your blade after every 2-3 large projects for consistently crisp edges. |
| Clear Quilting Ruler | Guarantees straight lines and accurate measurements for consistent strip width. | A ruler with a 45-degree line is invaluable for trimming diagonal seams perfectly. |
| Fabric Calculation | Having 12-15 inches of extra length prevents you from coming up short. | I always add 15 inches, just in case. Better to have too much than too little! |
| Pressing Seams Open | Reduces bulk where strips are joined, creating a smoother, flatter binding. | Use a bit of steam to get those seams extra flat, but avoid stretching the fabric. |
| Folding & Pressing Binding | A crisp center crease makes the binding easier to align and stitch evenly to the quilt edge. | Press in sections, moving the iron along the strip rather than dragging it. |
Running through this quick list before you start ensures all your prep work is solid, paving the way for those beautifully sharp mitered corners we all strive for.
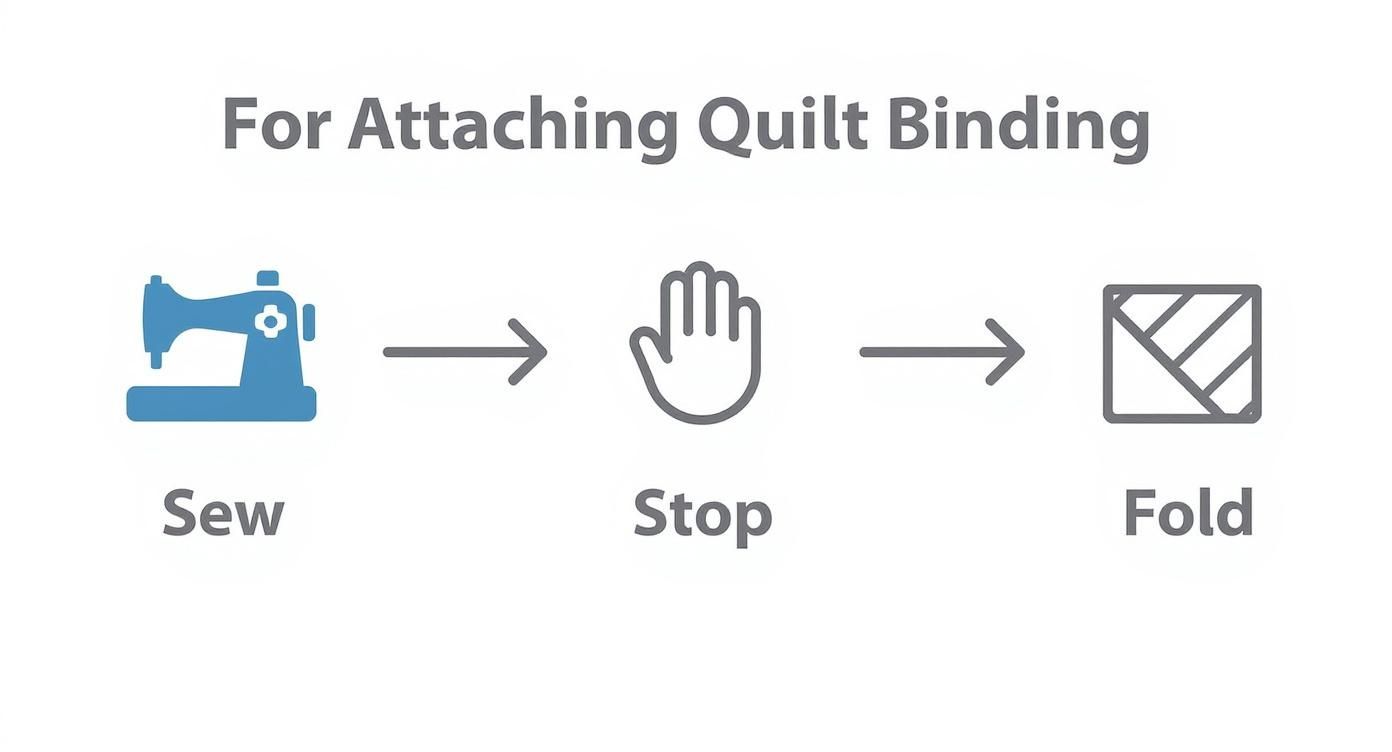
Alright, this is where the magic happens. Sewing the binding on is mostly a nice, rhythmic task, but the real test of skill comes as you approach that first corner. Getting it right is all about being precise and knowing exactly when to stop.
Let's get started on the first straight edge. Line up the raw edges of your folded binding strip with the raw edge of your quilt top. I always like to start about 6 to 8 inches from a corner—it just gives you plenty of breathing room for joining the ends when you come back around.
Using your standard quarter-inch seam allowance, start sewing.
As you stitch down that first side, keep your eye on the corner coming up. This is where you need to zero in. You're going to stop sewing exactly 1/4 inch from the edge of the quilt. Don't try to guess! If you're not confident, grab your quilting ruler and mark that spot with a pin or a disappearing ink pen. It's worth the extra second.
Once you reach your mark, lock your stitch with a quick backstitch. Then, with the needle down in the fabric, lift your presser foot. This keeps everything anchored so you don't shift your quilt. Now you can gently pull the quilt out from under the needle.
This next little fold is the absolute secret to a sharp, professional-looking mitered corner.
With the quilt in front of you, take the binding strip and fold it straight up, away from the quilt. When you do this, you'll create a perfect 45-degree angle. The raw edge of the binding you just folded should now make a continuous straight line with the next side of the quilt you haven't sewn yet.
Hold that fold with your thumb. Now, simply fold the binding strip straight back down over itself. The raw edge of the binding should now be perfectly aligned with the raw edge of the next side you're about to sew. That first 45-degree fold is now neatly tucked away underneath, creating a little fabric triangle at the corner.
The fold is everything. I always take a moment to press this corner fold firmly with my finger or the tip of a stiletto. A crisp press here makes all the difference and ensures your finished corner lies perfectly flat.
Secure this folded corner with a pin or a Wonder Clip. Now you're all set to sew the next side. Just position the quilt back under your needle, starting right at the very top edge of the fabric. Stitch your quarter-inch seam all the way down this second side, and you've done it!
Navigating that first mitered corner feels like a huge win. Honestly, it's something a lot of us struggle with at first. I've seen stats suggesting that over 80% of quilters find miters tricky initially but get the hang of it quickly with a bit of practice. If you're interested in market data like this, you can find more quilting trends and insights on precisionbusinessinsights.com.
Alright, you’ve got that first 45-degree fold pinned down. Now for the really satisfying part—turning that little fabric triangle into a razor-sharp, professional corner. The next move is to wrap the binding around to the back of your quilt.
As you bring the binding over, pull it just taut enough to be smooth. You don't want to yank it so hard that the quilt edge starts to pucker. The goal is to have the folded edge of the binding on the back just barely cover the stitch line you made attaching it to the front. This is crucial for a clean look, whether you’re finishing by hand or machine.
Before you sew another stitch, it's time to form the miter on the back. As you wrap the binding around the corner, you'll feel the fabric naturally wanting to create that diagonal fold.
Go with it. First, fold the binding from the side you just finished stitching. Then, bring the binding from the next side over it, which will create a perfect diagonal seam. Pop a pin or one of those handy Wonder Clips in there to hold everything exactly where you want it.
This graphic gives you a great visual of the whole process leading up to this final fold—sewing the straight edge, stopping at the corner, and making that first critical fold.
Now, you have a decision to make. How are you going to stitch this beautiful corner down?
A lot of quilters get stuck on how to join the beginning and end of the binding strip. Here's a trick I swear by: overlap the two ends, trim them so they meet flush, and then sew a simple straight seam to join them into a continuous loop before you stitch that final section down.
Whichever method you pick, the real secret is to just take your time. A slow, steady hand is the key to mastering mitered corners. If you rush, you’ll end up with puckers and wonky stitches. So, relax and enjoy the process of putting that perfect frame on your masterpiece.
https://www.youtube.com/embed/ACGbbjrFSqY
Let’s be honest, we've all had that moment. You’re sailing along, binding your quilt, and then you hit a corner that just won’t cooperate. Instead of immediately reaching for the seam ripper in frustration, let’s talk about what might be going wrong and how to coax it into behaving.
More often than not, the culprit behind a messy corner is a finicky seam allowance. If your stitching stops just a hair too far from or too close to that crucial quarter-inch mark, it can throw off the entire geometry of the fold. That tiny imprecision is usually what creates those annoying gaps or bulky overlaps.
Another frequent frustration is getting a rounded, "soft" corner instead of that crisp, sharp point we're all aiming for. This usually means the initial 45-degree fold wasn’t pulled taut enough before you flipped the binding back down. Any slack in that first fold traps extra fabric, making it impossible for the corner to lie perfectly flat.
Getting those picture-perfect corners really boils down to precision. It helps to remember the simple math at play: a flawless miter depends on creating a perfect 45-degree angle where the two binding strips meet. Once you master the mechanics, you'll see why the mitered corner failure rate drops from around 40% in novices to less than 5% in experienced quilters. This precision has another benefit, too—it can reduce your binding waste by up to 15%. You can discover more insights about quilt binding on createwhimsy.com.
Let's break down some specific fixes for those all-too-common headaches:
The Problem: Gaps at the Seam. See a little opening right at the diagonal corner seam? This is a tell-tale sign your binding wasn't folded tightly enough over the quilt's corner. For a quick fix, grab a stiletto or a sharp, pointed tool and gently nudge the fabric into place right before you stitch it down.
The Problem: A Bulky Fold. If your corner feels thick and lumpy, you probably have too much fabric crammed in there. This often happens if you forgot to trim the quilt's batting and backing at the corner before attaching the binding. Always remember to clip the corner of the quilt itself—just be careful not to snip your seams!
The Problem: The Corner Won’t Lay Flat. When a corner refuses to behave, your iron is your best friend. Before you even think about stitching the back, give the corner a good, firm press from the front. After you wrap the binding around to the back and form the miter, press it again. That blast of heat is fantastic for setting the creases and convincing the fabric to stay put.
Never be afraid to unpick a corner that's giving you grief. It’s always better to spend five minutes redoing a miter than to live with a finish you’re not proud of on your beautiful quilt. Practice really does make all the difference.
As you start mastering mitered corners, a few questions always seem to pop up. Let's tackle them head-on, because getting these little details right is what separates a frustrating afternoon from a quilt you'll be proud of for years.
This is a classic. For any quilt with standard straight edges, straight-grain binding is your go-to. It’s sturdy, easy to work with, and makes the most efficient use of your fabric.
But the moment you introduce a curve—think scalloped edges or a rounded design—you absolutely need to switch to bias binding. The stretch you get from cutting on the bias is the only way to get the binding to hug those curves smoothly without any awkward puckers.
We’ve all been there. Bulky corners are almost always the result of too much fabric getting jammed into that tiny fold. The easiest fix happens before you even attach the binding: trim a little bit of the batting and backing away from the corners of the quilt top itself. This removes a surprising amount of bulk right away.
Also, double-check that you're keeping your seam allowance a perfect quarter-inch.
A hot, steamy iron is your secret weapon for flat corners. Give each fold a really good press as you go. This not only sets a beautiful, crisp crease but also compresses the fabric layers, making them much easier to stitch down.
You sure can! While a lot of quilters enjoy the slow, meditative process of hand-stitching the binding down, you can get a beautiful and incredibly durable finish using only your sewing machine. It’s a huge time-saver, especially on bigger quilts.
At High Country Quilts we care deeply about community. With our experiences in retail, we know that a store is not only a place to shop but also a place for the community to gather and share. During this busy...

Hi! We’re Adam and Renee Wheaton, the new owners of High Country Quilts! For more than 40 years, we’ve owned and operated vacuum and sewing businesses. Following in Renee’s father’s footsteps after he retired from All Discount Vacuum and Sewing in Colorado...


Leave a comment