

We Love Our Quilting Community
At High Country Quilts we care deeply about community. With our experiences in retail, we know that a store is not only a place to shop but also a place for the community to gather and share. During this busy...


Mitered quilt borders are a game-changer, creating that polished, frame-like finish where the corners meet at a perfect 45-degree angle. The basic idea is simple: you sew border strips onto your quilt top, leaving a little extra length at the ends. Then, you fold the corner diagonally and sew right along that 45-degree fold line. It's a technique that works wonders, especially when you want striped or patterned fabrics to flow seamlessly around the quilt.
Before we get into the nitty-gritty of how to miter your corners, let's talk about why you'd want to. A standard lapped border is perfectly fine and functional, but a mitered corner adds a level of sophistication that can completely elevate your project. It's what separates a nice finish from a truly stunning, gallery-worthy piece.

The biggest draw of a mitered border is the beautiful, uninterrupted flow it creates. Picture this: you've chosen a fabric with a bold stripe or a gorgeous floral print for your border. With a standard corner, that lovely pattern just stops dead in its tracks.
A mitered corner, on the other hand, joins the two strips at that clean 45-degree angle, allowing the pattern to turn the corner without a hitch. This creates a cohesive "picture frame" effect that complements the quilt's center design instead of fighting with it.
Having everything you need within arm's reach makes the whole process so much smoother. The good news is you probably have most of these tools in your quilting arsenal already. This is all about precision, so working with quality tools really pays off. It’s no surprise the quilting industry was valued at over USD 5 billion in 2024; quilters know that the right equipment makes all the difference. If you're curious, you can read more about the quilting market trends and see just how much this craft has grown.
Here’s what you’ll need to get started:
A Quick Tip: Before you start a new project, especially one that requires precision like this, pop a new needle into your sewing machine. A sharp needle is your secret weapon against skipped stitches and ensures your seams are strong and clean—which is exactly what you need for those perfect corners.
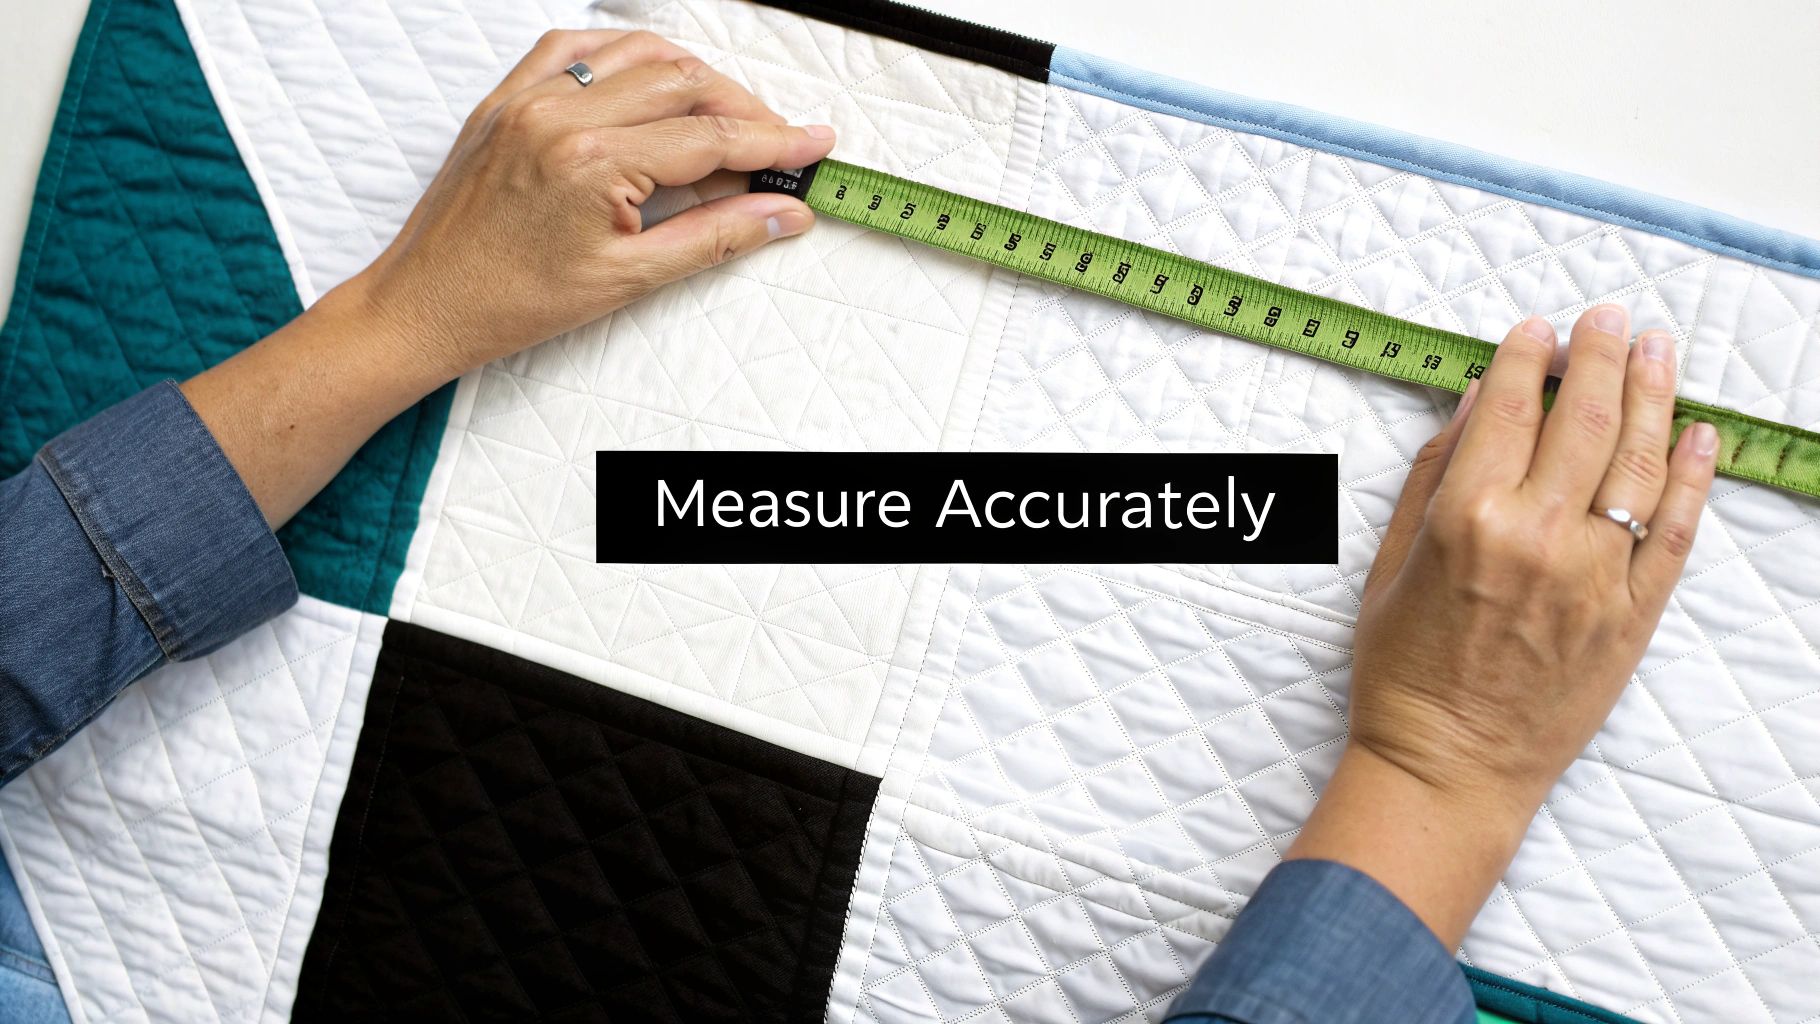
I can't stress this enough: the secret to a perfect miter isn't some fancy sewing technique. It's all in the prep work. If you nail your measurements from the get-go, you're setting yourself up for success. Taking a few extra minutes here will save you from the dreaded wavy, rippled borders that can completely sabotage a quilt you’ve poured hours into.
One of the most common pitfalls I see is quilters cutting their border strips based on the pattern's dimensions. Here’s the thing: quilt tops are living, breathing things! They stretch and shift as you piece them together. Your finished top is almost guaranteed to be slightly different from what the pattern says. If you attach a border cut to the pattern's size instead of your actual quilt's size, you're practically asking for puckers.
To get a truly accurate measurement, you can't just measure one spot. Your quilt top isn't a perfect geometric shape, so you need to find the average. It's the only way to get a true picture.
For each side of your quilt, do this:
Add those three numbers up and divide by three. That average is the true length for that side, and it's the number you should trust when cutting your borders. Make sure you repeat this process for all four sides of the quilt.
My Go-To Tip: Always, always, always measure through the center of your quilt. The outer edges are notorious for stretching out of shape. The center, however, gives you a much more stable and accurate measurement that reflects the real size of your quilt's body.
Okay, so you have your quilt’s true side measurements. Now it's time to figure out how long to cut those border strips. For mitered corners, you need to add a good bit of extra length. This accounts for the fabric that gets folded and sewn into that clean 45-degree angle.
Here’s a quick guide to help you calculate the right length for your border strips. It's a handy reference for getting it right every time.
| Measurement Component | Calculation/Rule | Example (for a 50" side) |
|---|---|---|
| Quilt Side Length | Use the averaged measurement. | 50" |
| Finished Border Width | Add this number twice. | 4" (so, add 8") |
| "Insurance" Length | Add 1-2" extra for wiggle room. | 2" |
| Total Cut Length | Side + (Width x 2) + Insurance | 50" + 8" + 2" = 60" |
This little bit of quilting math ensures you have plenty of fabric to work with.
This extra length allows your border strips to hang past each corner, creating the overlap you absolutely need to fold, mark, and sew that perfect miter. Without it, you simply won't be able to form the corner.
And believe me, this precision matters. I’ve seen sloppy measurements introduce size variances of up to 1/2 inch or more per border. That error compounds and can completely distort your finished quilt. It’s an even bigger problem if you’re adding multiple borders. If you want to dive deeper, you can learn more about how to prevent cumulative errors in quilting to guarantee a square and flat finish.
Alright, with your measurements double-checked, it's time for the fun part. Let's get those border strips cut and ready to frame your quilt top. This is where precision really pays off—think of it less like a race and more like setting up a perfect foundation, one careful step at a time.
First things first: always cut your border strips along the straight grain of the fabric. That means cutting parallel to the selvage. Fabric has very little stretch this way, which is exactly what you want for a long, stable border that won't wave or warp on you. It's a small detail that makes a huge difference.
Now, let's turn those average measurements into fabric. The plan is to cut four border strips, one for each side of your quilt. The trick is to cut them longer—intentionally longer—than the sides they'll be sewn to. This extra length, or "tail," is the secret sauce for getting a perfect miter.
So, how much longer? A good rule of thumb is to add the width of the border to each end, plus a little extra just in case.
This gives you plenty of wiggle room. If you want to dive deeper into the math, there are some great resources that break down these foundational border calculations further.
Sewing on the borders isn't just about stitching a straight line. The goal is to make your quilt top fit the perfectly straight border strip, not the other way around. This is what prevents those dreaded wavy borders, and your best friend in this process is meticulous pinning.
Start by finding the center of each quilt side and the center of each corresponding border strip. The easiest way is to just fold them in half and mark the fold with a pin.
With right sides together, match the center pin of a border strip to the center pin on a quilt side. Then, go to the corners and pin the ends of the quilt side to the border strip. You should see those long tails of border fabric extending past each corner—that’s exactly right!
Now, fill in the space between the center and the ends with more pins, placing one every few inches. If your quilt top seems a little fuller than the border strip, don't worry. This is common. Just use your pins to gently and evenly ease that fullness in along the entire length. This careful pinning is what ensures your quilt lays flat and square.
My Go-To Tip: When you take it to the machine, sew with the quilt top on the bottom, right against the feed dogs. The feed dogs are designed to pull fabric through, so they'll help ease in that slight fullness from the quilt top beautifully.
Sew your seam with a standard 1/4-inch seam allowance. Here's the most important part: stop sewing 1/4 inch from the end of the quilt top on both sides. Do not sew all the way to the raw edge of the border strip. I always backstitch right at the start and stop points to lock the seam in place.
Leaving that last 1/4 inch unsewn is critical; it creates the pivot point you'll need to sew the mitered corner later.
Repeat this process for all four sides. Once they're all attached, press the seam allowances toward the borders. Your quilt top is now perfectly framed, with four unsewn corners and long fabric tails just waiting for the final magic step.
Okay, your borders are attached and pressed, and now for the really satisfying part—creating that beautiful, frame-like corner. This is where the magic happens, turning those overlapping fabric tails into a crisp, professional 45-degree angle. My best advice here? Slow down. Precision is your best friend.
Getting this seam right comes down to how you cut, align, and pin. This visual guide breaks down the key moves for prepping your borders right before you sew.
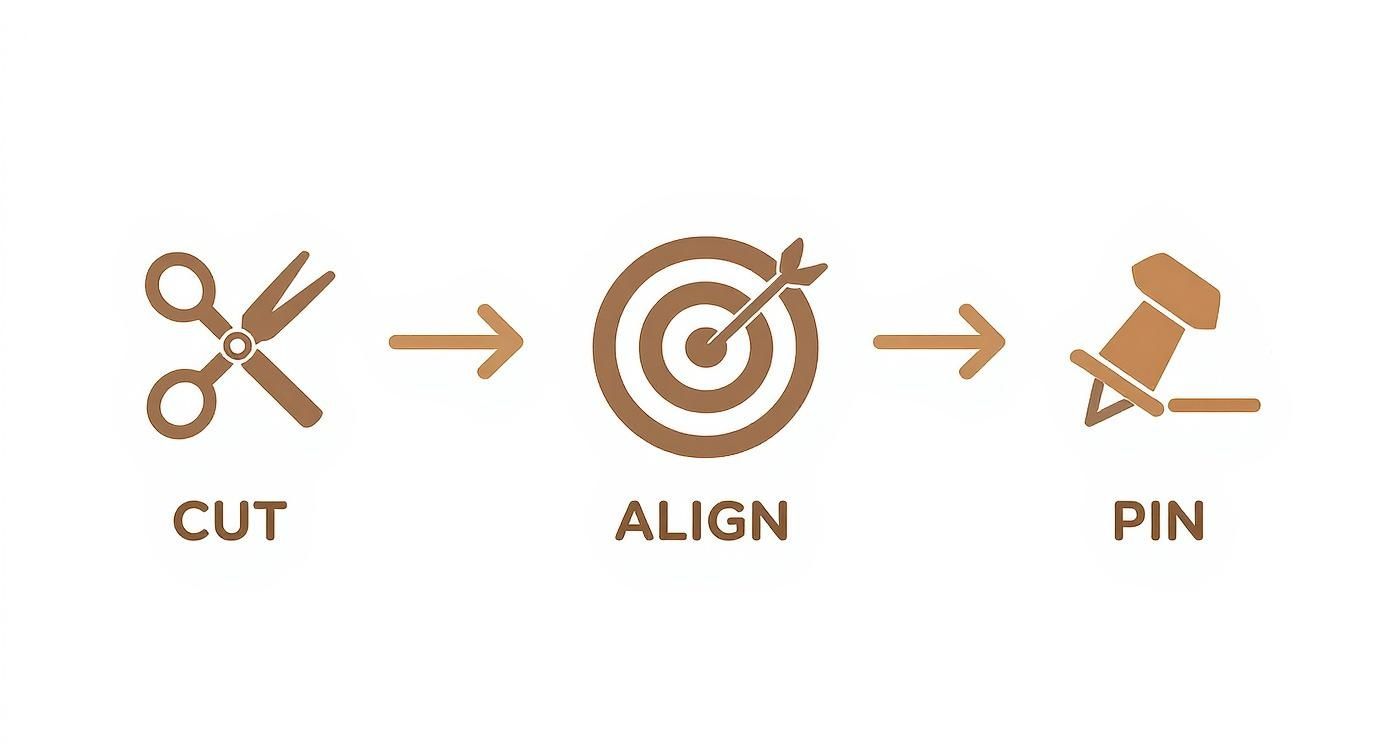
As the infographic shows, a great seam starts with an accurate cut and careful alignment. That initial prep work is what stops the fabric from wiggling around when you get to the final pinning stage.
First, find a large, flat surface to lay out your quilt. I often use my dining room table or even a clean spot on the floor. You just need enough room so the quilt isn't bunched up, which could easily throw off the angle you're about to create.
At one corner, carefully fold the quilt diagonally, bringing the two adjacent sides together. The quilt top itself will form a triangle, and your two border strips should now be lying perfectly on top of one another with their right sides together. Smooth everything out until there are absolutely no wrinkles or puckers.
This is the make-or-break moment for your mitered quilt borders. Grab a long quilting ruler, especially one with a clearly marked 45-degree line. You’ll want to align that 45-degree mark with the seam where the border meets the quilt top. The straight edge of your ruler should run from that inner corner (right where your stitching stopped) all the way out to the raw edge of the borders.
Using a good fabric marker or a chalk pencil, draw a line along the ruler's edge. This is your sewing guide.
A Crucial Checkpoint: Before you move anything, take a second look at that line. Does it start exactly where your border seams meet the quilt top? Is the angle spot-on? I’ve learned the hard way that even a tiny slip of the ruler here can create a surprisingly noticeable gap or pucker in the finished corner.
Feeling good about your marked line? It’s time to pin. Secure the two border strips together right on the line you just drew. I like to use plenty of pins to make sure nothing shifts on the journey from my cutting mat to my sewing machine.
Now, carefully move your quilt to your machine. You'll probably need to fold or roll the main body of the quilt out of the way so you're only dealing with the two border strips you’re about to sew.
Start sewing right at that inner corner, precisely where your previous line of stitching ended. A great little trick is to drop your needle by hand to hit that exact starting point. Sew directly on your marked line, continuing all the way to the outer raw edge of the border. Don't forget to backstitch at the beginning and the end to lock that seam in place.
Whatever you do, do not trim any fabric yet! If I can give you one piece of advice for learning how to miter quilt borders, this is it. Before you make a single permanent cut, you have to check your work.
Gently unfold the corner and lay the quilt flat. Take a good, hard look at your new mitered seam.
If it all looks fantastic, you’re ready to trim. But if something seems off—maybe the corner is a little too pointy, or the border looks wavy—don't panic. Because you haven't trimmed the excess, all you need to do is unpick that one miter seam and try again. Trust me, this simple inspection step has saved me (and countless other quilters) from a world of frustration.
This is where the magic really happens. Once you've stitched that perfect diagonal seam, the final pressing and trimming steps are what will make your mitered corners look truly professional. You're about to lock in all that careful work for a finish that’s crisp, flat, and flawless.
With the quilt top still folded on the diagonal, it’s time to trim away the excess fabric tails. Grab your ruler and rotary cutter, because precision is key here. You’ll want to trim the fabric, leaving a perfect 1/4-inch seam allowance beyond your stitch line. Don’t be tempted to eyeball this cut; a clean, accurate trim prevents bulk and ensures a strong, durable corner.
How you press this seam is just as important as how you sewed it. While we quilters usually press our seams to one side to nest them, a mitered corner is one of those special exceptions to the rule.
The best way to get that corner to lie beautifully flat is to press the seam open. This simple technique distributes the fabric bulk evenly to both sides, which makes a huge difference, especially if you're working with multiple borders. I like to use the tip of my iron to gently coax the seam allowance open before pressing the whole area.
Pro Tip: Whatever you do, don't drag your iron across a freshly sewn miter. That's a surefire way to stretch your perfect 45-degree angle out of shape. Instead, use a gentle up-and-down pressing motion to set the seam without any pulling or distortion.
Even the most experienced quilters run into a stubborn corner now and then. The great news is that most common problems are easy to fix, especially if you catch them before you trim that seam allowance.
The Pointy or Puckered Corner: Does your corner look more like a little peak than a perfect 90-degree angle? This almost always means the starting point of your 45-degree sewing line was a tiny bit off. The fix is to unpick the seam, re-fold the corner, and carefully mark your line again, making sure it begins exactly where those inner border seams meet.
The Wavy Border Edge: A rippling or wavy border is the tell-tale sign of a little too much fabric in the seam. This can happen if your ruler slipped while you were drawing your line, or if the quilt wasn't laying completely flat. Even a tiny 1/8-inch slip at the inner corner can create a noticeable wave by the time it reaches the outer edge. Just like with a pointy corner, the solution is to unpick, smooth everything out, and try again.
Don't let a small mistake get you down. I promise that taking a few extra minutes to unpick and restitch a single miter is much less frustrating than trying to quilt over a pucker later. Think of every little fix as a lesson that makes your next project even better.
Even after walking through the steps, you might still have a few questions rattling around. That's completely normal when you're tackling a new technique. Let's go over some of the things quilters ask me most often.
Nope, not at all! Plenty of beautiful quilts are finished with simple lapped corners, and that's a perfectly wonderful way to do it.
However, if you're working with a striped fabric or a bold, large-scale print, a mitered corner is where the magic happens. Mitering creates a seamless, continuous look that flows right around the corner, preserving the pattern in a way a straight seam just can't. Another big bonus is that it cuts down on bulk, helping the corners of your finished quilt lie nice and flat.
The single most common error I see is cutting border strips based on the dimensions given in the pattern, instead of measuring the quilt top you actually made. It's a classic mistake. No matter how precise you are, quilt tops can stretch or shift a bit during piecing.
The golden rule for flat, square borders is to measure your finished quilt top before you cut a single strip. Take at least three measurements for each side—top, middle, and bottom—and use the average. This one step is the key to preventing wavy borders and puckered corners.
Technically, yes, but I'd file this one under "advanced and tricky." The real challenge with a quilt-as-you-go (QAYG) project is the thickness. You're not just sewing fabric; you're dealing with a fully quilted sandwich, and managing that much bulk in a mitered corner is a real struggle.
A much saner approach for QAYG is to use a binding method that gives you a "mock" mitered corner. It's far easier to execute and still gives you that sharp, polished look without the headache of forcing multiple thick layers through your machine. It’s a fantastic workaround that looks great.
Ready to find the perfect fabric for your next mitered masterpiece? Come visit High Country Quilts online for a gorgeous selection of quilting fabrics, notions, and BERNINA sewing machines. You can browse our entire collection right from your sewing room
At High Country Quilts we care deeply about community. With our experiences in retail, we know that a store is not only a place to shop but also a place for the community to gather and share. During this busy...

Hi! We’re Adam and Renee Wheaton, the new owners of High Country Quilts! For more than 40 years, we’ve owned and operated vacuum and sewing businesses. Following in Renee’s father’s footsteps after he retired from All Discount Vacuum and Sewing in Colorado...


Leave a comment