

We Love Our Quilting Community
At High Country Quilts we care deeply about community. With our experiences in retail, we know that a store is not only a place to shop but also a place for the community to gather and share. During this busy...


That little patch of fabric you add at the end? It’s so much more than just a tag. Making a quilt label is the final, loving signature that transforms your beautiful blanket into a treasured heirloom, preserving its story for generations. Whether you choose to embroider, print, or simply write on the fabric, adding those key details—your name, the date, the recipient—is the last, crucial step.
Before we get into the nuts and bolts of how to make a label, let's talk about why it matters so much. A quilt label is your work's birth certificate. It’s the final brushstroke on your masterpiece, giving it a voice that will speak long after the last stitch is set.
Think of it as adding provenance to your creation. I’ve seen countless beautiful old quilts in antique shops with no history, their stories completely lost. Without a label, the who, when, where, and why behind your quilt can simply fade away. For a family member, that label turns a wonderful gift into a documented piece of family history. For a quilt entered into a show, it’s a professional necessity.
You can make your label as simple or as detailed as you like. The key is to answer the basic questions a future admirer might have. Finding that sweet spot between telling the story and cluttering the design is the goal.
Here are the absolute must-haves:
A simple label with just the basics is infinitely better than no label at all. Your goal is to keep the quilt's story with the quilt itself, so anyone who finds it decades from now knows its history.
If you want to leave behind a more complete history, adding a few extra details can be incredibly meaningful, especially for quilts that are particularly intricate or have a special backstory.
Consider these optional additions:
The quilting world just keeps growing. The global quilt market recently hit USD 5.32 billion and is projected to expand even more. In a market this large, labels do more than just tell a story; they provide brand identification, crucial care instructions, and verify authenticity. This makes them indispensable for dedicated hobbyists and professionals alike. You can dig into more of these industry trends and their impact on quilters if you're curious.
Picking the right way to make your quilt label is a fun creative decision in itself. Honestly, there's no single "best" way to do it. The perfect technique really depends on your personal style, the tools you have on hand, and the unique story behind your quilt. The goal is to land on a method that feels comfortable for you and beautifully complements your finished masterpiece.
It often comes down to a balance between tradition and technology, or a personal, handmade touch versus a professional, polished look. You might adore the classic charm of a handwritten label for one quilt, while another might just scream for the crisp, clean lines of machine embroidery.
Let's walk through the most common ways quilters create their labels. Each one gives you a totally different result and experience, so a great starting point is to think about the life this quilt will lead. Is it a cozy baby quilt for a friend that will see a lot of love, or is it a showpiece you're entering into a competition?
Handwritten Labels: This is the most direct and personal route you can take. Using a good, archival-quality fabric pen, you can write your message right onto a piece of fabric. It’s fast, requires almost no special equipment, and preserves your unique handwriting for posterity.
Machine Embroidered Labels: For a truly elegant and bomb-proof finish, nothing really beats machine embroidery. This method gives you a professional, polished look that becomes a permanent part of the quilt. It's fantastic for adding beautiful fonts or even small, custom design motifs.
Computer-Printed Labels: This technique throws the creative doors wide open. Using special fabric sheets that you can run through a standard inkjet printer, you can add full-color photos, unique fonts, and pretty much any graphic you can dream up.
Thinking about the strengths of each will help you match the label to the quilt. A modern, graphic quilt might be perfectly suited for a printed label with a clean, sans-serif font. On the other hand, a traditional, hand-pieced quilt could be beautifully honored with a carefully handwritten note. If you're drawn to classic methods, this complete crafter's guide to sew-in labels for clothing is an excellent resource for preparing durable, traditional-style labels.
Before you grab a pen or hoop some fabric, just take a quick moment to think through a few key things. Your answers here will point you toward the best technique for your project.
First up, durability and purpose. A child’s quilt that’s going to be washed dozens of times needs a label that can withstand some serious wear and tear. In that scenario, machine embroidery is almost always the most resilient choice, as the stitches are permanent and won't fade over time the way some inks can.
Next, think about your available tools and skills. Do you own an embroidery machine and feel confident using it? Or is your real strength in your neat, clear handwriting? Be honest about what you actually enjoy doing—this should be a fun final step, not a chore.
The most important thing is to actually make the label. A simple, finished handwritten label is infinitely better than a perfectly planned but never-executed embroidered one. Don't let perfection get in the way of finishing this crucial step.
Finally, consider the aesthetic of your quilt. The label should feel like it belongs there. A rustic, homespun quilt made from flannel might look a little odd with a slick, digitally printed label. A hand-stitched label using a matching thread would feel much more harmonious and intentional.
To help you decide, here’s a quick-glance comparison of popular quilt label techniques. This should help you choose the best fit for your project's needs, your timeline, and your budget.
| Method | Best For | Skill Level | Durability | Cost |
|---|---|---|---|---|
| Handwritten Pen | Personal touch, speed, and simplicity on traditional quilts. | Beginner | Good (with proper heat-setting and archival ink) | Low |
| Machine Embroidery | Ultimate durability, professional finish, and heirloom quilts. | Intermediate | Excellent | Medium |
| Inkjet Printed | Photos, complex graphics, and unique fonts on modern quilts. | Beginner | Good (with proper heat-setting and fabric) | Low-Medium |
Ultimately, choosing your method is a personal call, and there's plenty of room to experiment! You might find you love the speed of printed labels for charity quilts but save machine embroidery for those extra-special, once-in-a-lifetime projects. The most important thing is that you complete this final, loving step to ensure your quilt's story will be told for years to come.
When you want a quilt label that feels truly permanent and professional, nothing beats machine embroidery. This method literally stitches your story into the fabric, creating a durable, elegant finish that becomes part of the quilt itself. It’s my go-to choice for heirloom quilts, show entries, or any project where the label deserves to be as beautifully crafted as the quilt top.
Embroidery might sound a bit technical, but it's really just a blend of digital design and machine stitching. It gives you incredible control over fonts and details, resulting in a polished look that’s tough to replicate by hand.
This visual shows how a design can evolve, from a simple handwritten idea to a digitized file ready for the embroidery machine.
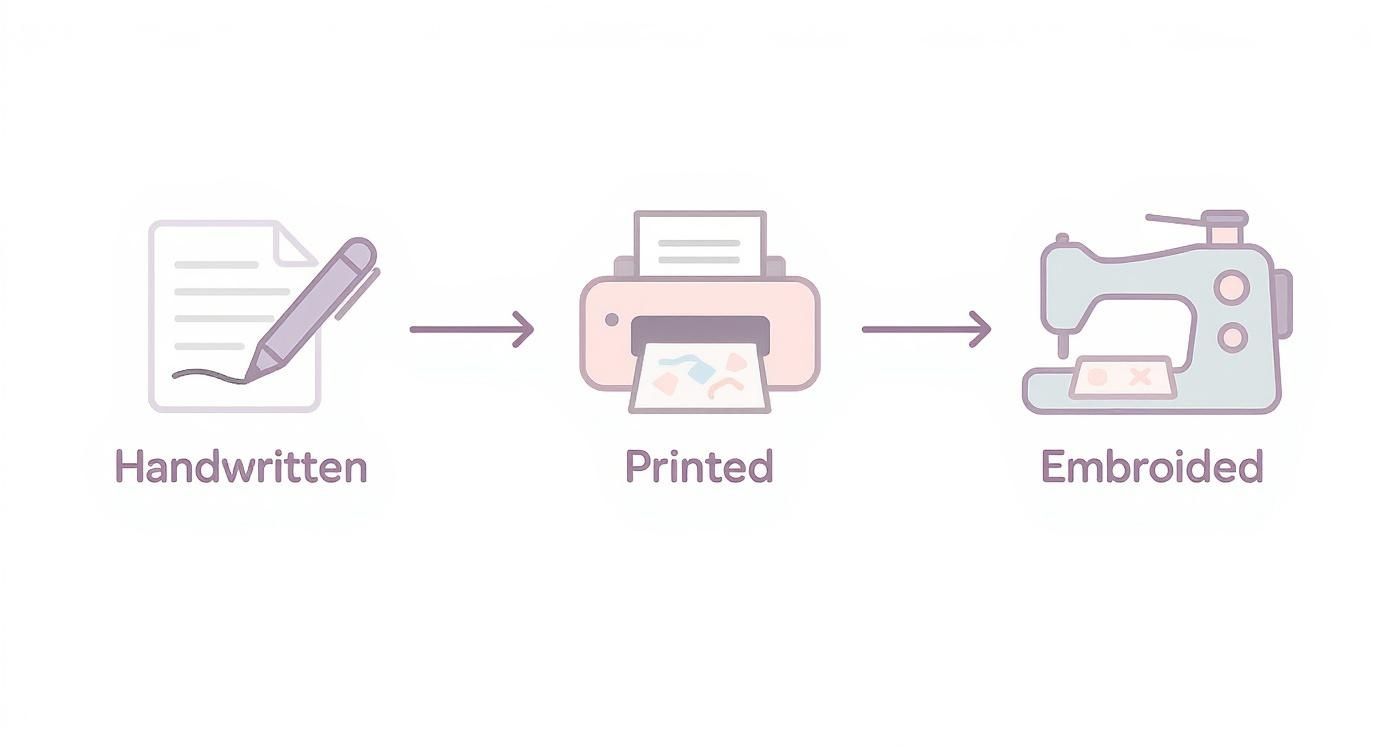
As you can see, the digital step is key—it’s where you refine the design before a single stitch is made, giving you a ton of creative freedom.
The secret to a great embroidered label happens long before you hear the hum of your machine. Nailing the prep work for both your design file and your fabric is what makes the difference between a puckered, illegible mess and a crisp, stunning result.
First, let's talk design. Most embroidery machines come with a handful of built-in fonts, which are a fine place to start. The catch? They tend to be on the larger side. I've found that the smallest built-in font on many machines, like my BERNINA 7 Series, is often around 6mm, which really limits how much you can say on a small label.
This is where embroidery software completely changes the game. With a program like BERNINA Embroidery Software 9, you can use tiny, specially digitized fonts—some as small as 3mm—that stitch out cleanly. This opens up the door to adding more details, like a personal note or the pattern name, without the label taking over your quilt back.
Pro Tip: I can't stress this enough: always, always do a test stitch-out. Use a scrap of the exact fabric and stabilizer you plan to use for the final label. It's the only real way to know if your font size, thread color, and density look the way you envision.
With your design finalized, it’s time to prep the fabric. Quilting cotton is a woven fabric, meaning it has a natural tendency to shift and stretch. When you introduce thousands of tiny, tight stitches, they pull on that fabric. Without proper support, you’ll get puckering and distorted lettering every time.
That's why stabilizer is non-negotiable. For a typical cotton quilt label, a medium-weight tear-away stabilizer is usually the perfect partner. It provides all the support needed while the machine is stitching, but then you can gently tear the excess away, leaving your label soft and flexible.
Here’s a quick rundown of your options:
Just as crucial is your thread. A 40-weight polyester or rayon embroidery thread is the industry standard for good reason—it has a gorgeous sheen that makes your text pop and is strong enough to withstand the machine's speed. In the bobbin, use a lighter 60-weight bobbin thread. This reduces bulk on the back of the label, keeping it from feeling too stiff.
You’re almost there! Once your fabric is hooped and the design is loaded, a few final tweaks to your machine will set you up for success. Hooping is key: you want the fabric to be taut like a drum, with zero wrinkles or slack. A poorly hooped project is the number one cause of stitching issues.
Next, pop on the right presser foot. For BERNINA users, the Embroidery Foot #26 is designed to glide smoothly over dense stitching, which helps prevent thread from snagging and keeps your tension even. It's also a good idea to start with a fresh embroidery needle, usually a size 75/11. These needles have a unique shape designed specifically to reduce thread shredding at high speeds.
Now, press start and let the machine work its magic. Keep an eye on it, but try not to hover. Your machine will let you know if a thread breaks. Once it’s finished, you can unhoop your fabric, carefully remove the excess stabilizer, and give your beautiful new label a good press from the back.
While an embroidered label has a certain sophisticated charm, you don't need fancy equipment to create a beautiful, lasting signature for your quilt. Some of the most personal and accessible labels are made with tools you probably already have at home.
Let’s look at two fantastic options: printing a label directly from your inkjet printer and the timeless art of writing one by hand. A printed label is perfect for adding a specific font or even a cherished photo, while a handwritten one captures your unique signature in a way no machine ever could.
Yes, you can absolutely print a quilt label using your standard home inkjet printer. The magic ingredient is a special product called printable fabric sheets—cotton fabric bonded to a paper backing. This backing is what lets the fabric feed through your printer smoothly, just like a regular piece of paper.
A quick word of warning: never try this with a laser printer. The heat from a laser printer can melt the fabric and cause serious damage to your machine. Stick to inkjet only.
Before you use a precious sheet of printable fabric, always run a test print on plain paper. This simple step is your best defense against typos and helps you confirm the colors and sizing are just right.
After printing, you have to let the ink dry completely. Give it at least 10-15 minutes before you touch it. The final, and most important, step is to heat-set the ink. Using a dry iron on a high cotton setting, press the label for the time recommended by the fabric sheet manufacturer. This locks in the ink, making your label permanent and washable.
Getting a crisp, vibrant print is all about the details. Here’s what you need to nail it on the first try.
For quilters who produce a lot of work and need a more efficient process, exploring an ultimate guide to label printer machines can provide a look into more specialized equipment beyond a home setup.
The quilting world is bigger than many realize. The Four Seasons Quilt segment alone accounted for USD 4.797 billion globally, and that number is projected to grow. As the market expands, so does the demand for premium finishes, including professionally printed labels on luxury fabrics.
For a truly one-of-a-kind finish, nothing beats a handwritten label. It’s your own handwriting that will be preserved for generations, making it an incredibly powerful and intimate way to sign your work.
The most critical tool for this job is the right pen. You must use an archival-quality, permanent fabric pen. A regular ballpoint or Sharpie will bleed, fade, and likely wash out over time. The gold standard for quilters is the Pigma Micron pen. Its pigment-based ink is waterproof, fade-resistant, and won't harm the fabric, ensuring your message lasts as long as your quilt.
Getting neat, clean handwriting on soft fabric can be tricky. Here’s a game-changing tip: iron a piece of freezer paper to the back of your label fabric. The waxy side creates a temporary bond, giving you a firm, stable surface that feels almost like writing on paper. When you’re done and have heat-set the ink, the freezer paper just peels right off without a trace. It’s a simple trick that delivers incredibly professional results.
You’ve put in the work to design, write, and create a beautiful label. Now for the final, crucial step: making it a permanent part of the quilt. How you attach your label is what makes it feel truly integrated, ensuring your story is forever tied to your creation.
This last touch can either elevate your quilt's professional look or detract from it. Let's walk through the techniques that give you a clean, durable, and beautiful result, honoring your hard work right down to the last stitch.
Before you can even think about stitching the label on, you have to deal with the raw edges. An unfinished, fraying edge is a recipe for disaster, especially on a quilt that will see a lot of love and washing. Taking a few moments here is non-negotiable for a label that lasts.
The most classic and reliable method is simply turning the edges under. I always leave about a 1/2-inch seam allowance on all four sides of my finished label. This gives you plenty of fabric to fold and press, creating a sharp, clean border that won't unravel.
A simple hem gauge is my secret weapon for this job. It helps me press a perfectly consistent turn-back every single time. In a pinch, you can mark a line on an index card and use it as a pressing guide.
If you're going for a more modern or decorative look, you can also finish the edges with a machine satin stitch. This works especially well on embroidered labels where you can match the thread to the design. A tight satin stitch completely encases the raw edge, giving you both a durable finish and a nice framed appearance.
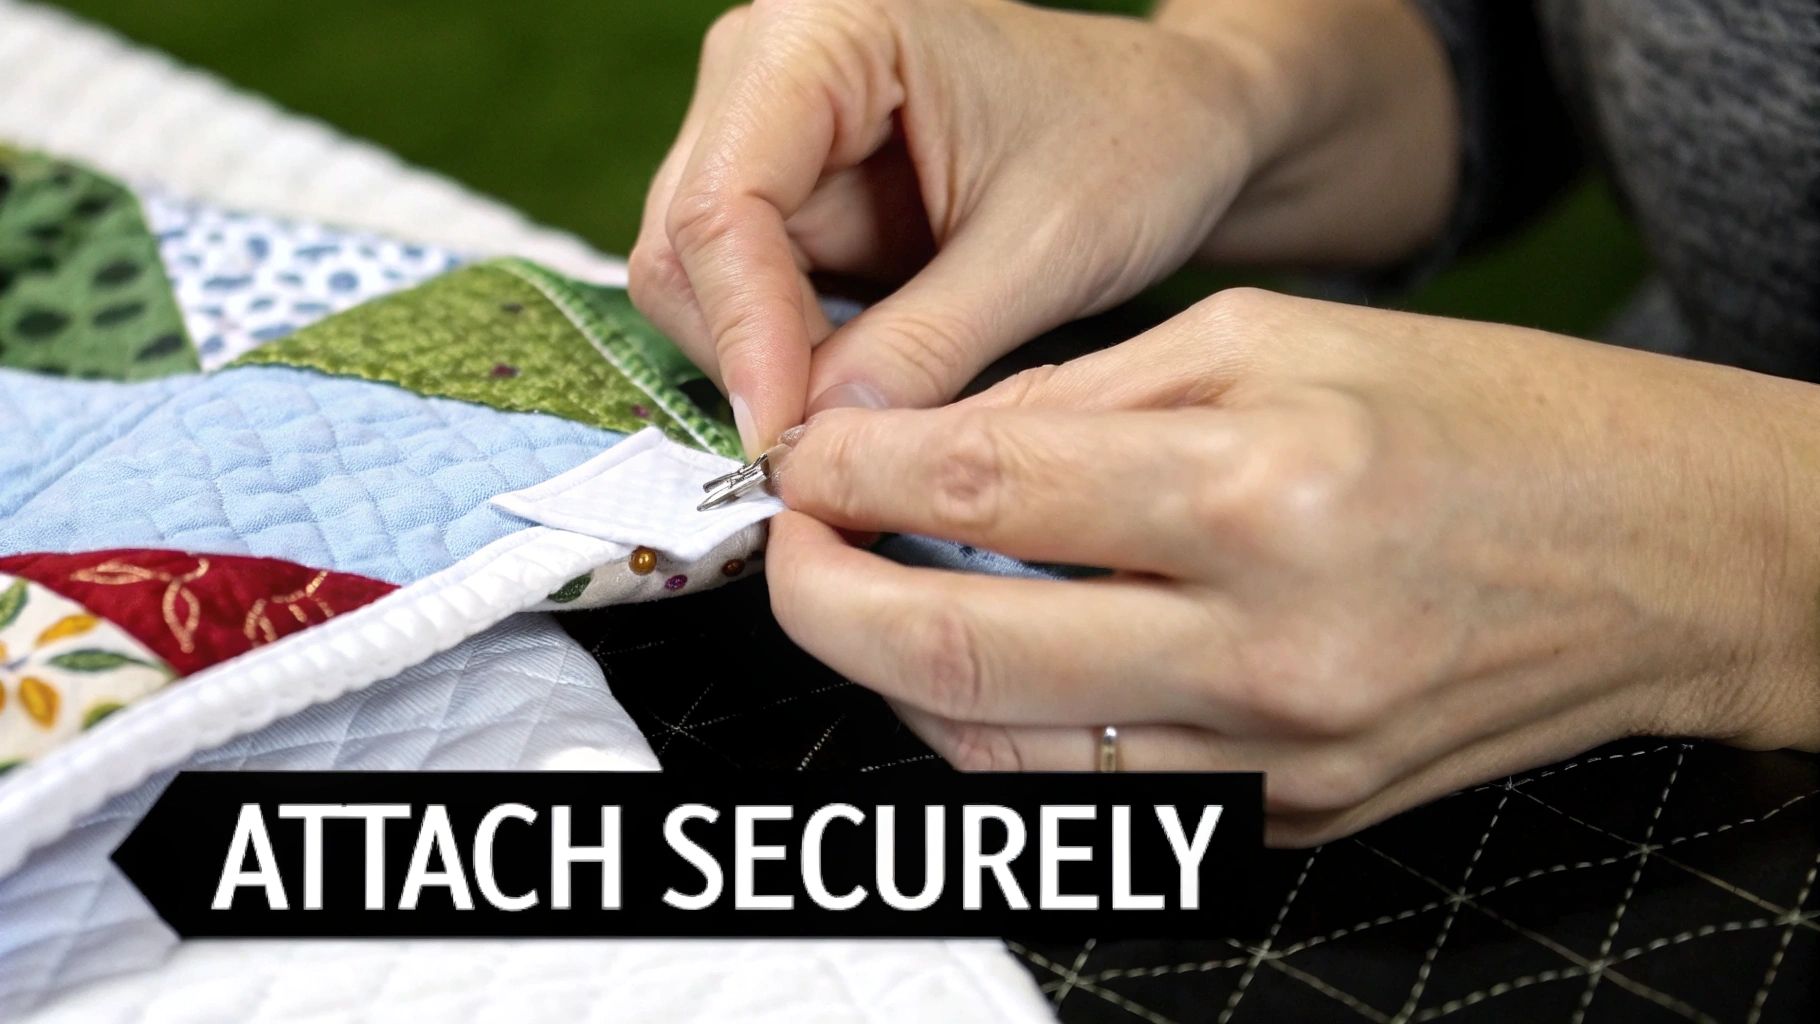
Once your edges are neatly tucked away, it’s time to secure the label to the quilt back. You could absolutely machine-stitch it for a quick finish, but my go-to for an heirloom-quality look is always hand-sewing. A carefully executed hand stitch is nearly invisible and gives the label a truly custom, integrated feel.
The appliqué blind stitch (sometimes called a whipstitch) is perfect for this. It’s a simple technique that creates a strong yet discreet bond.
Here’s my process:
Where you put your label really matters. The most traditional spot, and for good reason, is a bottom corner of the quilt's back—usually the bottom right. This keeps it discreet but easy for anyone admiring your work to find. It’s a classic choice that works perfectly for bed quilts and wall hangings.
It's interesting to see how trends can even influence quilting. For instance, Google Trends data often shows a spike in searches for 'quilted bedspreads' around January, right after the holidays when people are redecorating. When you're gifting a quilt during these peak times, a beautifully placed label is part of the presentation. You can actually explore more about these global quilting trends on Accio.com.
Ultimately, the best location is one that complements your quilt's design. If the traditional corner placement doesn't feel right for your specific project, don't be afraid to think outside the box and find a spot that works for your art.
Once you’ve settled on a method for making your quilt label, a few practical questions almost always come up. It's those little details that can make all the difference. Let’s tackle some of the most common queries I hear from fellow quilters to get you through the finishing line with confidence.
Think of this as your quick-reference guide for getting those final steps just right. A great label doesn't just look good—it's made to last as long as the quilt itself.
This is probably the number one question, and the good news is, there’s no single right answer. You can be as brief or as detailed as you want, but there are a few essentials I always recommend including to preserve your quilt's legacy.
At the very least, your label needs these three things:
If the quilt is a gift, adding the recipient's name and the occasion makes it infinitely more special. Think of something like, "For Emily, on her Graduation, 2024." It turns a beautiful gift into a true heirloom. And if there's even a small chance you might enter the quilt into a show, adding a title and some basic care instructions is a smart move.
Oh, the dreaded ink bleed! It’s a quilter's nightmare, but it’s almost always avoidable with a bit of prep work. It’s rarely the pen's fault; the real culprit is usually the fabric.
The secret is to give your pen a stable, smooth surface to write on. First, always pre-wash your fabric without softener to get rid of any factory sizing that can make ink spread. The real magic trick, though, is to iron a piece of freezer paper onto the back of your fabric. This gives it just enough stiffness to stop the threads from wicking the ink outward.
I swear by a good archival ink pen, like a Pigma Micron. Use a light, steady hand and let the ink dry completely before you even think about touching it. The final, non-negotiable step is to heat-set the ink with a dry iron. Just follow the directions on the pen’s packaging.
While you can technically put it anywhere you like, there's a traditional spot that just makes sense. Most quilters stitch their labels onto a bottom corner on the back of the quilt, usually the bottom right. This keeps it discreet, so it doesn't distract from your piecing or quilting, but it’s easy to find for anyone curious about the quilt's story.
That said, don't feel boxed in by tradition! I've seen some wonderfully creative modern quilters integrate the label right into the backing piecing or even make it a tiny design element on the front. What matters most is that you choose a spot that feels right for your quilt and its design.
You absolutely can! You can get surprisingly professional results with a standard inkjet printer. Just be sure to never use a laser printer, as the toner is heat-set and could seriously damage your machine.
The key is to buy specially prepared printable fabric sheets. These are just pieces of cotton fabric bonded to a paper carrier sheet, which helps them glide through your printer like a normal piece of paper.
After printing, you have to let the ink dry completely, and then heat-set it with an iron to make the design permanent and washable. Always read the instructions that come with your specific brand of fabric sheets for the best, longest-lasting results.
At High Country Quilts, we believe every quilt tells a story, and a beautiful label is the perfect way to sign your name to it. Whether you need the perfect fabric, an archival pen, or advice on your next project, we're here to help you create something that lasts a lifetime. Explore our wide selection of quilting supplies and BERNINA machines.
At High Country Quilts we care deeply about community. With our experiences in retail, we know that a store is not only a place to shop but also a place for the community to gather and share. During this busy...

Hi! We’re Adam and Renee Wheaton, the new owners of High Country Quilts! For more than 40 years, we’ve owned and operated vacuum and sewing businesses. Following in Renee’s father’s footsteps after he retired from All Discount Vacuum and Sewing in Colorado...


Leave a comment