

We Love Our Quilting Community
At High Country Quilts we care deeply about community. With our experiences in retail, we know that a store is not only a place to shop but also a place for the community to gather and share. During this busy...


Building a cosplay wig from the ground up is a fantastic process. You get to take a pile of materials—a cap and some synthetic hair wefts—and transform them into a one-of-a-kind piece that perfectly captures your character. The magic happens in the cutting, coloring, and styling.
Every show-stopping cosplay wig starts with a solid foundation. You can't create a durable, gravity-defying hairstyle on a flimsy base, so the materials you pick at the beginning are critical. The wig cap and the hair fibers you choose will ultimately dictate the wig's comfort, longevity, and how it looks in the final photos. Think of this as the blueprint for your entire project.
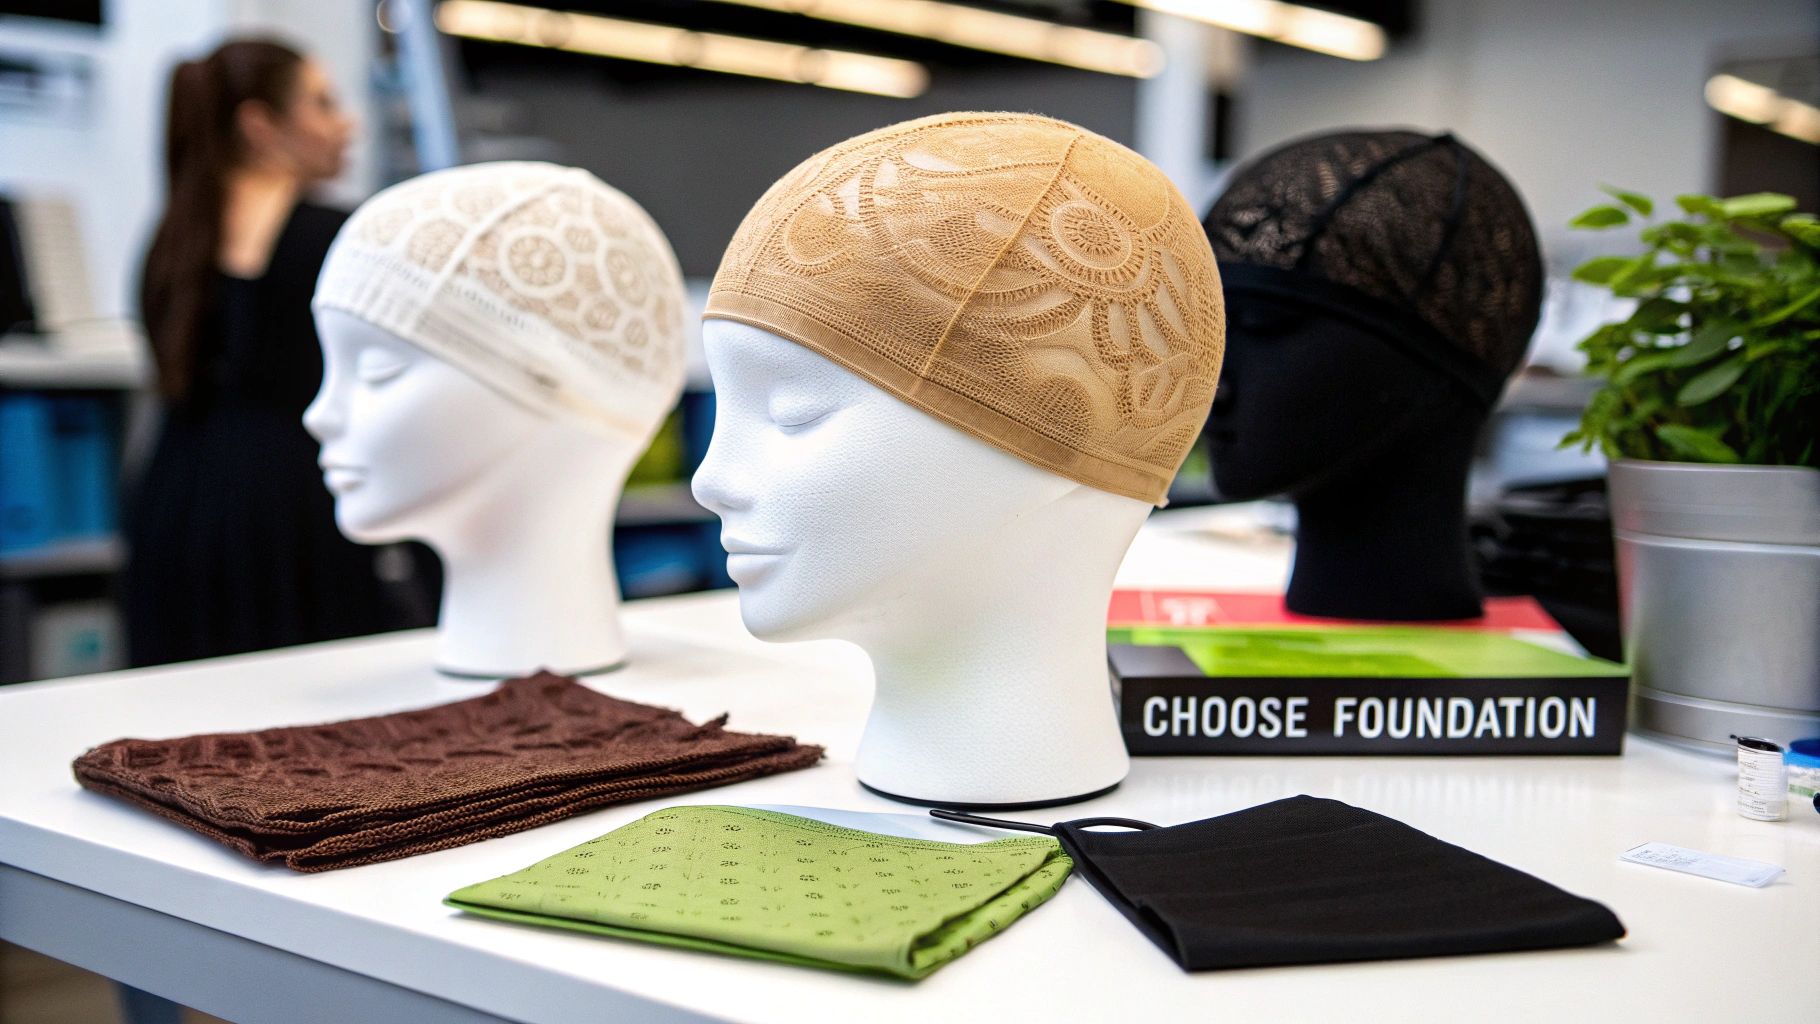
Your first big decision is the wig base, or cap. This isn't just about getting the right size; you need to match the cap's construction to your character's hairstyle.
After picking your base, it's time to choose the hair itself. For cosplay, synthetic fibers are almost always the way to go because they're so versatile and affordable. But not all synthetics are created equal, and the type of fiber you buy will directly affect how you can style it.
For instance, if your character has intricate, heat-styled curls, you absolutely need heat-resistant fibers. Brands like Kanekalon and Futura are popular in the community because they can handle low to medium heat from curling irons and straighteners, usually up to 350°F (175°C). Just remember to always test a small, hidden strand first!
On the other hand, if you're going for a soft, natural look that doesn't need heat, other synthetic options might have a better texture. The trick is to match the fiber's properties to your styling plan. If you need to add more volume by sewing in extra wefts, having some basic sewing skills is a huge help. For anyone new to sewing, checking out some free sewing lessons can give you a great foundation for handling wefts and altering caps.
The passion of the cosplay community is driving incredible growth in the market for costumes and wigs. Valued at roughly $14.93 billion, the market is projected to skyrocket to $42.25 billion by 2035. That's a compound annual growth rate of nearly 9.92%, proving that crafting skills are more in demand than ever.
Trying to decide between different fibers can feel a little overwhelming at first. To simplify things, I've put together a quick comparison to help you choose the right material for your next big project.
| Fiber Type | Heat Resistance | Best For | Common Brands |
|---|---|---|---|
| Kanekalon | Moderate (some types) | Braiding, dreadlocks, natural textures, and heat styling at low temperatures. | Kanekalon |
| Futura/Heat-Friendly | High (up to 350-400°F) | Straightening, curling, and styles requiring heat tools for a realistic finish. | Many brands |
| Toyokalon | Low to None | Softer, finer styles. Good for characters with silky, straight hair. Avoid heat. | Toyokalon |
| Standard Synthetic | None | Budget-friendly projects, characters with simple styles, or practice wigs. | Generic/unbranded |
Making the right choices here at the beginning really sets you up for success. A well-chosen base makes the wig comfortable and stable, while the right fibers make the styling process so much smoother—letting you bring your character to life.
This is where the magic really happens. You’ve got your base wig and your fibers ready, and now it's time to build the actual shape and body that will bring your character to life. Let's be honest, most standard wigs just don't have the density needed for those dramatic anime or video game hairstyles. Learning to add wefts is a core skill for creating that lush, full look that really sells the costume.
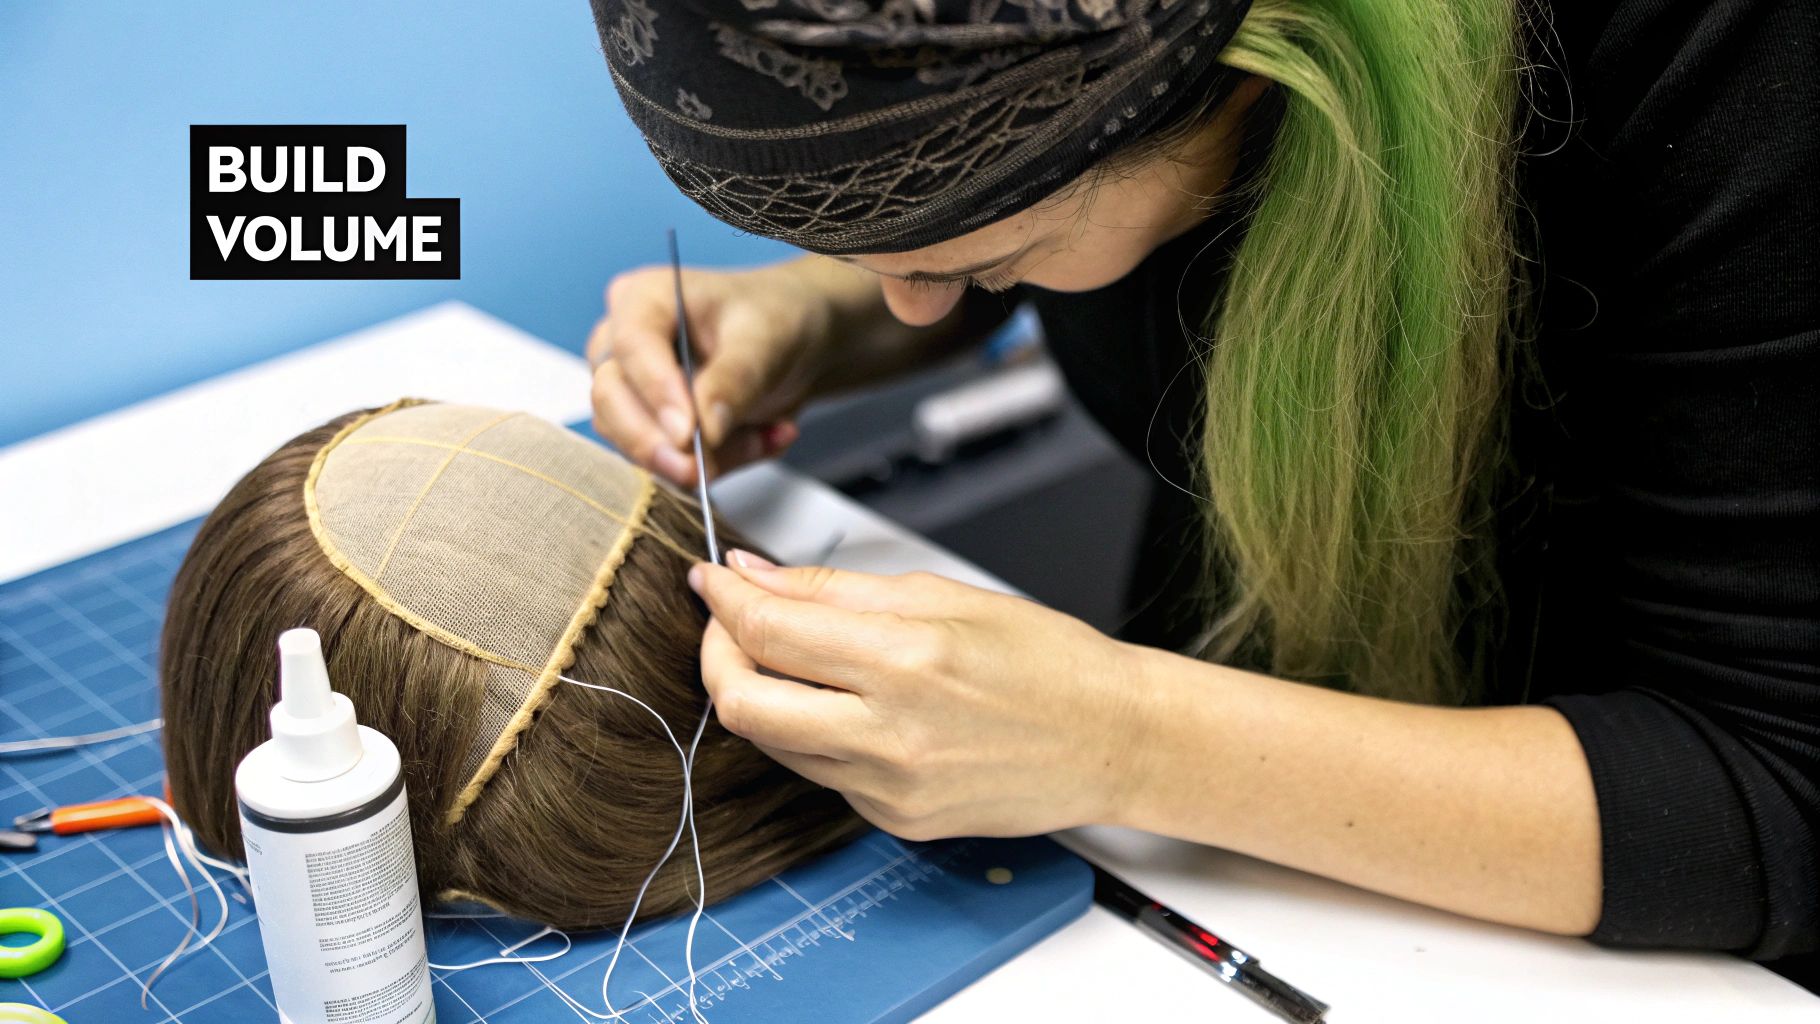
So, what are wefts? Think of them as curtains of hair fibers stitched together along one edge. You can either buy them pre-packaged or harvest them from a cheap "donor" wig in the same color. If you've ever looked into different types of hair extensions, the concept is pretty much the same. The main goal here is to strategically fill in any sparse areas and create a much denser foundation to work with for styling.
If you want your wig to survive a con weekend (and beyond), hand-sewing your wefts is the way to go. It's the most secure and professional method, creating a strong but flexible bond that can handle just about anything. It definitely takes more time than gluing, but the payoff in durability is huge.
You'll need a curved upholstery needle and some heavy-duty thread that matches your wig color. A simple running stitch or a whip stitch will do the trick perfectly.
For really precise work, like adding just a few strands to perfect a hairline, having the right tools makes a world of difference. A good hook and snip tweezer set can be a lifesaver, helping you grab individual fibers and guide your needle with much better accuracy.
Look, sometimes you're on a deadline, or you need to attach fibers to a solid, non-sewable base. In those situations, glue is your best friend. Most cosplayers swear by either a high-temperature hot glue gun or a strong fabric adhesive like Fabri-Tac.
Gluing is especially crucial for advanced techniques like creating a "stub" for a high ponytail—think Sailor Moon. This process involves pulling the wig's existing hair into a ponytail, chopping it short, and sealing the end with glue to form a solid stump. From there, you can glue wefts in a spiral pattern around that base to build a full, gravity-defying ponytail.
Pro Tip: When you're using glue, apply it directly to the track of the weft itself, not to the wig cap. This gives you way more control and helps prevent messy glue blobs from seeping through the mesh and onto your wig head (or worse, your hair). Use the metal tip of your hot glue gun to press the weft firmly into place for a rock-solid bond.
Adding wefts gives you density, but permanent volume is achieved through teasing (also called backcombing). This technique creates a matted cushion of fibers right at the root, giving the hair a lift that won’t go flat by lunchtime.
After you've teased a section, hit it with a generous amount of strong-hold hairspray (Got2b Glued Blasting Freeze Spray is a community favorite for a reason) to lock it all in. This powerful combination—adding wefts for density and teasing for lift—is the true secret behind how crafters achieve those full, dynamic, and perfectly in-character cosplay wigs.
A wig right out of the bag is just a starting point. The real magic happens when you pick up the scissors and dyes. This is how you'll nail your character’s signature look, from their unique bangs to the subtle shifts in hair color. Honestly, a great customization is what takes a cosplay from good to unforgettable.
It’s no secret that most of us grab our base wigs online these days. It has completely changed how we build our costumes. With the online cosplay market valued at a massive $18.23 billion, we have access to a nearly infinite selection of styles and colors. Finding that perfect base to chop up has never been easier.
First thing’s first: get that wig on a mannequin head and pin it down securely. Trust me, you don't want to try cutting it while it's lying flat on a table. You absolutely have to see how the fibers hang to get a cut that looks right on a human head.
The tools you use will make or break the final look.
Having the right tools is a game-changer. If you’re a left-handed crafter, you know how frustrating it can be to find good scissors. We actually have some info on new left-handed scissors by Famore that might be perfect for your kit.
Here's the most important rule I've learned over the years: always cut less than you think you need. You can always snip off a little more, but you can't glue it back on. Make small cuts, take a step back, and check your work from every angle before continuing.
Coloring a synthetic wig is a whole different ball game than dyeing human hair. Your standard box dye won't even make a dent because it's designed for organic hair cuticles, which plastic fibers don't have. What you need are dyes that will stain the surface of the synthetic strands.
Before you start mixing colors, it helps to gather some inspiration. You can get great ideas on how to steal the look of your favorite characters to really capture their specific color palette and vibe.
The method you pick really depends on the look you're after. Are you going for a solid, vibrant anime color, or something more subtle and weathered?
Alcohol-Based Inks
This is my go-to method for rich, permanent, and super-vibrant colors. Think Sharpie ink or artist-grade alcohol inks. The basic idea is to mix the ink with rubbing alcohol in a spray bottle and completely saturate the wig.
This technique is perfect for those big color transformations, like taking a plain white wig to a shocking pink or electric blue.
Acrylic Washes and Weathering
Sometimes, a full dye job is overkill. If you just need to add some subtle gradients, create a shadow root, or give a wig that gritty, battle-worn look for a warrior character, an acrylic paint wash is the way to go.
Just mix a bit of acrylic paint with water until it's thin and watery. You can brush it on with a paintbrush for precise details like darker roots or use a spray bottle to apply a light, grimy layer over the whole wig. It’s a fantastic way to add a ton of depth and realism.
Alright, this is where we move beyond basic styling and into the realm of true wig artistry. If you want to create those iconic, gravity-defying looks—think sharp anime spikes, massive drills, and impossibly large curls—you need to think less like a hairstylist and more like an engineer. This is what makes a cosplay wig truly unforgettable.
Modern synthetic fibers are a game-changer. They look and feel more like natural hair than ever before, but more importantly, they can stand up to the intense styling required for conventions and photoshoots. It's this durability that allows us to build these incredible structures. You can actually see how much the industry has evolved in this report on the hair wigs and extension market, which shows just how far the technology has come.
Before you start gluing and spraying, remember the general workflow.
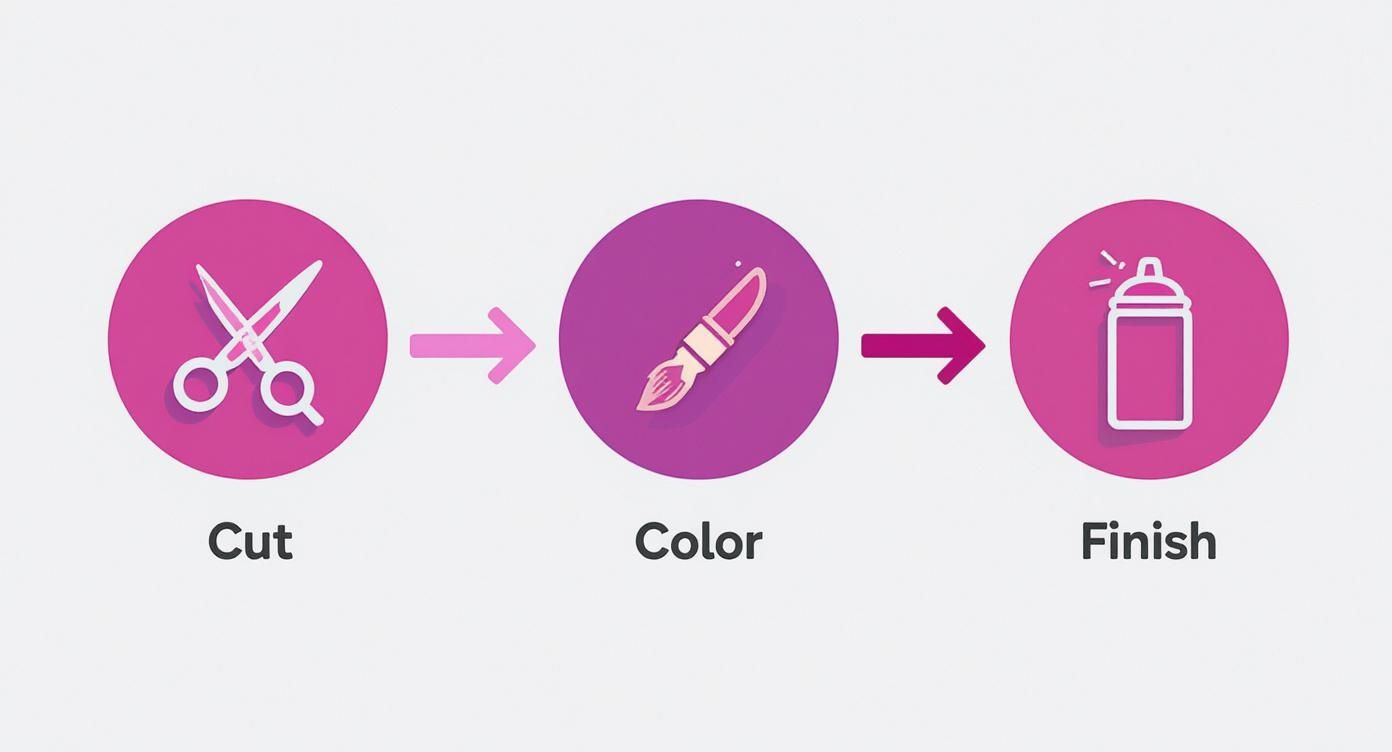
This process is a good reminder that all the structural work comes first. The final, dramatic hold is just the finishing touch.
For characters like Cloud Strife or Goku, the look lives and dies by those sharp, defined spikes. This isn't a job for a bit of gel. We're talking about creating rigid, self-supporting structures from the wig fibers themselves. The secret is all in the products and the process.
Your best friend here is a rock-solid hairspray. The cosplay community almost universally swears by Got2b Glued Blasting Freeze Spray—it’s the gold standard for a reason. You’ll also want a clear-drying tacky glue, like Aleene's Original Tacky Glue, to get those tips perfectly sharp.
Here's how you do it:
Just repeat that for every single spike. Yes, it takes a while, but the payoff is a wig that looks incredible and can survive a full convention weekend without drooping.
But what about the really huge styles? I'm talking about the giant hair drills on a JRPG heroine or the oversized curls on a cartoon villain. Hairspray alone won’t cut it. For these, you need to build a lightweight internal skeleton, or armature, to support the hair.
This is where your other crafting skills really come in handy, as it’s basically prop-making. If you've ever worked with foam or wire, you're already ahead of the game. The techniques are so similar that our guide on how to make cosplay armor is a great resource for learning the basics.
Your go-to materials for armatures will be:
The most important takeaway is this: build the shape first, then cover it with hair. Don't try to force hair into a shape it can't hold. The internal structure does 90% of the work; the hair is just the skin.
Once your foam or wire structure is built, the final challenge is covering it so it looks like the entire thing is made of hair.
You'll be using loose wefts of hair and your favorite glue. My advice is to start at the very tip of your shape and work your way down to the base, gluing the wefts on in a spiral pattern.
Make sure to overlap each new layer slightly over the last one. This is crucial for hiding the weft track and ensuring no foam peeks through. Take your time with this part—a patient hand makes for a seamless finish. When all the hair is glued down and dry, a final mist of hairspray will tame any stray fibers and give it a polished, unified look.
The final spike is glued, the last curl has been set, and your masterpiece is finally complete. Now, the real challenge begins: preservation. Getting your wig through travel, a chaotic convention, and long-term storage is just as crucial as the styling itself. This is how you make sure your hard work looks just as incredible on its tenth outing as it did on its first.
Before you even think about packing it up, you need to lock everything in place. Once you are 100% satisfied with the shape, volume, and every little detail, grab a can of your strongest hold hairspray. A final, generous coat over the entire wig creates a protective shell, guarding against humidity and the inevitable bumps it will face.
Follow that up with a quick blast from a hairdryer on its cool setting. The cold air rapidly sets the hairspray, creating a rigid, durable finish without any risk of melting your heat-sensitive fibers or adhesives. This simple two-step process is your wig's first line of defense.
Getting an intricately styled wig from your workspace to the convention floor can feel like a high-stakes mission. Just tossing it in a bag is a recipe for disaster and heartbreak. The real key is to make sure it absolutely cannot move.
Your best bet is to secure the wig to a foam mannequin head. I use T-pins or long straight pins to anchor it firmly, paying close attention to the hairline and nape. This stops it from shifting or sliding around.
With the wig pinned down, place the entire foam head inside a sturdy box or a large, stackable storage container. You're aiming for a snug fit where the head won't topple over. If there's extra room, gently pack soft materials like bubble wrap or even old t-shirts around the base to keep it perfectly upright during the journey.
For extremely large or delicate wigs with massive spikes or other gravity-defying elements, this step is completely non-negotiable. It's the only way to guarantee your wig arrives at the hotel looking exactly as it did when you left home.
After a long day of photos, panels, and trekking across the convention hall, your wig is going to need some TLC. Don't just toss it in a corner of your hotel room! Proper aftercare is what gives your creations a long and happy life.
First things first, gently remove any tangles that have popped up. Always use a wide-tooth comb and work slowly from the tips of the fibers up toward the roots to avoid pulling or stretching them. This is especially important for long, flowing wigs.
Next up is spot cleaning. Foundation or makeup stains along the hairline are a super common issue. Just dampen a cloth with a bit of rubbing alcohol and gently dab at the stains until they lift. For general dust or grime, a mild soap and cold water solution works wonders.
Taking care of your wig is a continuous process. Here’s a quick checklist to help you keep track of what needs to be done to keep your wigs in top shape for years to come.
| Task | When to Do It | Key Tip |
|---|---|---|
| Final Hairspray Seal | Immediately after styling is complete. | Use the cool setting on your hairdryer to set the spray instantly. |
| Spot Clean Hairline | After each wear, before storing. | Dab gently with rubbing alcohol on a cloth; don't rub. |
| Detangle Fibers | After each wear, before storing. | Start from the tips and work your way up with a wide-tooth comb. |
| Deep Wash & Condition | When the wig feels grimy or after 3-5 wears. | Use a wig-safe shampoo and conditioner in a basin of cool water. |
| Check for Damage | Before and after every convention. | Look for loose wefts, stretched elastic, or damaged fibers. |
This simple routine will make a massive difference in how long your wigs last and how good they look every time you wear them.
Once your wig is clean and detangled, it's ready for storage. The goal here is to protect it from its three main enemies: dust, sunlight, and getting crushed.
For heavily styled wigs that need to hold a specific shape, the best solution is to keep them on a foam head. Drape a light plastic bag over the top to keep dust away, and find it a home in a cool, dark place like a closet shelf. Direct sunlight will absolutely fade those vibrant colors you worked so hard on.
For less structured, "floppy" wigs, you can store them in labeled plastic bags:
Following these finishing, transport, and care steps is the real secret to building a collection of amazing cosplay wigs that you can be proud of for years.
Even with a great guide, you're bound to run into a few tricky spots when making a wig. It happens to everyone! Let's walk through some of the most common questions I hear from fellow creators, so you can get unstuck and back to your project.
This is a classic question, and the answer is: there isn't just one. The best glue for the job really depends on what part of the wig you're working on. Think of it like having a well-stocked toolbox; you need the right tool for the right task.
Here’s my go-to lineup:
Choosing the right adhesive is one of those little details that makes a huge difference. If you're looking for more workshop wisdom, check out our blog for plenty of additional tips and tricks for cosplayers.
Ah, the dreaded synthetic shine! It's the number one thing that screams "this is a wig." Thankfully, toning it down is pretty straightforward.
The fastest fix is a quick spritz of dry shampoo. Hold the can at a distance, give the wig a light dusting, and then brush it through. The powder instantly mattifies the fibers. Another popular trick is a fabric softener soak. Just let the wig sit in a mixture of cool water and a little fabric softener for a few hours. This not only dulls the shine but also makes the fibers feel a bit softer.
Another route is using a matte sealant spray, but proceed with caution. This is a permanent change. Always, always test it on a small, hidden section of fiber first to make sure you like the look before you commit to the entire wig.
This is a super important question, and getting it wrong can spell disaster for your project. The answer entirely depends on the wig's fiber. If you hit a standard synthetic wig with heat, you'll end up with a melted, frizzy mess in seconds.
Look for the magic words on the wig's tag or online listing: "heat-resistant" or "heat-friendly." If you see that, you're generally safe to use styling tools on a low setting—I'd recommend staying below 350°F (175°C). Even then, test a small strand in an out-of-the-way spot first to see how it behaves.
No heat resistance? No problem. You’ll just have to style it the old-fashioned way. The hot water method is a tried-and-true technique. Simply set the wig hair in curlers, carefully pour hot (but not boiling!) water over the sections you want to curl, and let it cool and dry completely. Once you take the curlers out, the new style will be locked in.
At Famcut, our passion is giving crafters the tools and knowledge to bring their creative ideas to life. From precision scissors to practical advice, we're here to support you on your journey. Explore our full range of products at https://famcut.com.
At High Country Quilts we care deeply about community. With our experiences in retail, we know that a store is not only a place to shop but also a place for the community to gather and share. During this busy...

Hi! We’re Adam and Renee Wheaton, the new owners of High Country Quilts! For more than 40 years, we’ve owned and operated vacuum and sewing businesses. Following in Renee’s father’s footsteps after he retired from All Discount Vacuum and Sewing in Colorado...


Leave a comment